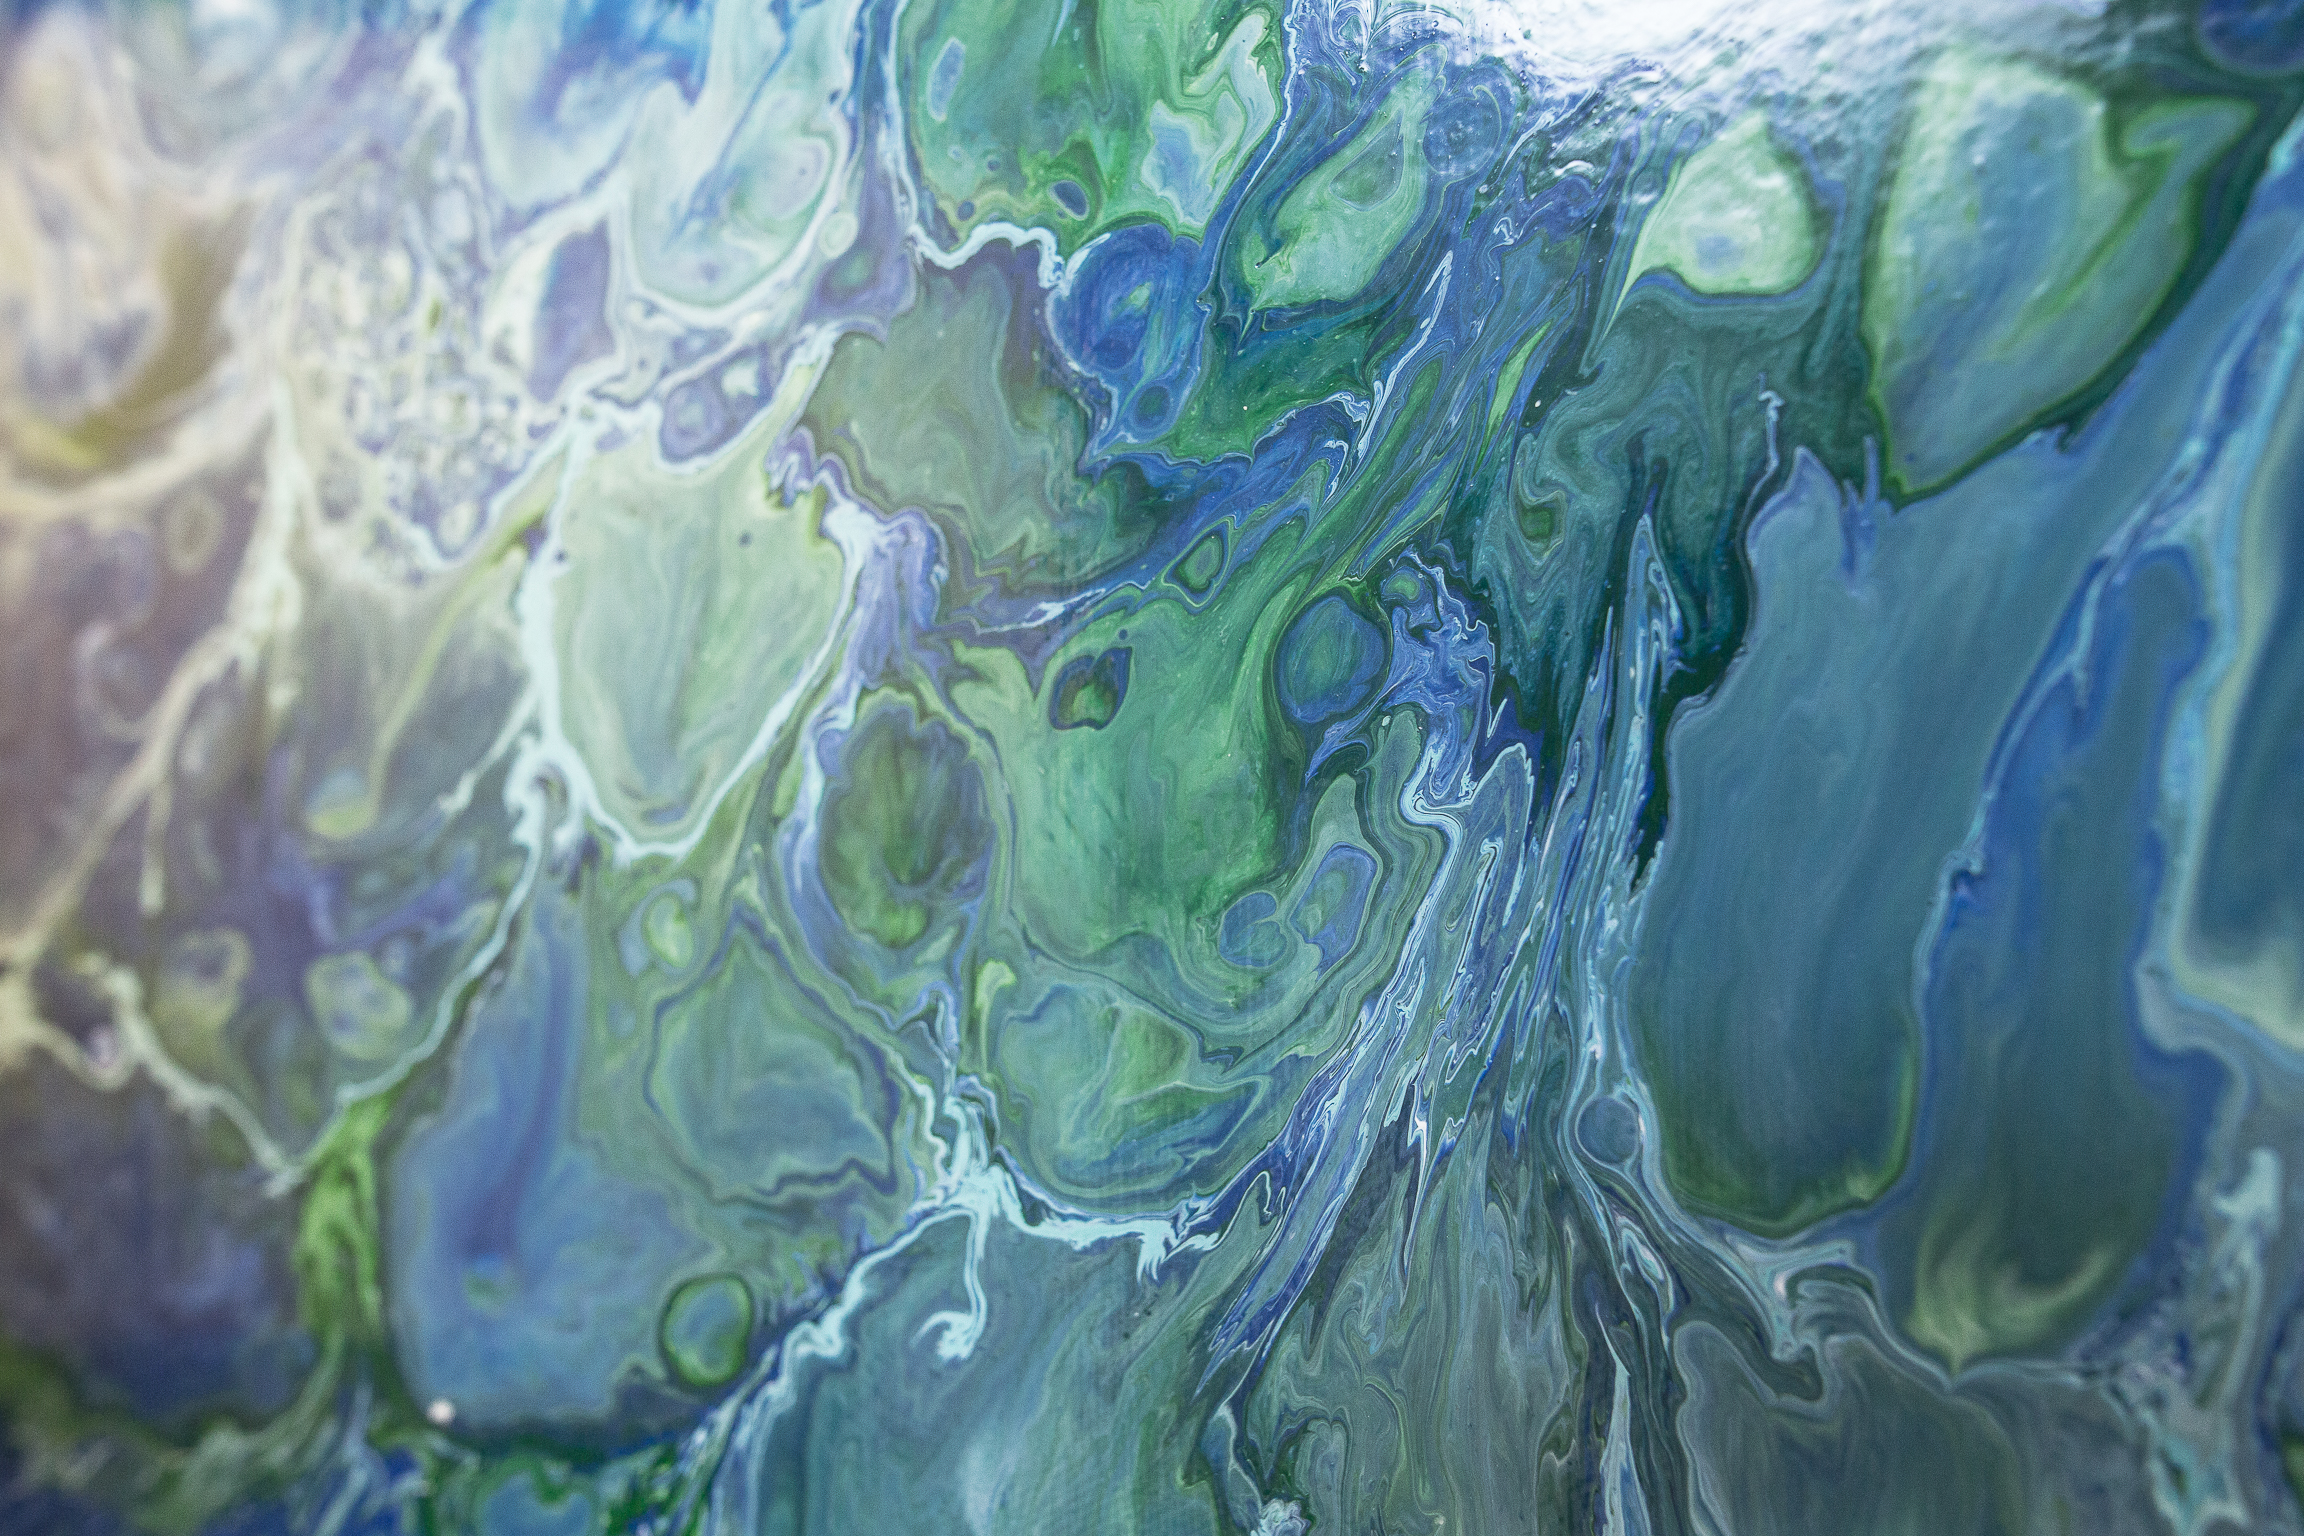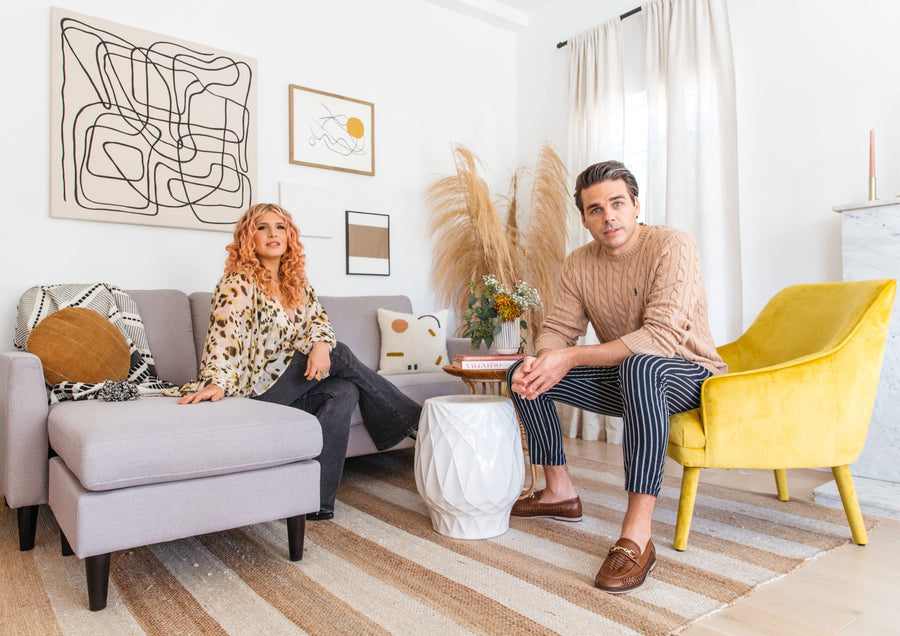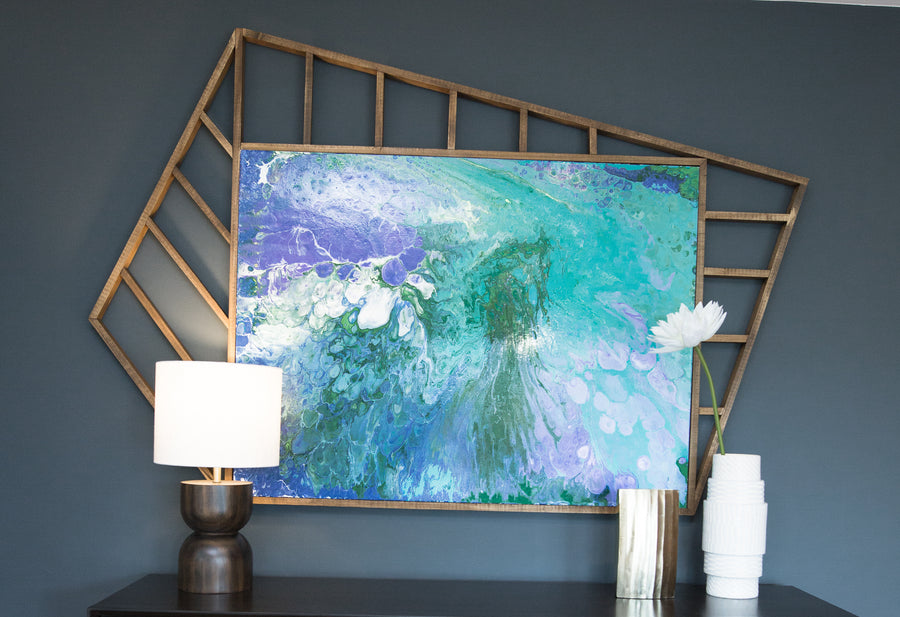
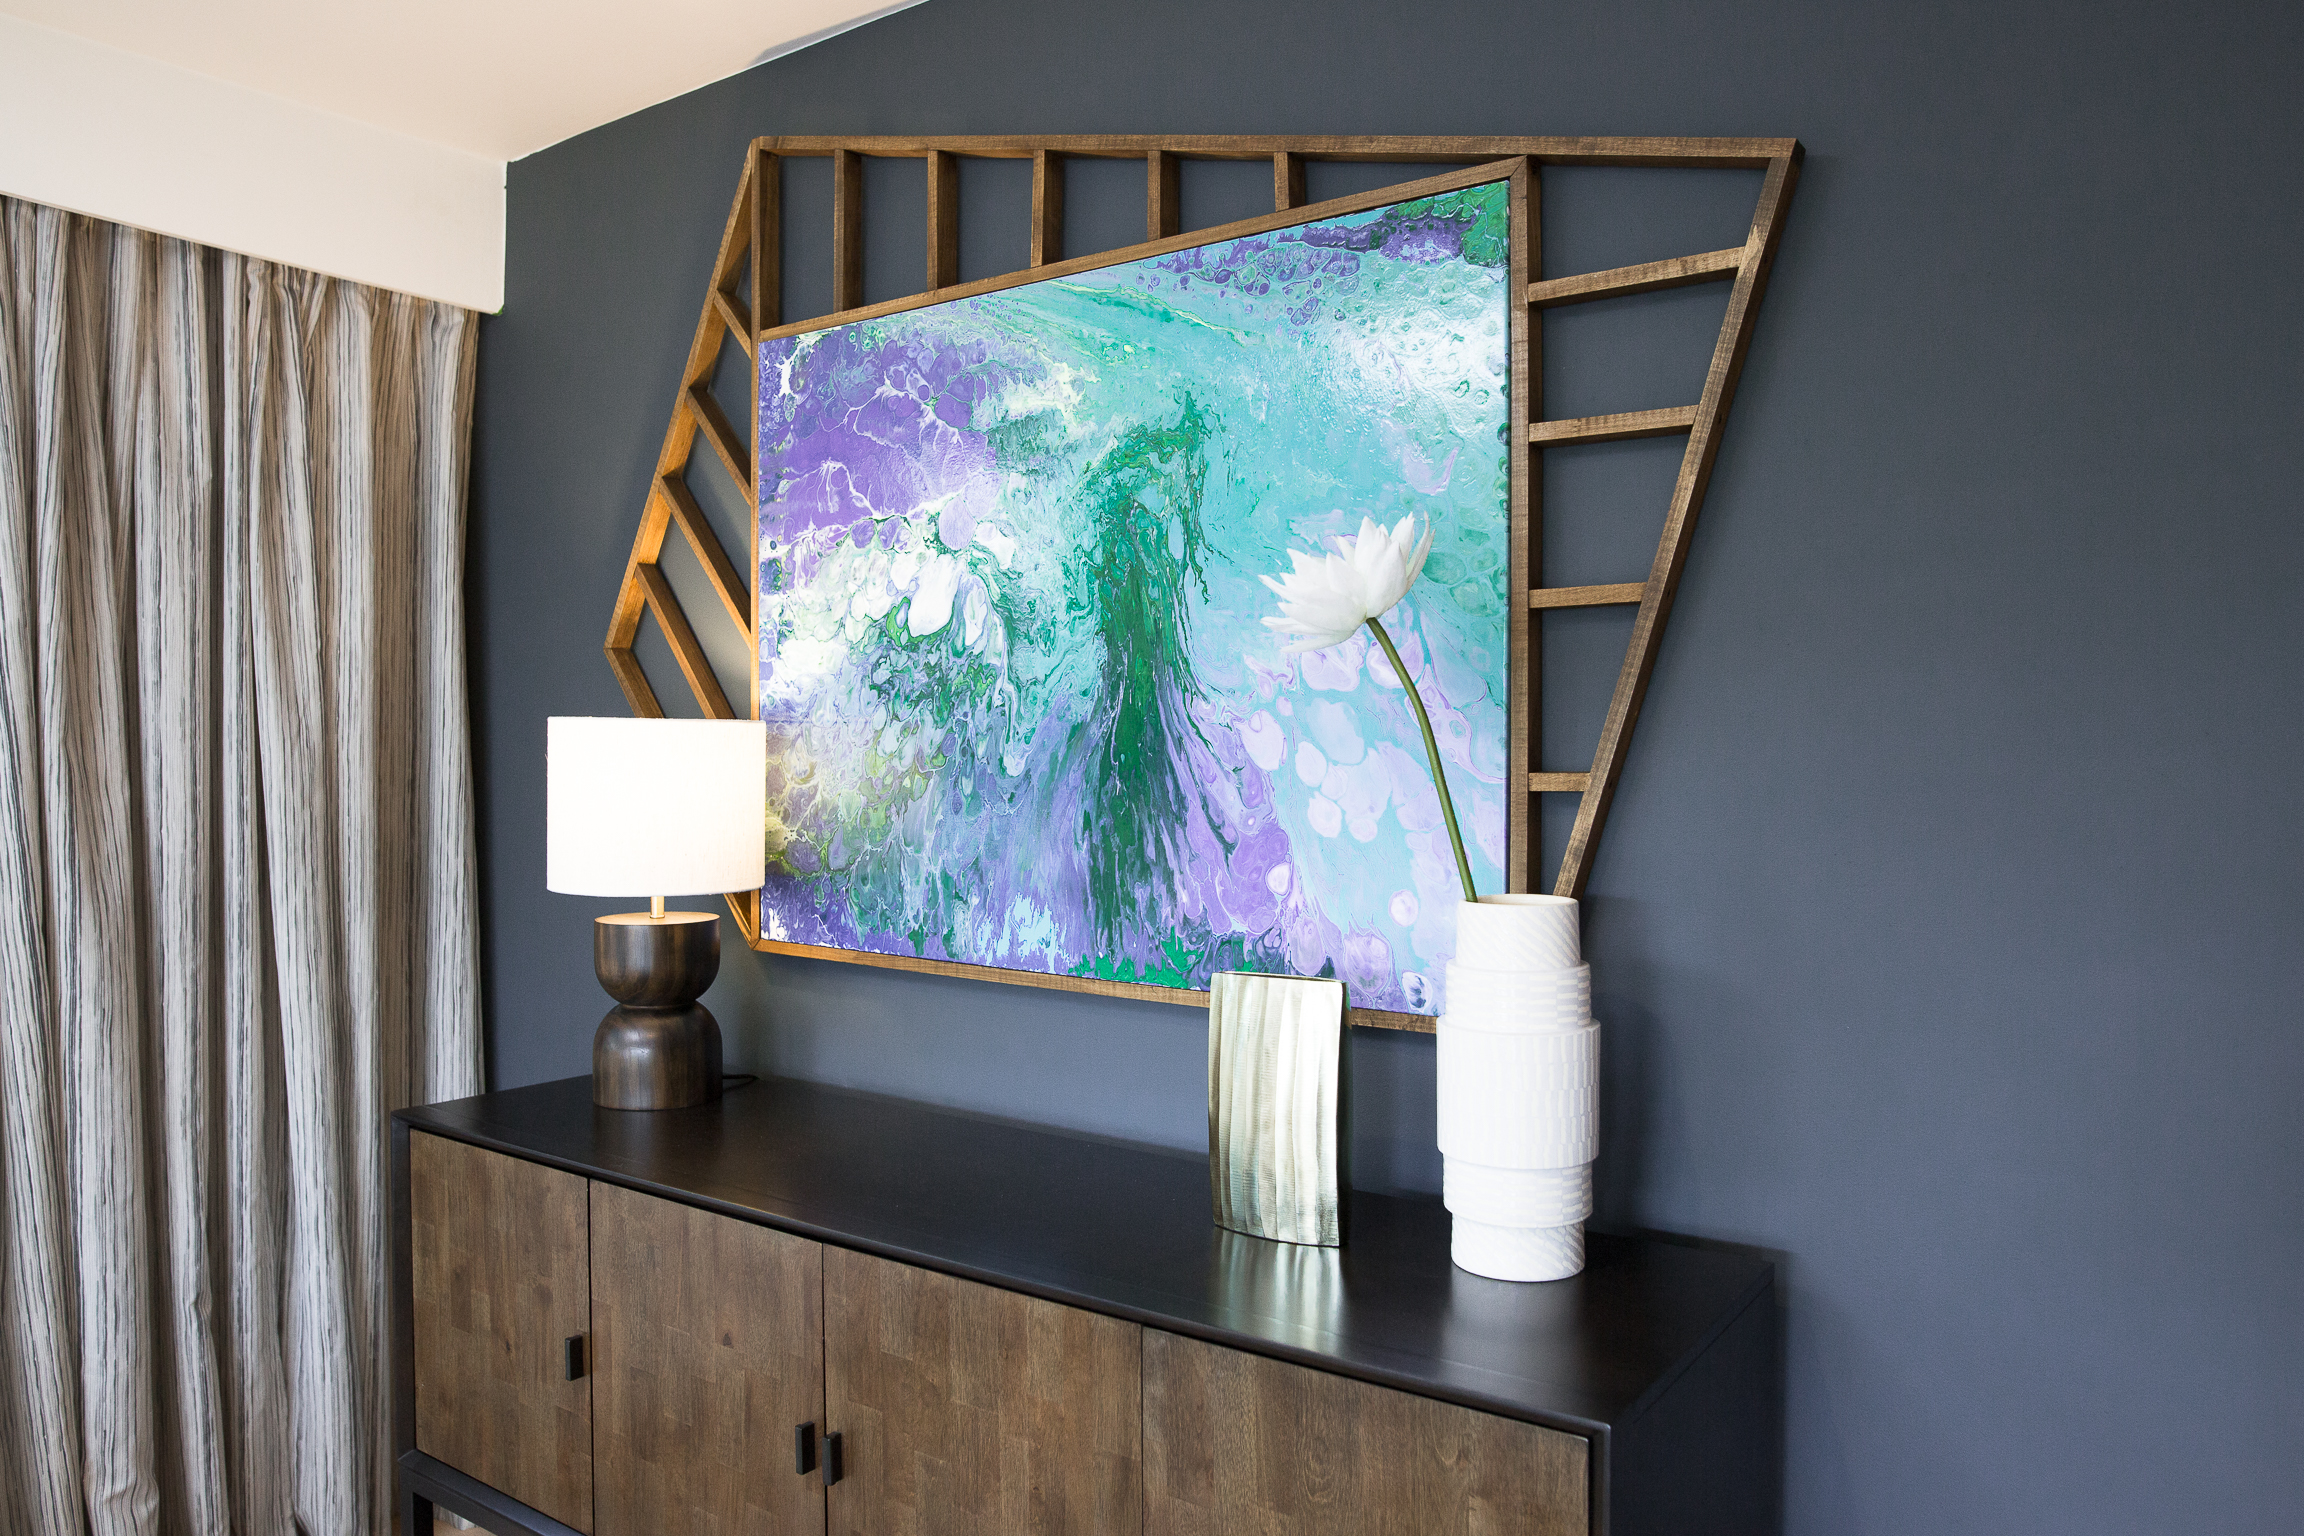
Abstract, intricate, psychedelic, and ... totally DIY-able! What other qualities could you ask for in a piece of art? I've been wanting to try this "dirty pour" technique for a while, and when it came time to get creative with the Dolan Twins for their midcentury pad, I couldn't resist!
What's so fantastic about this type of painting is that there's almost no way to mess it up, and each creation will be incredibly unique! I can't wait to try again with some different colors and canvas sizes!

Prep It:
Canvas
Acrylic paint (in various colors, but definitely white and preferably gloss finish)
Pouring medium
Treadmill belt lubricant
Plastic cups
Popsicle sticks
Plastic sheet


Do It!:
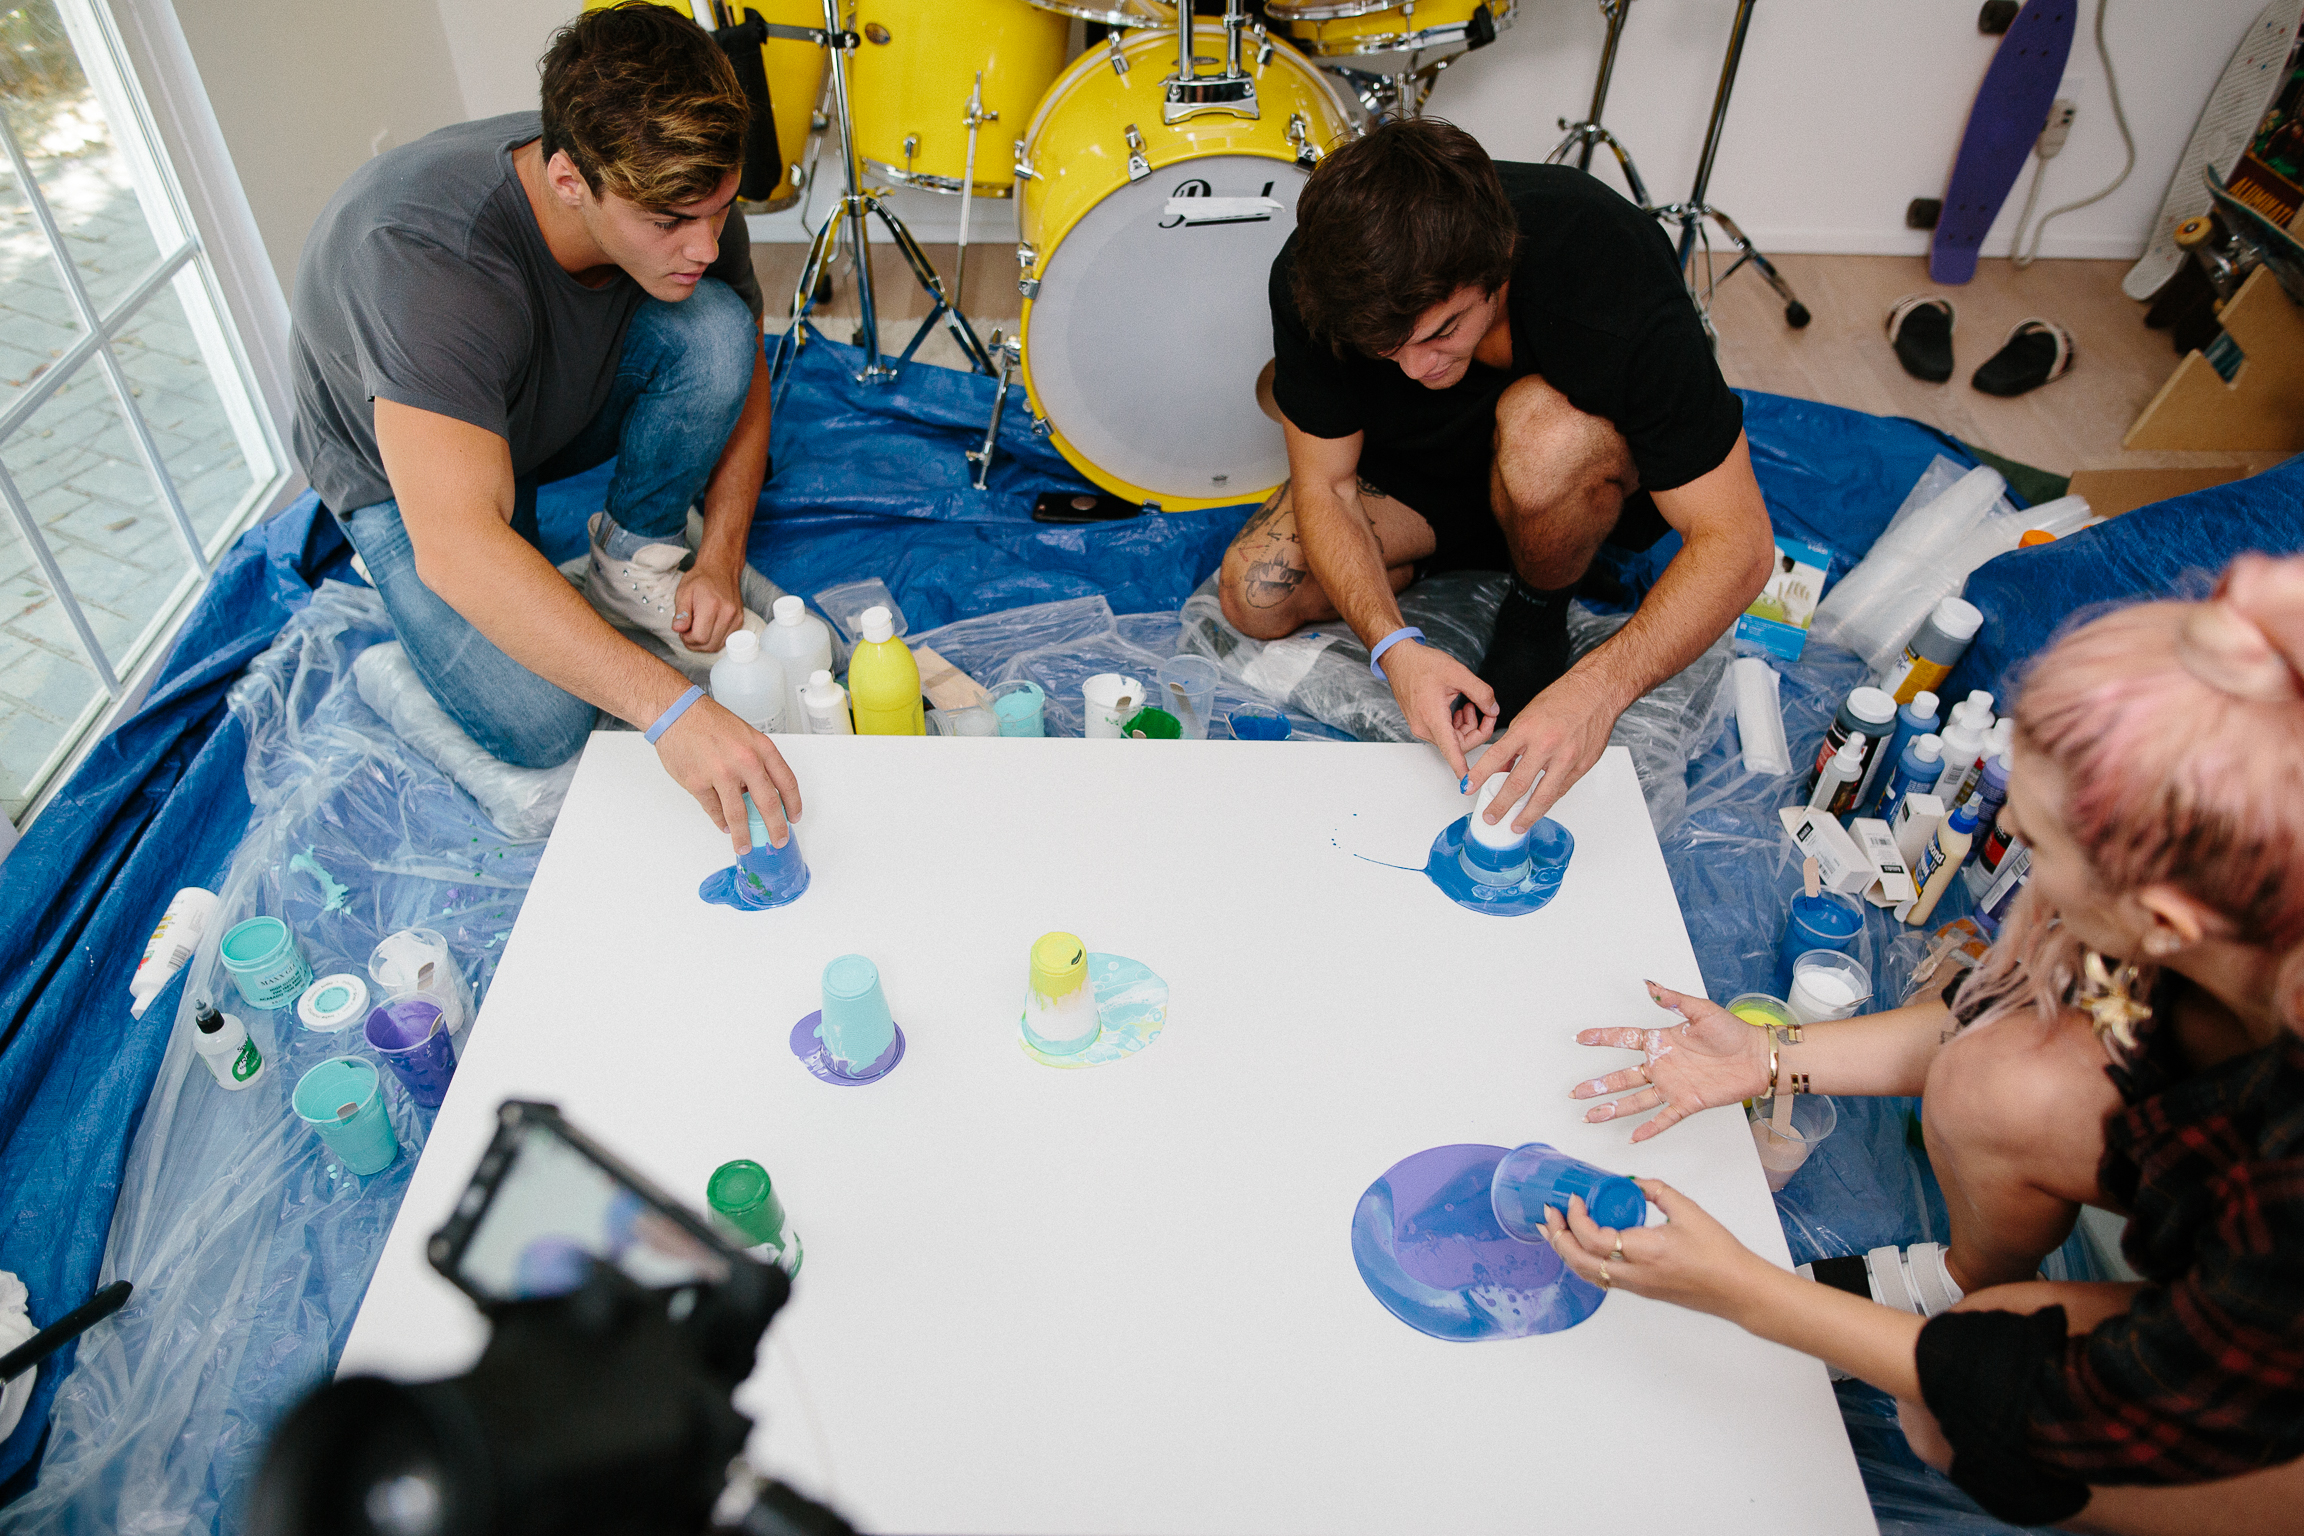
- Before you start, set up your work area with a plastic drop cloth covering the entire floor. Place some cups underneath the canvas so it is raised - we actually screwed the bottoms of the cups to the canvas so we could easily pick it up and set it back down. Then we just unscrewed the cups before we framed the final piece.
- Grab one cup for each color of acrylic paint you are using and in each one mix the paint and the pouring medium - about 2/3 pouring medium and 1/3 paint. Stir together with the popsicle stick.
- Carefully drop 2 to 4 drops of the lubricant into each paint/ medium combo cup, depending on the size of your plastic cups.
- In empty cups, create your cups to actually pour on the canvas by pouring different colors of your paint mixtures in, layering them kind of like sand art. I recommend pouring a layer of white in between each layer of color - this will help highlight each color but don't stir them all together!
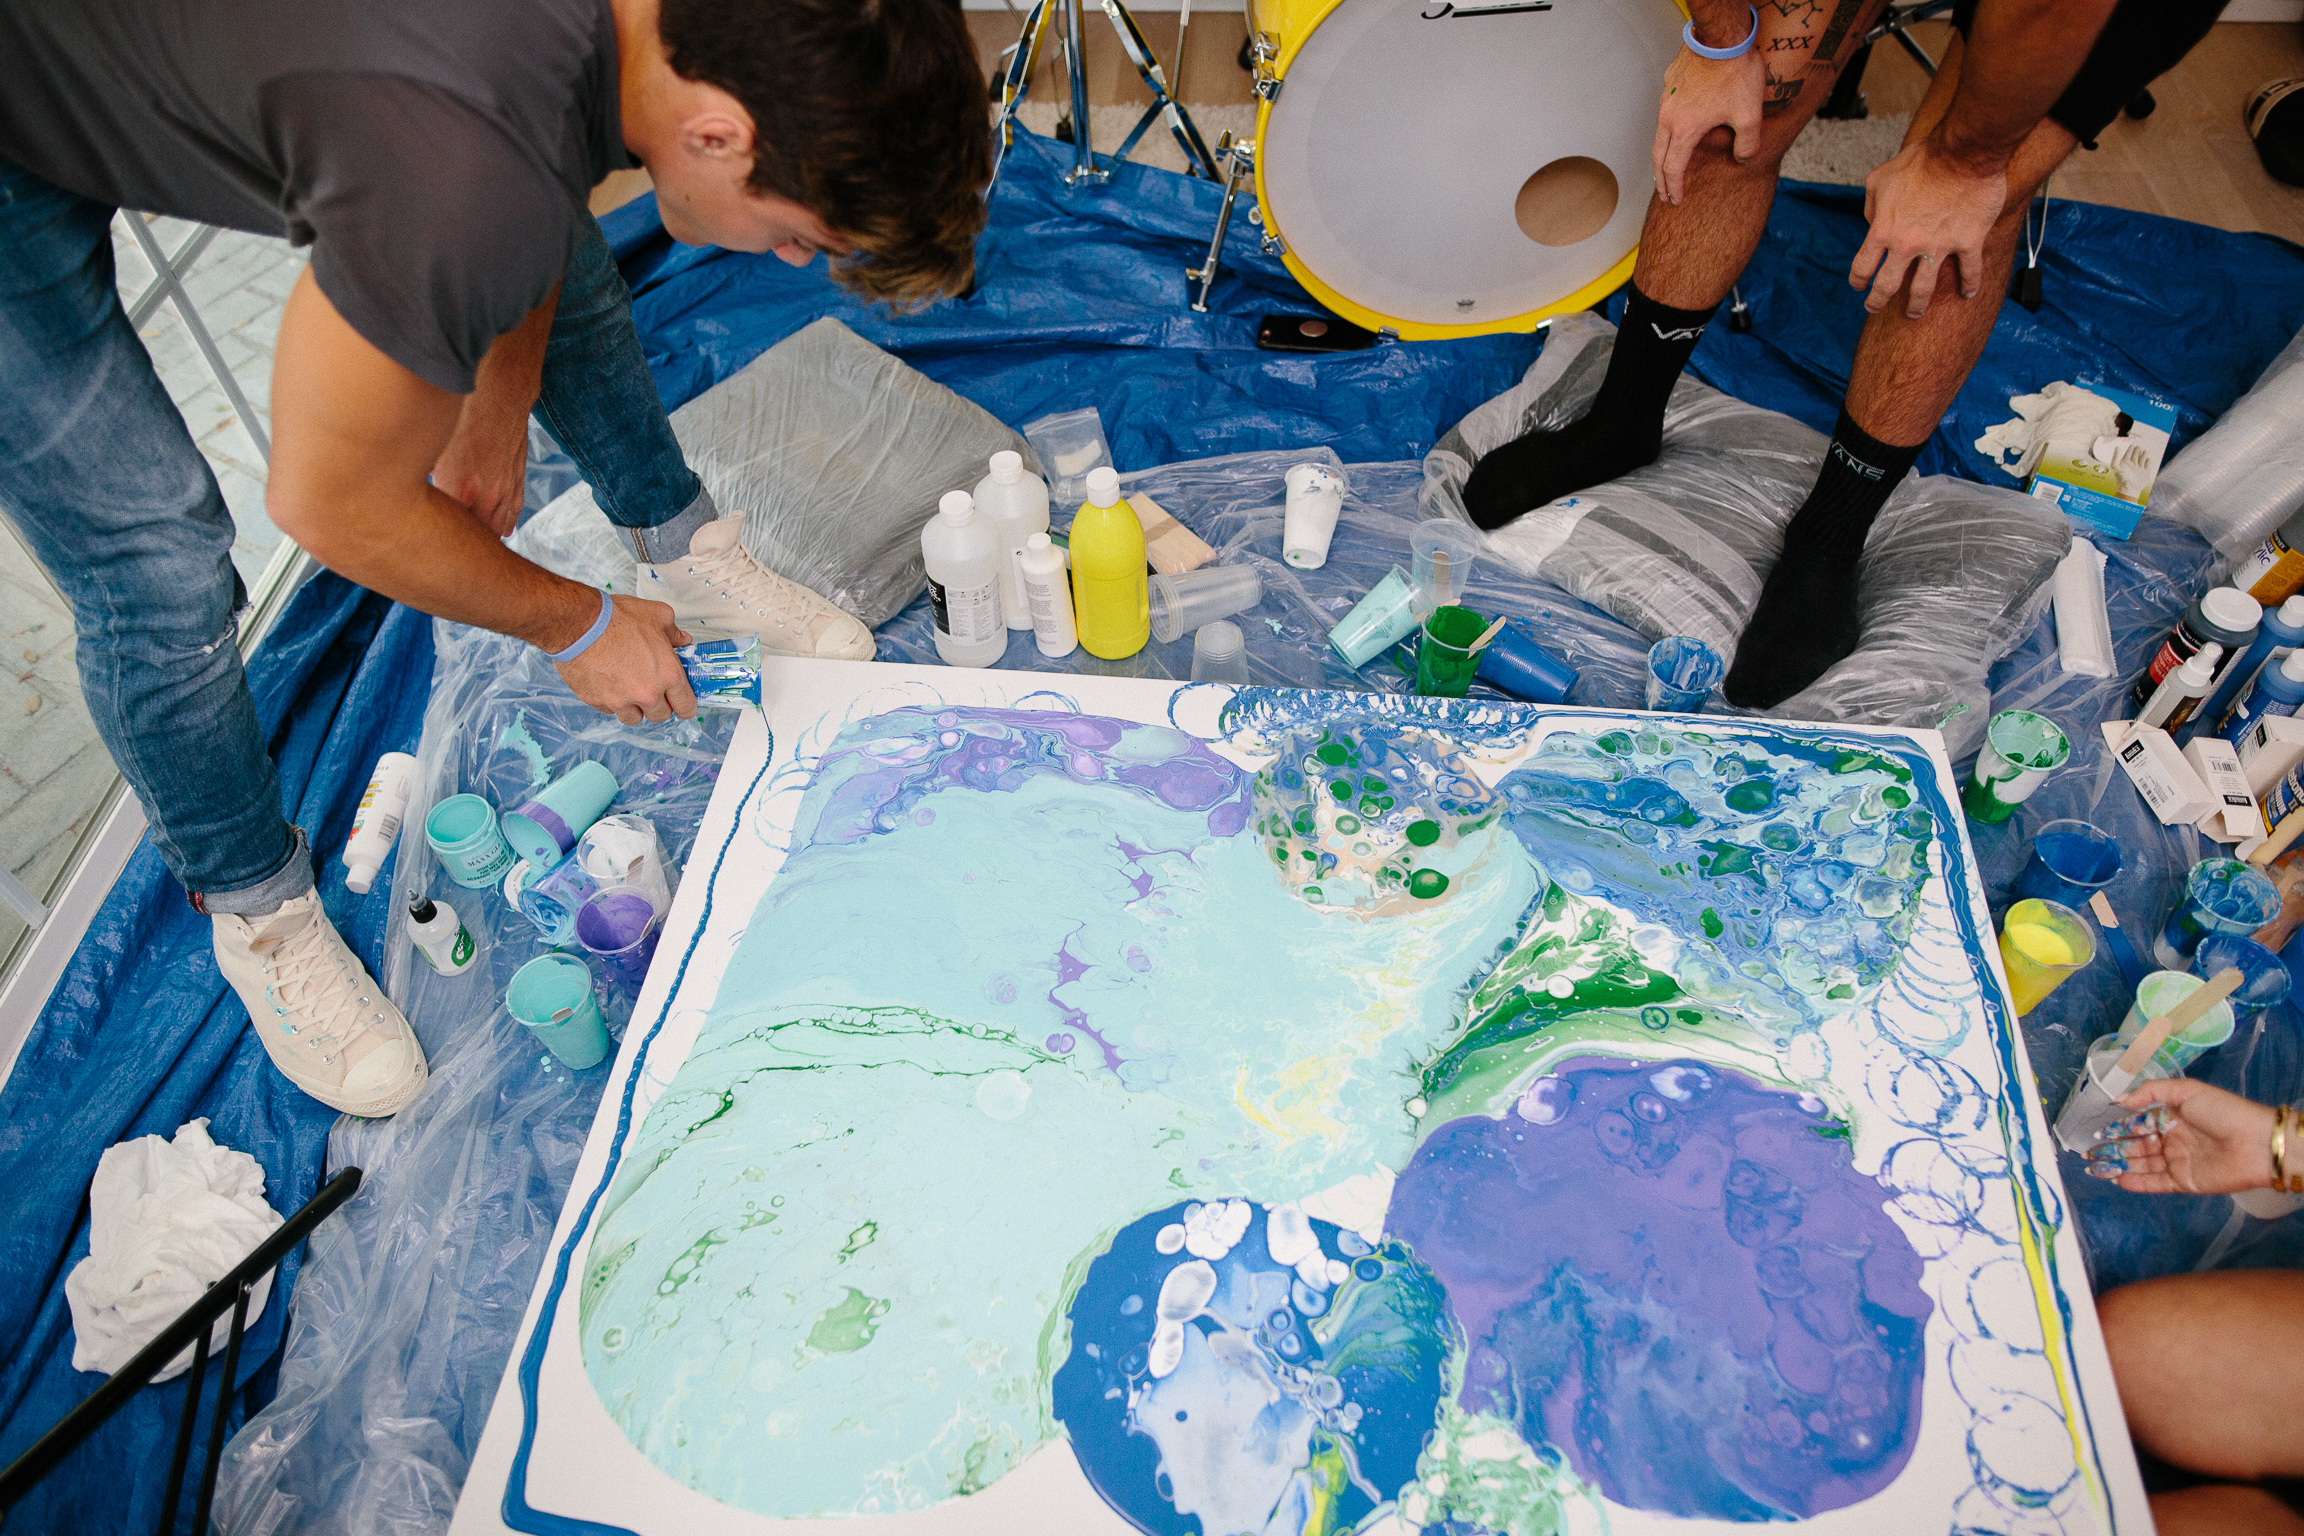
- Rest your cups evenly (though sporadically) around the top of the canvas. Then, one by one, quickly flip them over and gently release the pool of paint.
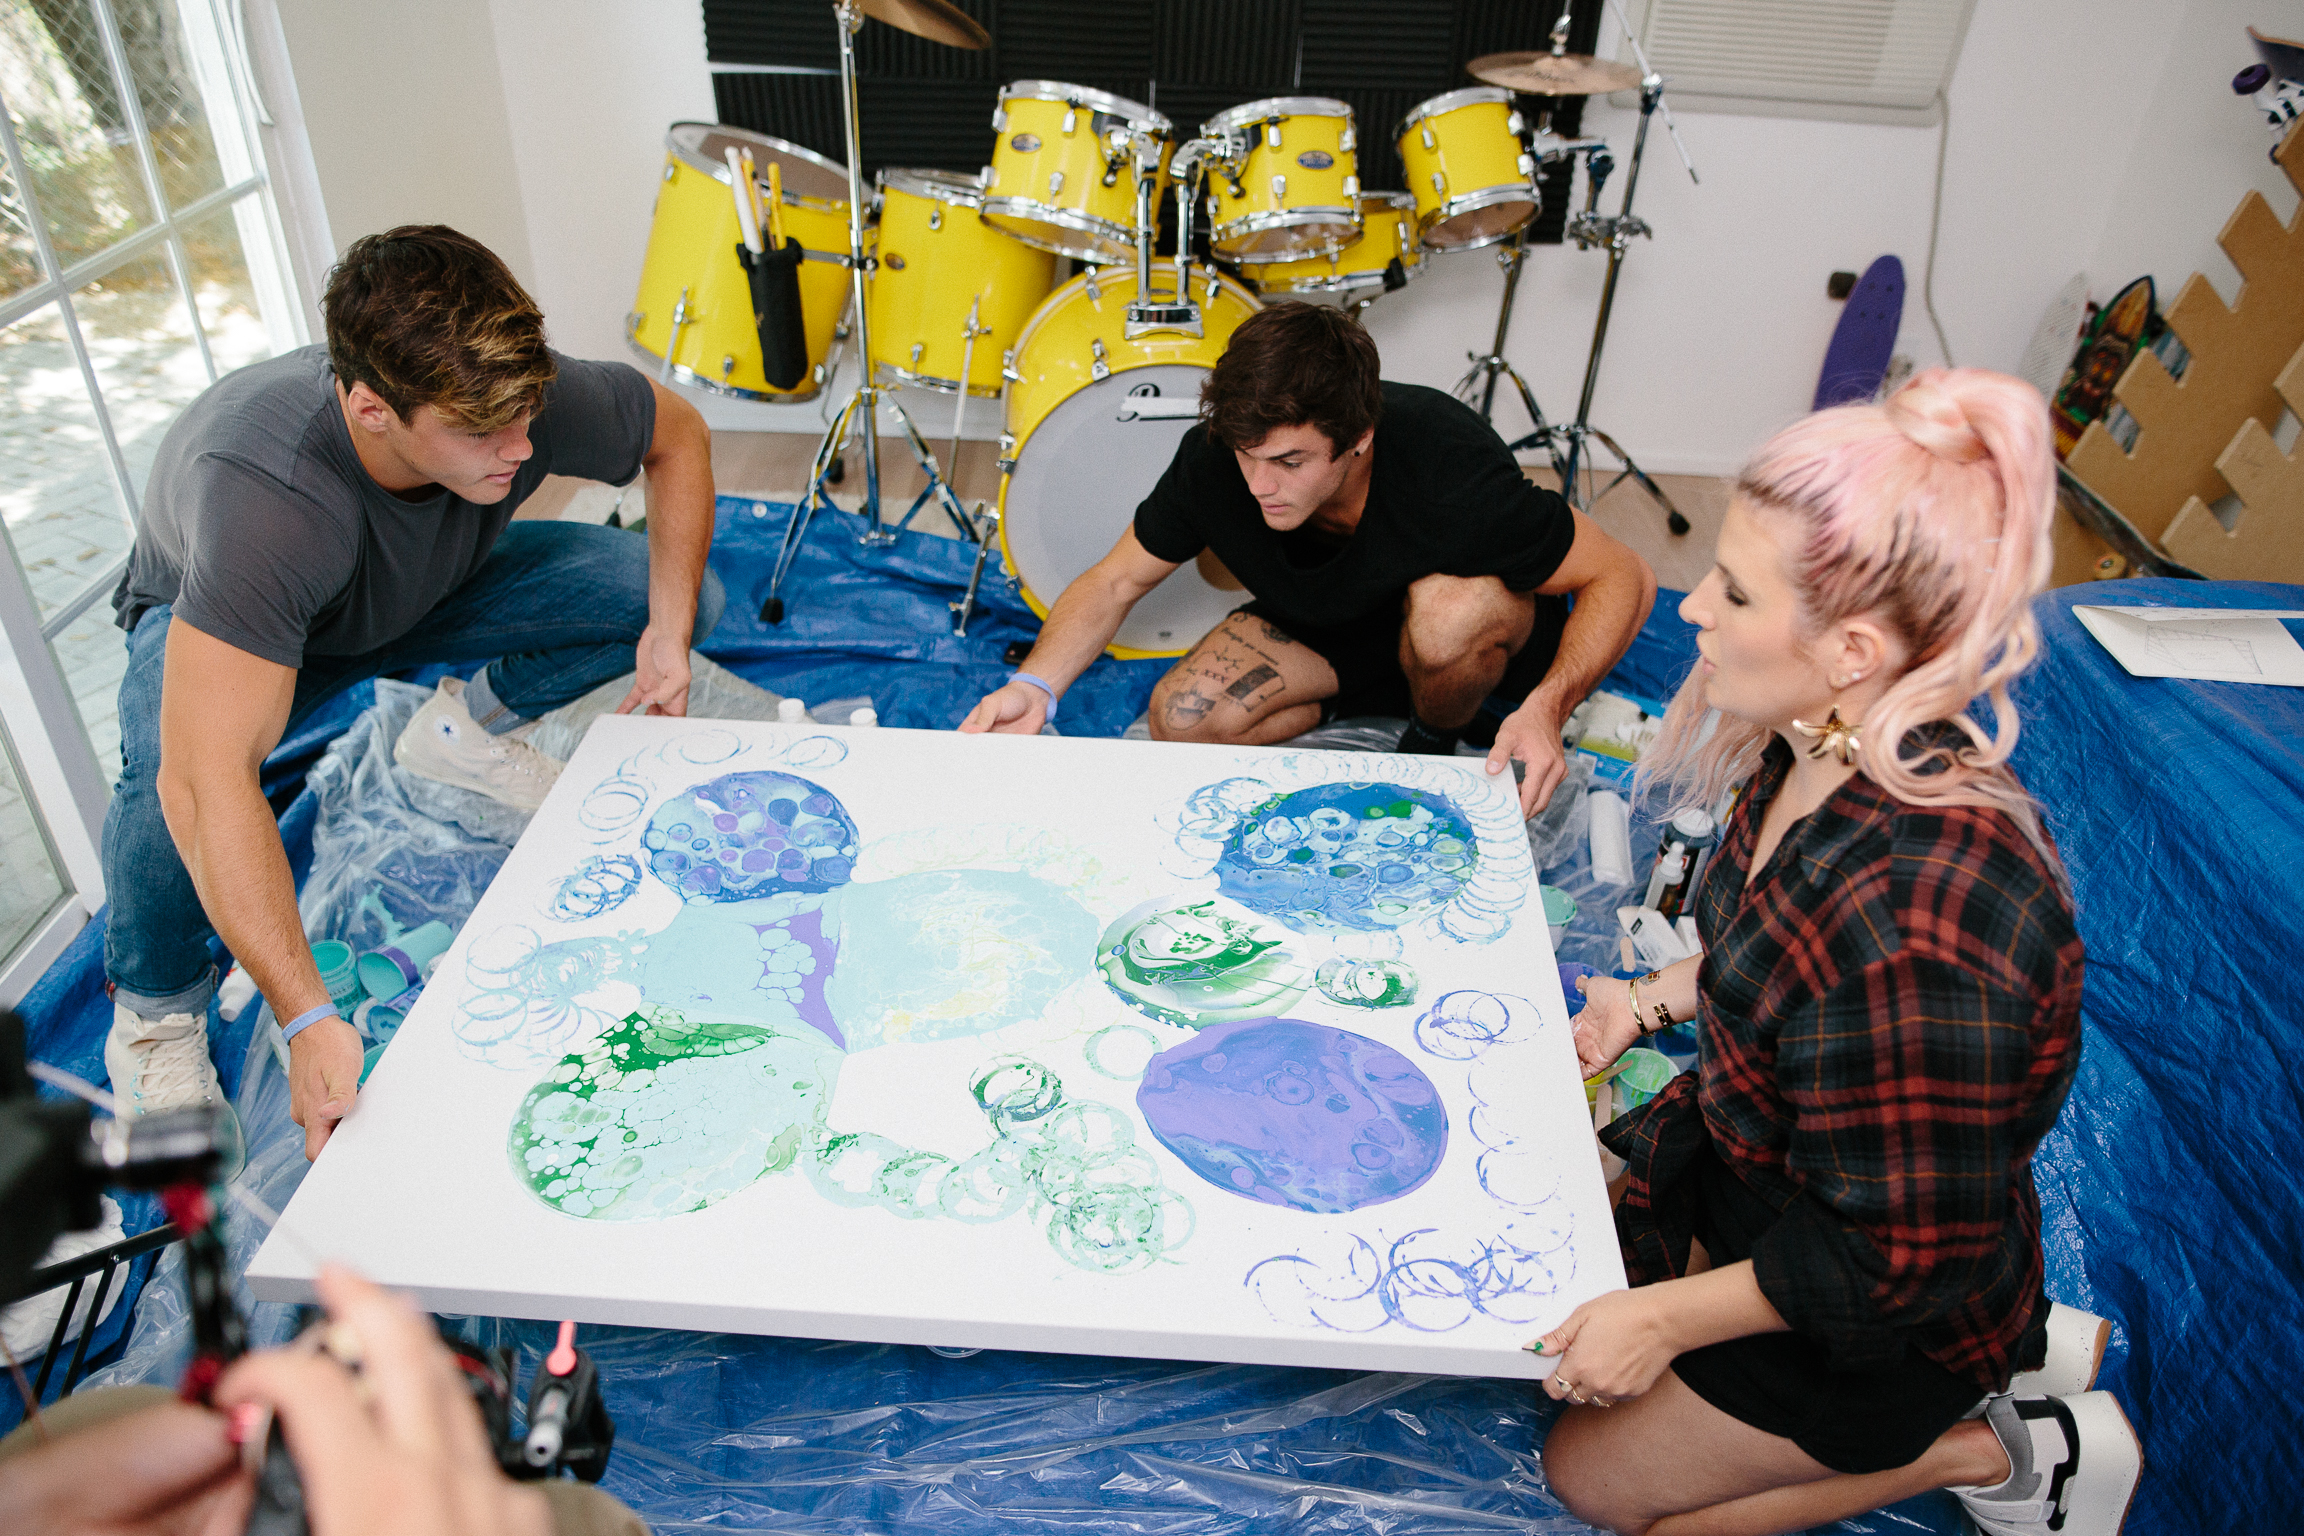
- Once you've flipped and released all of your cups, start tilting your canvas to stretch and blend the different psychedelic pools of paint together, creating a vibrant marbleized design. This step is easiest with another person or two to help, but can be managed alone! *Tip! Reserve another cup of layered colors to fill in the gaps around the perimeter of your canvas because often you won't want to tilt the canvas too much to let the center puddles of paint run all the way over the edges. You want to make sure all of your canvas is covered in paint before you leave it to dry so this extra cup or two of paint to fill in the gaps can be very helpful.
- When you're happy with the marble design of your painting, leave it to dry for at least a day. *Tip! Don't leave your art under or near a fan, you want the air flow to be even so the paint layers dry at the same time. If you try to dry it too fast with a dryer or fans, the top layer will dry faster than the underneath layers and create a weird wrinkled skin of paint and ruin the whole piece!