

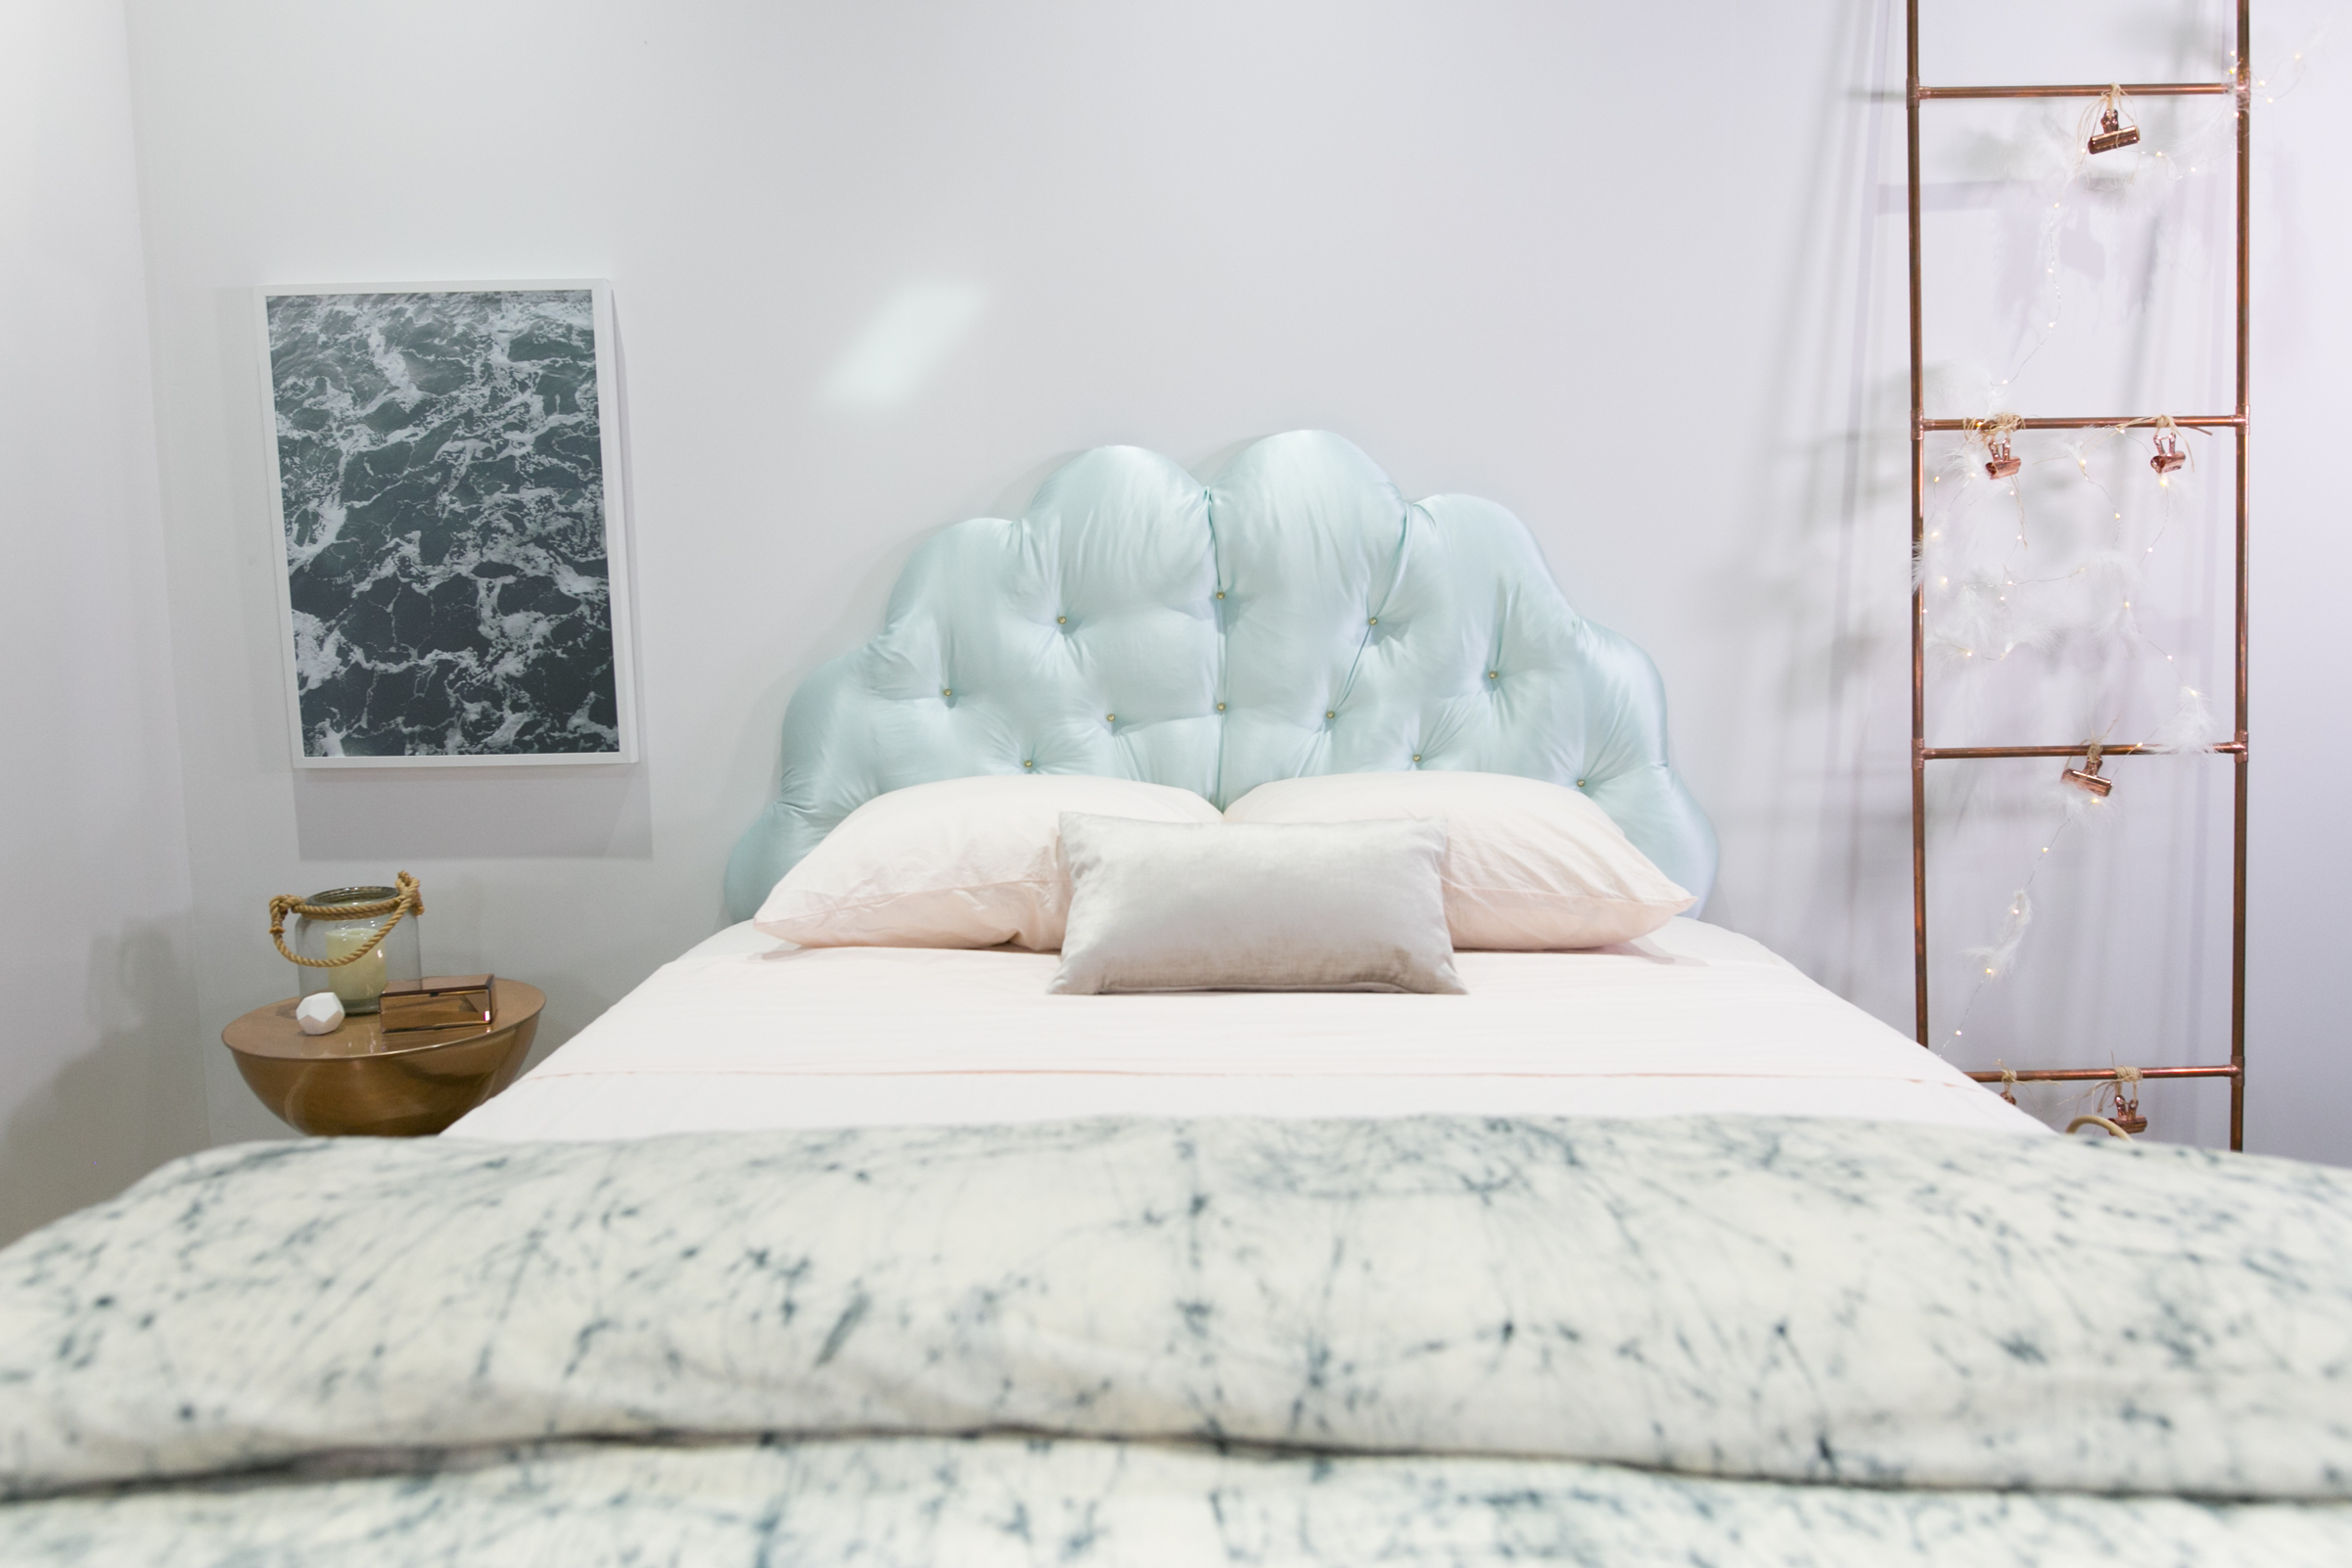
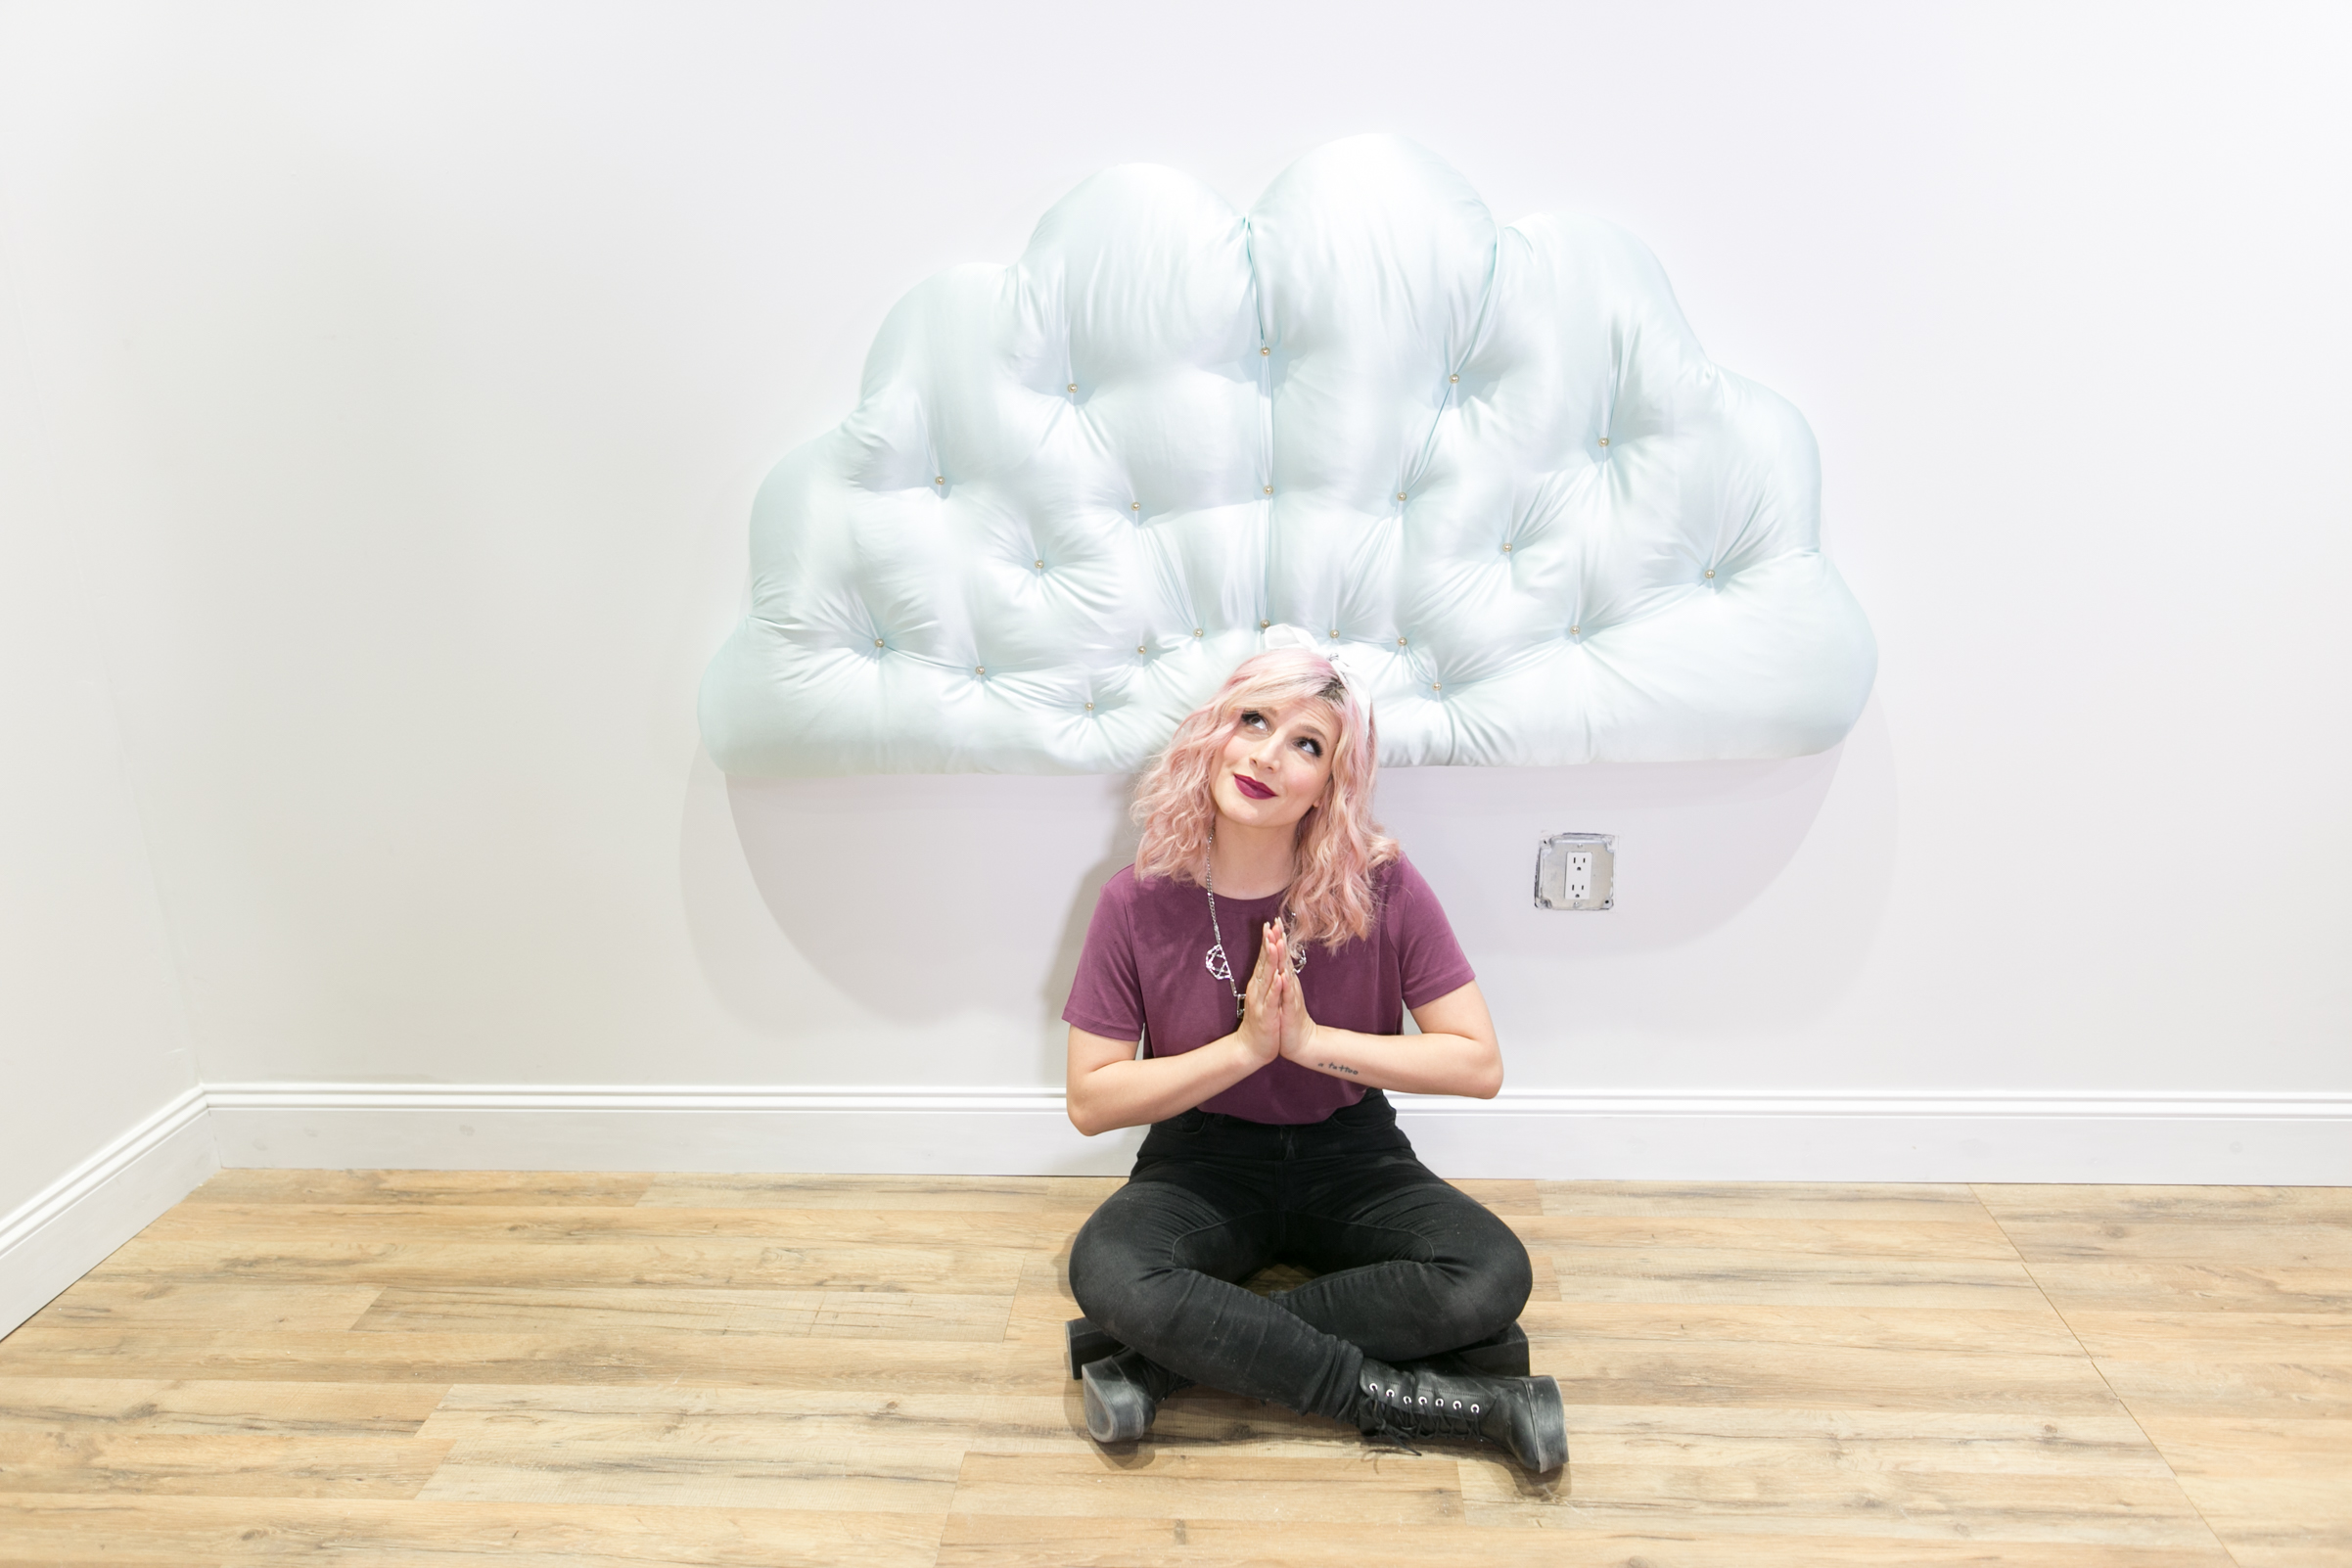
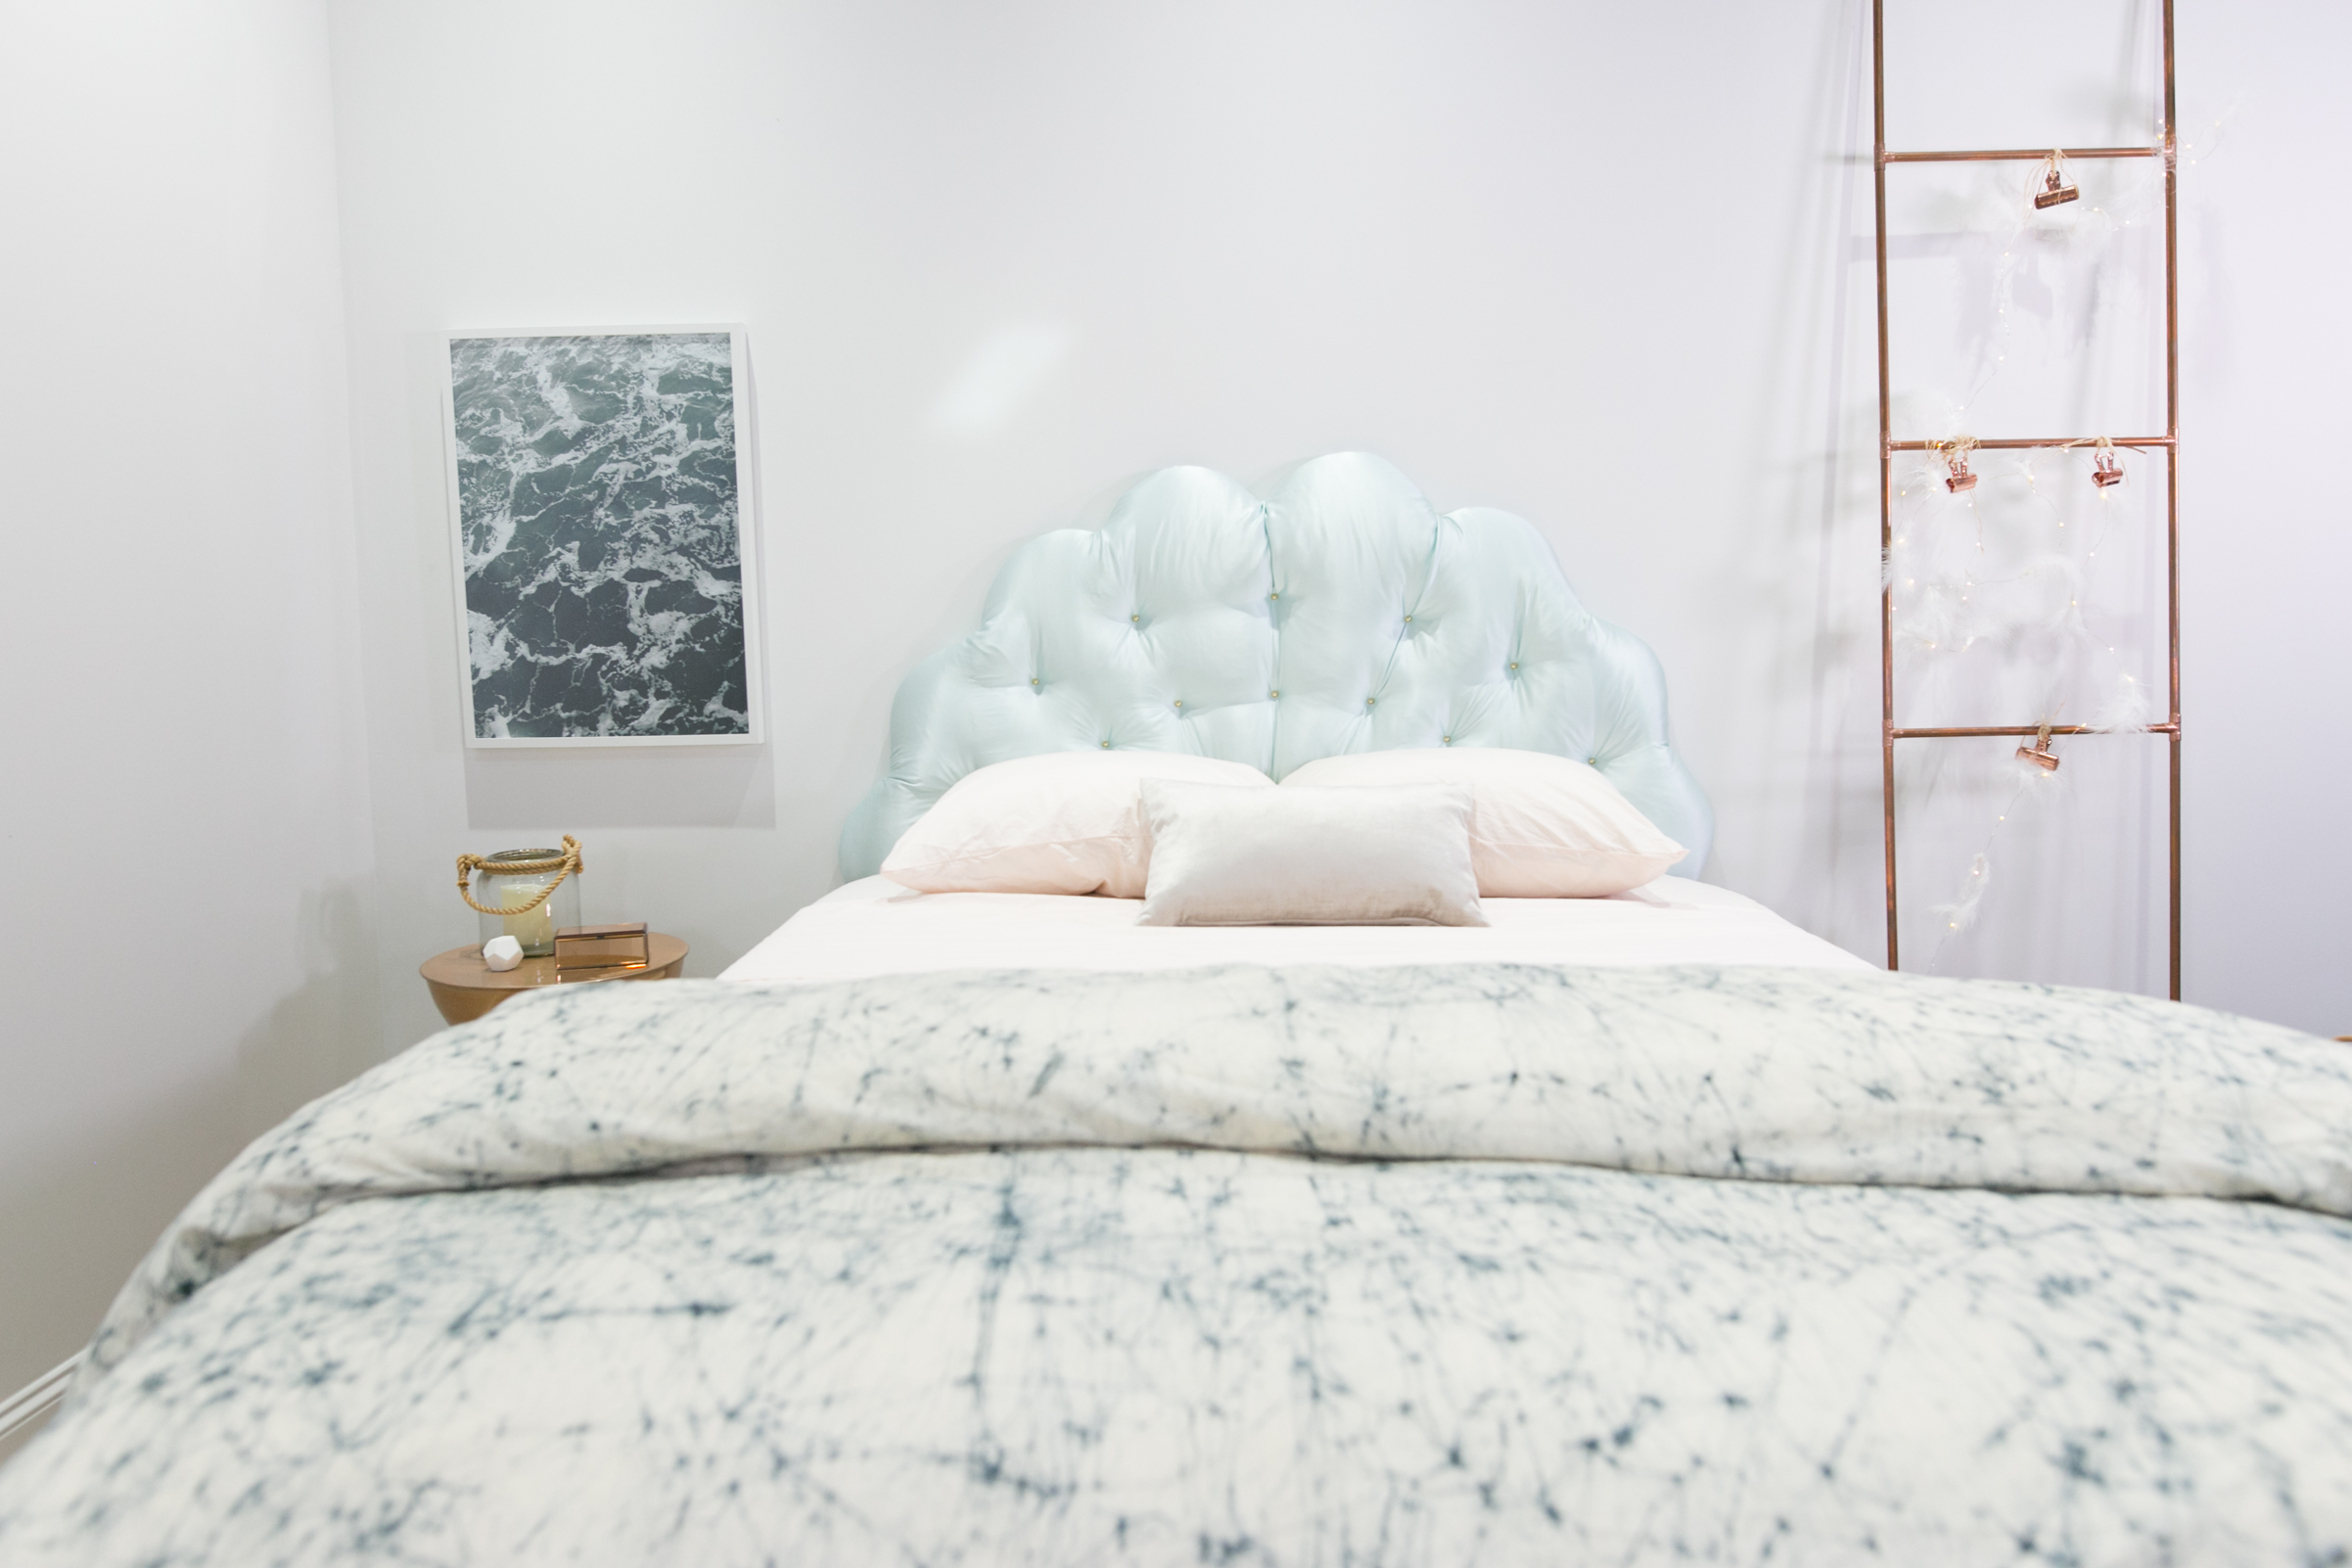
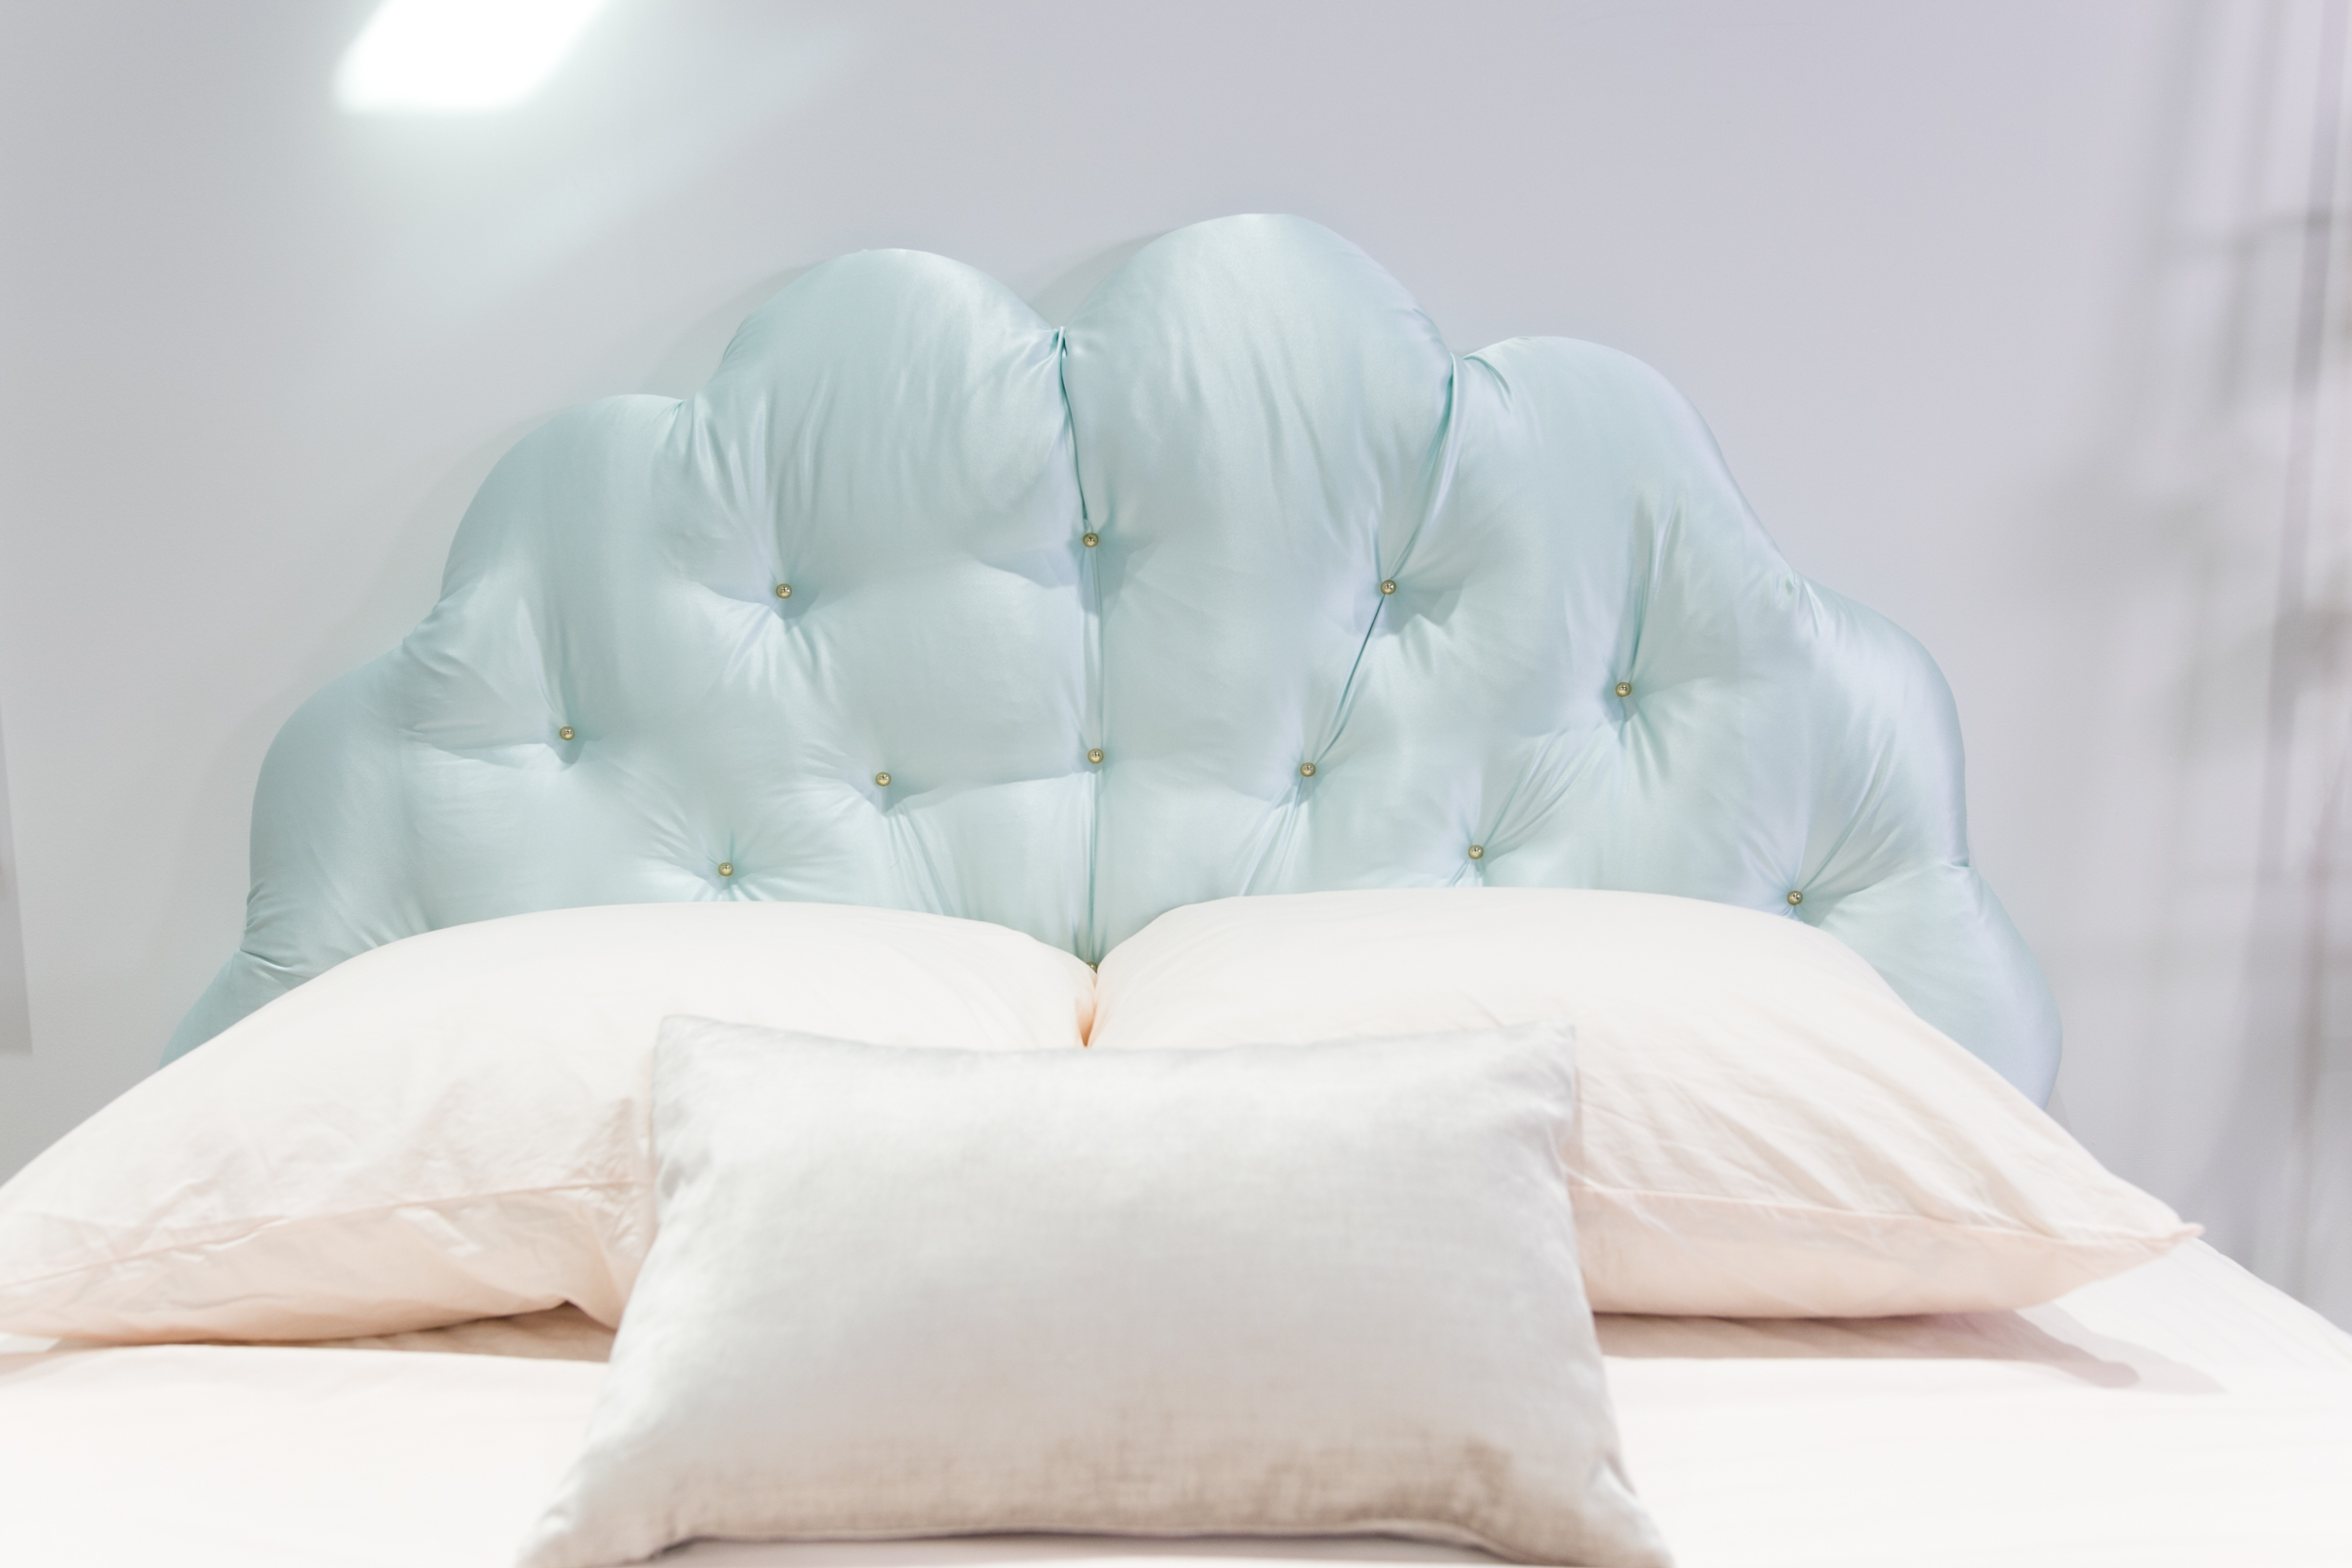
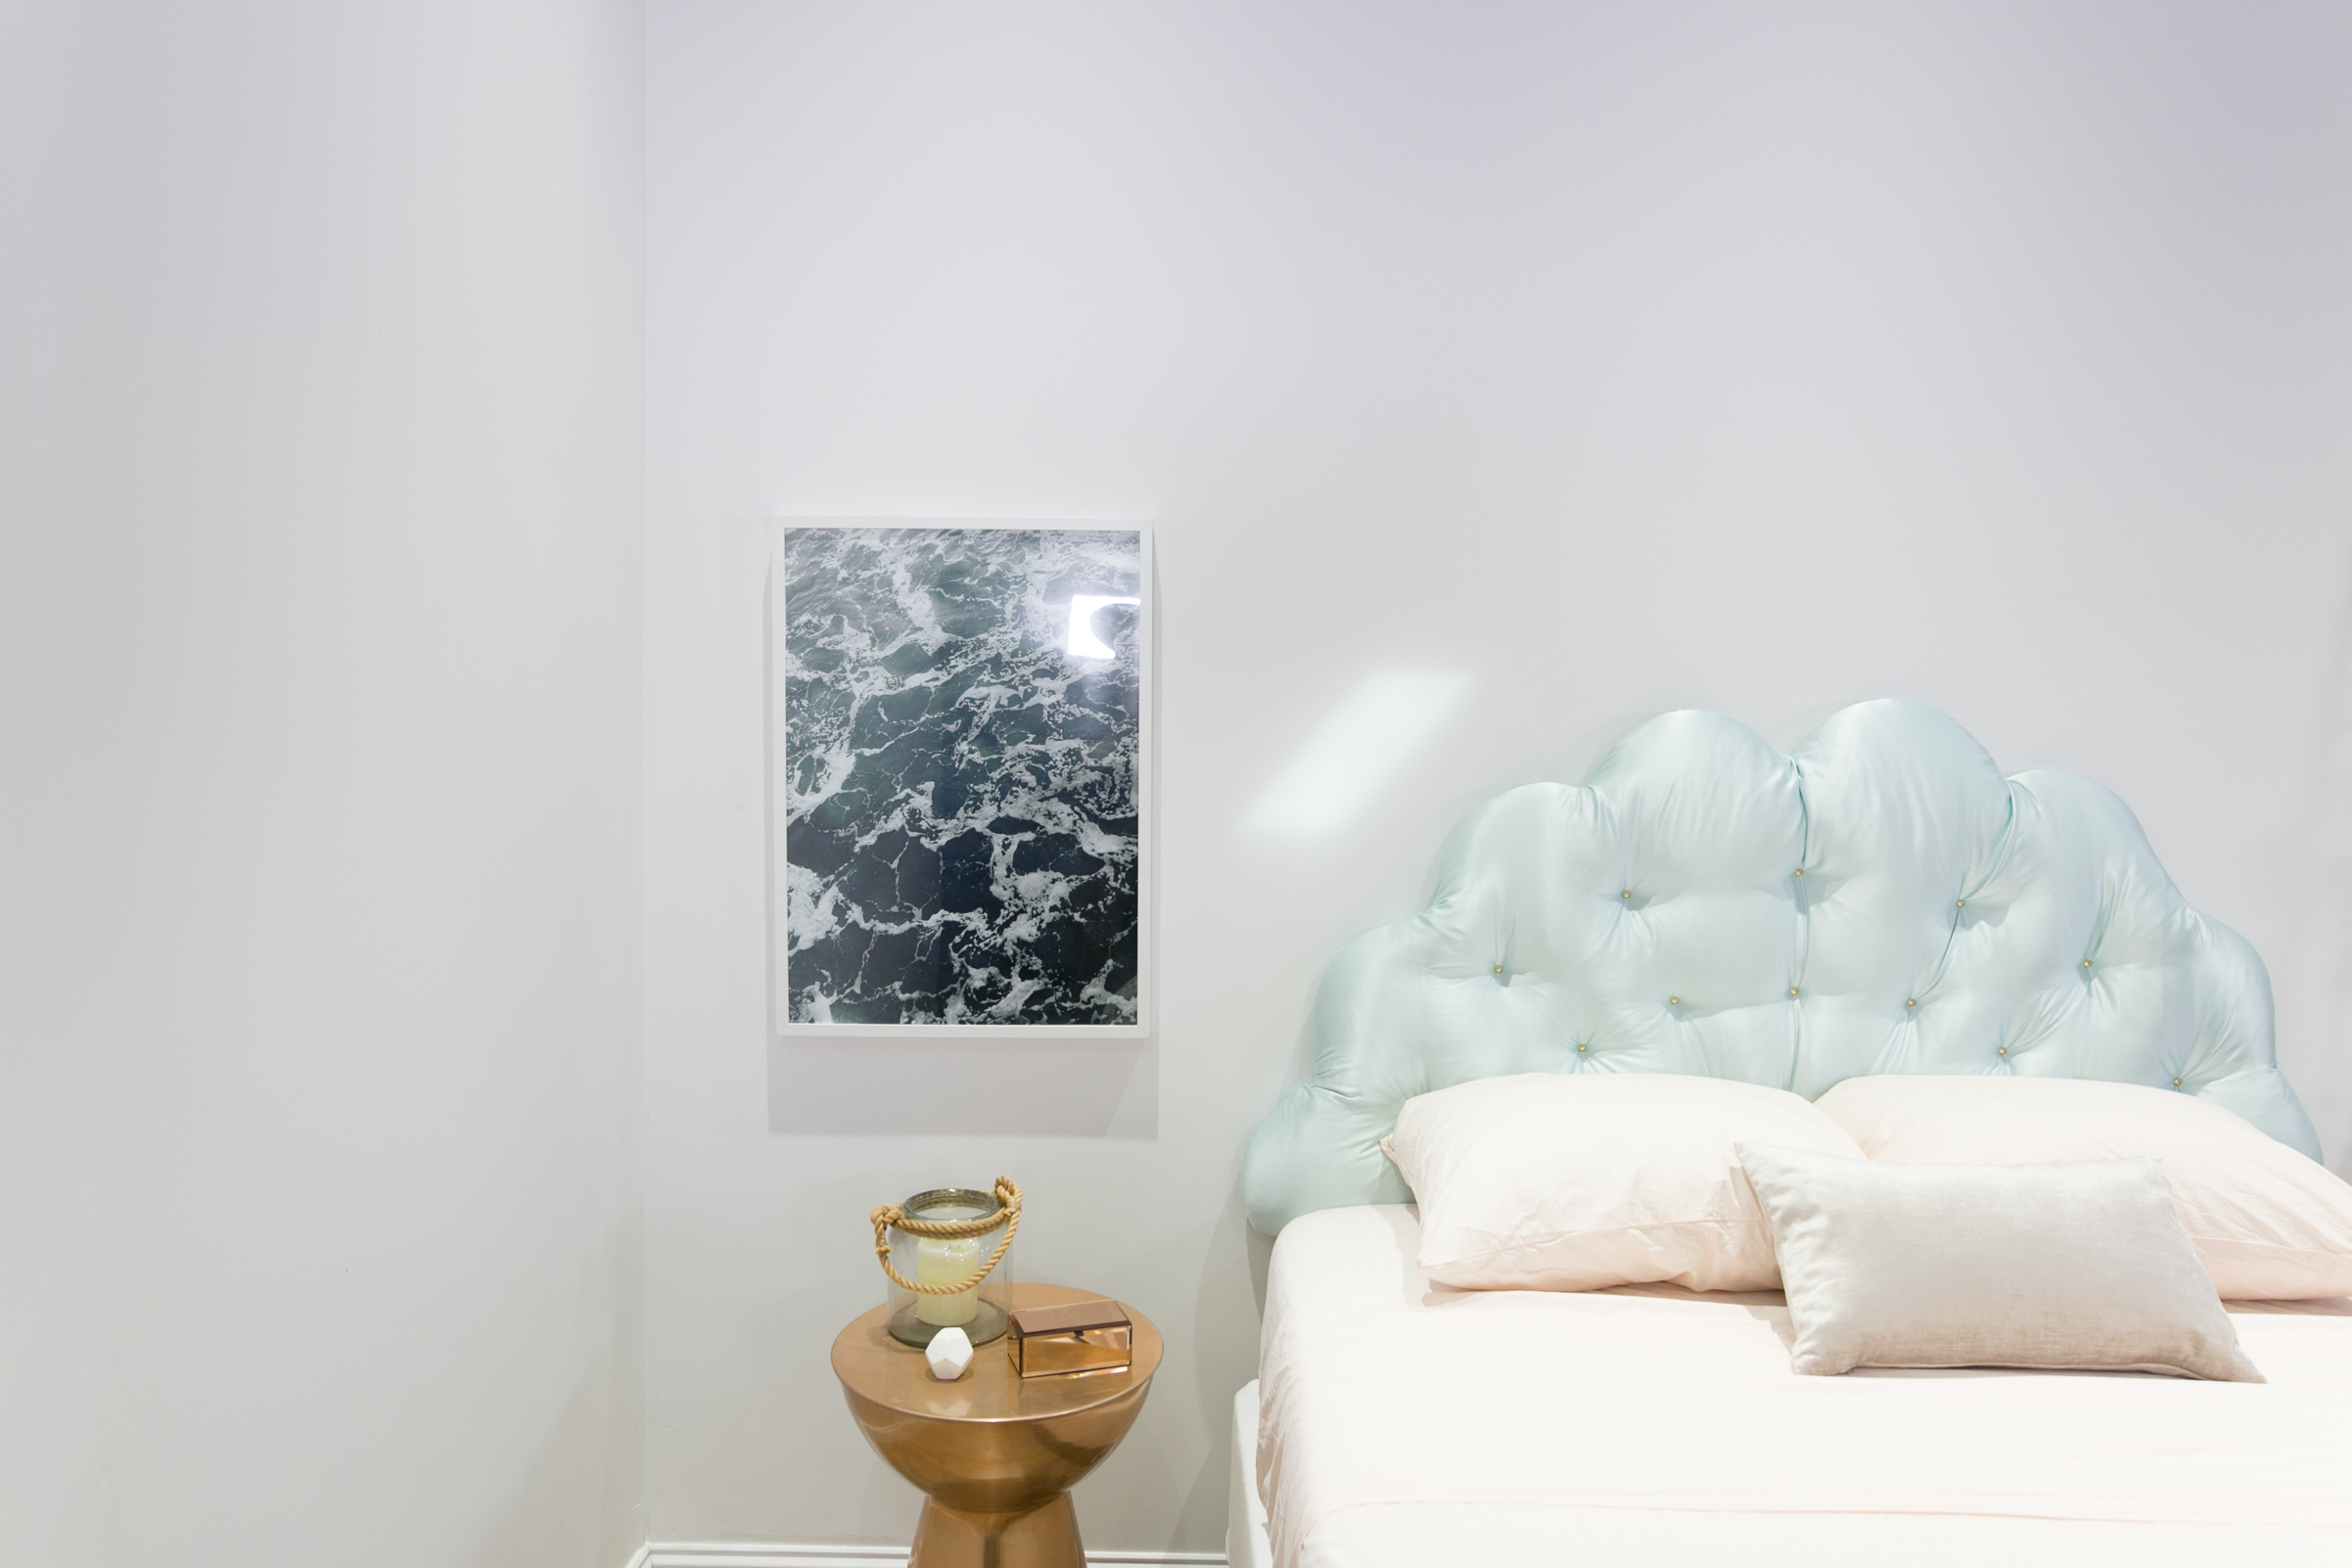
It's a clamshell ... it's a cloud ... it's a peacock tail! Whatever shape you see in this tufted scalloped headboard, there is one thing that is undeniable — its whimsical charm. Tufted headboards are a popular choice, but are most commonly seen in rectangular shape or some other demonstration of 90 degree angles. By switching up the shape, we're bringing a new level of customized creativity into the room, while keeping all of the coziness!
Prep It:
Plywood board Pencil Jigsaw Foam Padding Hot glue gun Scissors Batting Fabric Staple gun Upholstery nails Rubber mallet Frame hooks

Do It!:
- If your plywood piece isn't already the width of your bed, cut it down to the width of your bed using a power saw or with the assistance of a local hardware supply store.
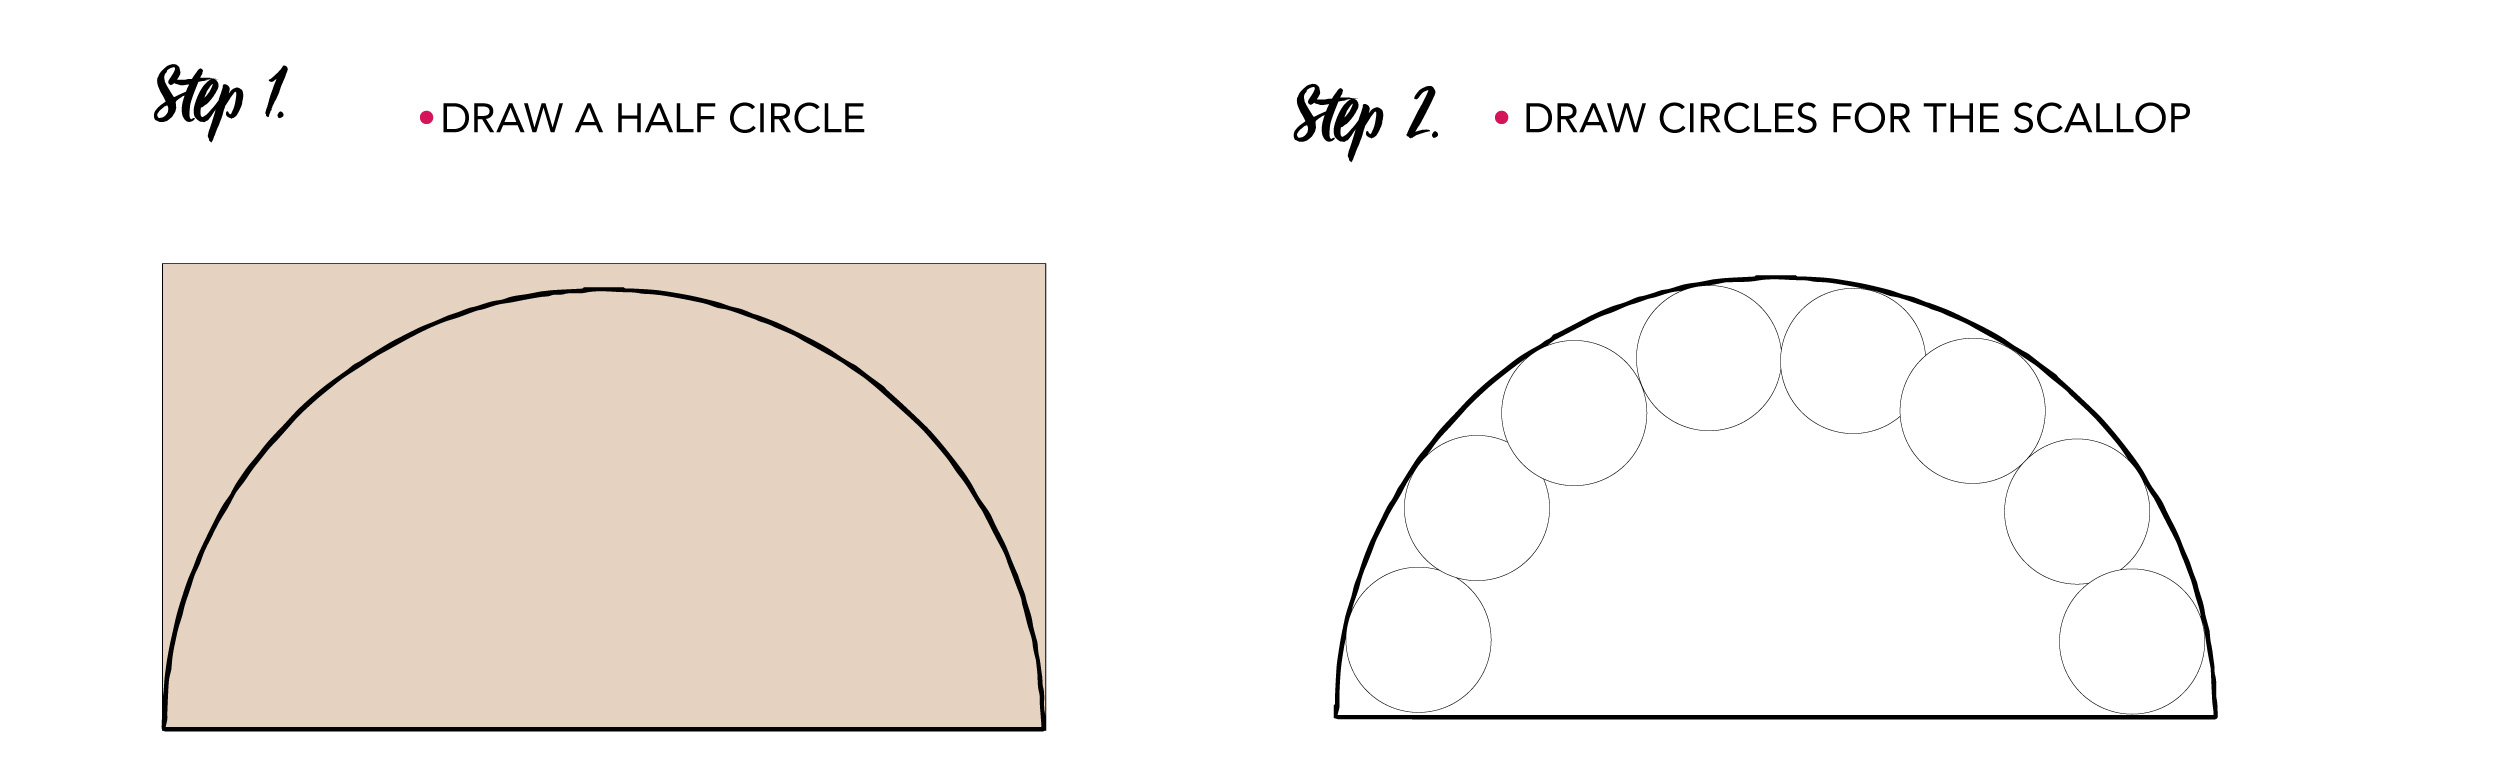
- Trace a half-circle shape onto the wood using a pencil and a piece of string as your compass. Tie the pencil to the string and hold one end of the string at the bottom center of the wood piece, then pull the string with the pencil around and draw your circle shape.
- On the interior of this circle shape, use a smaller circular stencil (we used a plate) to draw smaller, connecting circles, which should give you your scalloped edge.
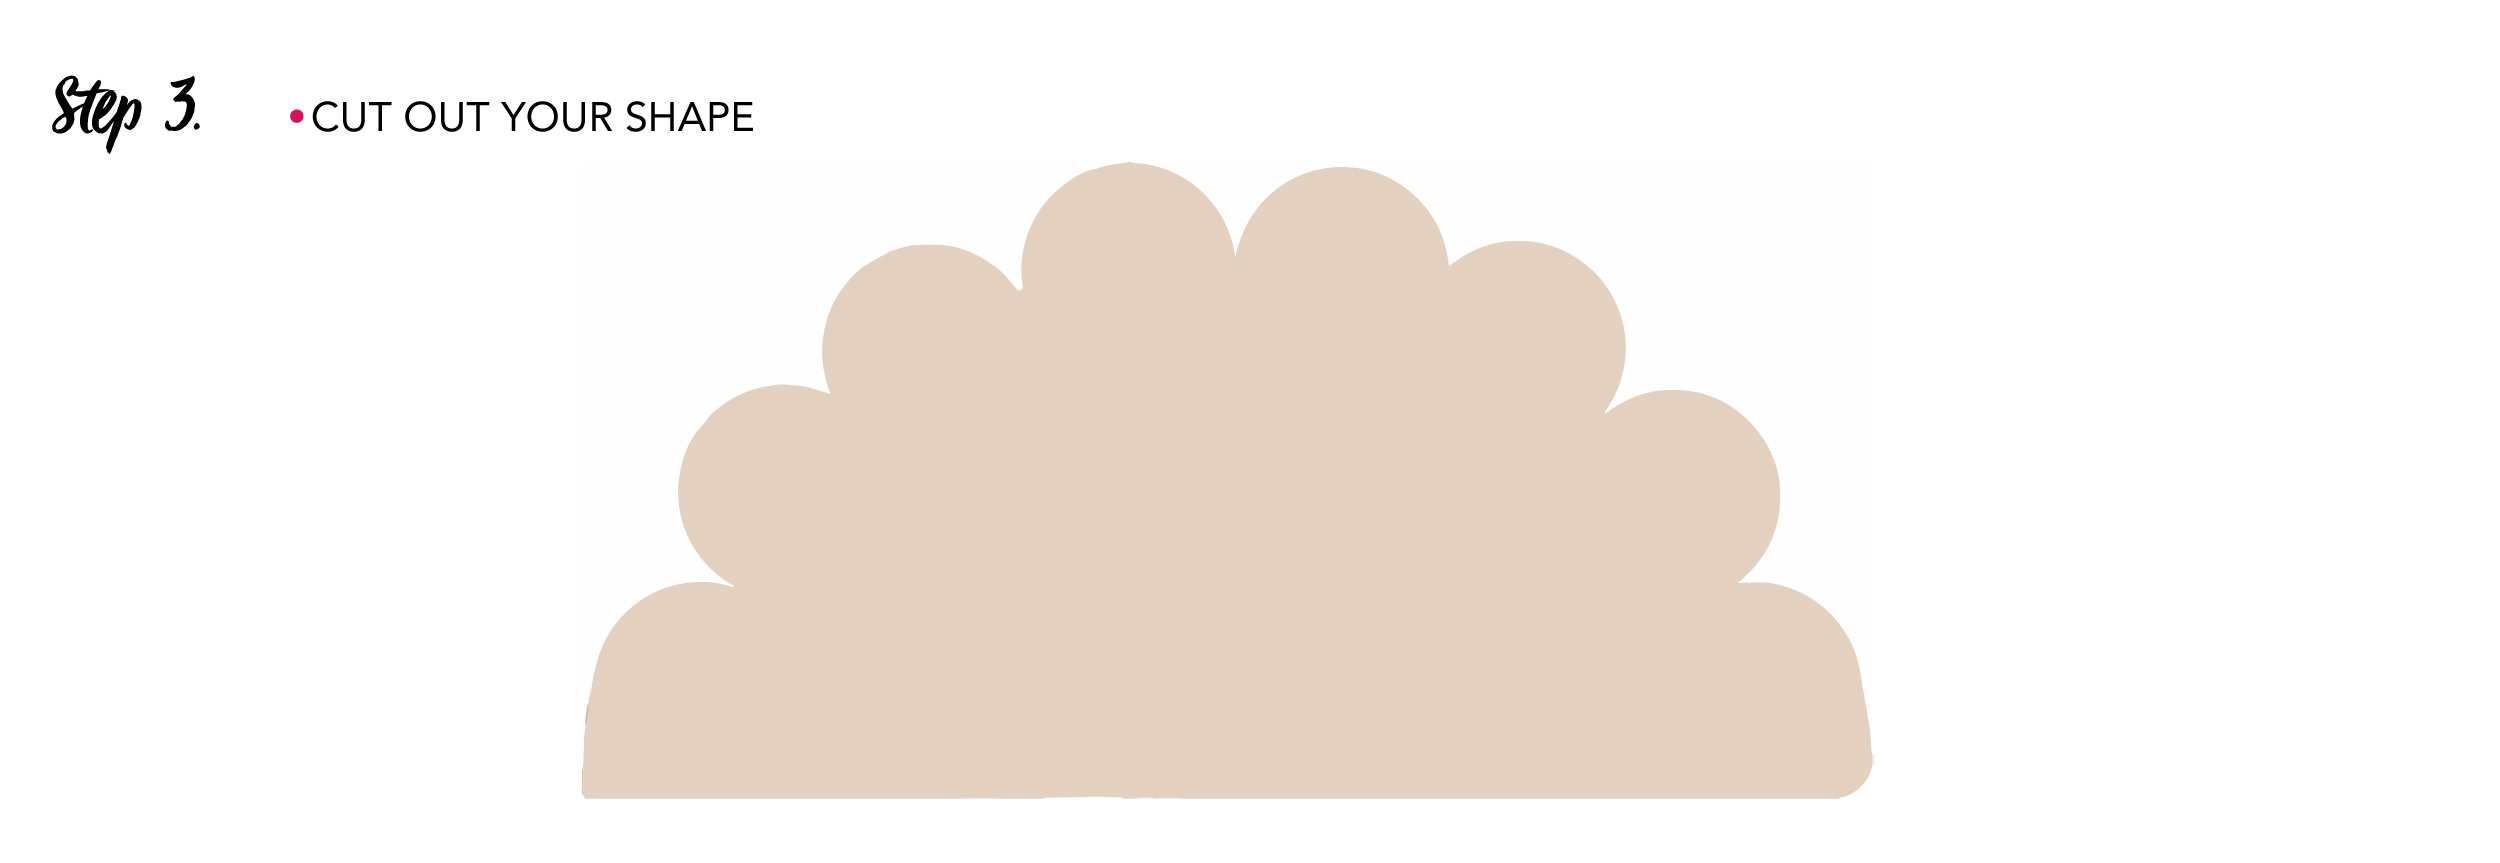
- Use a jigsaw to carefully cut out the scalloped shape. If it is not perfect, don't fret! This shape will be covered with a few layers, so small imperfections won't show.
- Place your foam padding over the scalloped board and cut around so it is the same shape. I find it helpful to glue the foam to the board so that it stays put during this step!
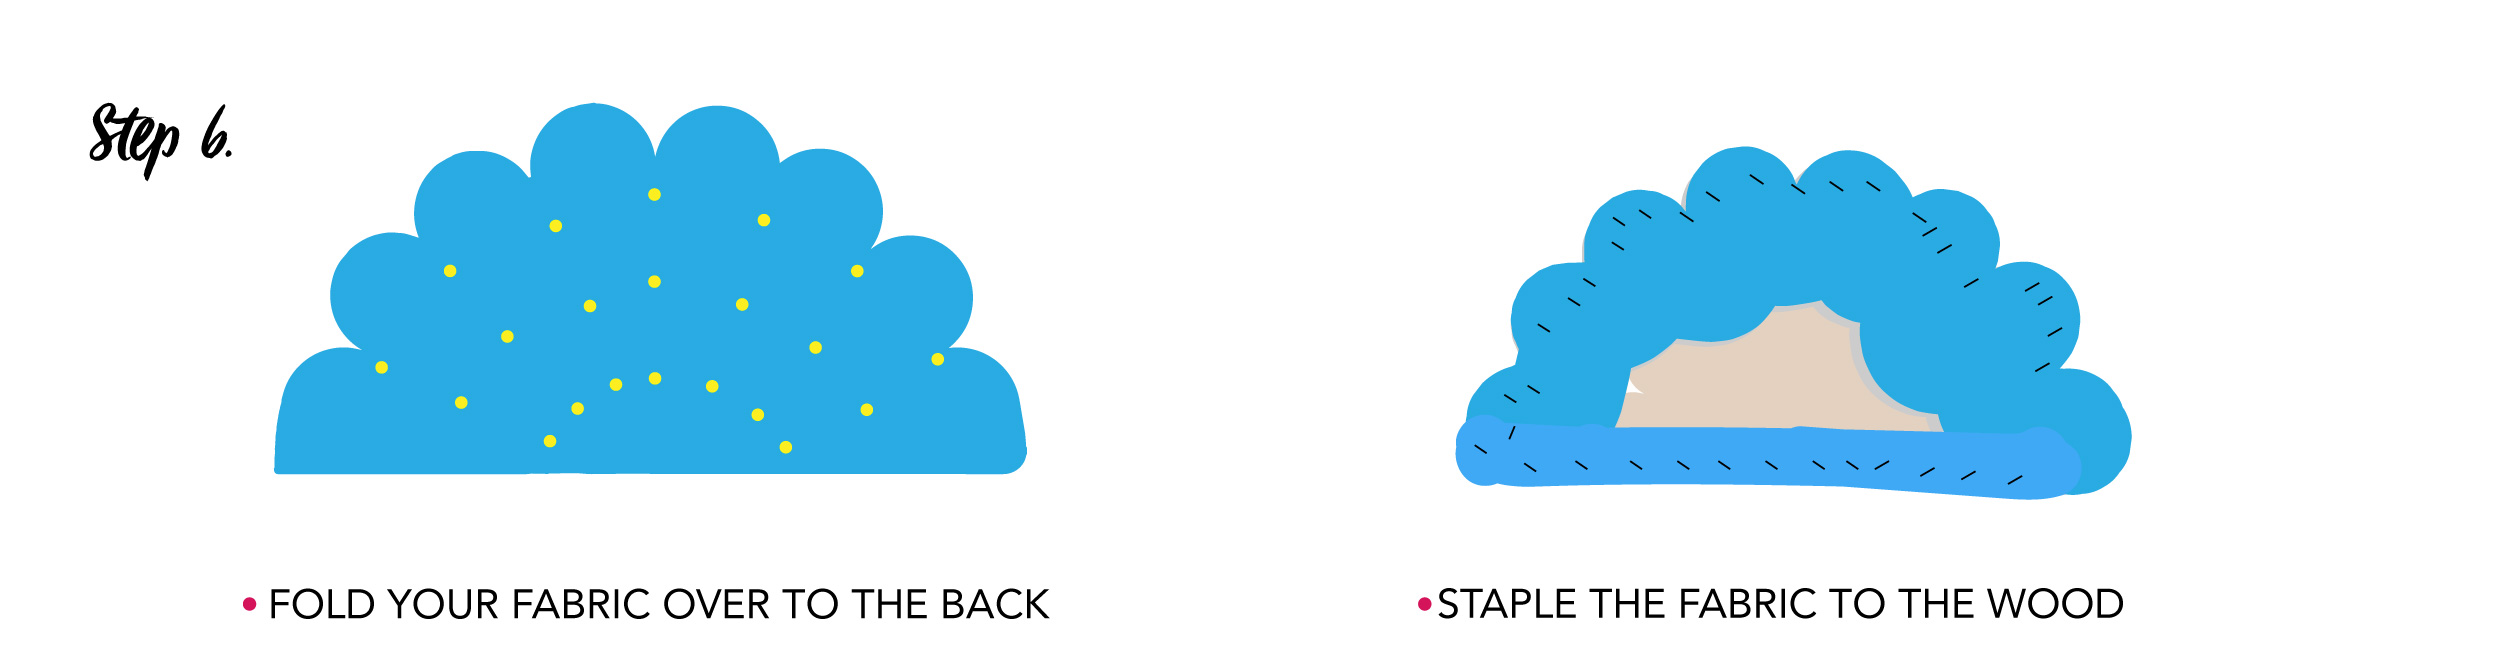
- Cover your foam and board with a few layers of batting. This is where you will get the bulk of your headboard, so keep in mind how stuffed and tufted you want it to be! Once you have it adequately covered, flip it over and use a staple gun to attach the batting. Working with the scalloped hem, you might want to snip some of the bulk of the batting out to stay as sincere to the shape as possible, but you could find another method (like folding!) that works for you, too!
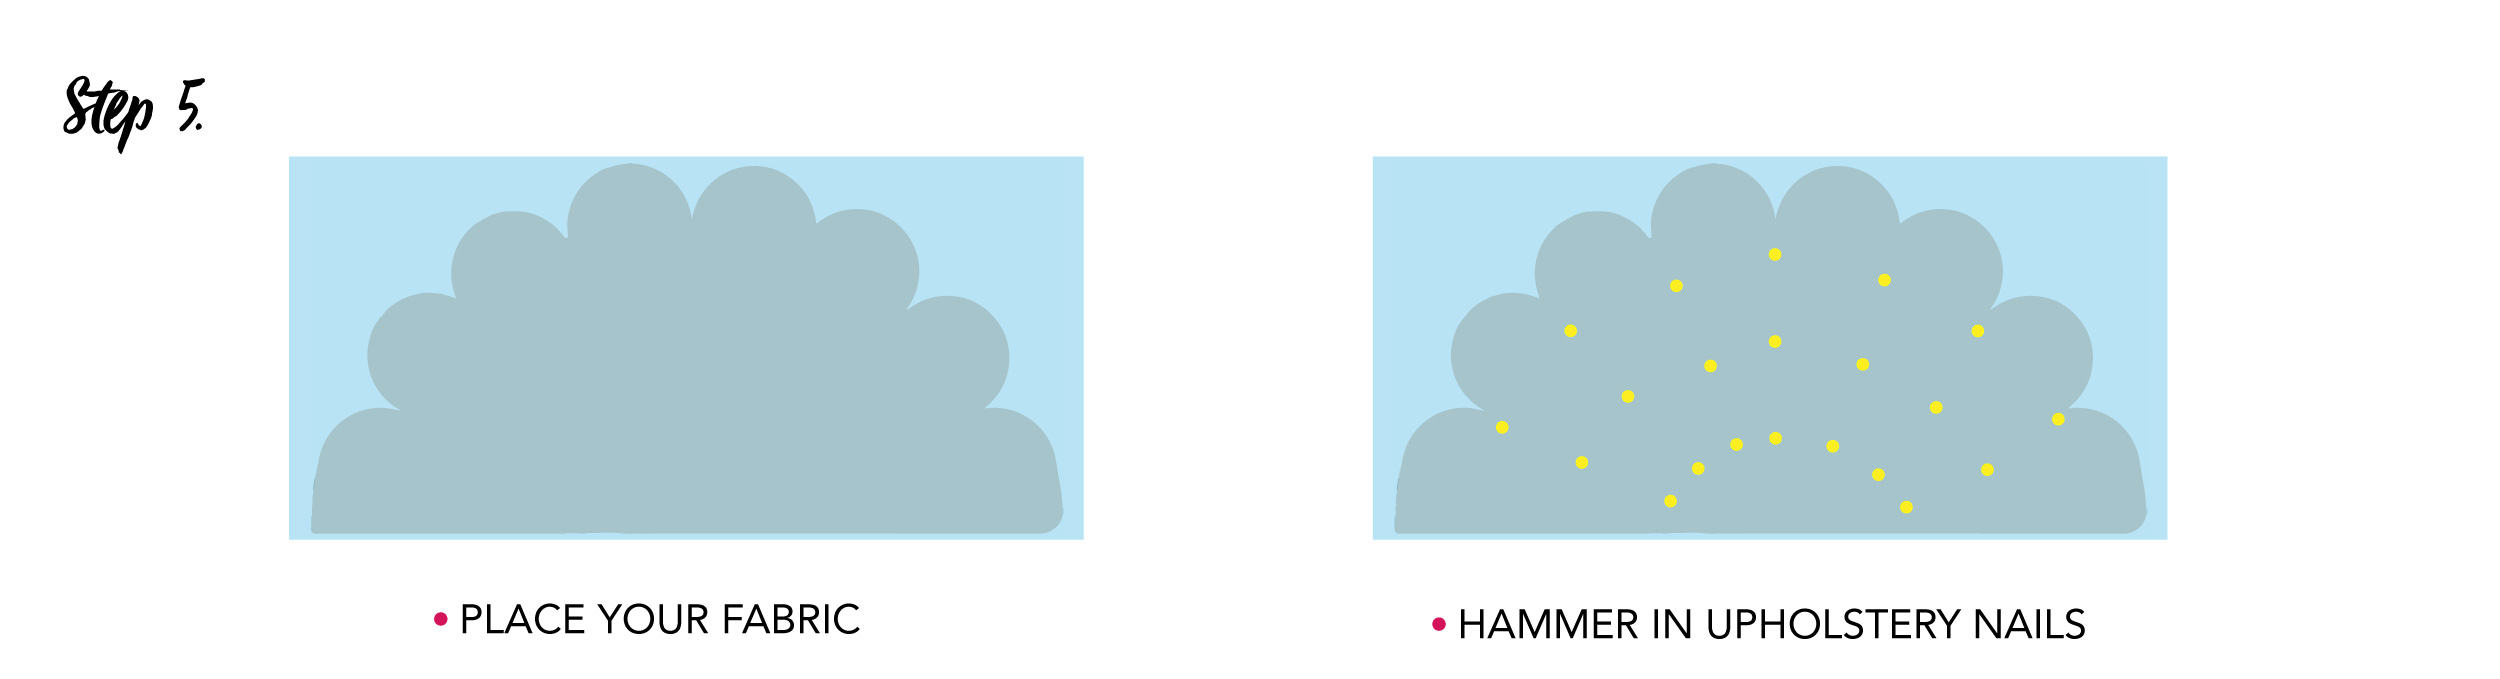
- Once your batting is attached, cover your headboard with the fabric piece. Now you get to start the tufting process! Find a center point and hammer in an upholstery nail with a rubber mallet.
- Working from that center point outwards, hammer in the rest of the upholstery nails. You can create whatever pattern you want to, but use this to emphasize the lines of the shape of your headboard!
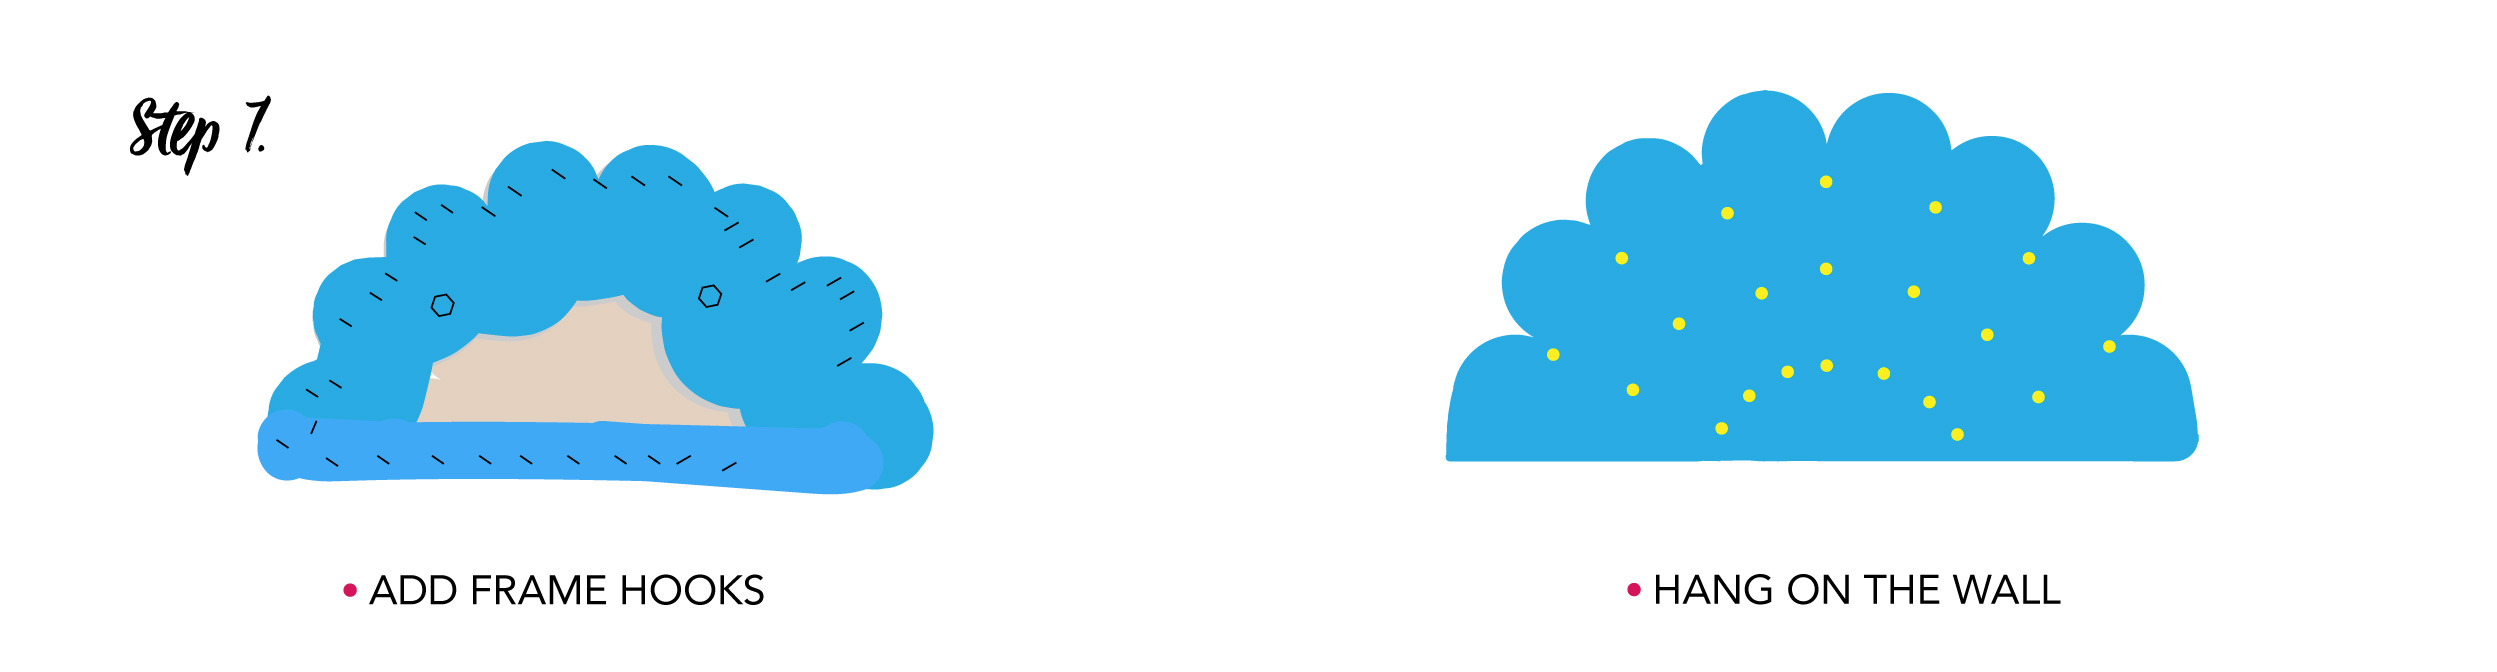
- When you are finished with your tufting, flip the headboard over again and attach the loose fabric sides to the headboard with a staple gun. Screw on some frame hooks and hang your headboard on the wall!


