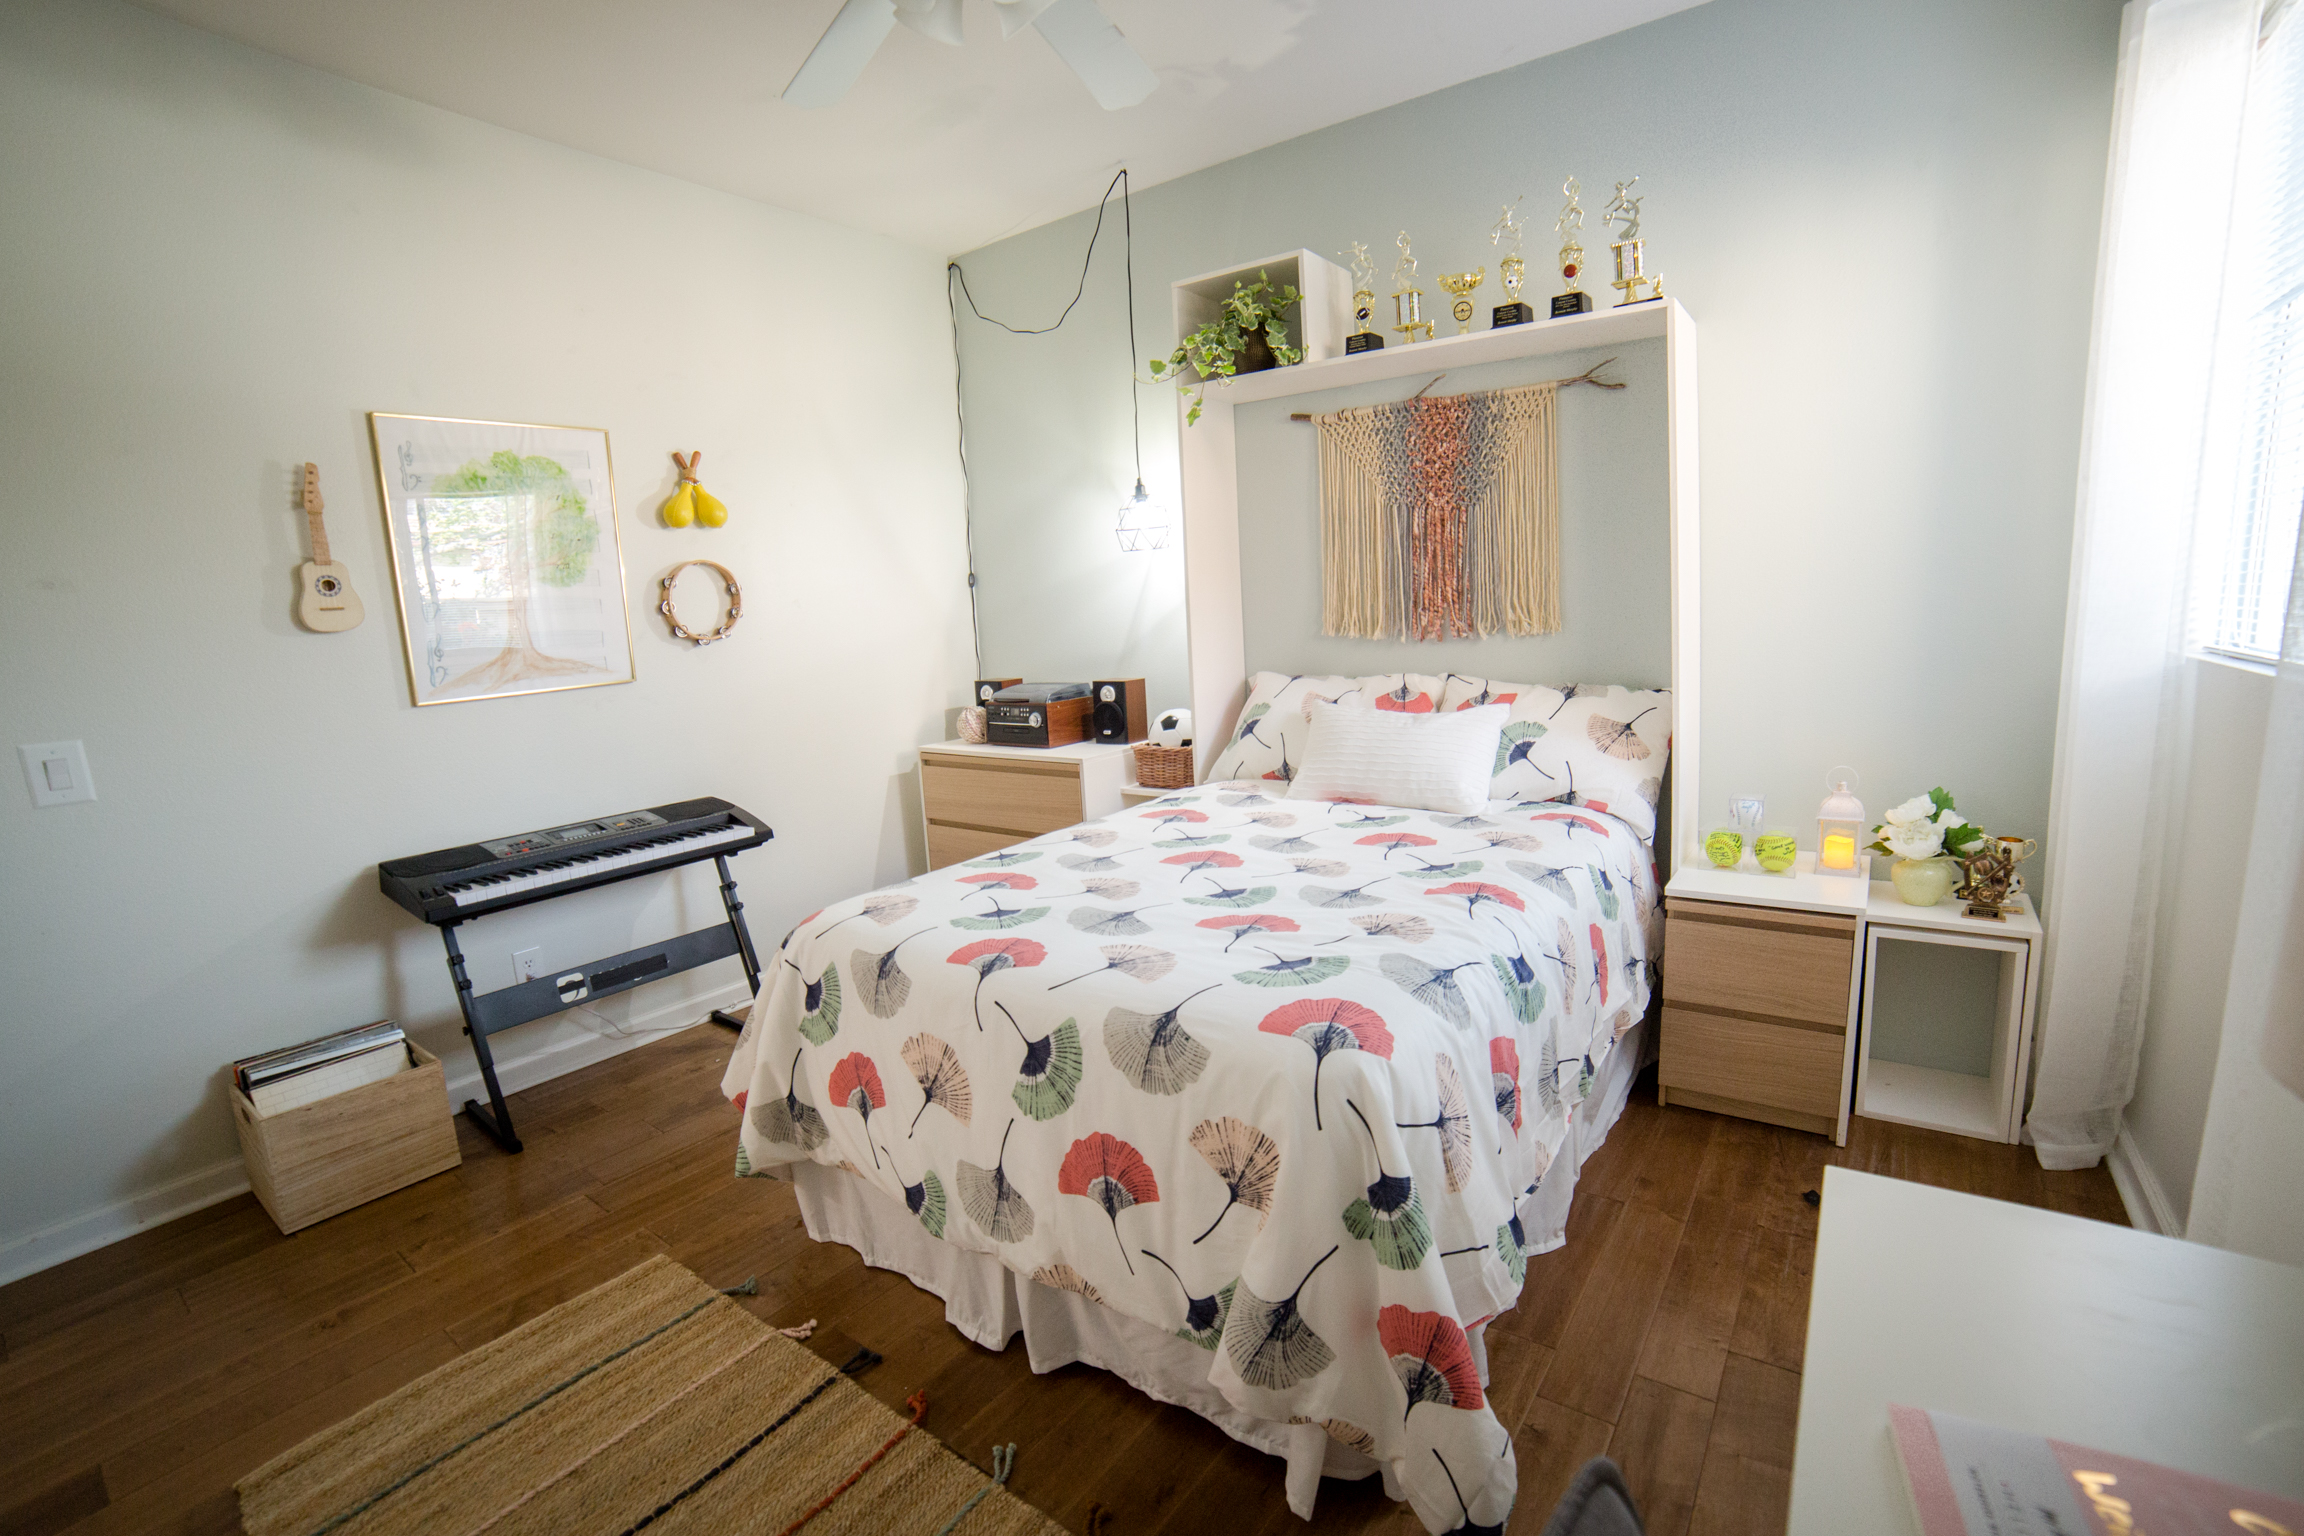
If you've seen the before pictures of lovely tween Bennett's bedroom, you'd know that when designing this room, storage was priority #1 ... and isn't it for all of us? Finding organization techniques that are appropriate for our lifestyles is just one goal, but I think we all should strive to find a solution that doesn't just work, but looks good doing its job.
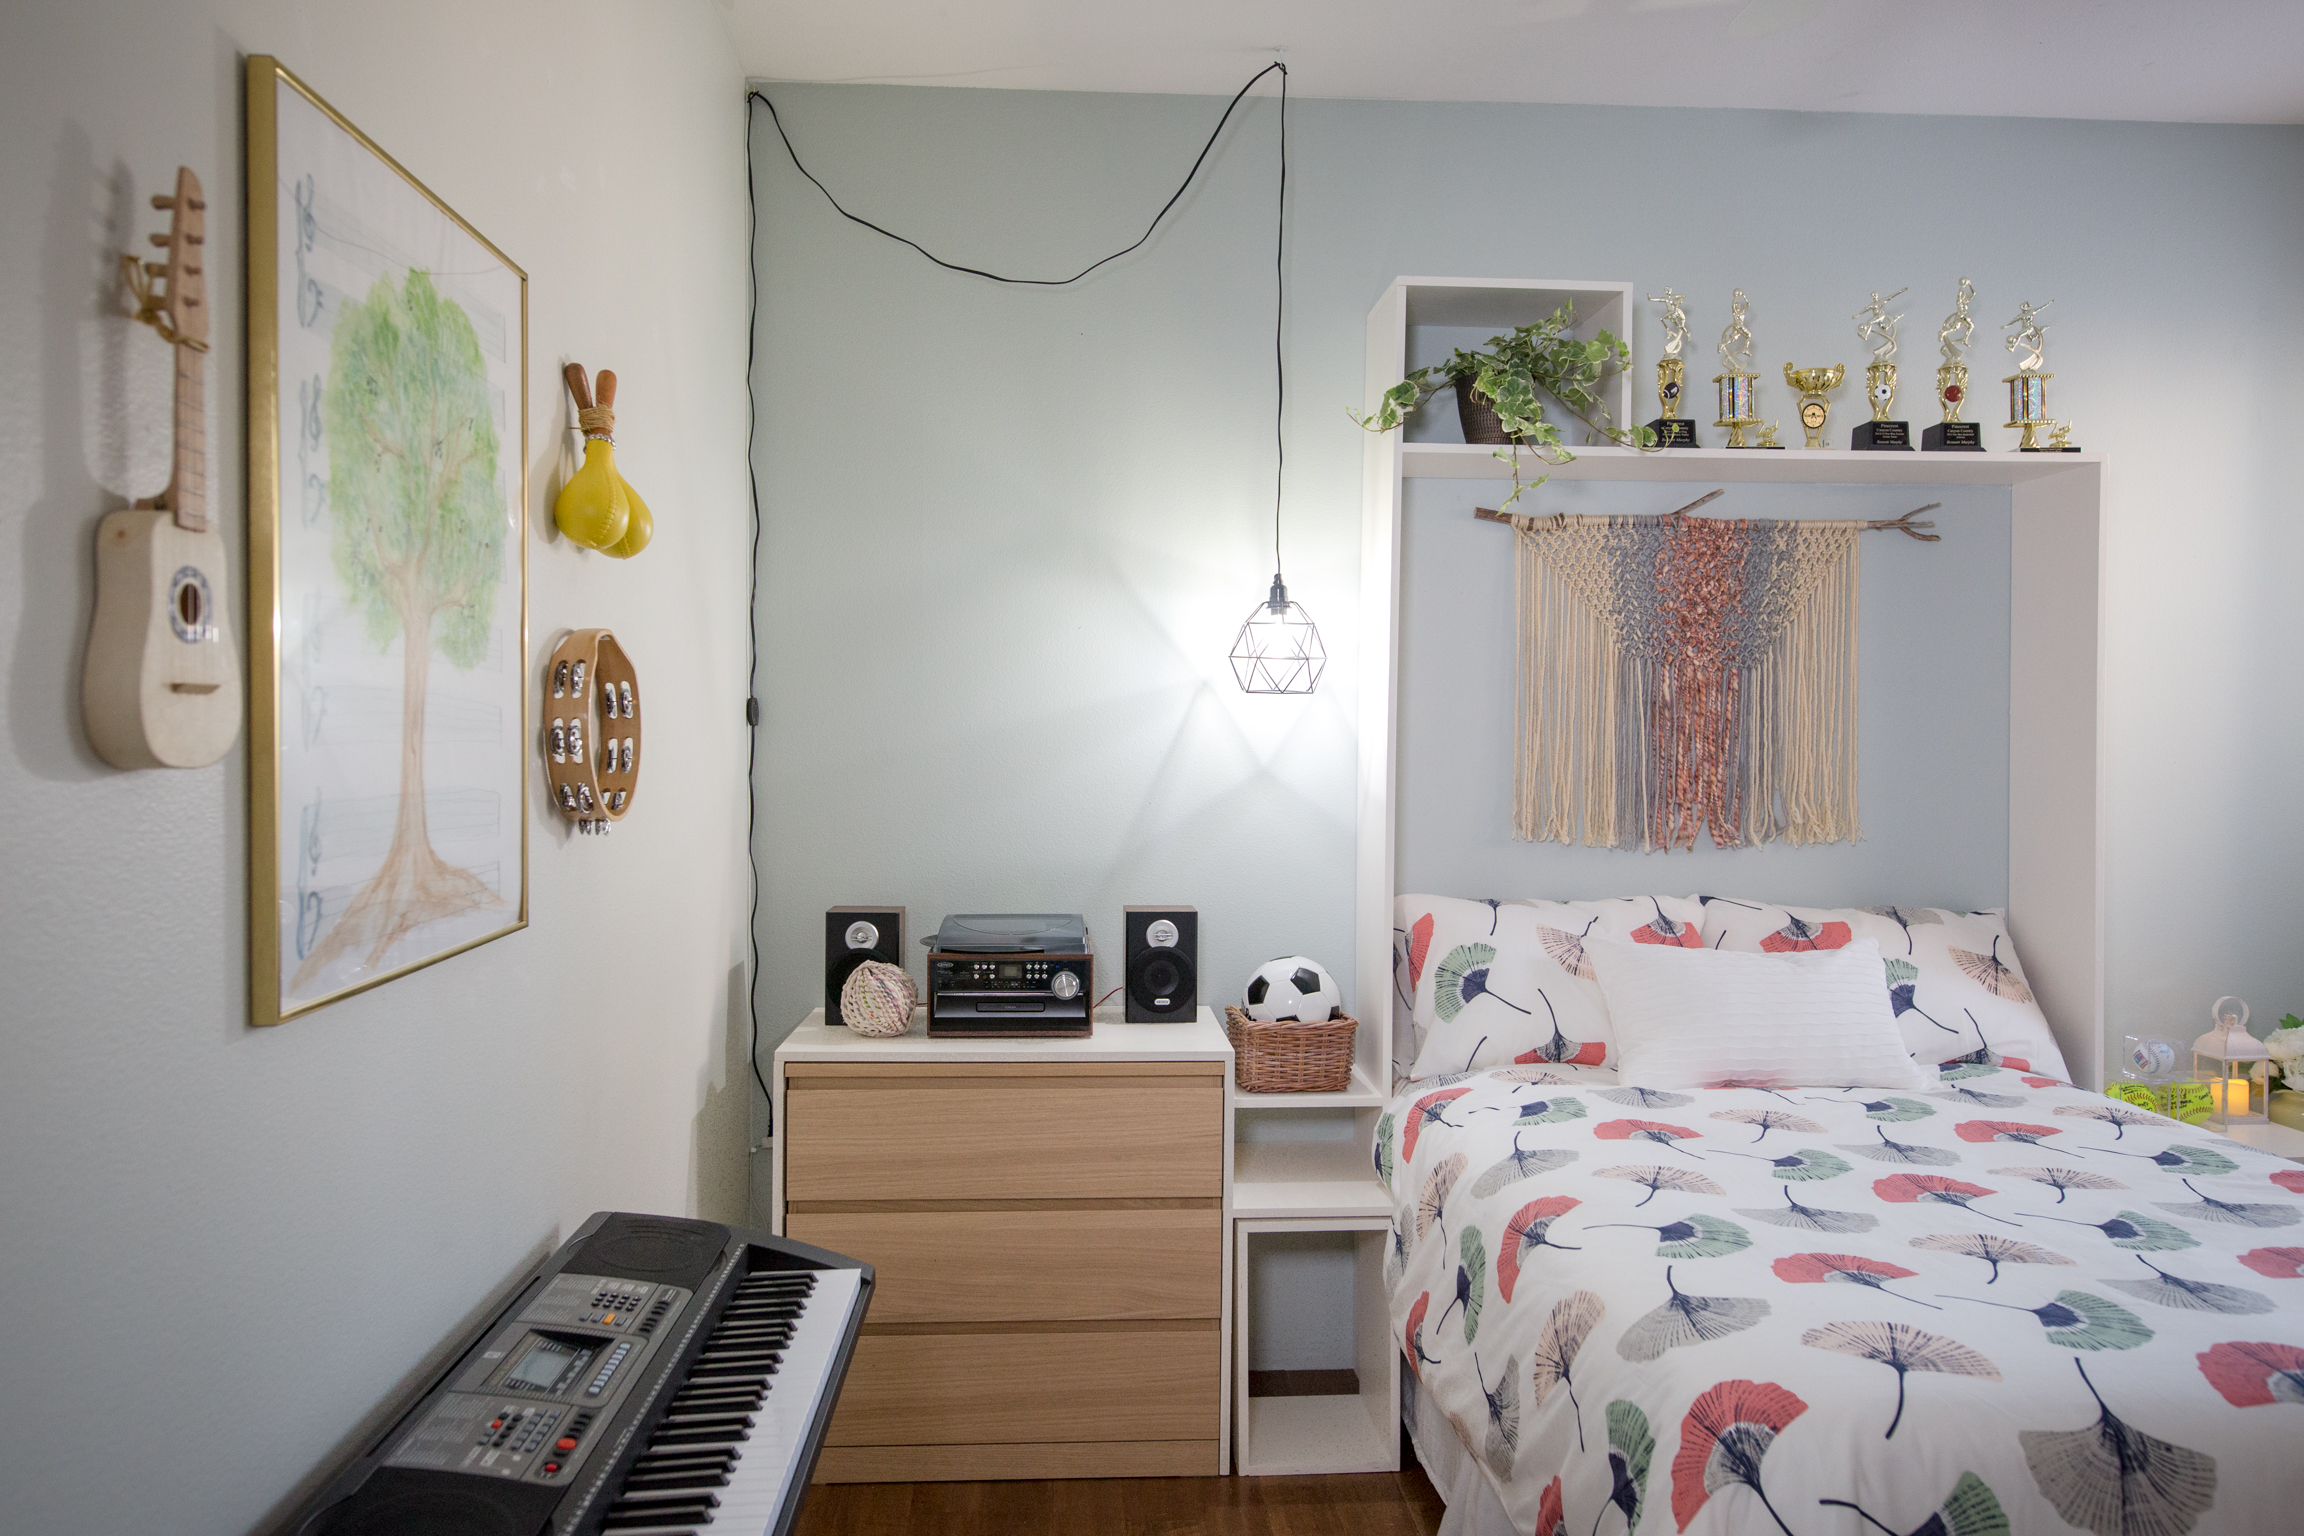
This built-in bed was designed to maximize the vertical and horizontal space of just one wall to create an multi-dimensional, interactive, and visually interesting storage solution. This project is 100% customizable, so get the details below!

Prep It!:
3/4" plywood boards Saw Sandpaper Paint Paintbrush Power drill Screws Wood glue L brackets

Do It!:
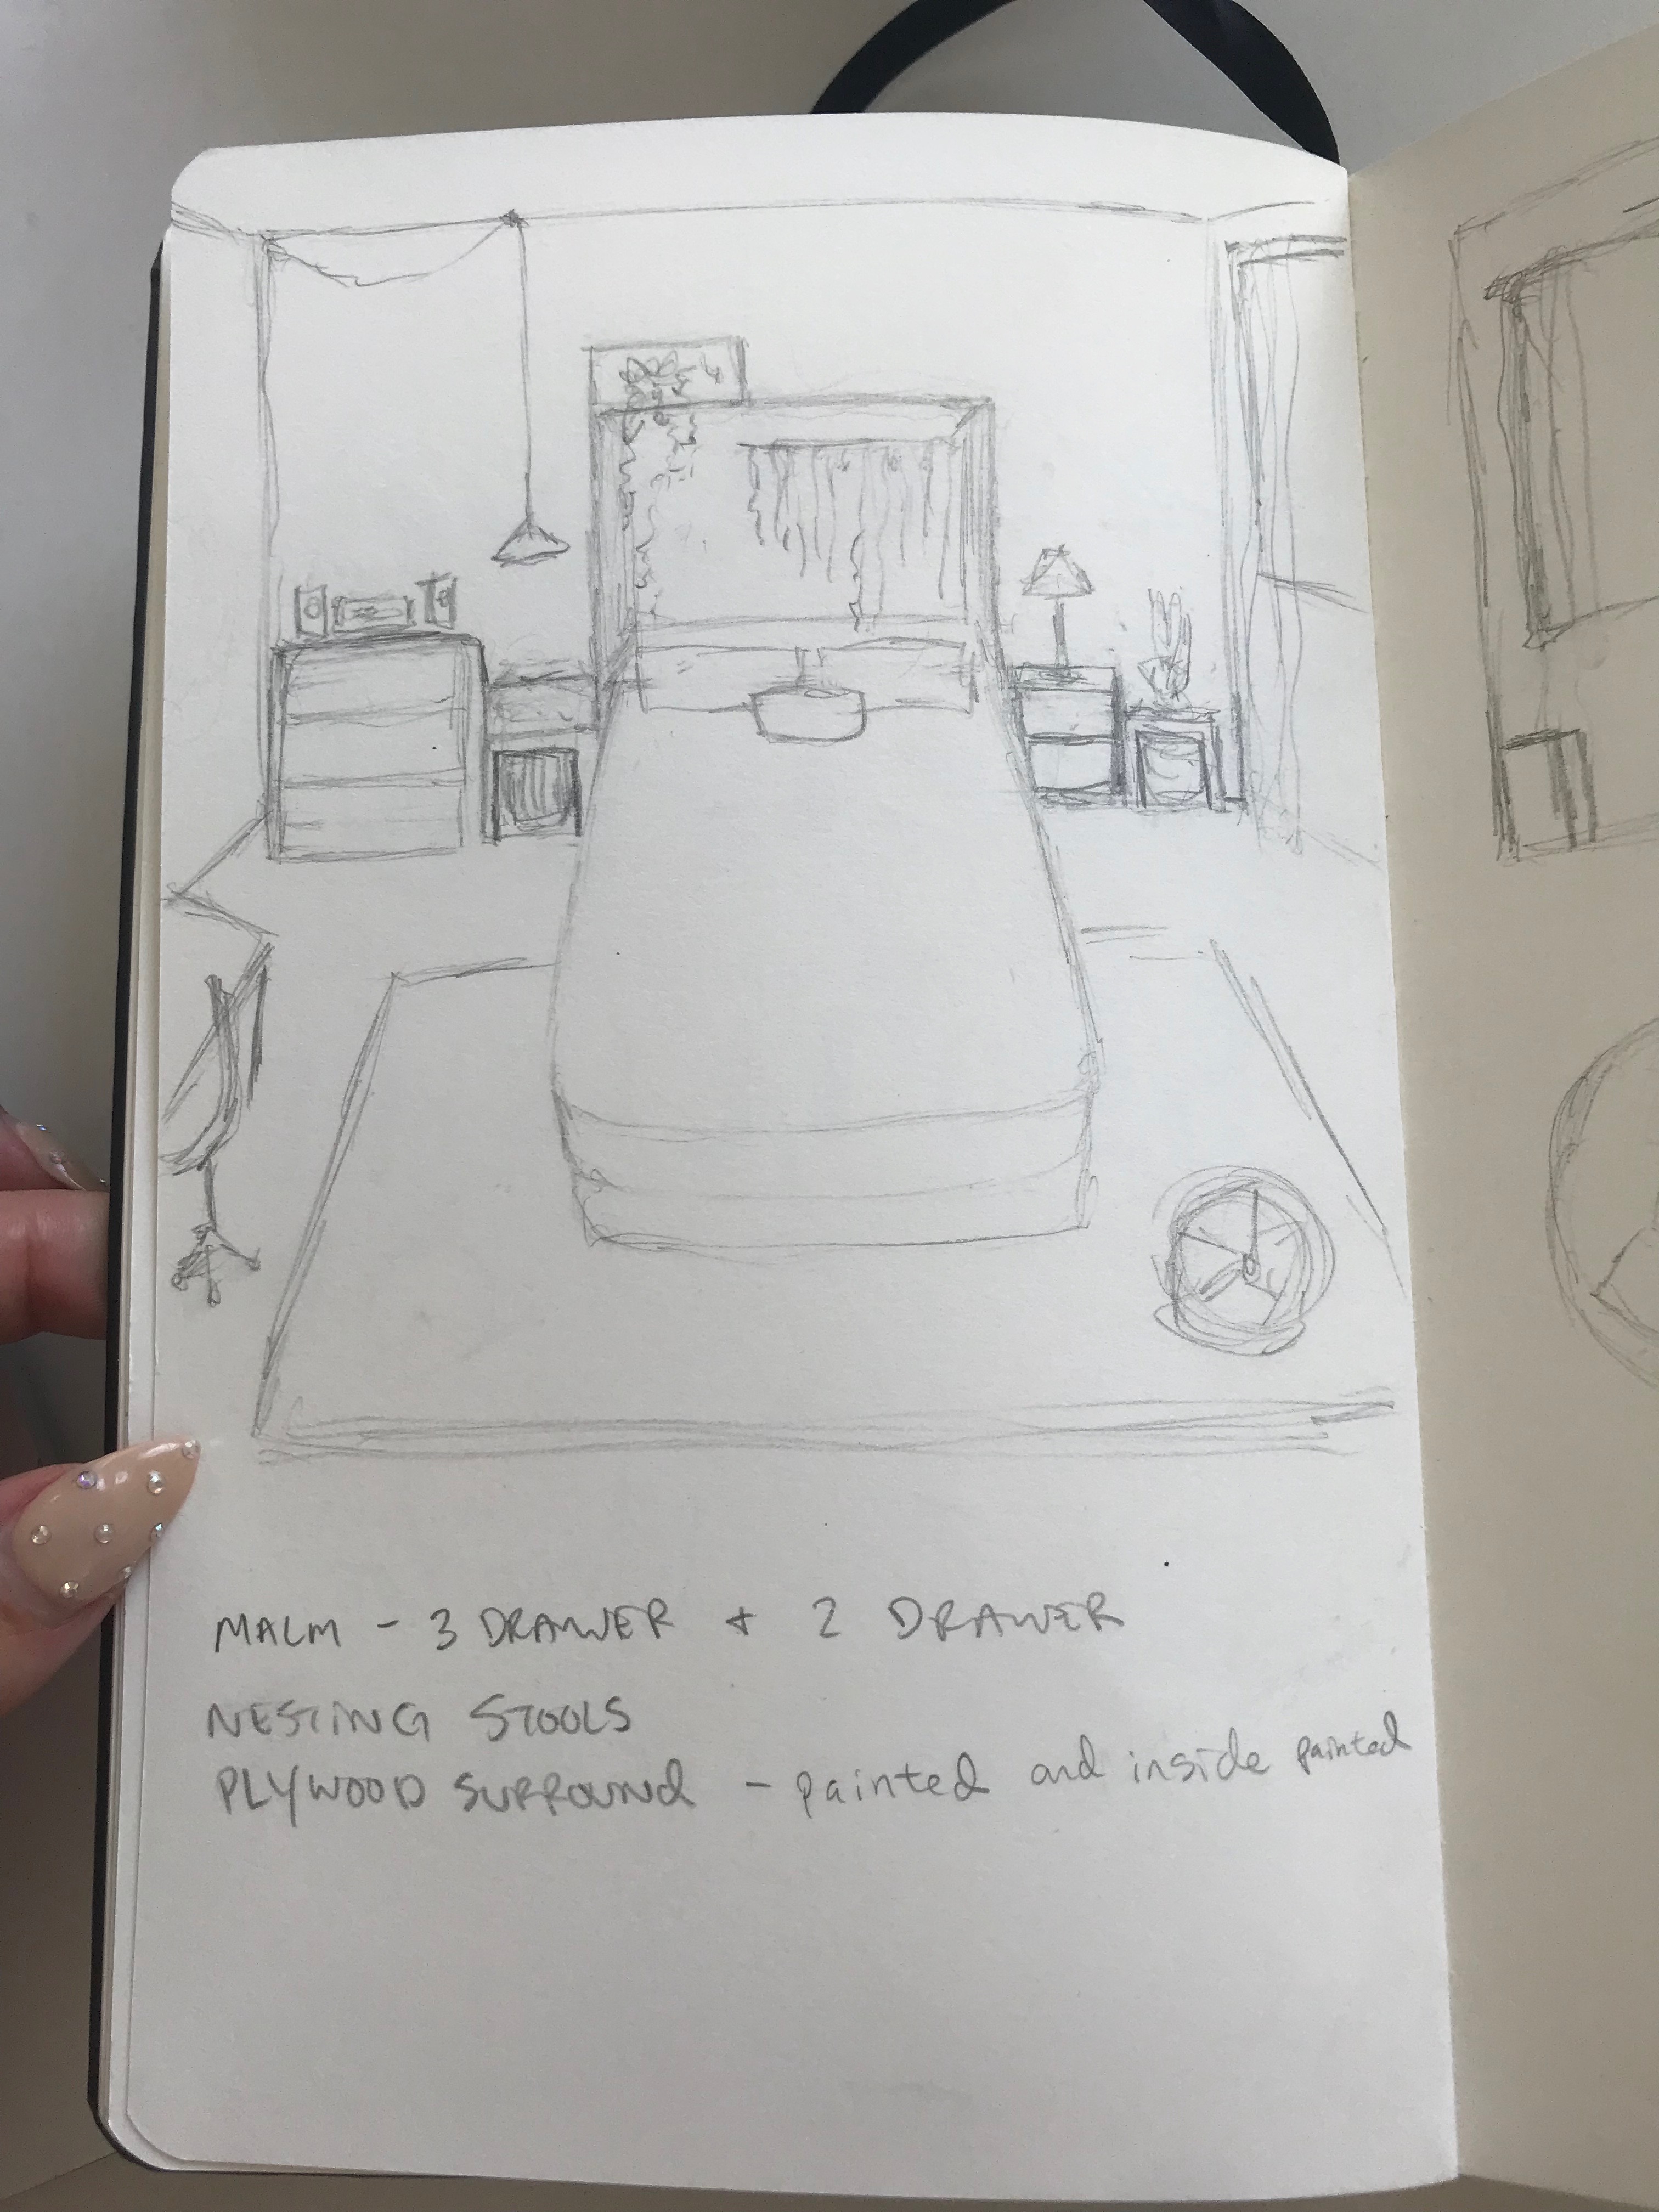
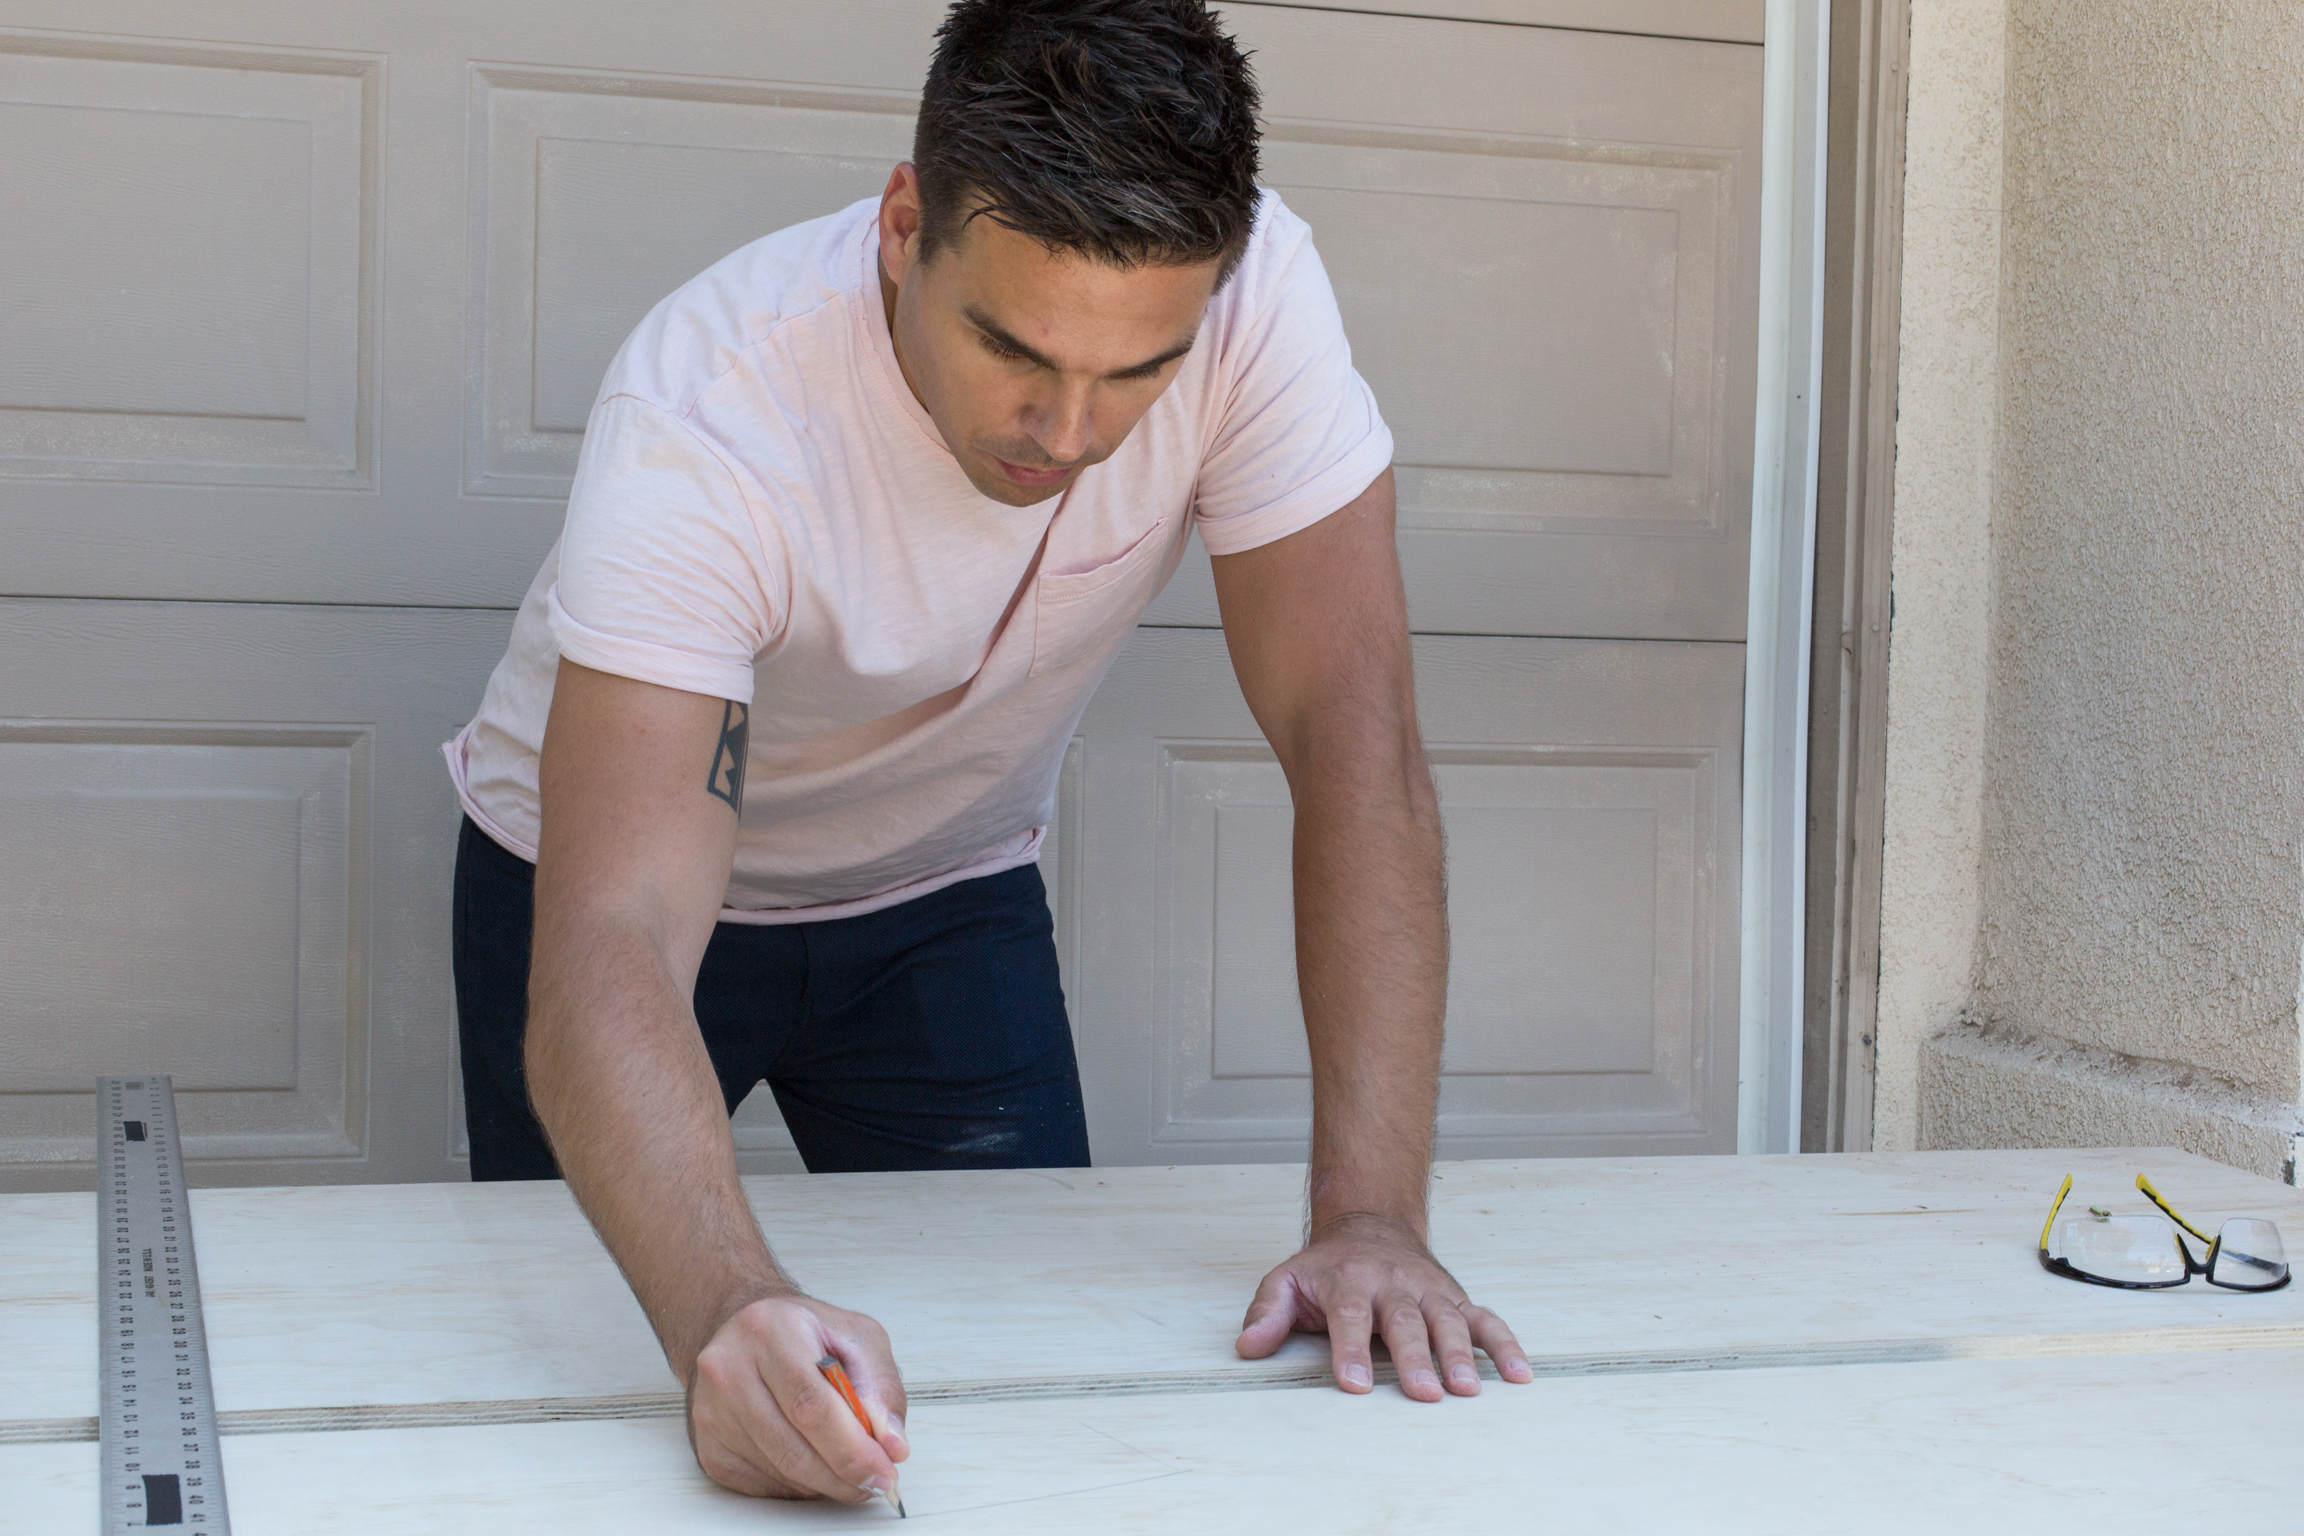
- Measure the furniture pieces you are building your built-in around, and the height and width of the wall you are building it on.
- Create a to-scale drawing of how you want it to look, determining at this point the measurements you'll need each of your pieces to be. (See our initial sketch, then final mock-up above)
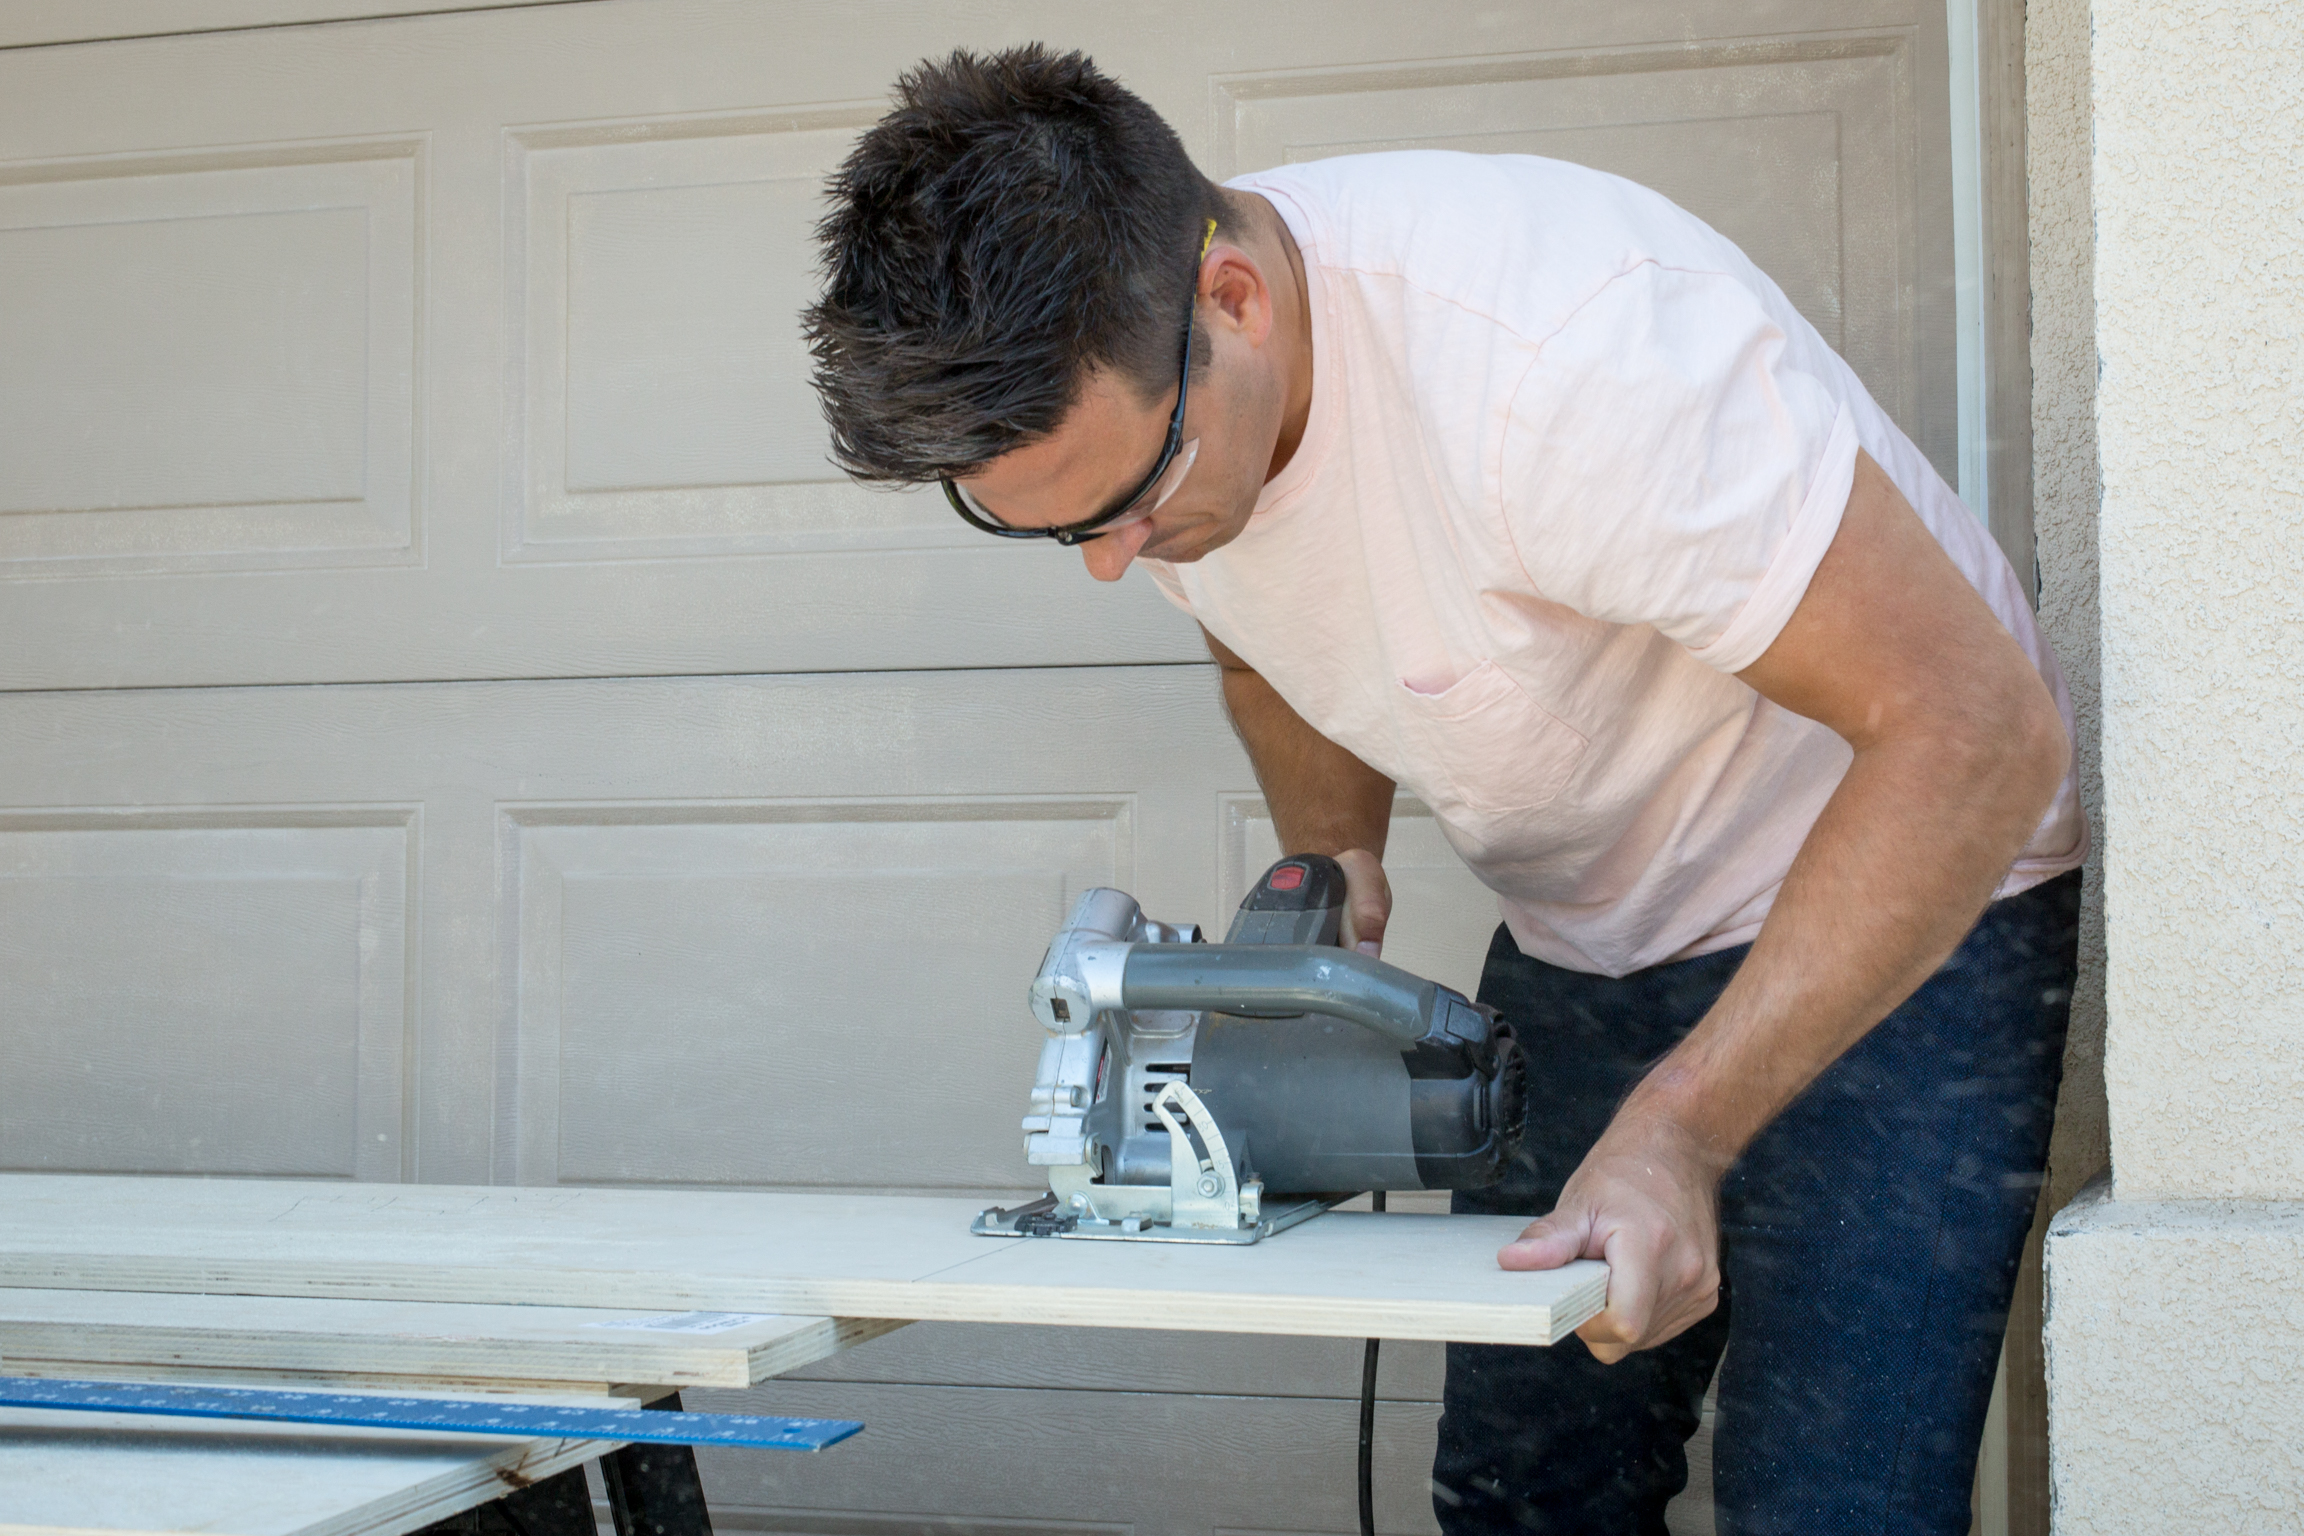
- Use your saw to cut down the plywood to the lengths you need. You can also create multiple depths, like we did, to give the piece a more complex look. We made the piece around the bed thinner than the side pieces, so if you'd like to make adjustments like that, cut the desired depths of the pieces as well.
- Sand and paint all of your wood pieces.
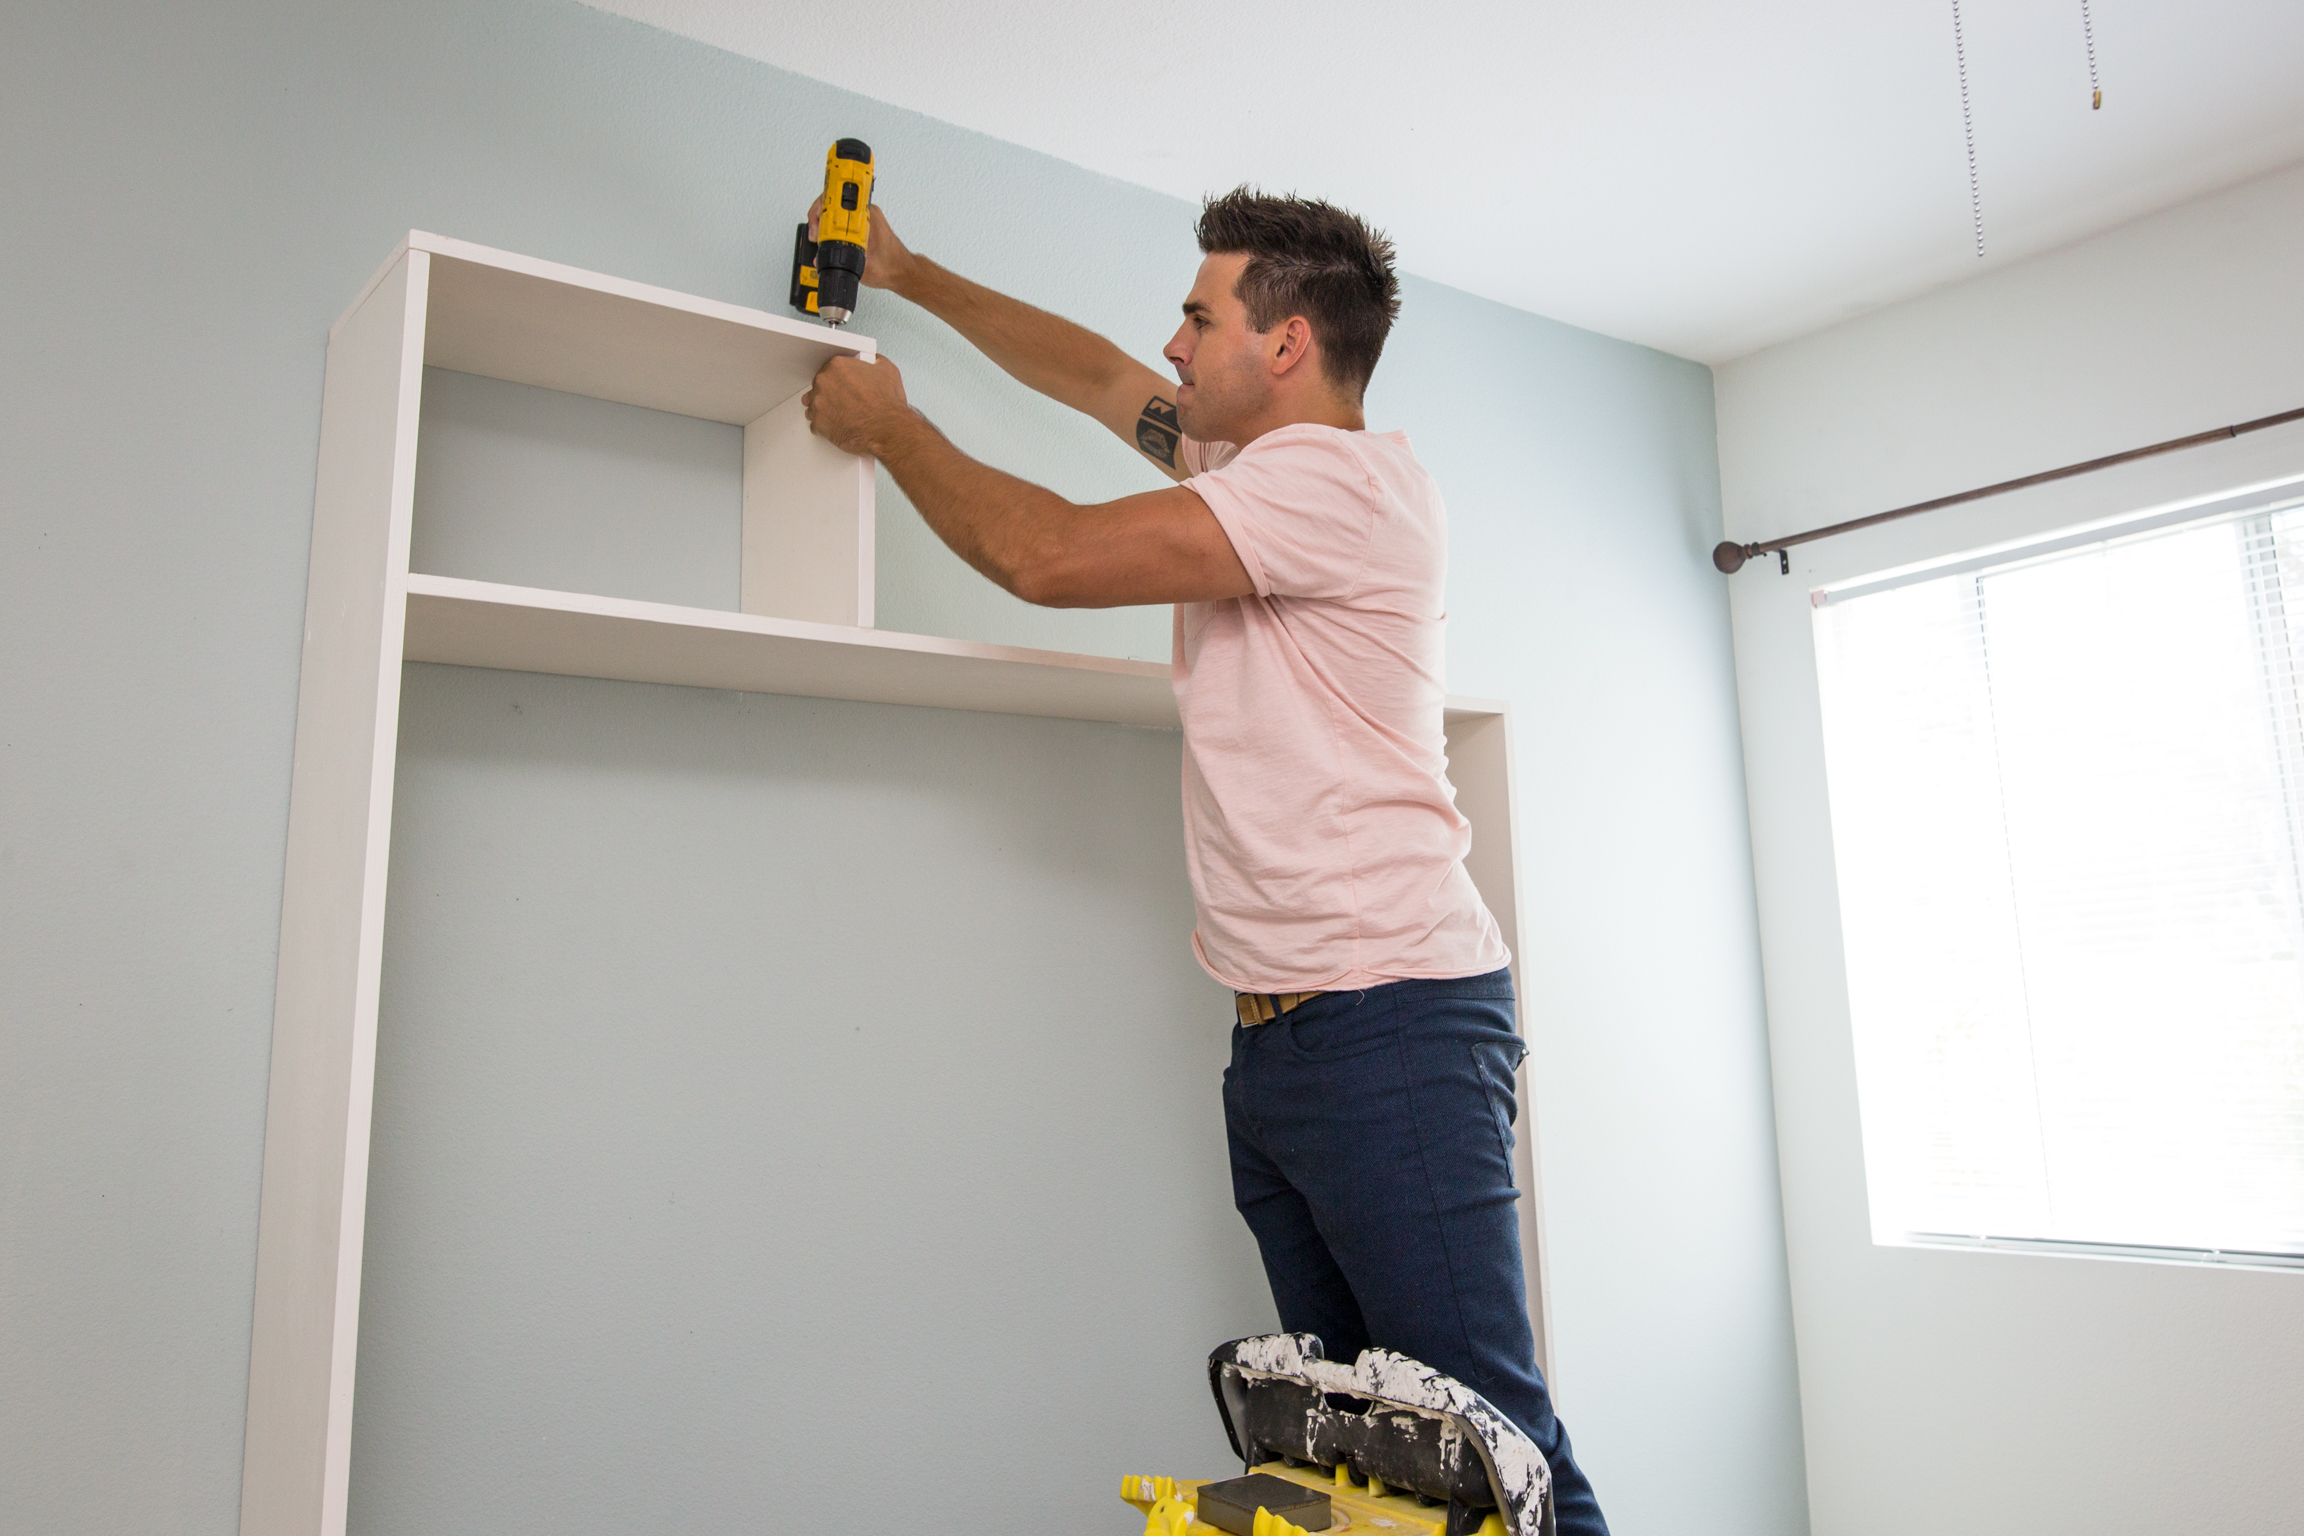
- Once your pieces are dry, it's time to attach them and get building!! To attach the pieces on right angles, make a butt joint. This means you are butting one piece up against another, so no 45 degree angle cuts are necessary. Just make sure your pieces line up!
- To attach the pieces, drill a pilot hole through the side of one piece and into the length of the other. Pull the pieces apart momentarily, apply wood glue, then place them back together and screw a screw into the hole.
- Follow this method of attaching the pieces until the different compartments of your built-in are built.
- Attach the compartments to the wall with conspicuously placed L brackets, and once attached, touch up spots with paint if needed!
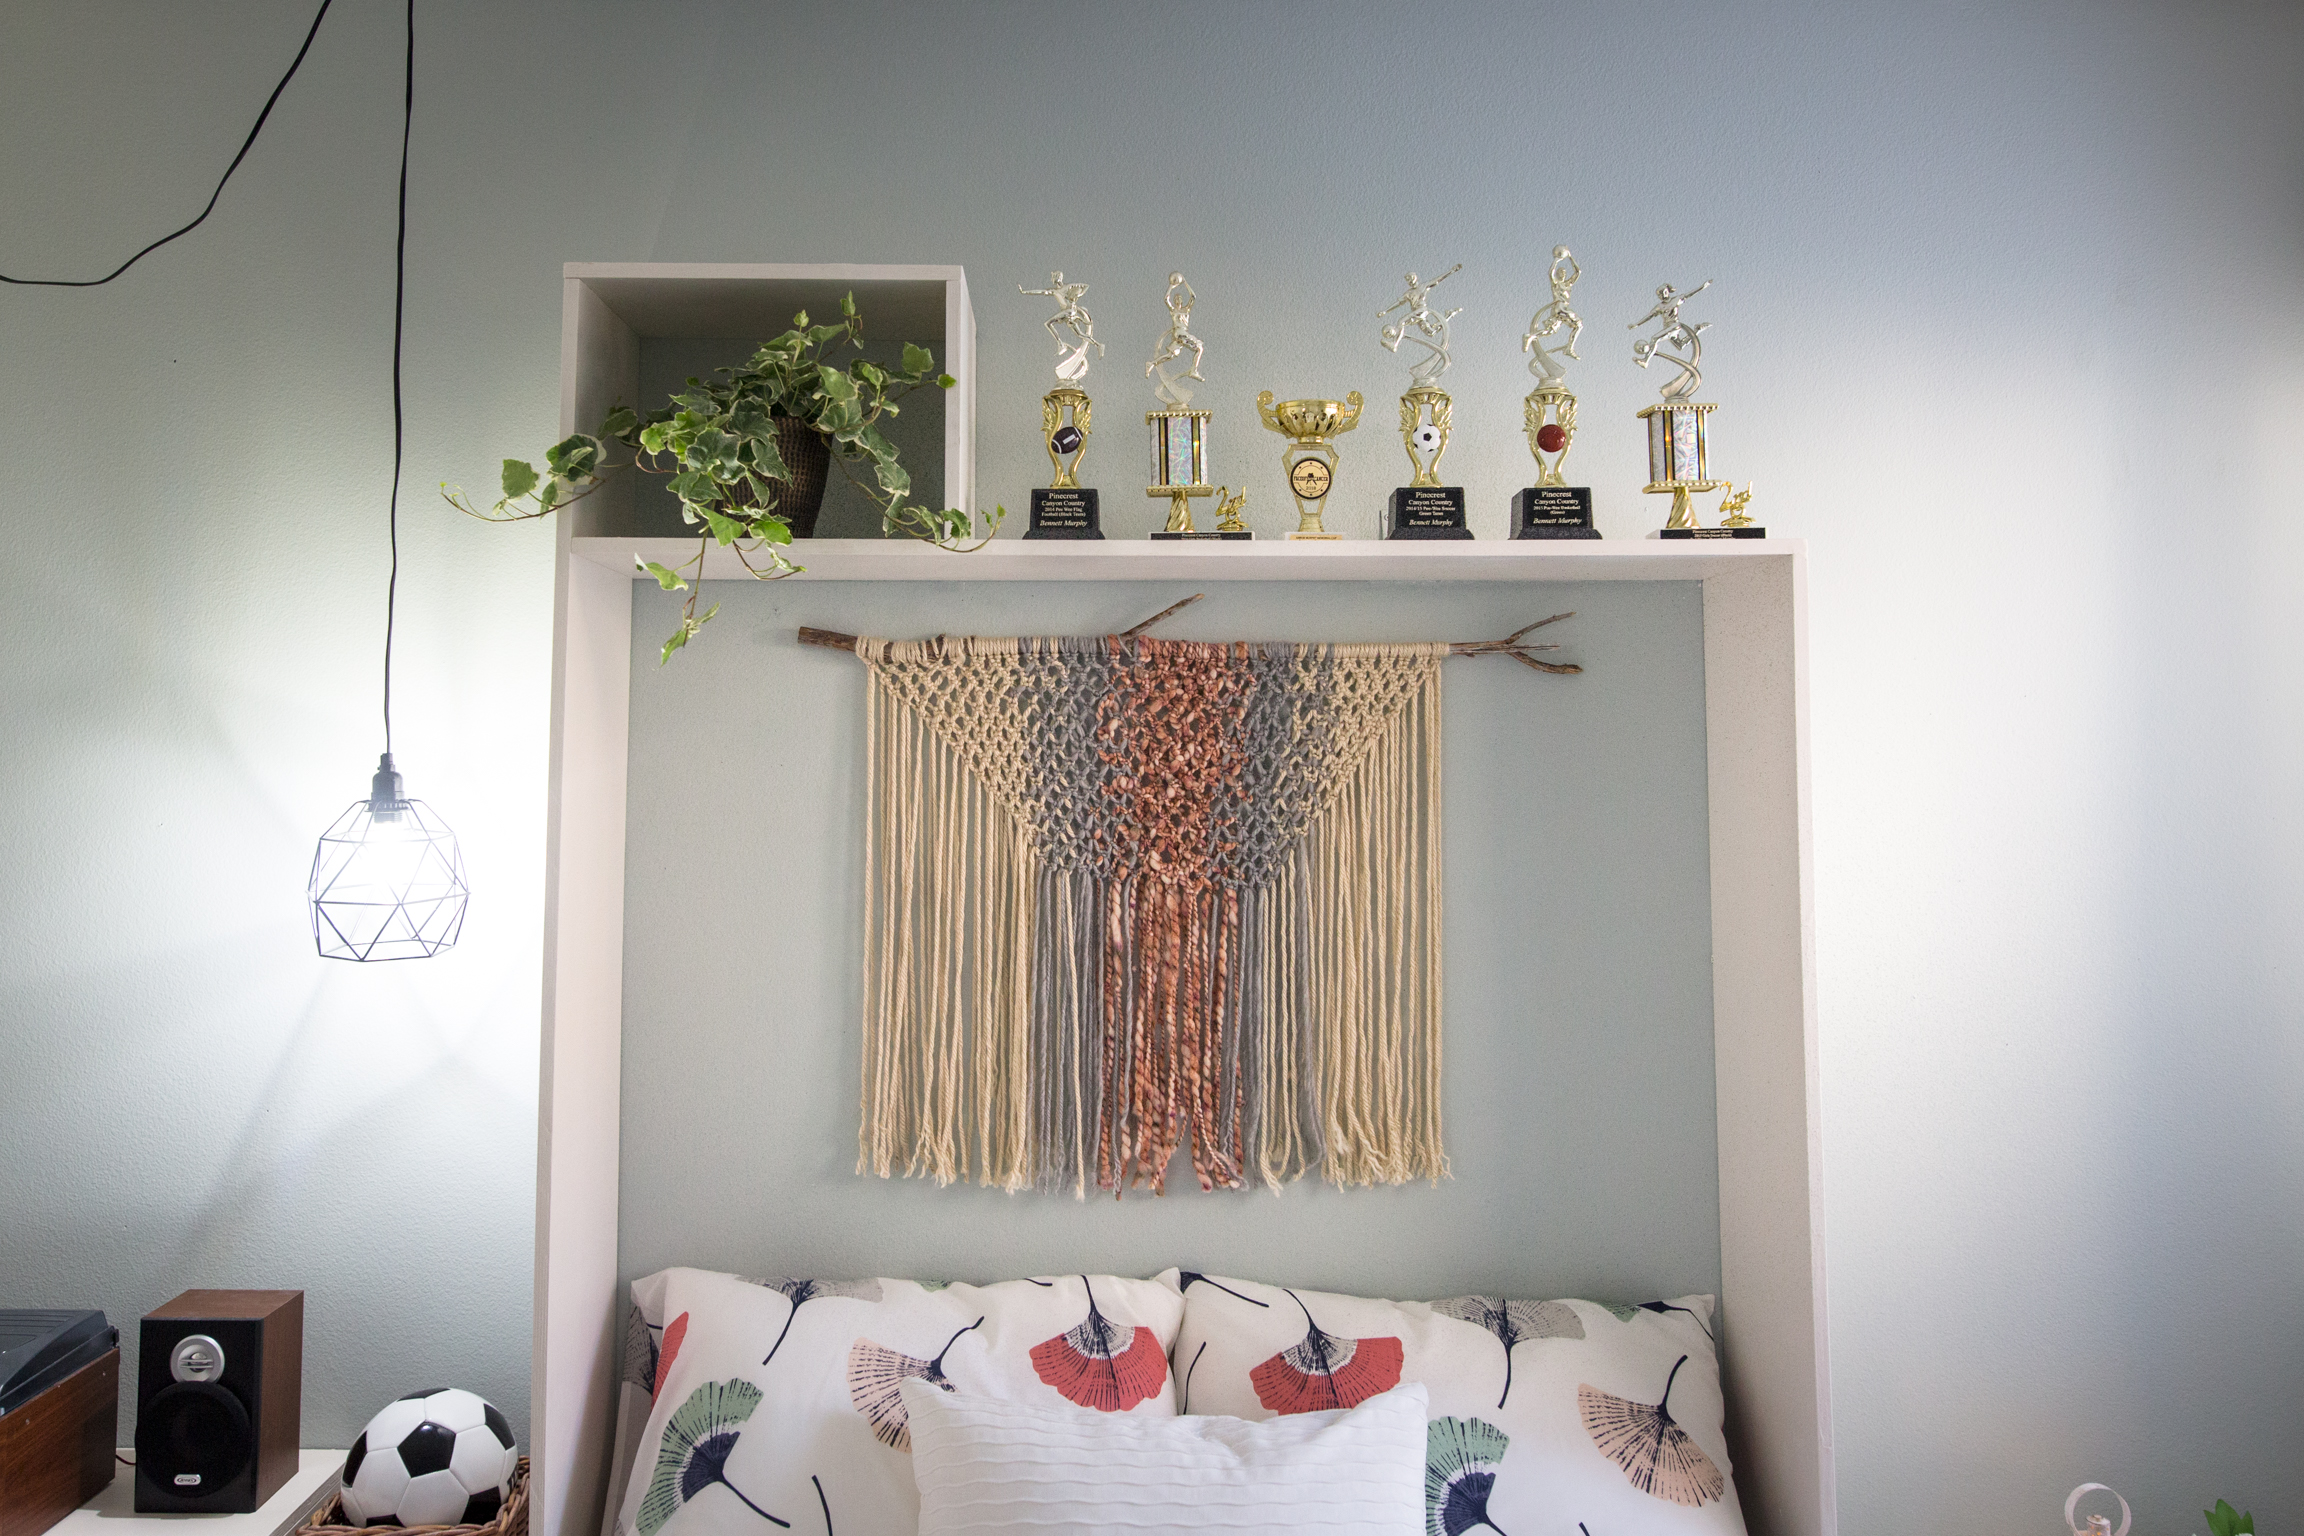
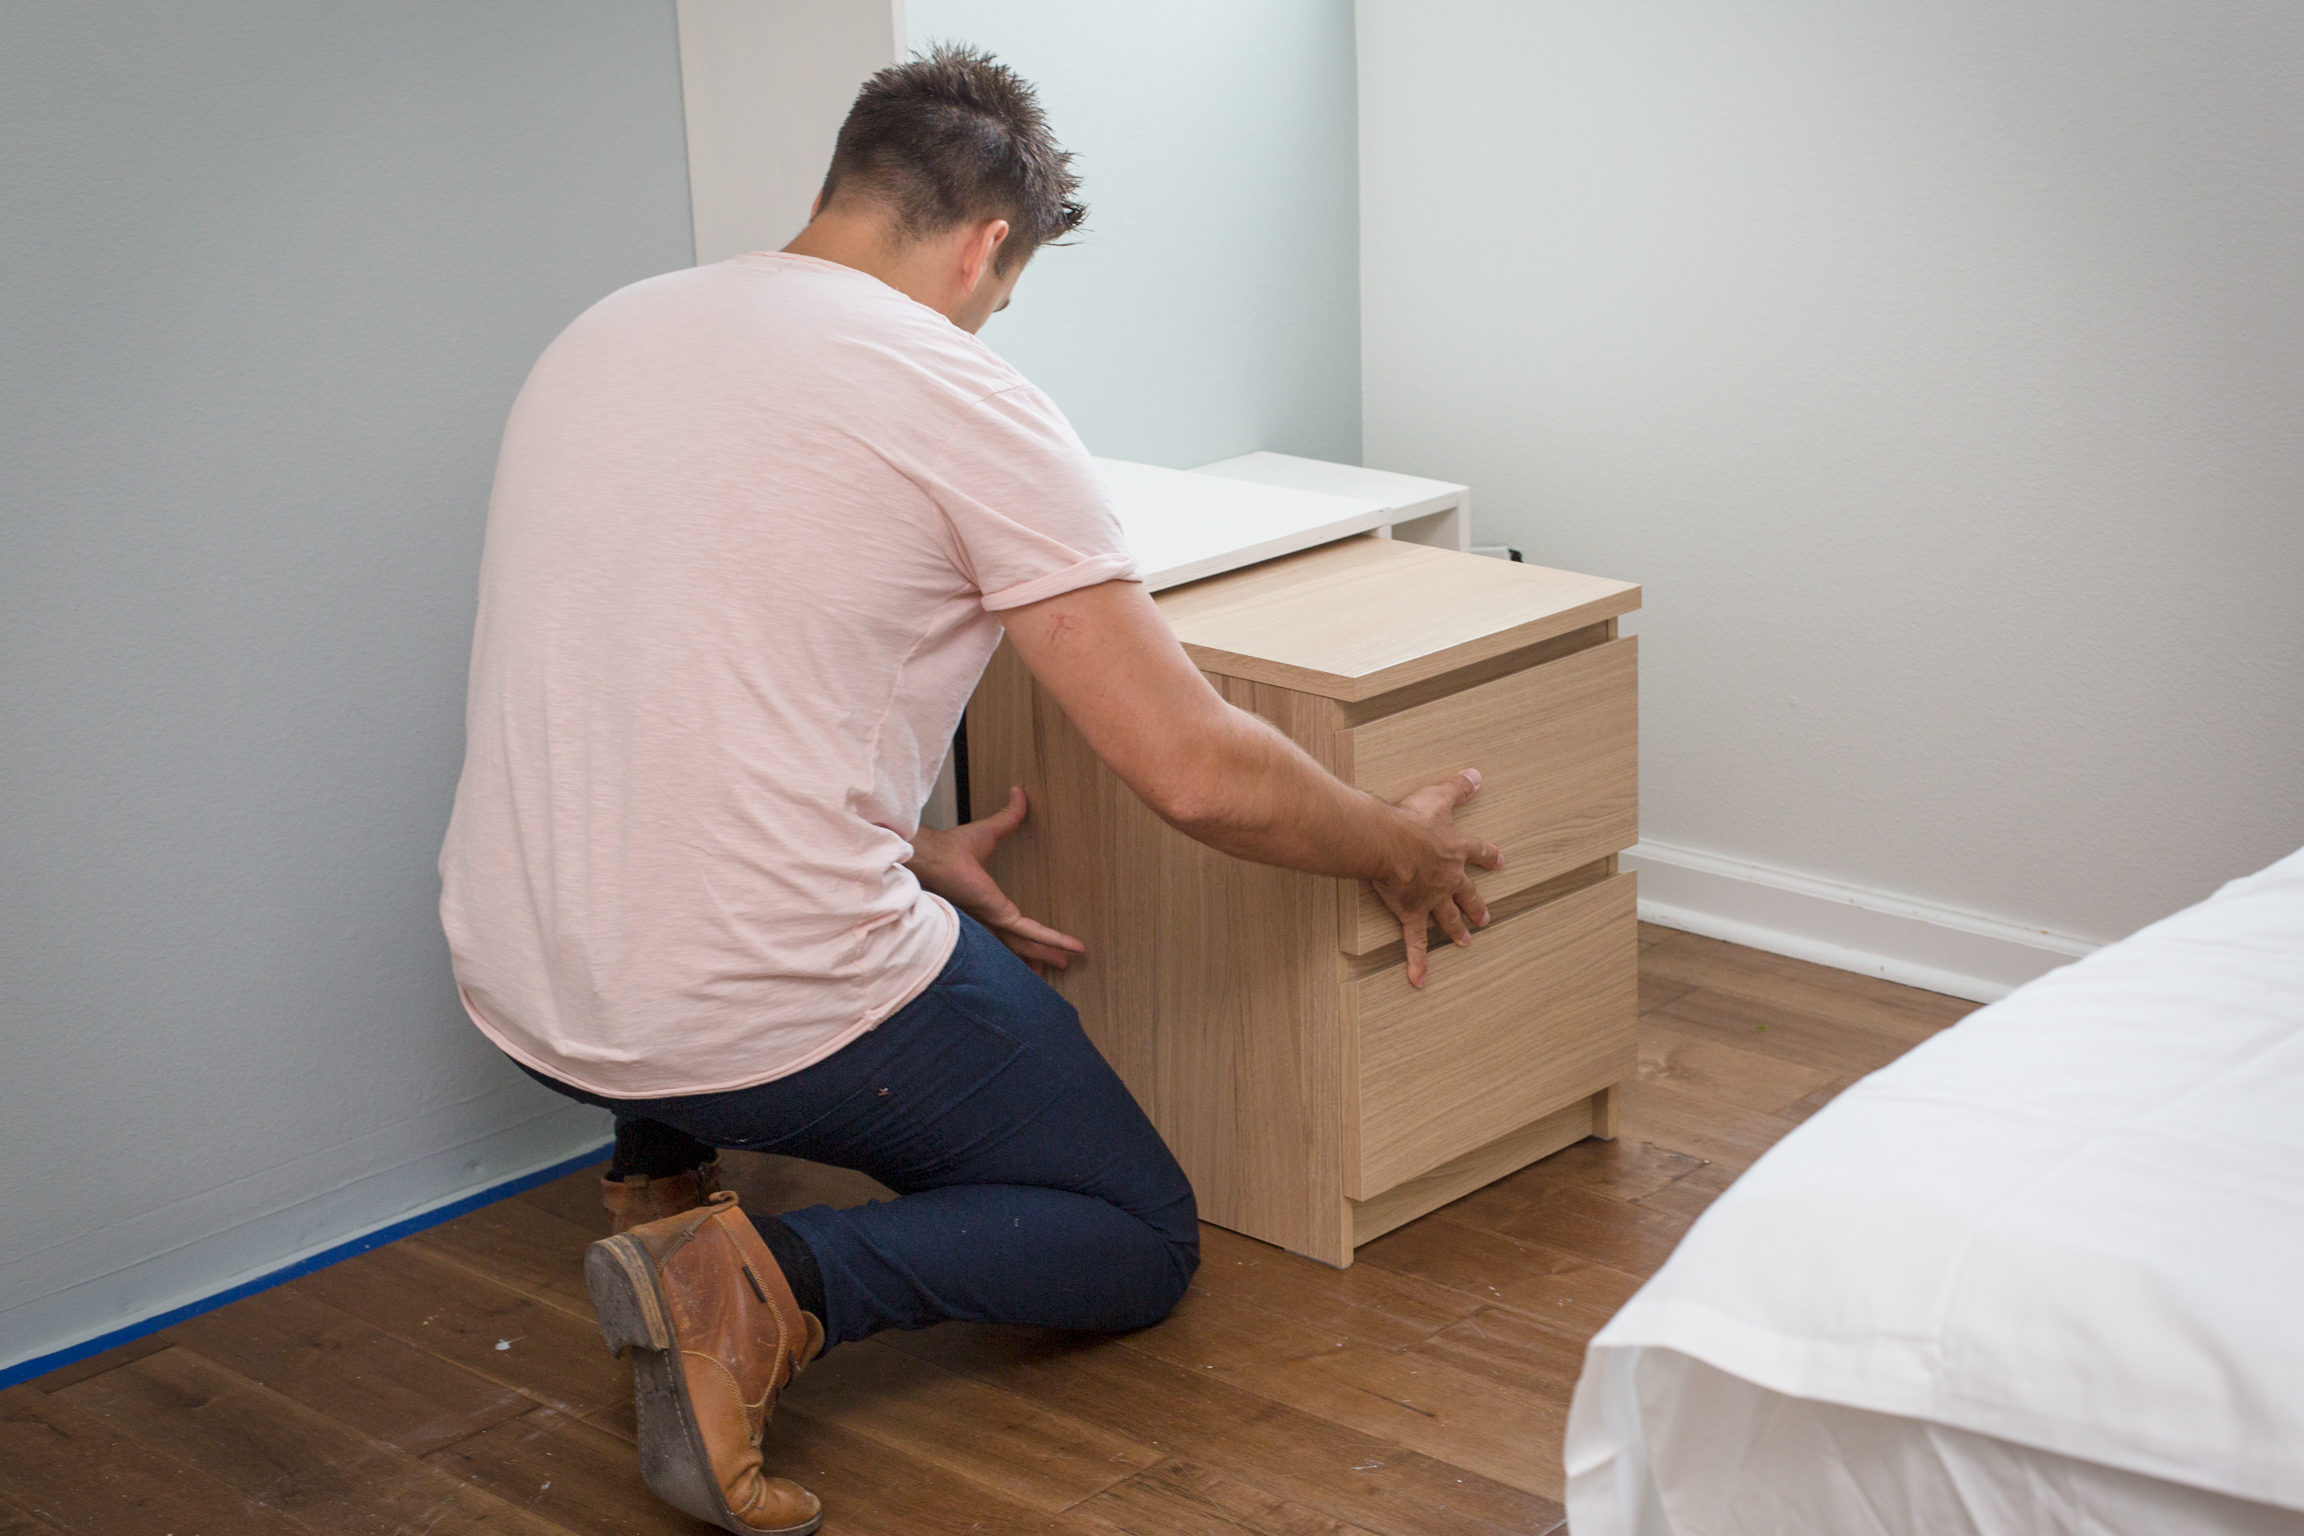
- Once your attached built-in is dry, slide the furniture pieces in and decorate!