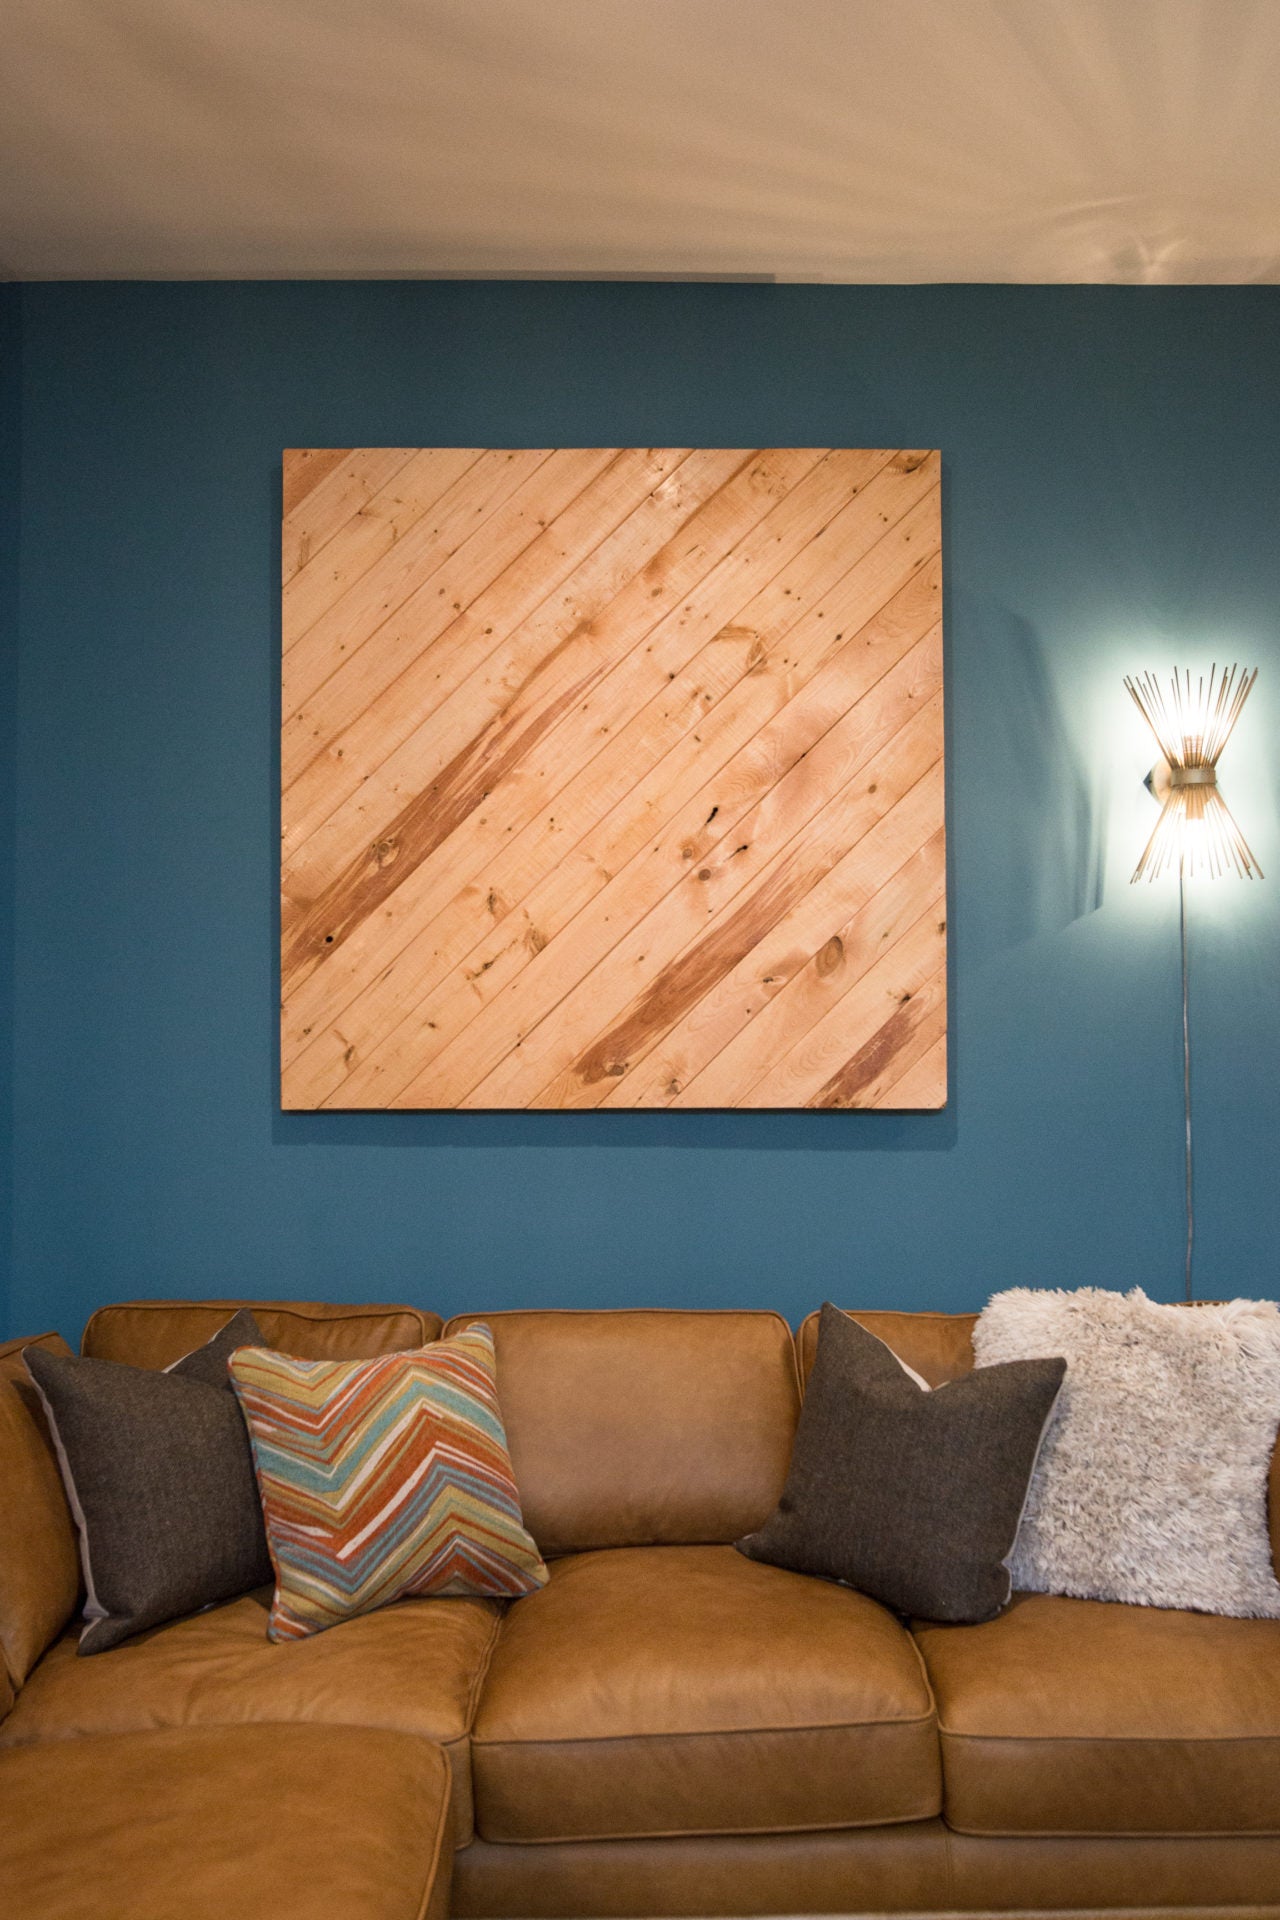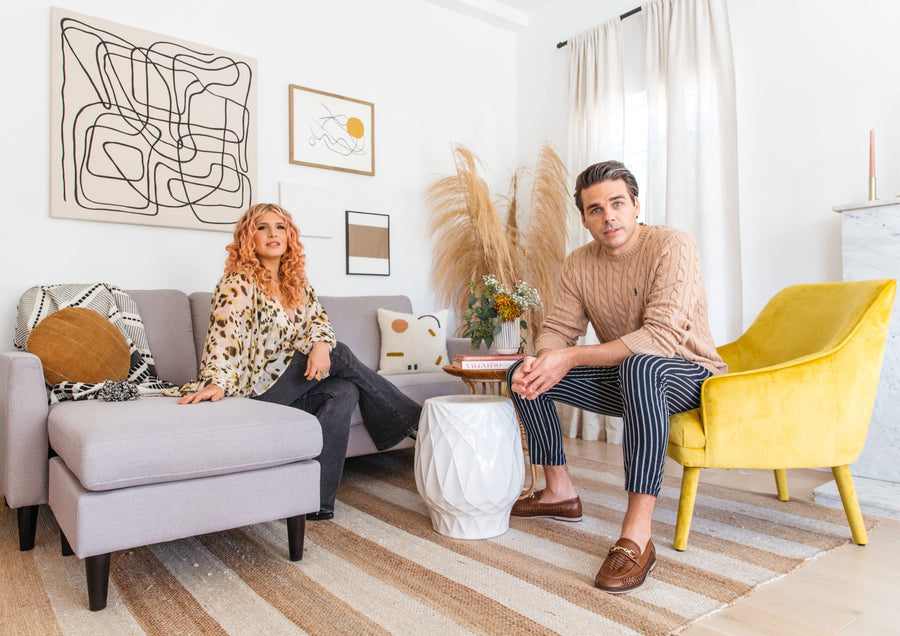
 A major staple of 1970s interior design style was wood paneling. The texture, the organic element — it's all evocative of a time when bell bottoms were the only acceptable pants and "groovy" was the term du jour. So, when paying homage to this decade in Niki Demar's apartment makeover, I wanted to find a way to incorporate wood paneling without violating the terms of her rental agreement!
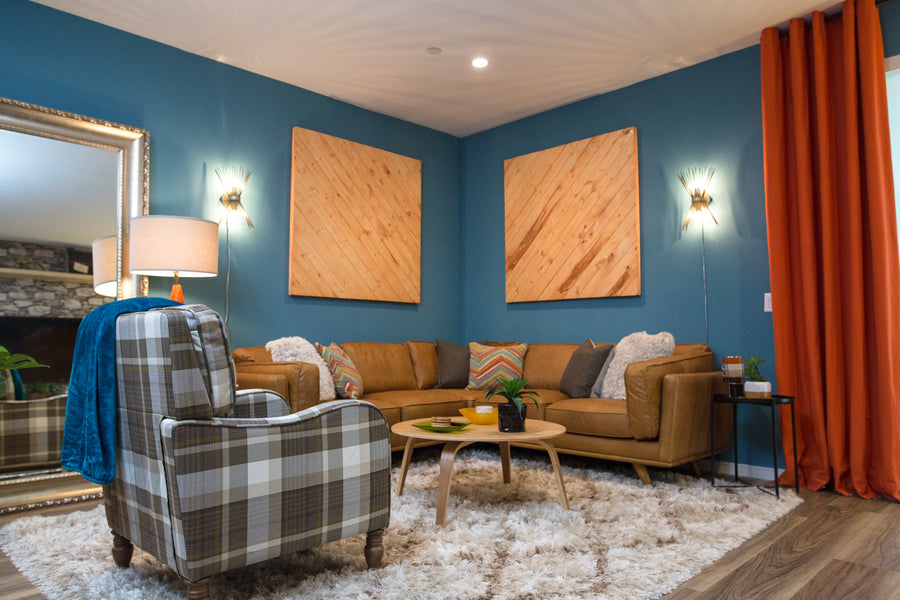
Thus, this lightweight and retro wall art was created! Check out the supplies and steps below!

Prep It!:
4 1x2 wood pieces
Tongue and groove wood panels
Chop saw
Nail gun
Wood stain 


Do It!:
- Build a square frame by cutting your 1x2 pieces at the same lengths, with angled edges. Follow this tutorial for specific steps!
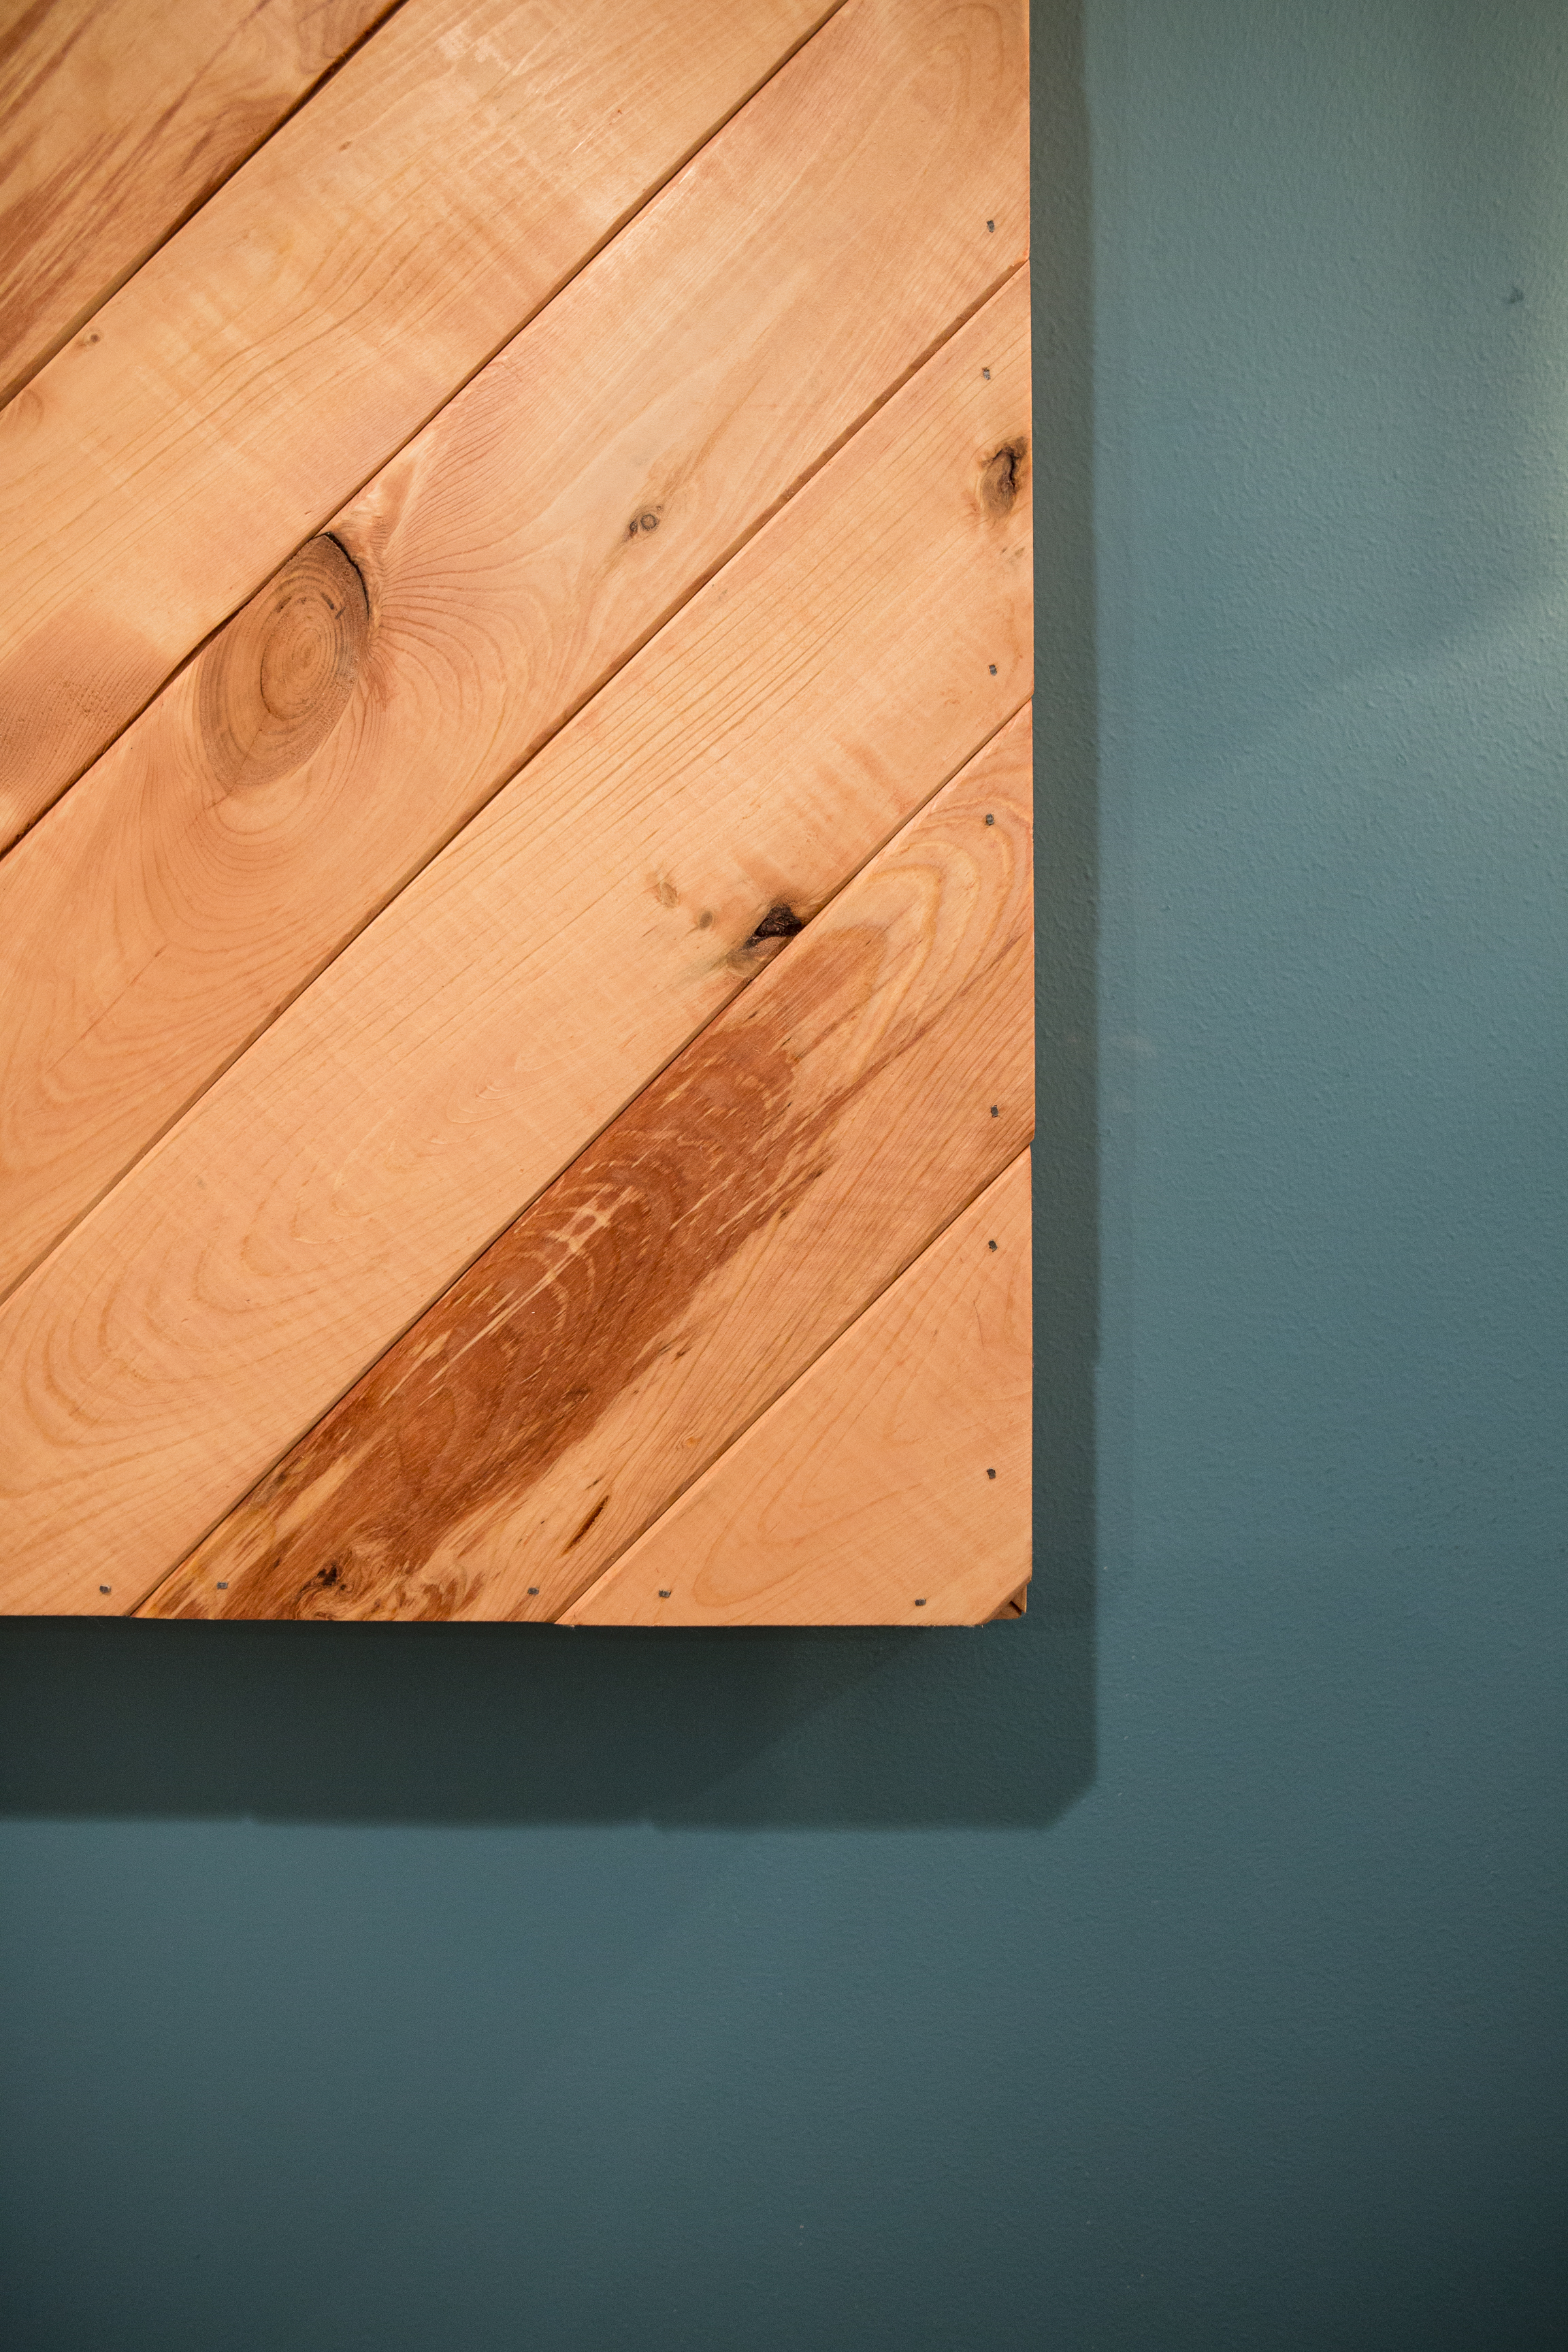
- Measure and cut your tongue and groove panels at diagonals so that they will lay across the frame.
- Working from one corner to the other, nail your panels to the top of the frame.
- When the paneled art is fully assembled, stain and let dry! It will be very simple to hang due to its lightweight nature.