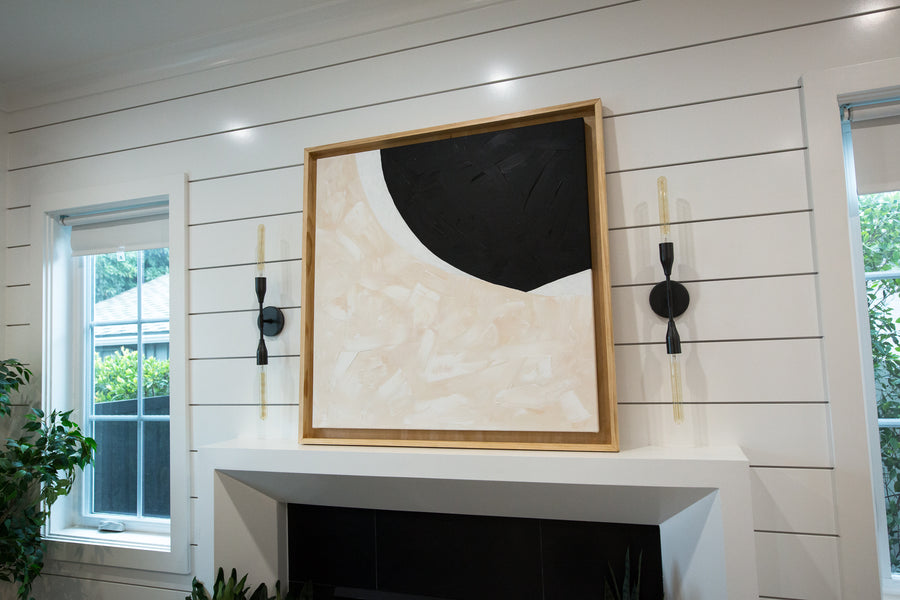
 I'll give you eternal praise if you can guess what the inspiration behind this painting was ...
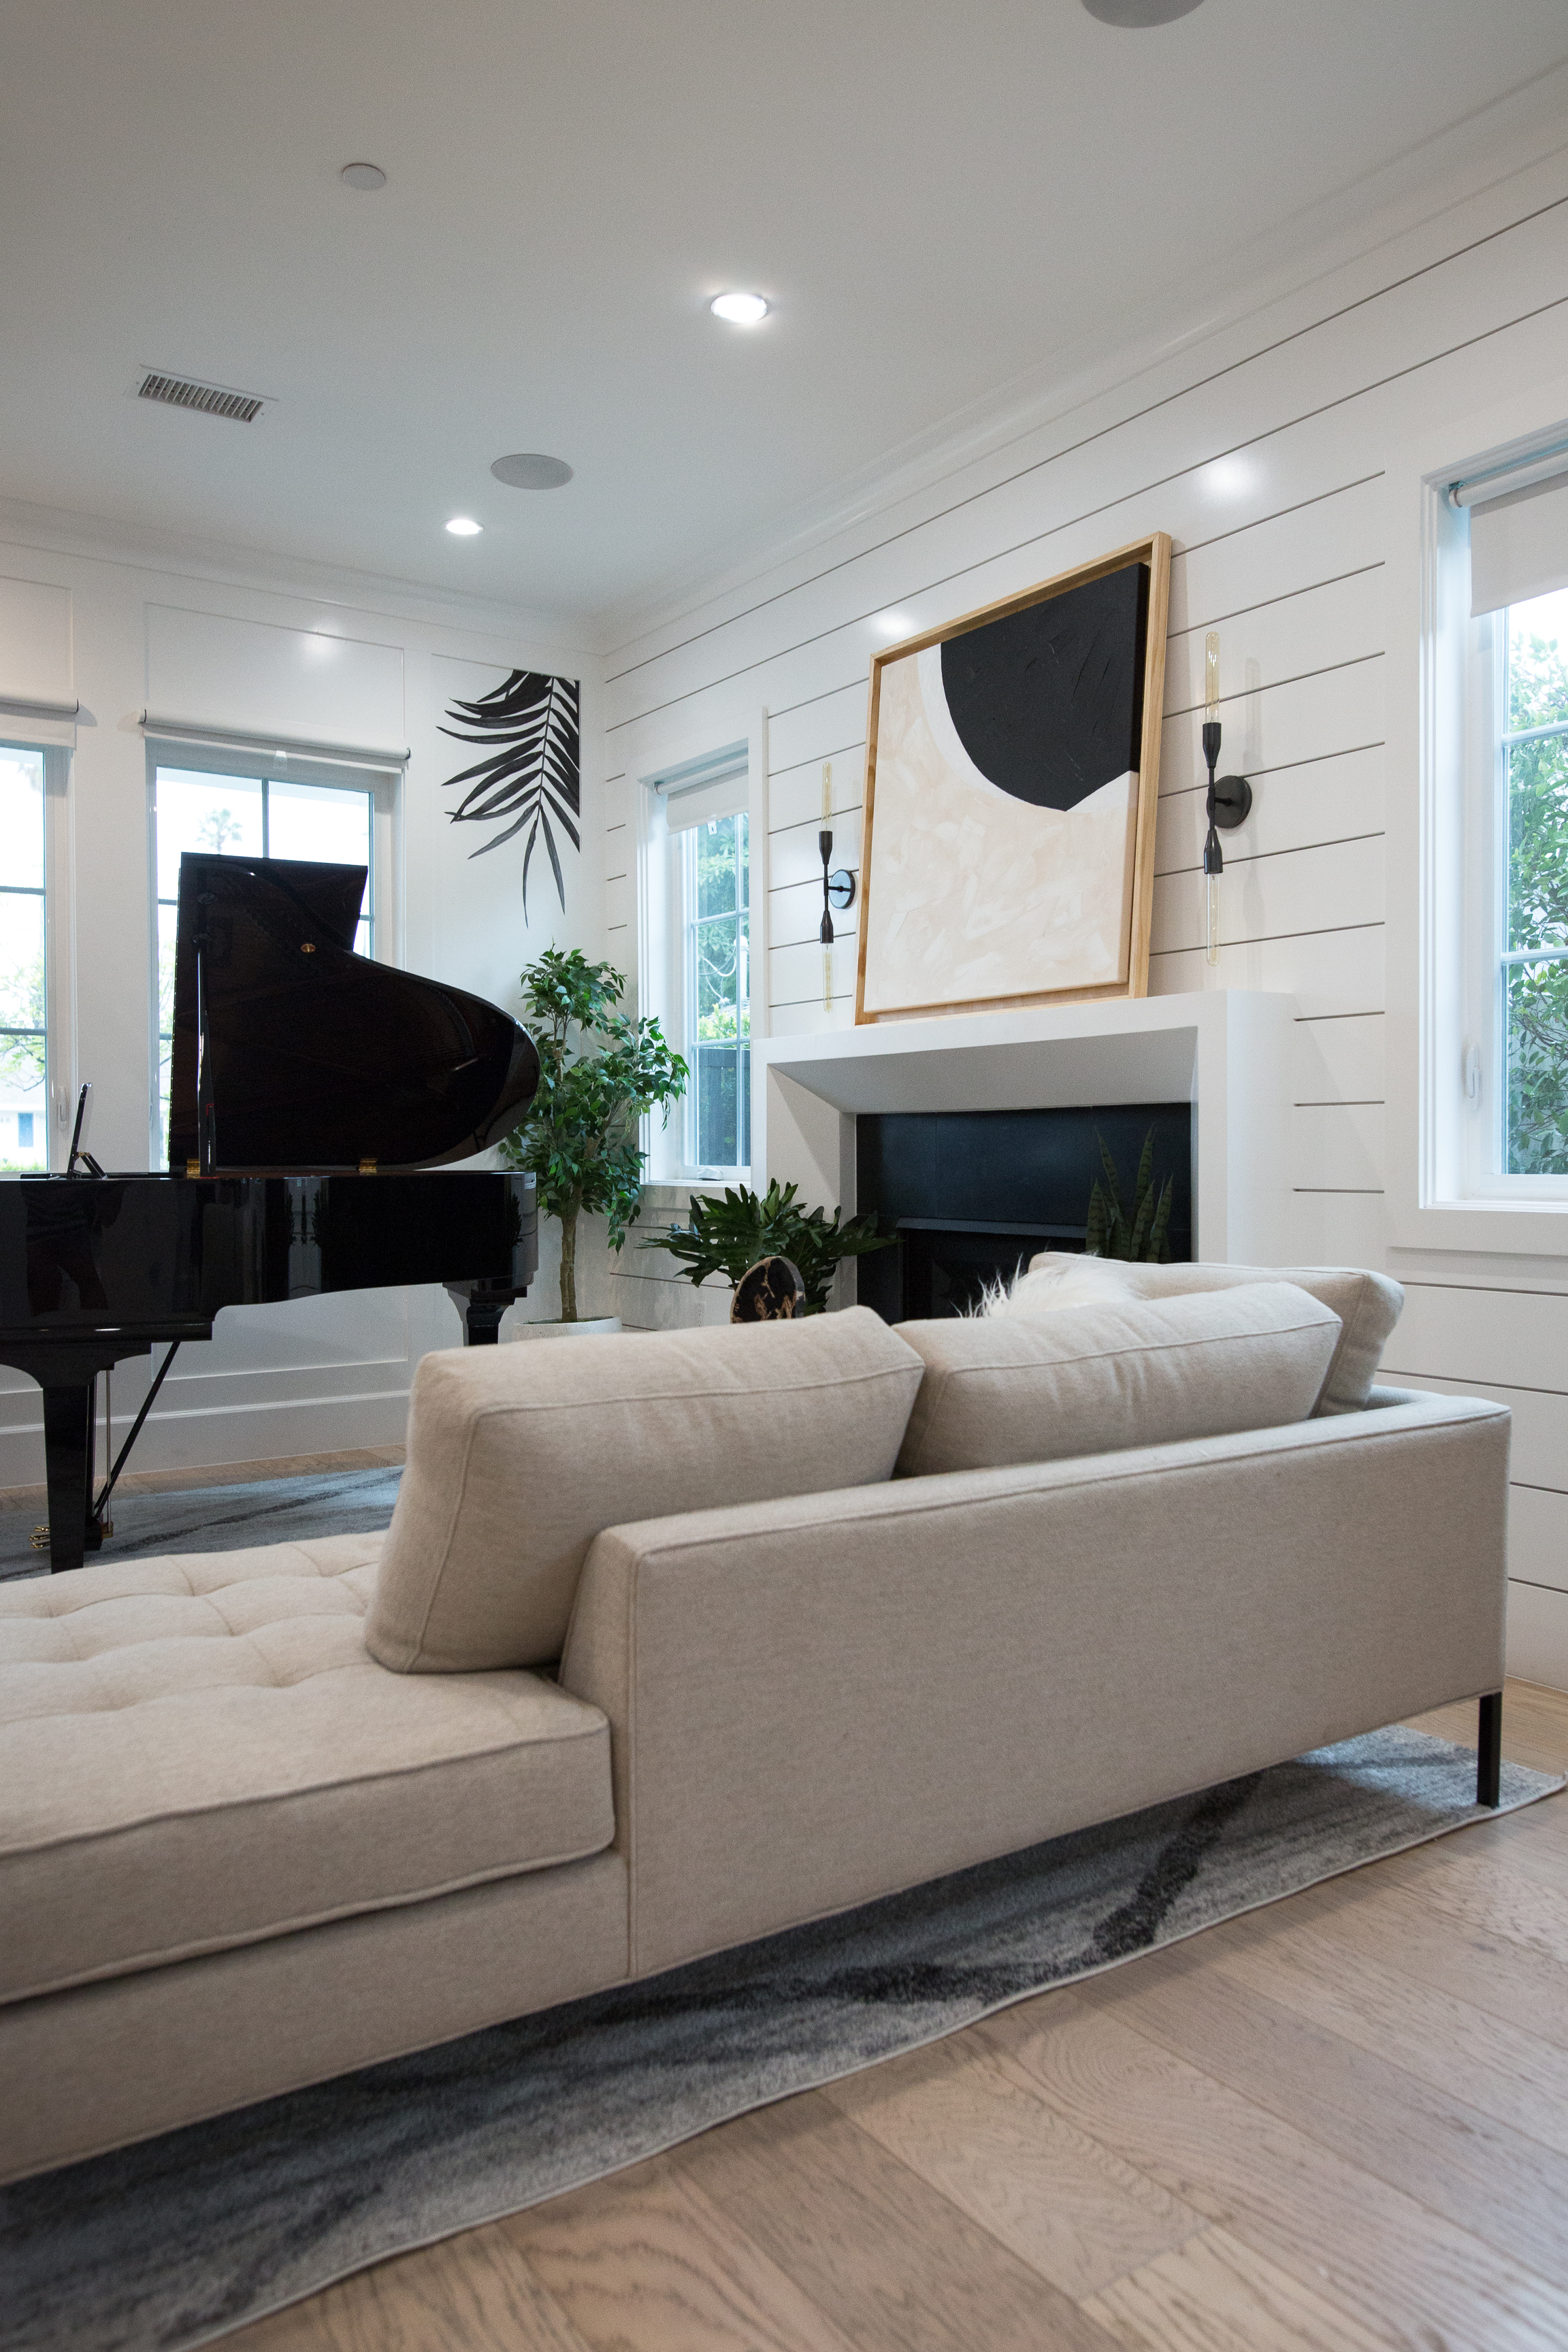
... Done guessing? It's a beauty blender! It was only fitting that when creating art with beauty guru James Charles, we would pay homage to the tools of his very glamorous trade! I've employed other abstract painting techniques before, but the sharp contrast and the abstract (or not-so-abstract) shape really made this one stand out! Check out the supplies and how-to steps below!

 Prep It:
Square canvas Acrylic paint in contrasting colors (we used creams and white and black) Different types of paintbrushes (wall paintbrushes, foam paintbrushes, etc.) 1/4" plywood board Circular saw 4 1x2 wood pieces Miter saw Wood glue Nail gun


 Do It!:
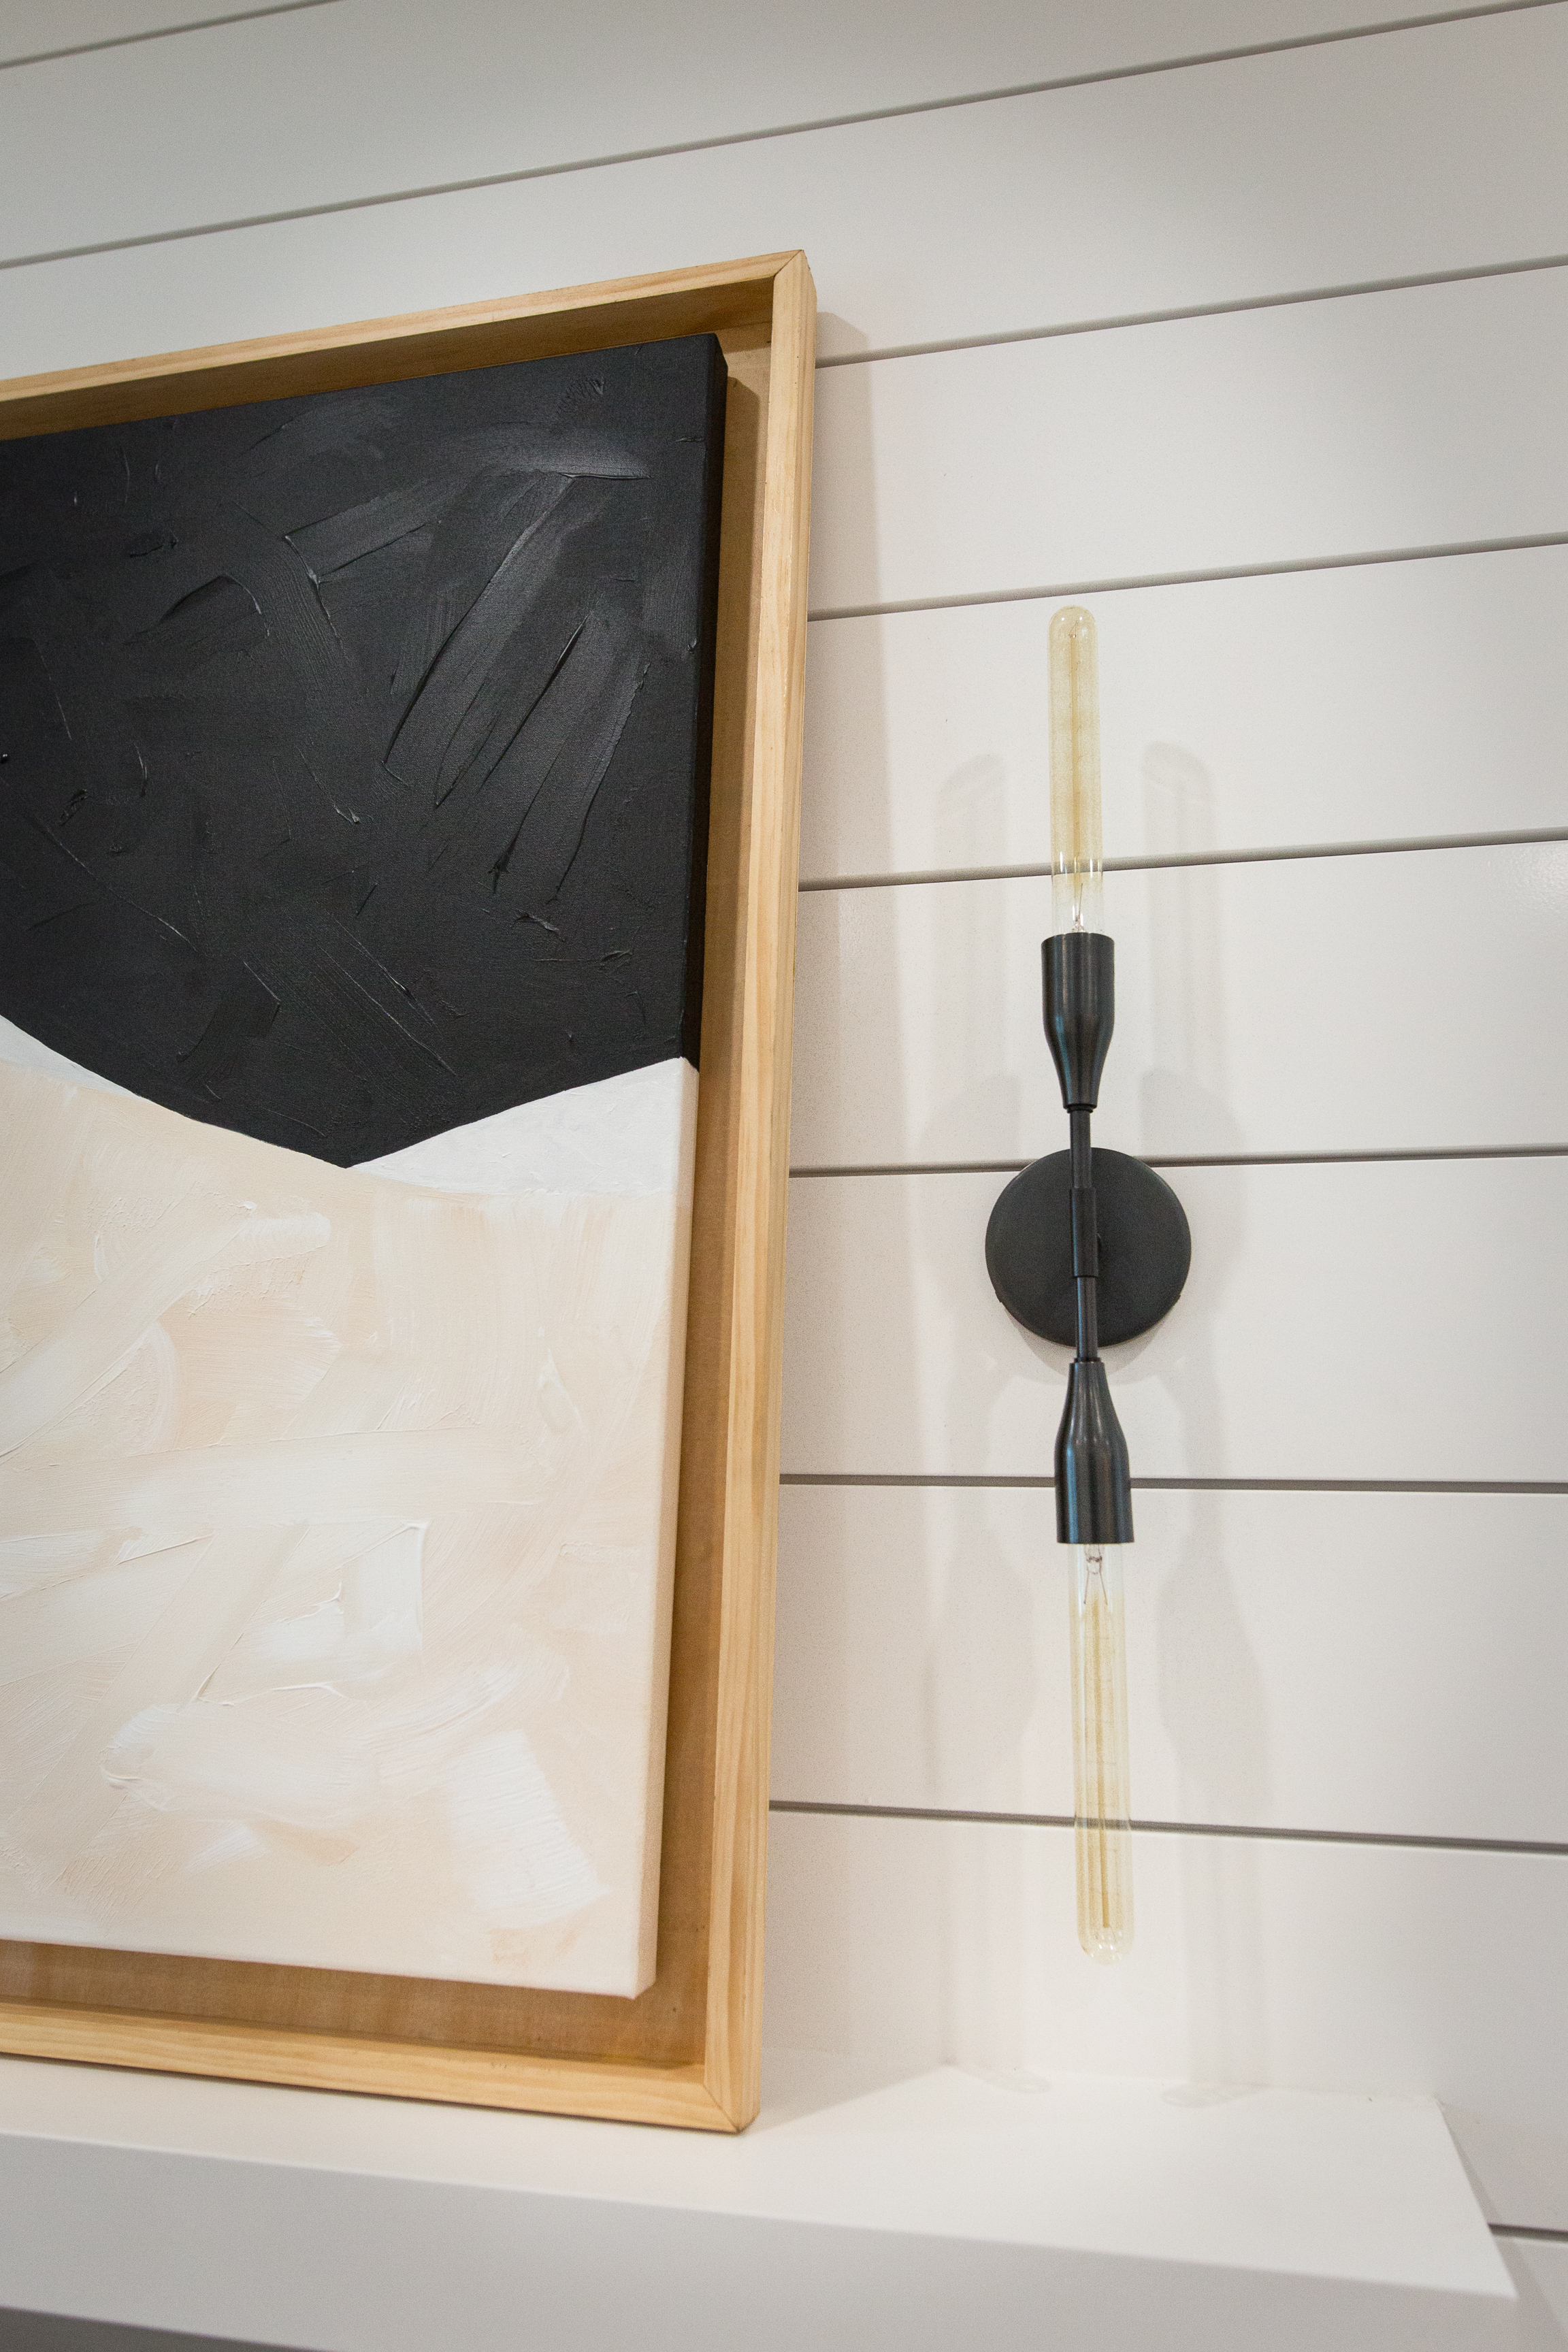
- Sketch out the shape of a beauty blender (curved with a little edge) onto your canvas with a pencil. We positioned ours in a corner, but you can get creative with the placement!
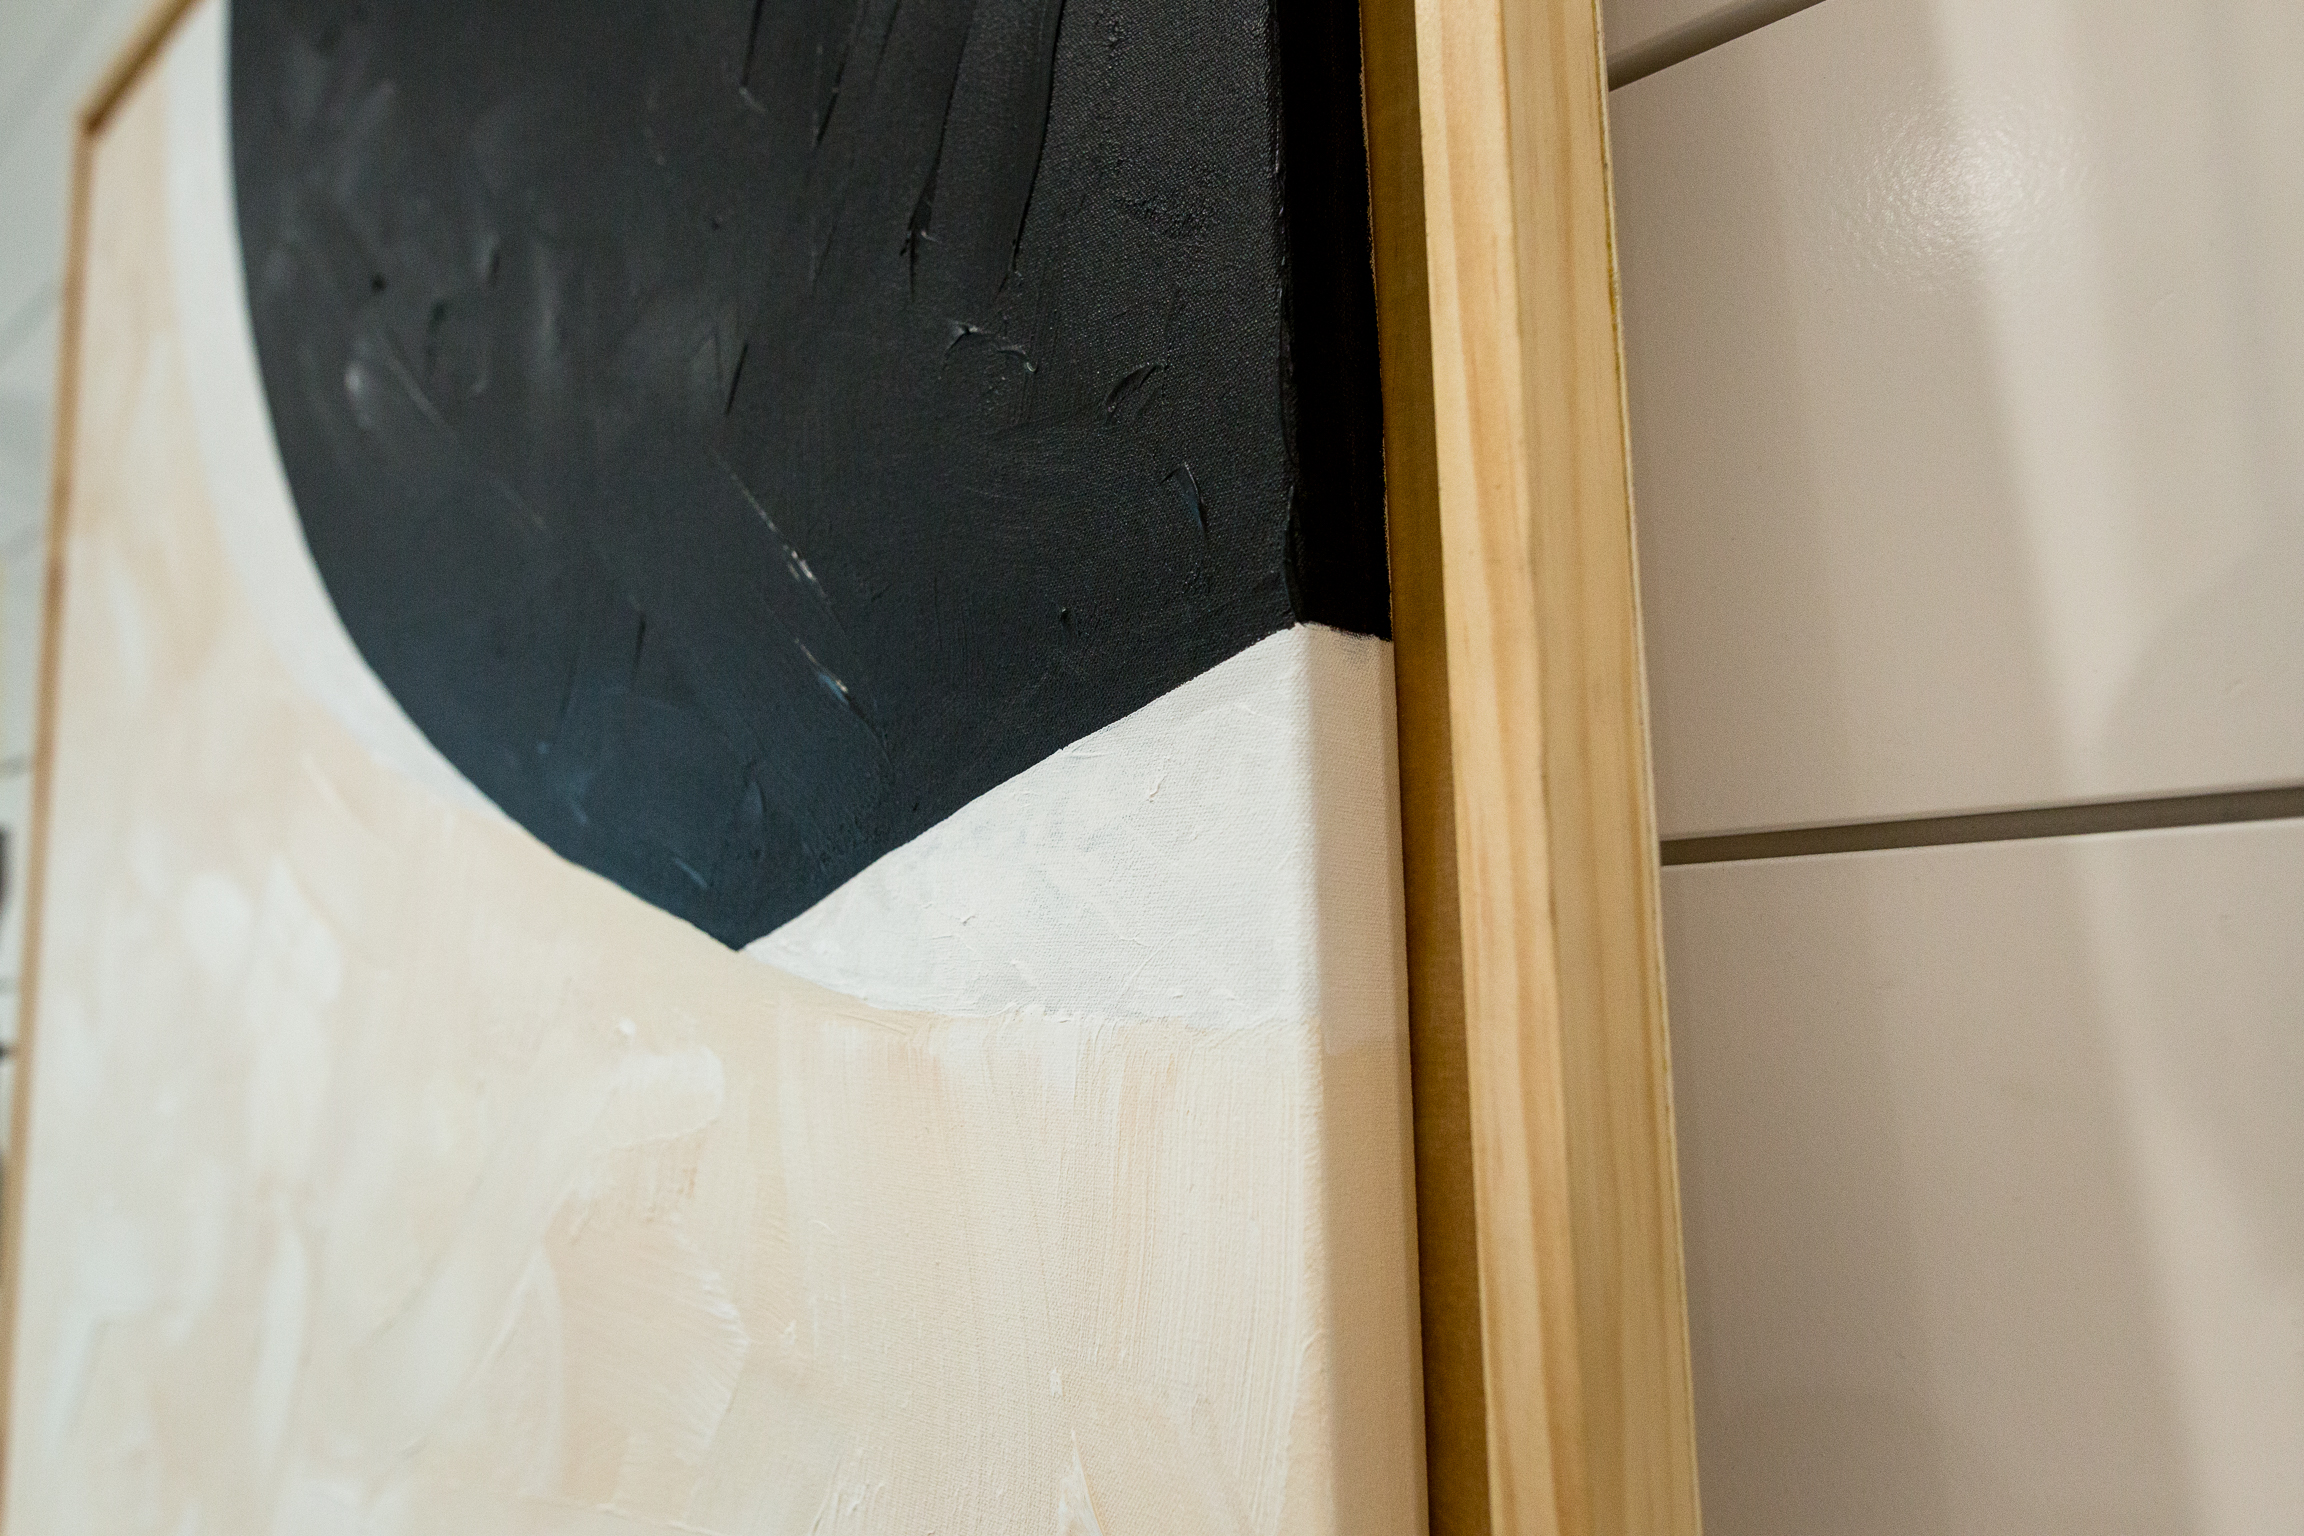
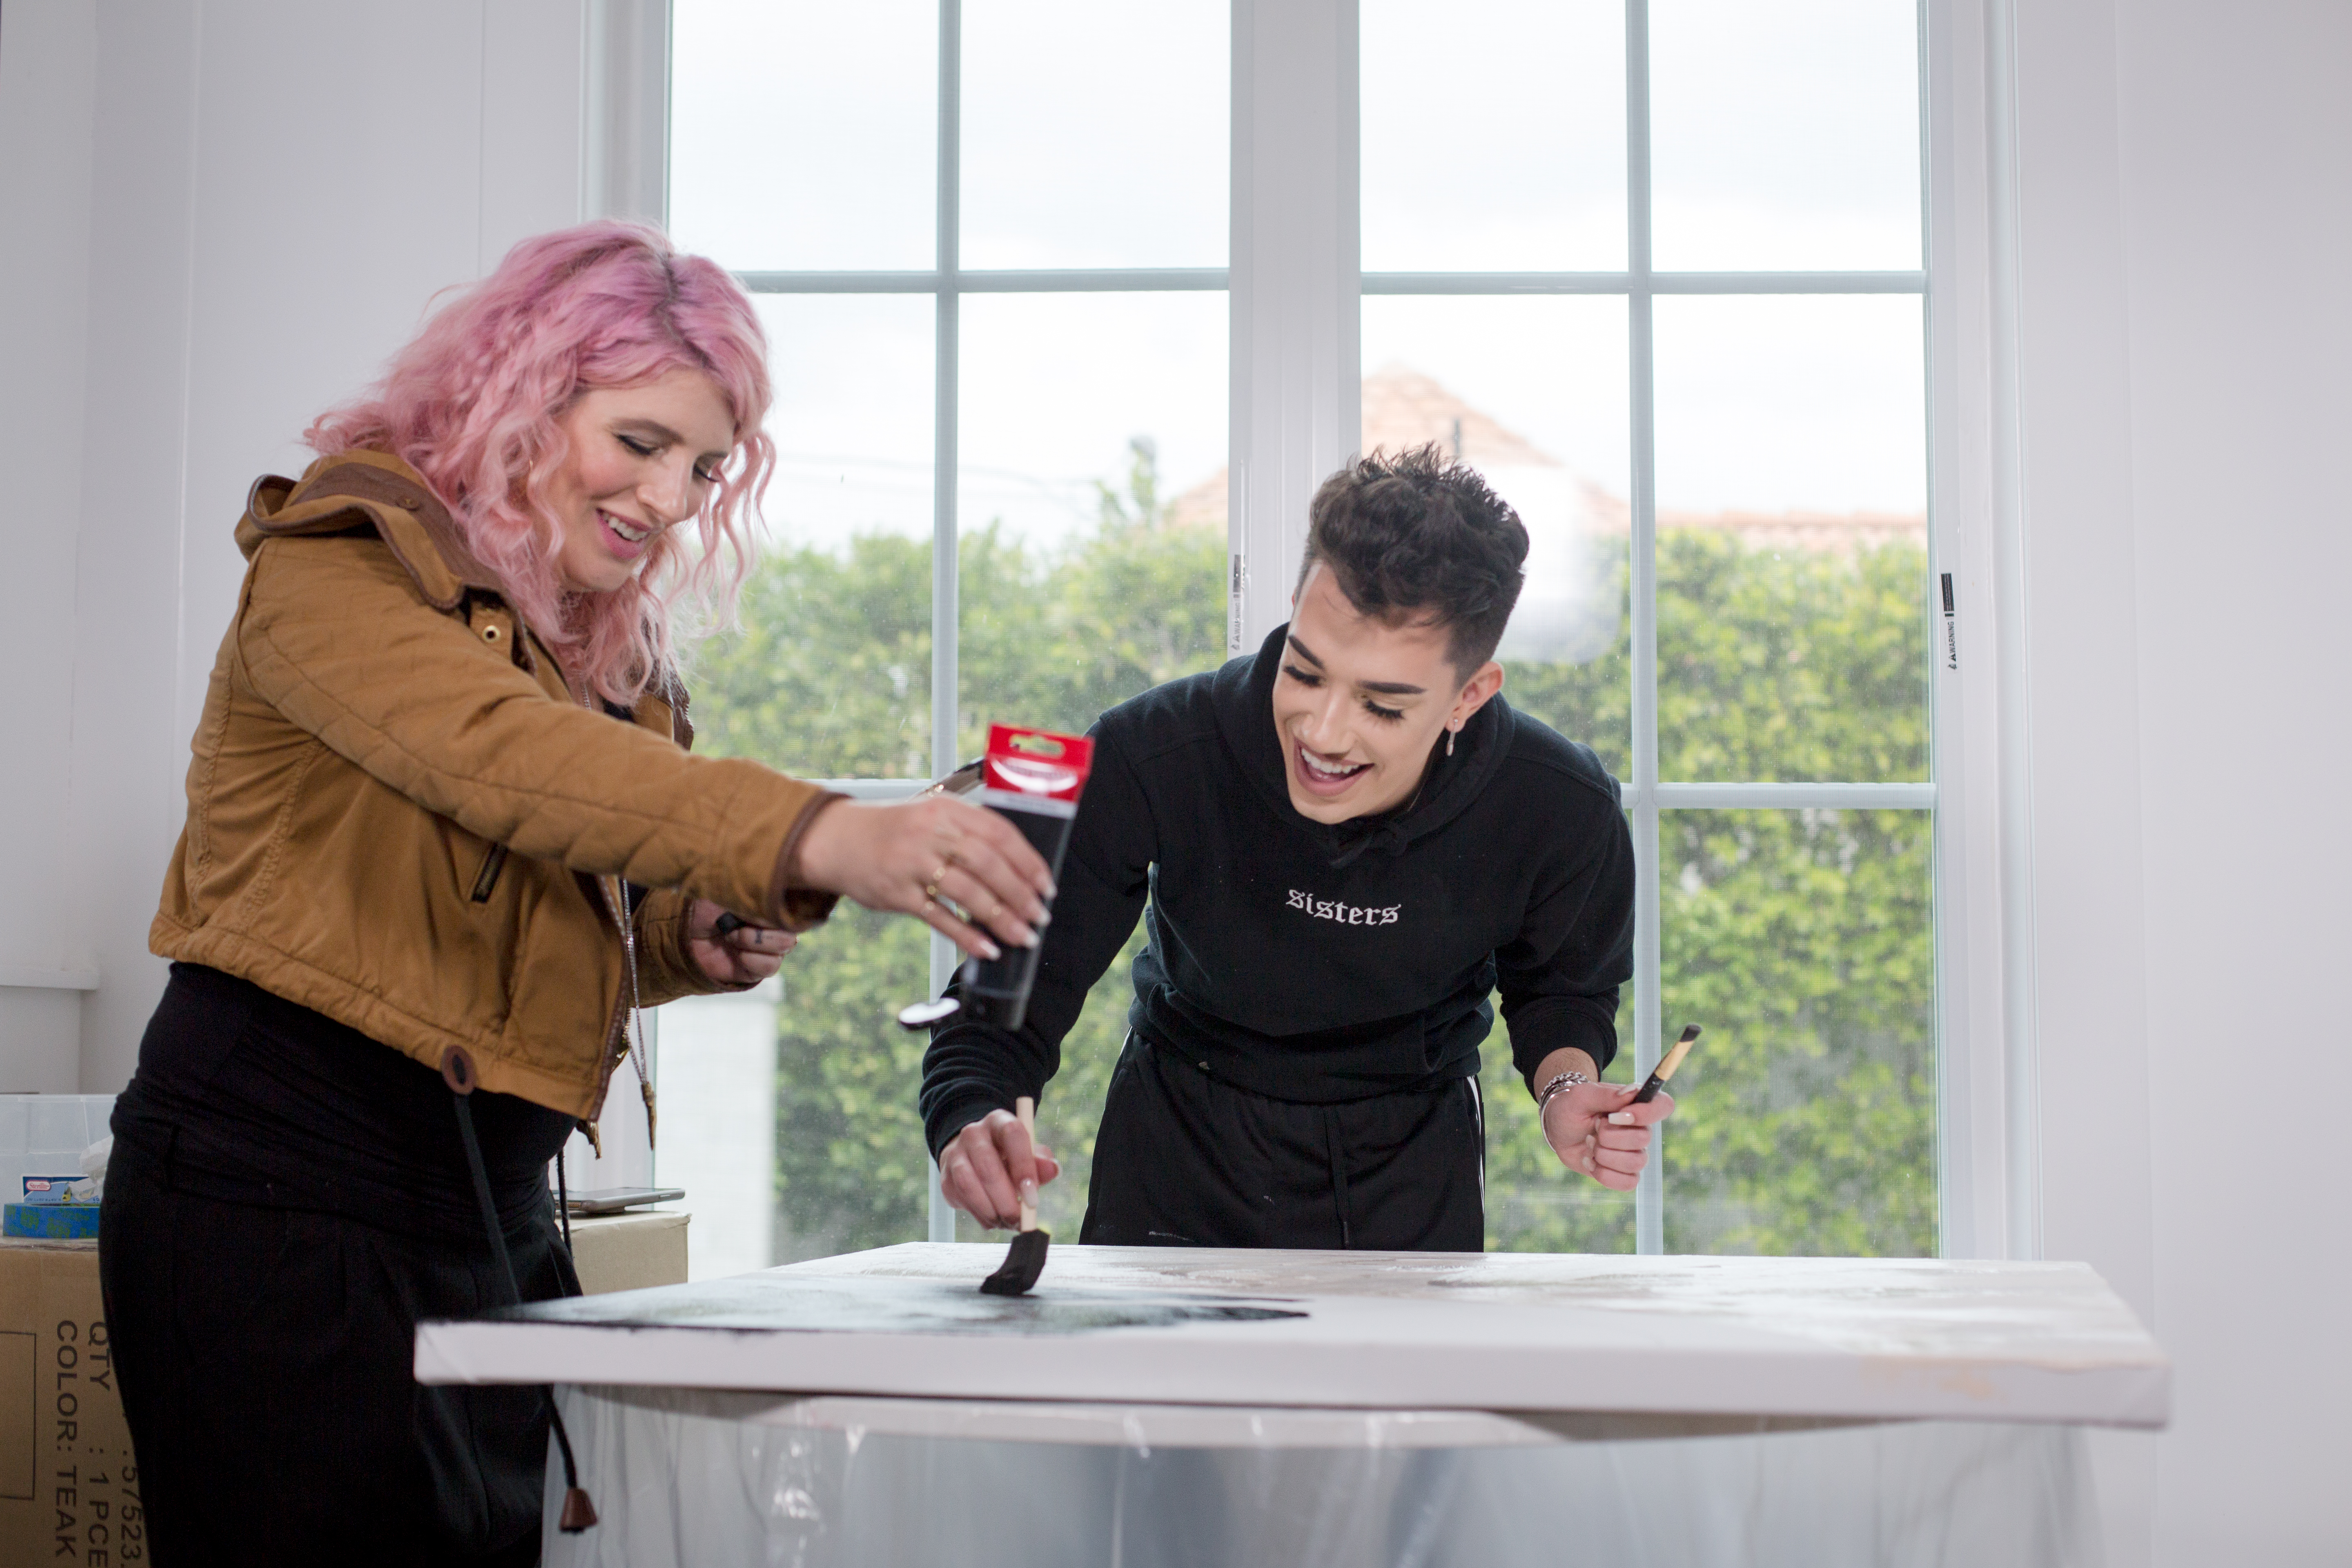
- Start with the off-white background. Generously dab a few shades of paint onto the canvas — don't be shy, since this piece really looks best with a very paint-like texture, which is achieved by using ... a lot of paint!
- Fill in the background area with different types of brushes. This will give your artwork more texture, since it is otherwise more minimal. I like using wall paint brushes for the last swoops because of the coarse, brushy texture they leave in the acrylic paint.
- Use the same painting technique to fill in the shape, except only with black paint!
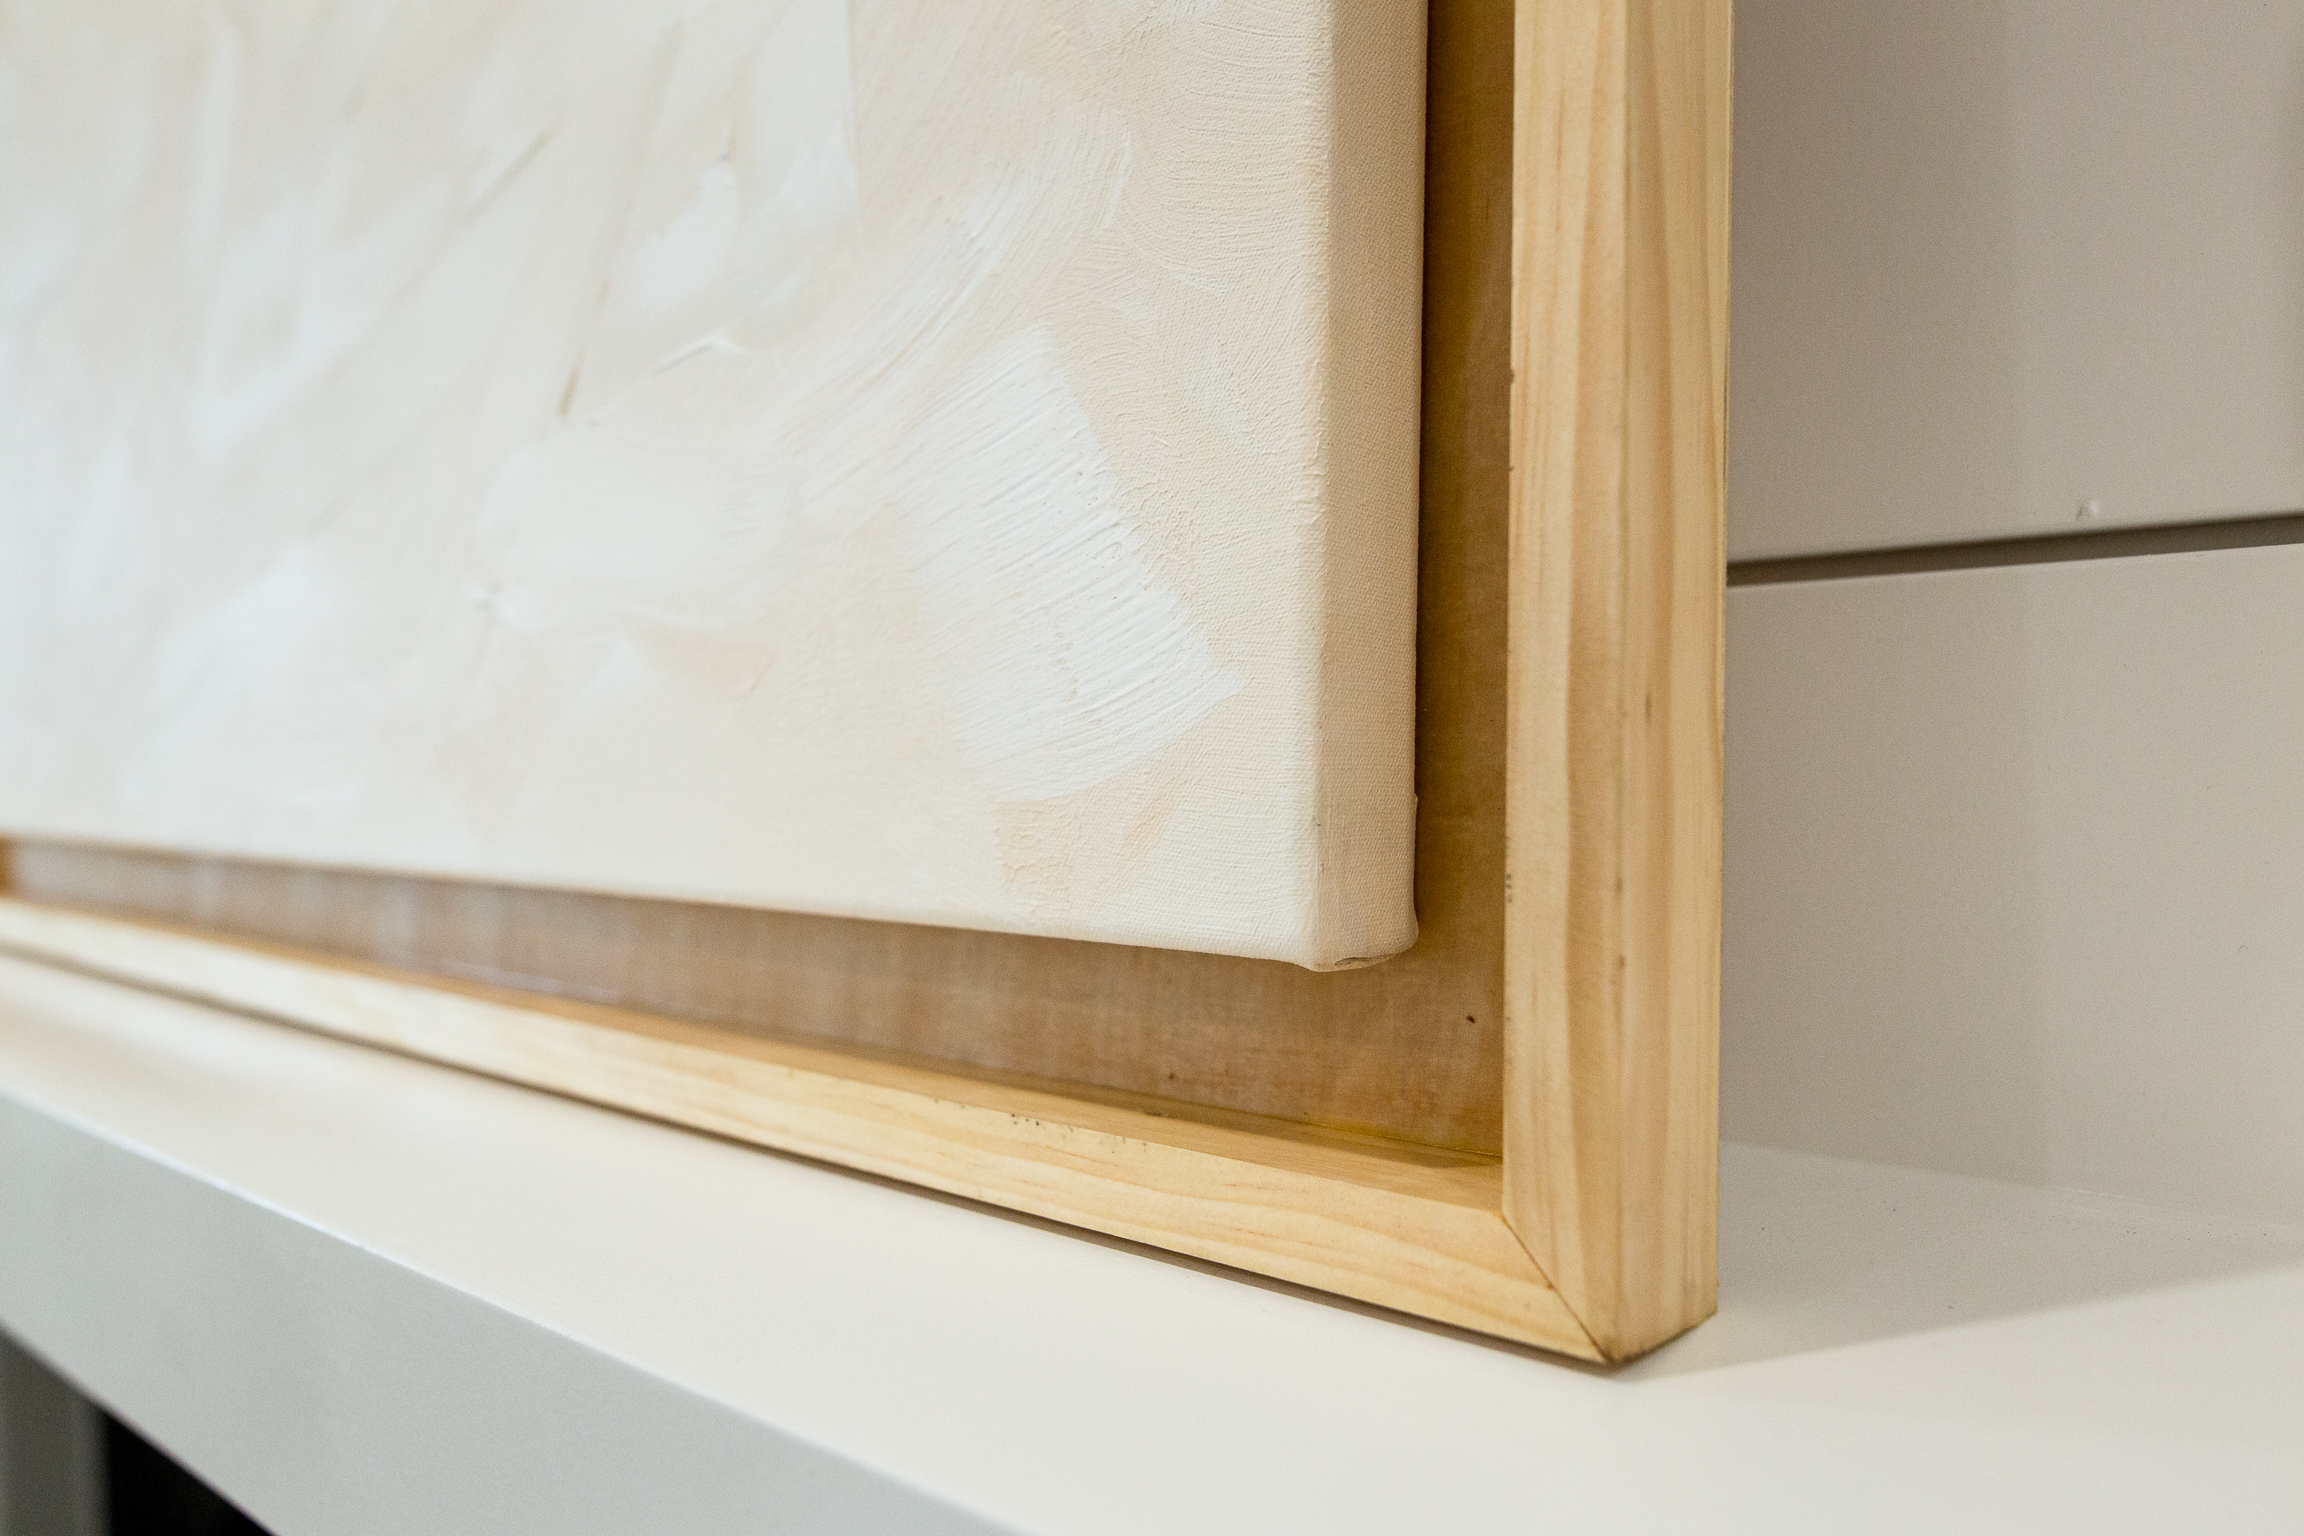
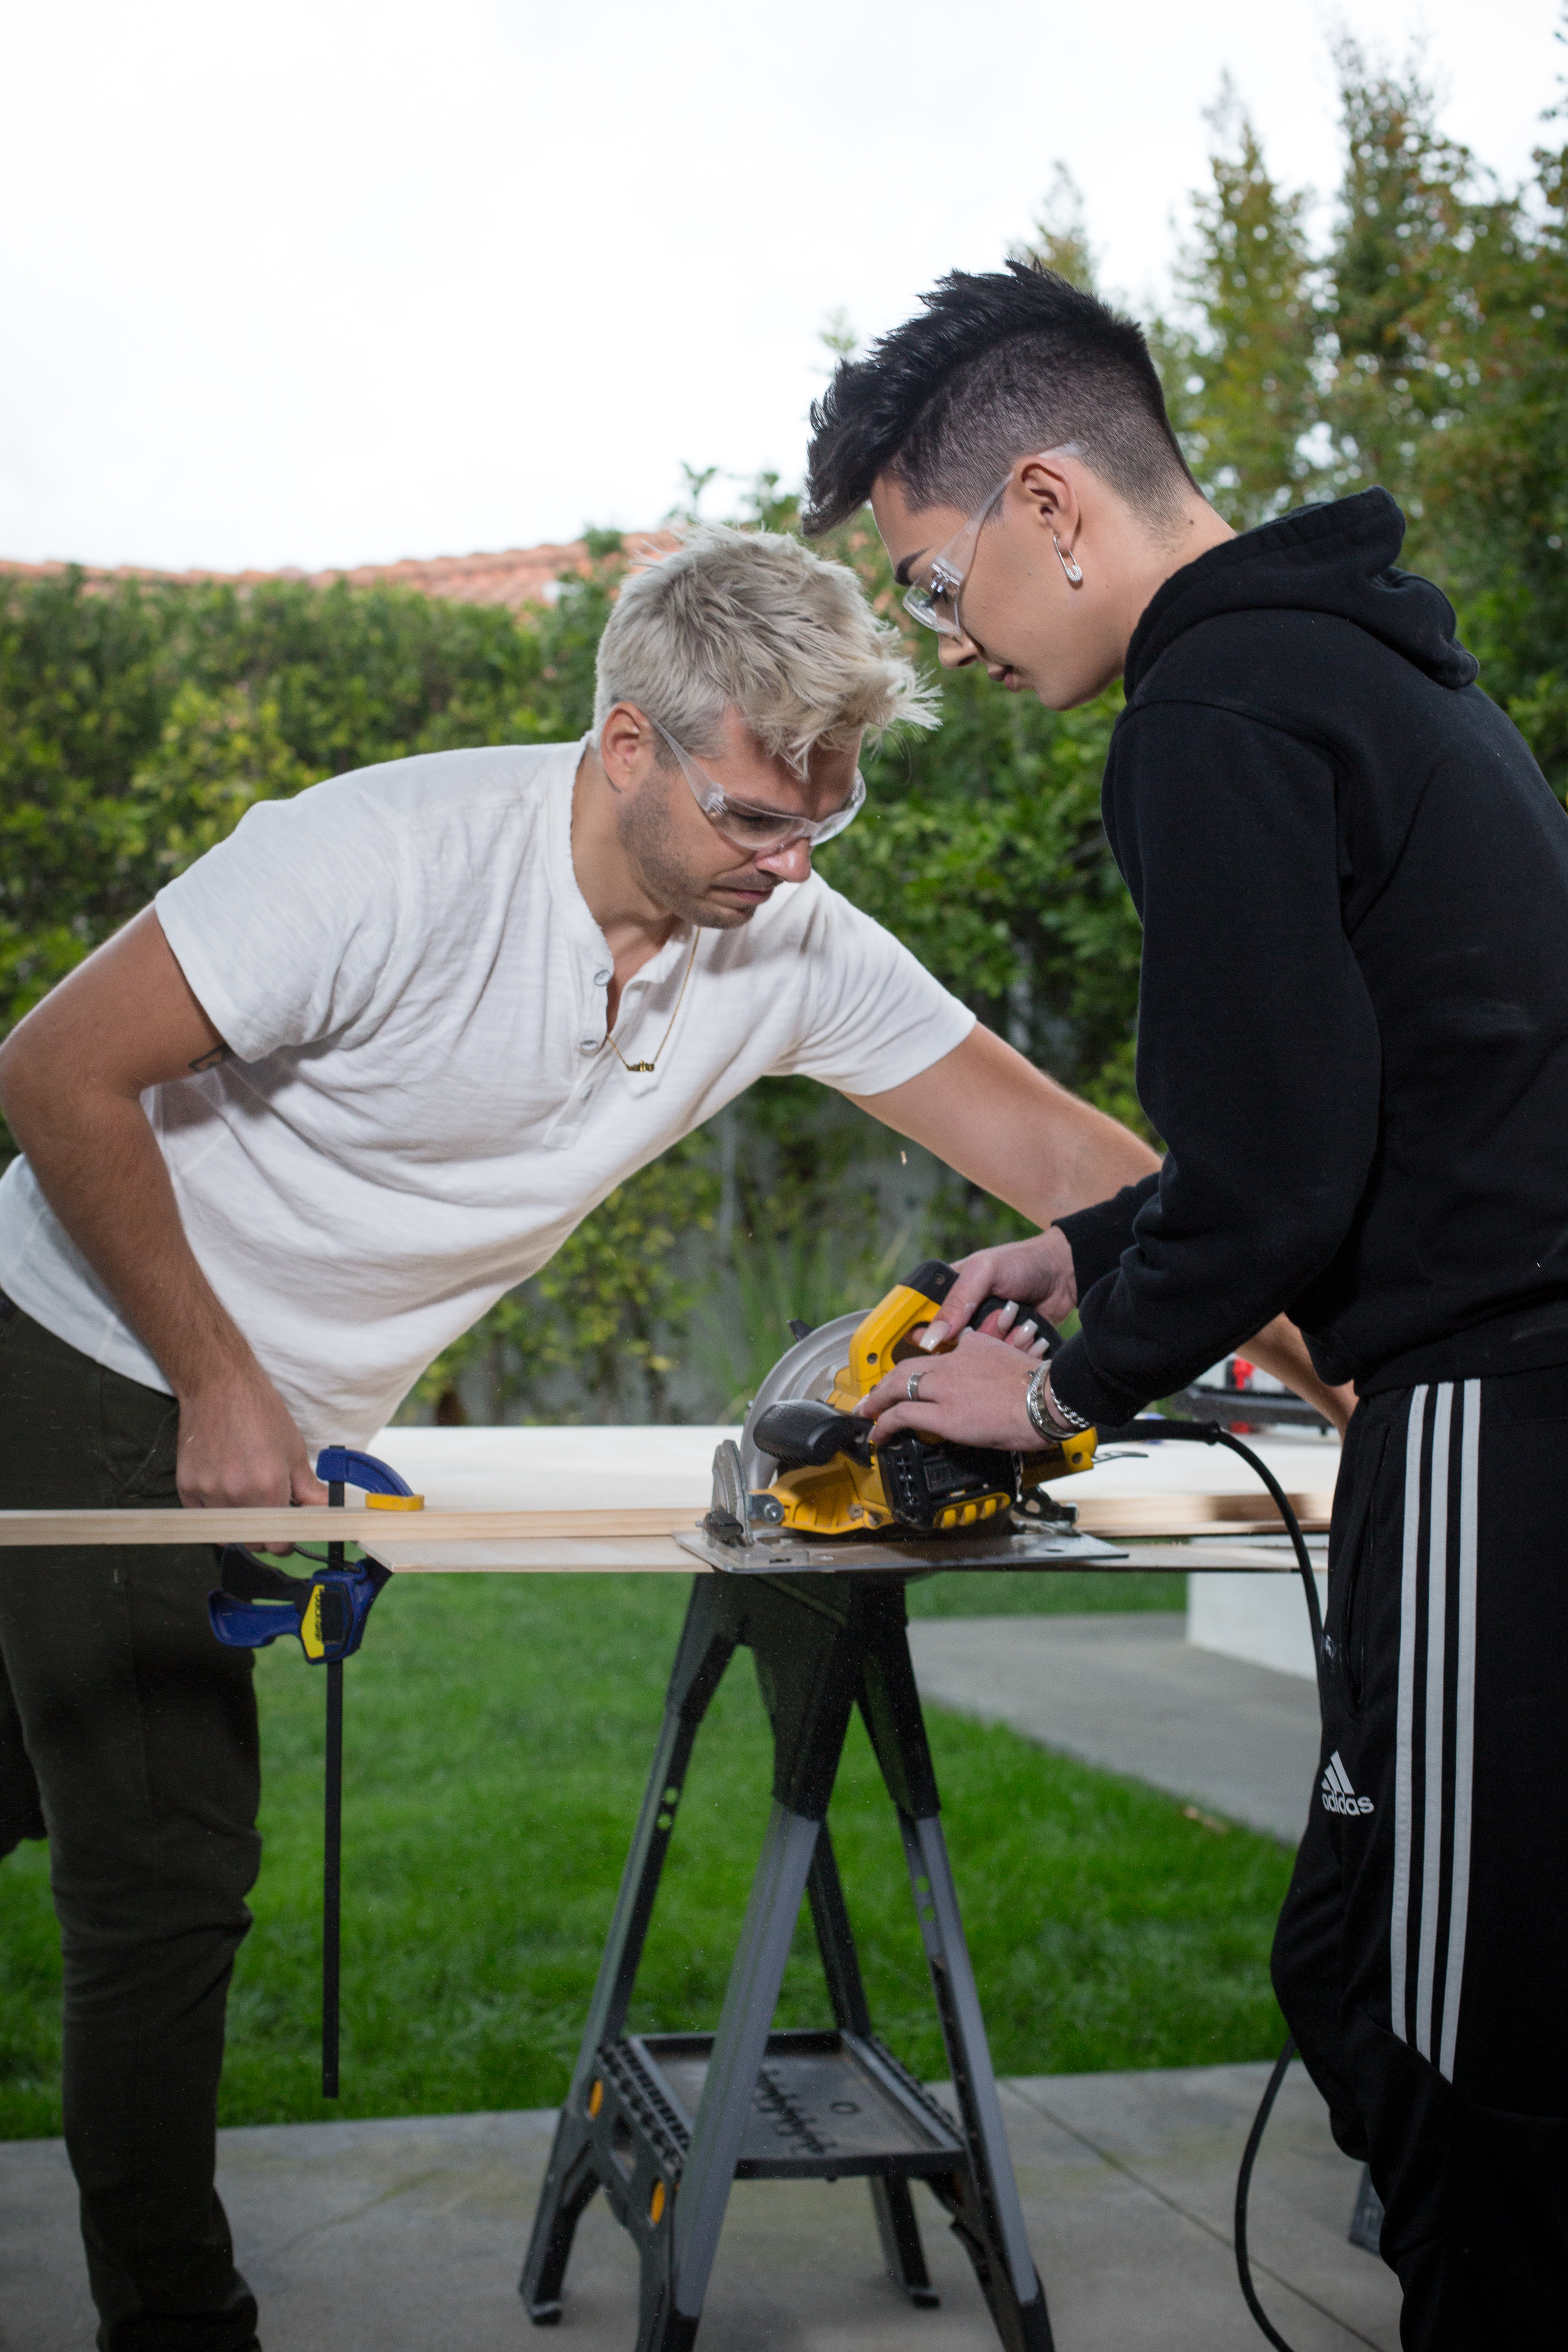
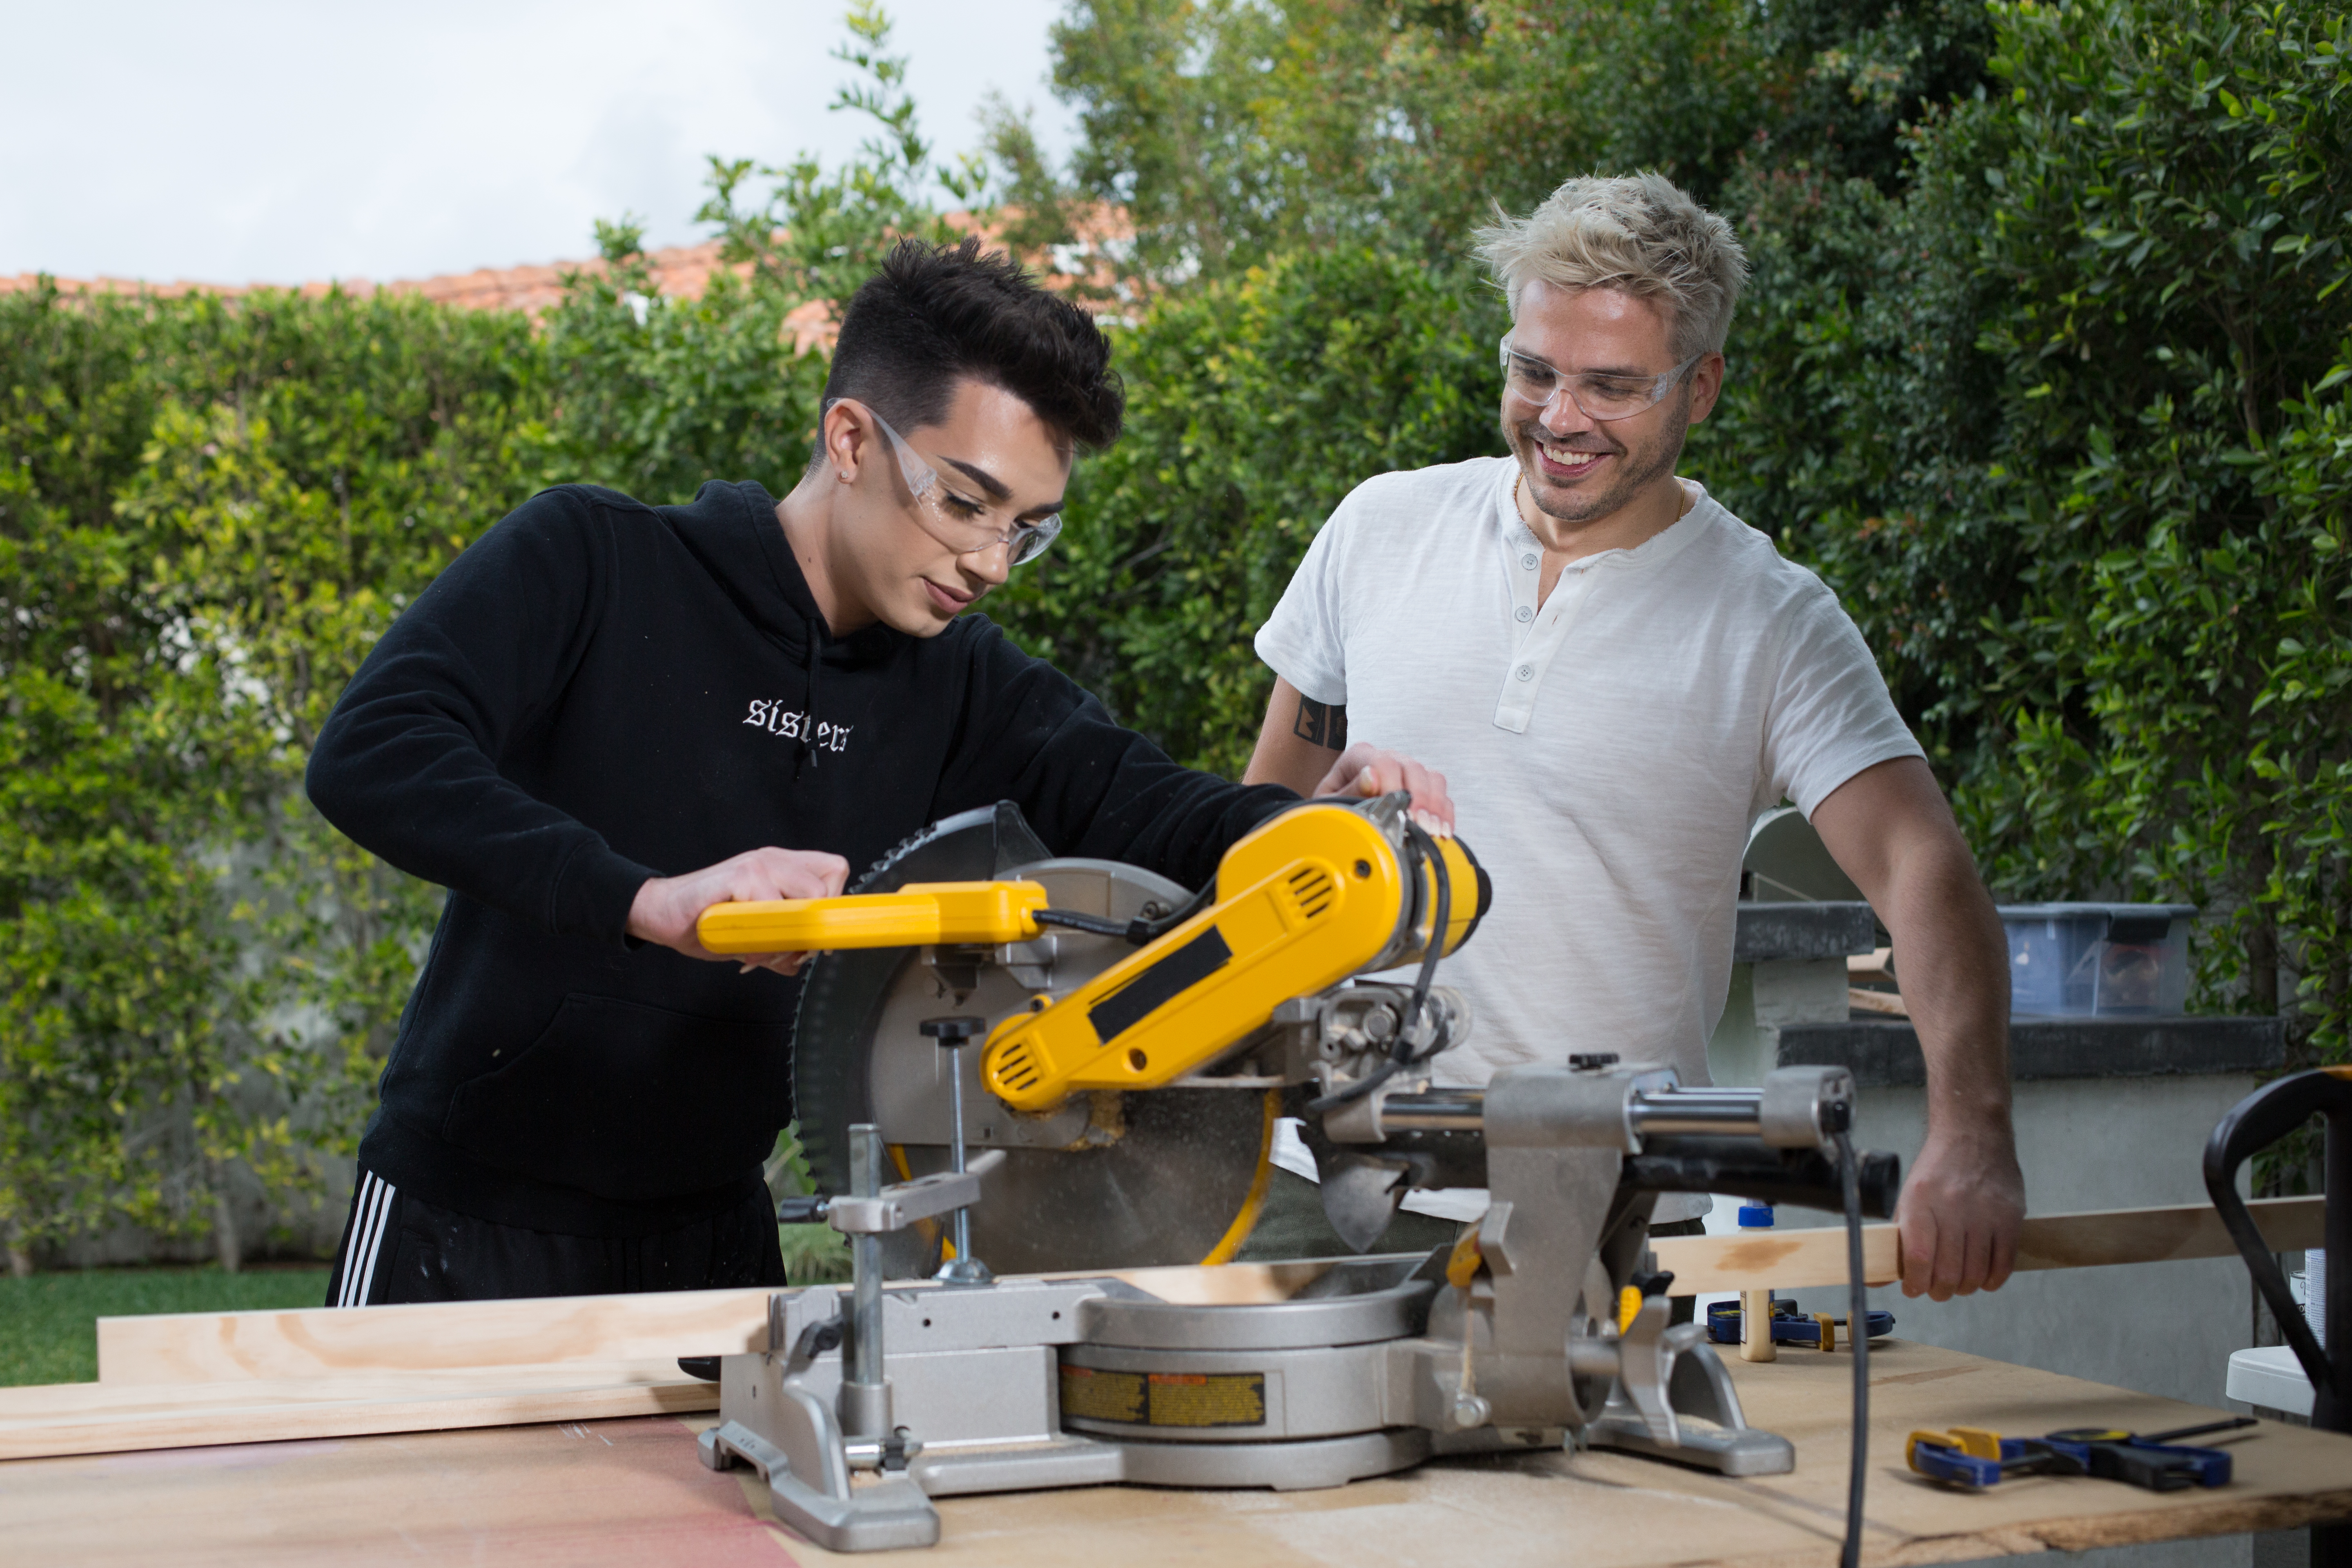
- Let the painting dry while you build your frame. To start build the frame, measure 1.5 inches out from each side of your canvas — that is the size you will need both your plywood piece and the frame to be.
- If you didn't already get your plywood cut down to size at a hardware store, use a table saw to cut it to the correct dimensions.
- If you want to make the board behind the painting a different tone, paint it or stain it and let dry while building the frame.
- To build the frame, use this tutorial!
- Place your artwork where you'd like it to be on the plywood, and attach it by using the nail gun from behind, around the wooden perimeter of the canvas.
- Use the same technique as step 9 to attach the frame to the artwork and plywood board, and you're done!