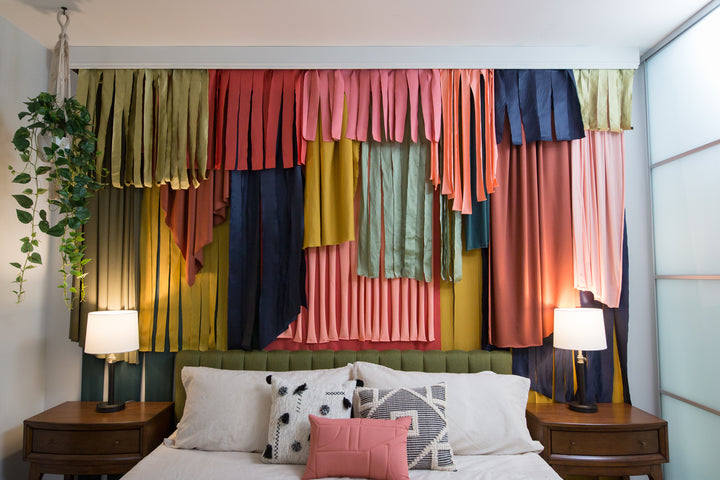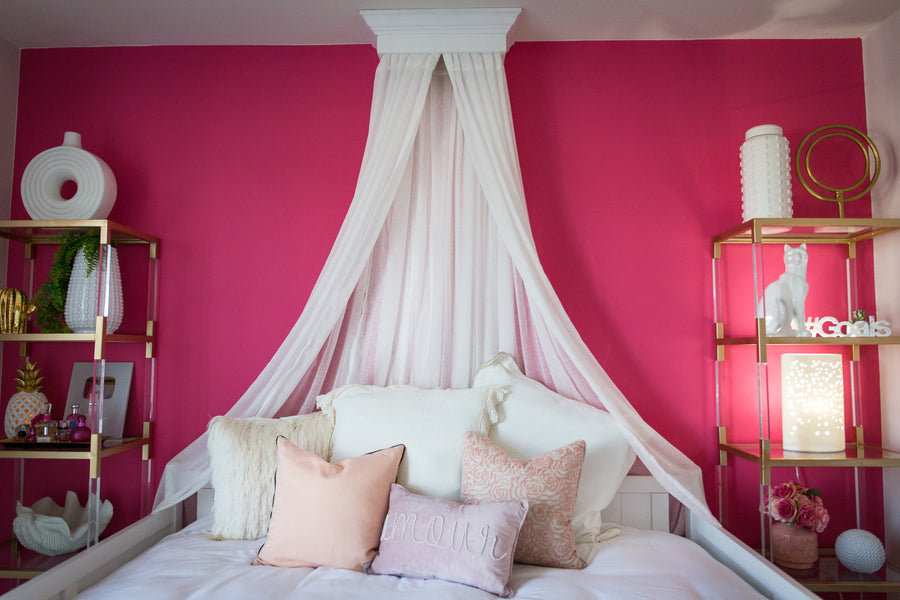

Is there anything cozier than a canopy? While these bedroom features are usually large and luxurious, those of you with smaller spaces don't need to feel left out! This cornice canopy DIY takes up just a little bit of wall and ceiling space, but still gives that welcoming and dreamy vibe that every bedroom should have.
Check out the supplies and steps for this project below!

 Prep It:
1x6 wood 2x4 wood Chop saw Moulding Caulk Wood glue Nail gun White paint Paintbrush 4 sheer curtain panels - make sure they are long enough, we used 95" panels Staple gun Power screwdriver
Do It!:
- Measure out the lengths you'd like the different sides of your canopy to be. Use the chop saw to cut the 1x6 to the correct lengths, making sure to cut the sides at 45 degree angles so they can fit together.
- Cut a 2x4 piece of wood to fit along the backside to complete the rectangle - this will be the piece you will screw through to attach the cornice to the wall.
- Cut the angled decorative moulding into three pieces corresponding to the lengths of the 2 shorter sides of the box and 1 of the longer sides. Again use miter (45 degree) cuts so the pieces fit together nicely at the corner.
- Assemble your box from the wood pieces by applying wood glue to the angles at the ends, then squeezing together and securing by nailing with the nail gun through the inside of the box. Make sure the nails are long enough to go through both the 1x6 and the moulding but not too long to go all the way through.
- If there are any gaps in the moulding when your box is assembled, you can use paintable caulking or wood putty to fill in those gaps. Let dry.
- Paint your finished cornice box and let dry. We used a semi-gloss paint for a glossier finish.
- When your box is fully dry, attach it to the wall, flush to the ceiling. Screw the flat back panel into the studs in the wall so it is secure.
- Staple the curtains around the interior of the box, making sure they will open in the center of the front. Fold over little pleats as you go so you get a nice gathered look that cascades out from the canopy.
- Place a bed beneath your canopy, open the curtains, and drape around for an instant sophisticated and dreamy look!