Hey, that map mural looks fancy. But, would you believe me if I told you that you don't even need to know how to draw to make it yourself?!
Best believe it! If you can turn on a projector, trace some lines, and handle a paintbrush without going unintentionally Jackson Pollock all over the place, you can imagine, create, paint, and then show off your very own DIY Map Mural. Pick a pastel color for a vintage effect or go bolder with a jewel tone, there's no bad option for a DIY this deceptively doable!

Prep It:
Computer (and Photoshop or a similar program if you're customizing!) Projector Pencil Wall paint Paintbrush

Do It!:
- Create your mural image on your computer. If the map you like isn't in black and white (which is ideal for this project, so you can work only with one paint color), transfer it into a phot0-editing program like Photoshop and make the necessary changes.
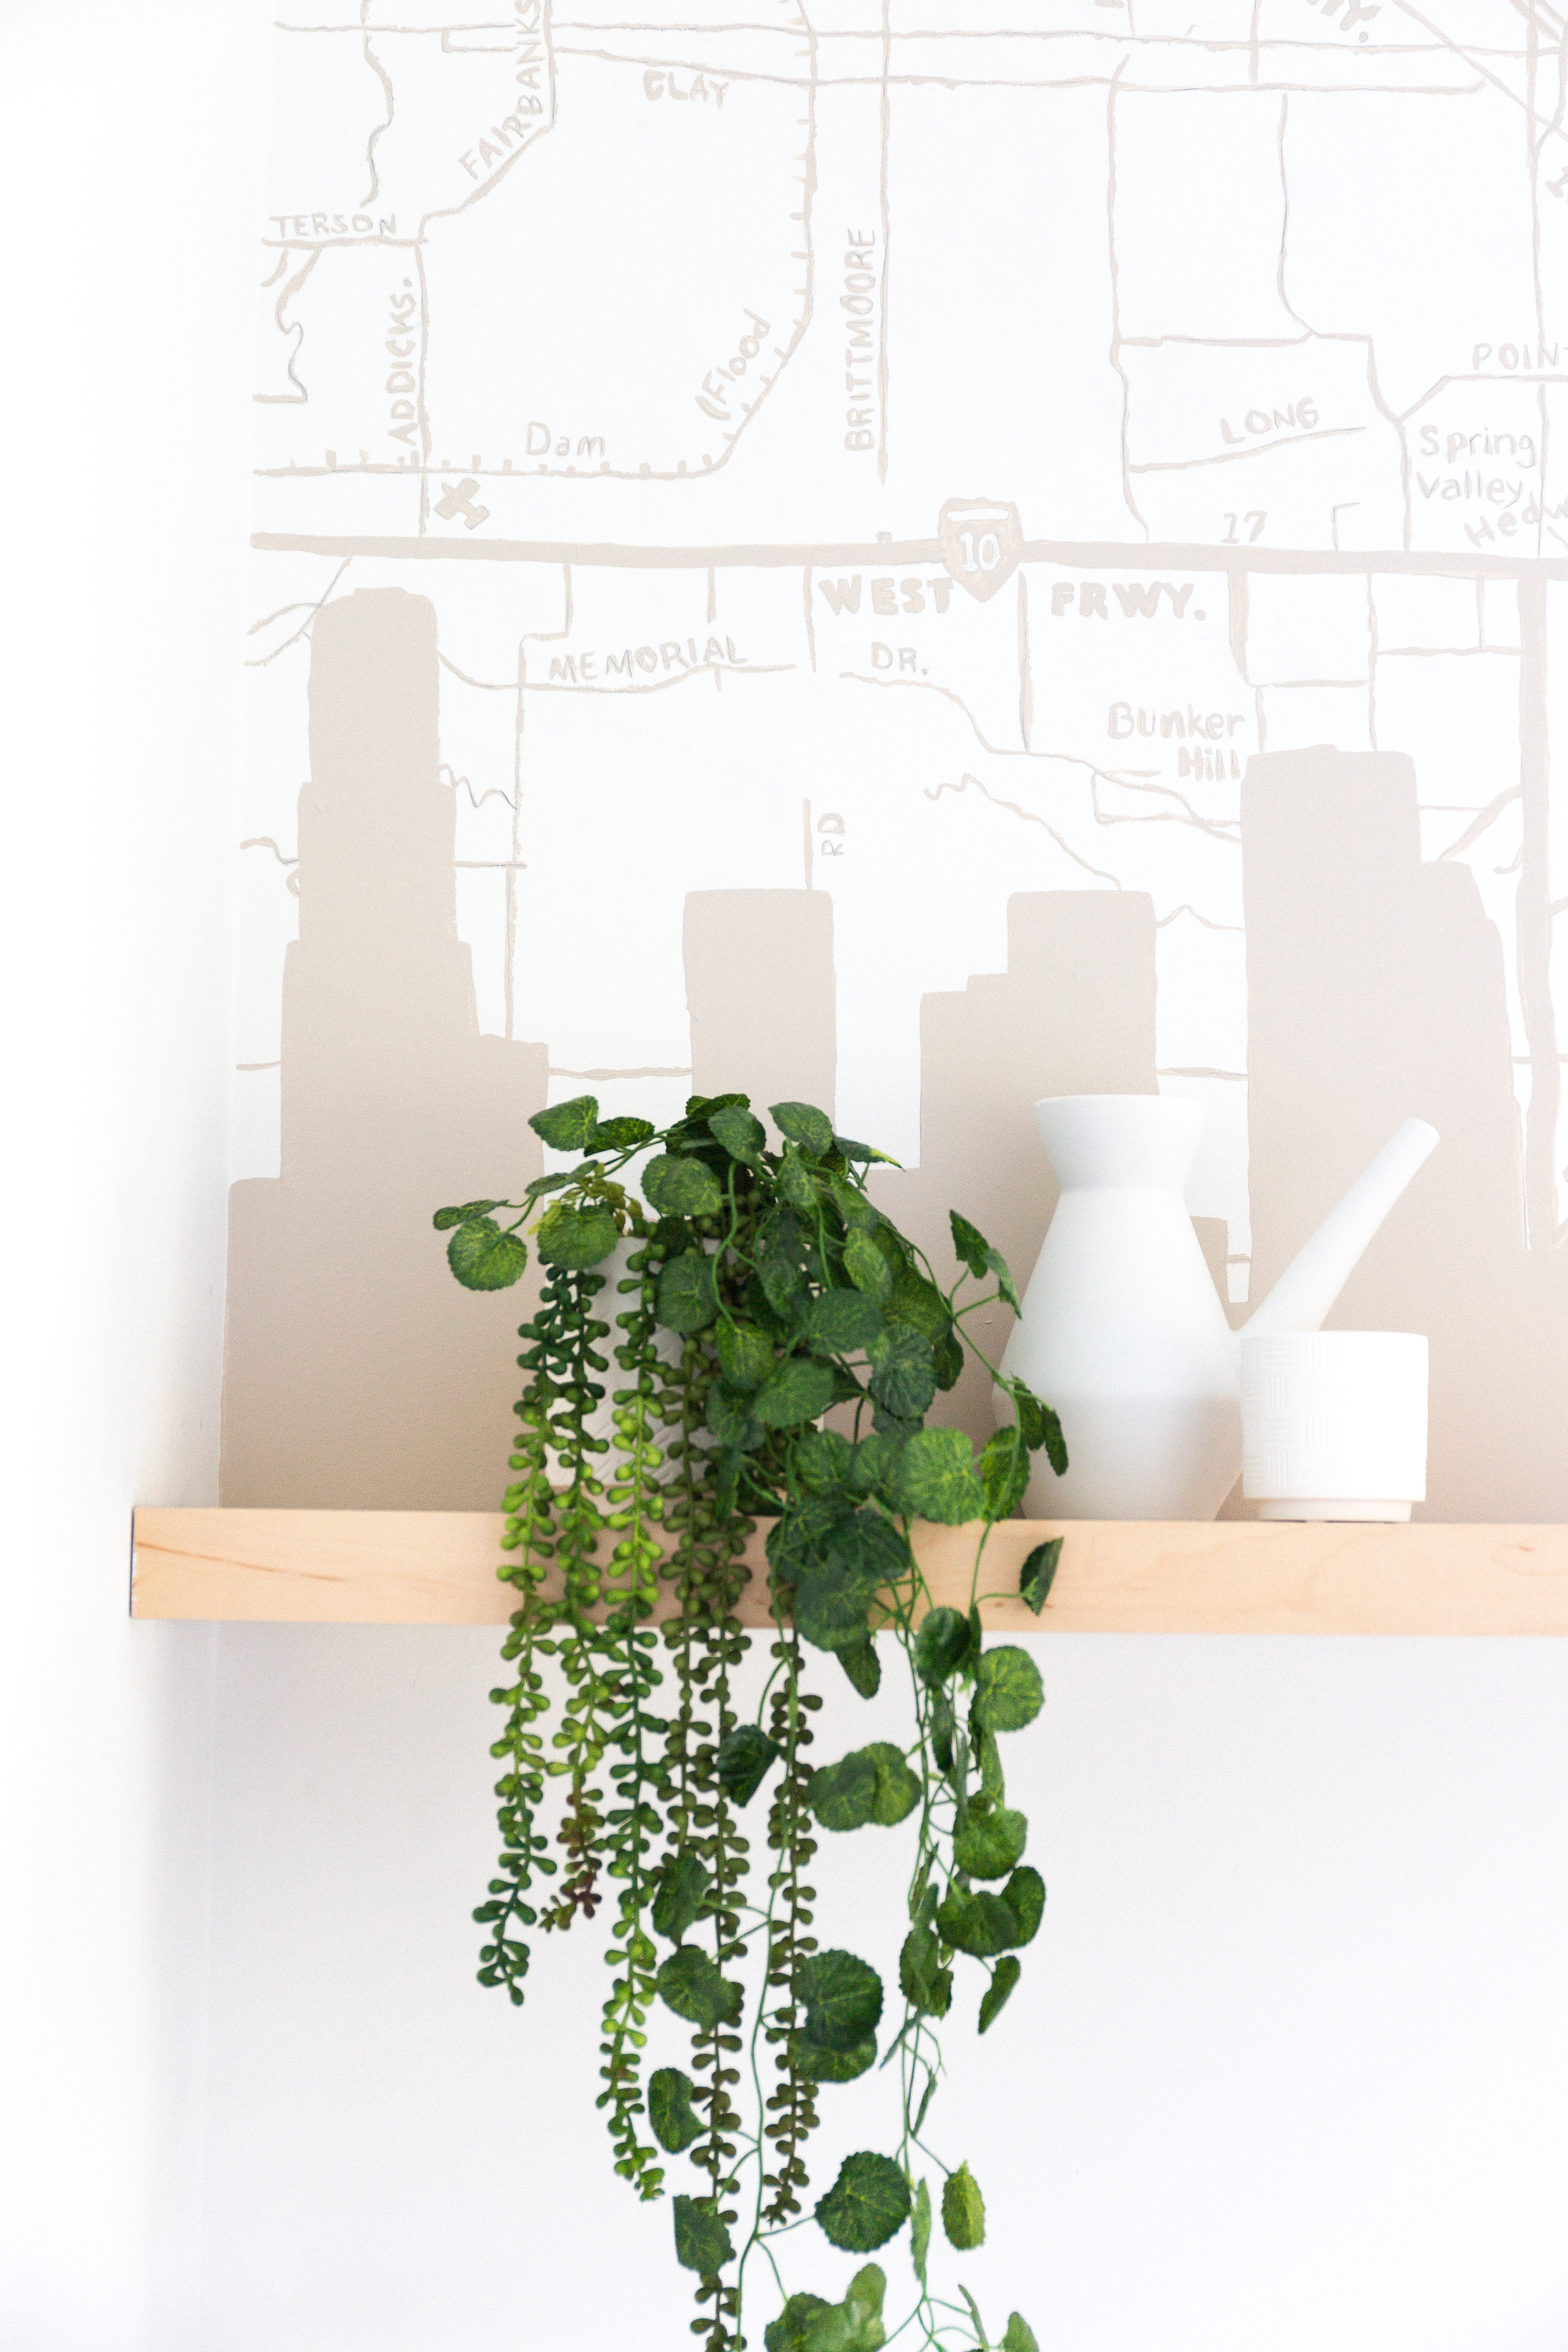
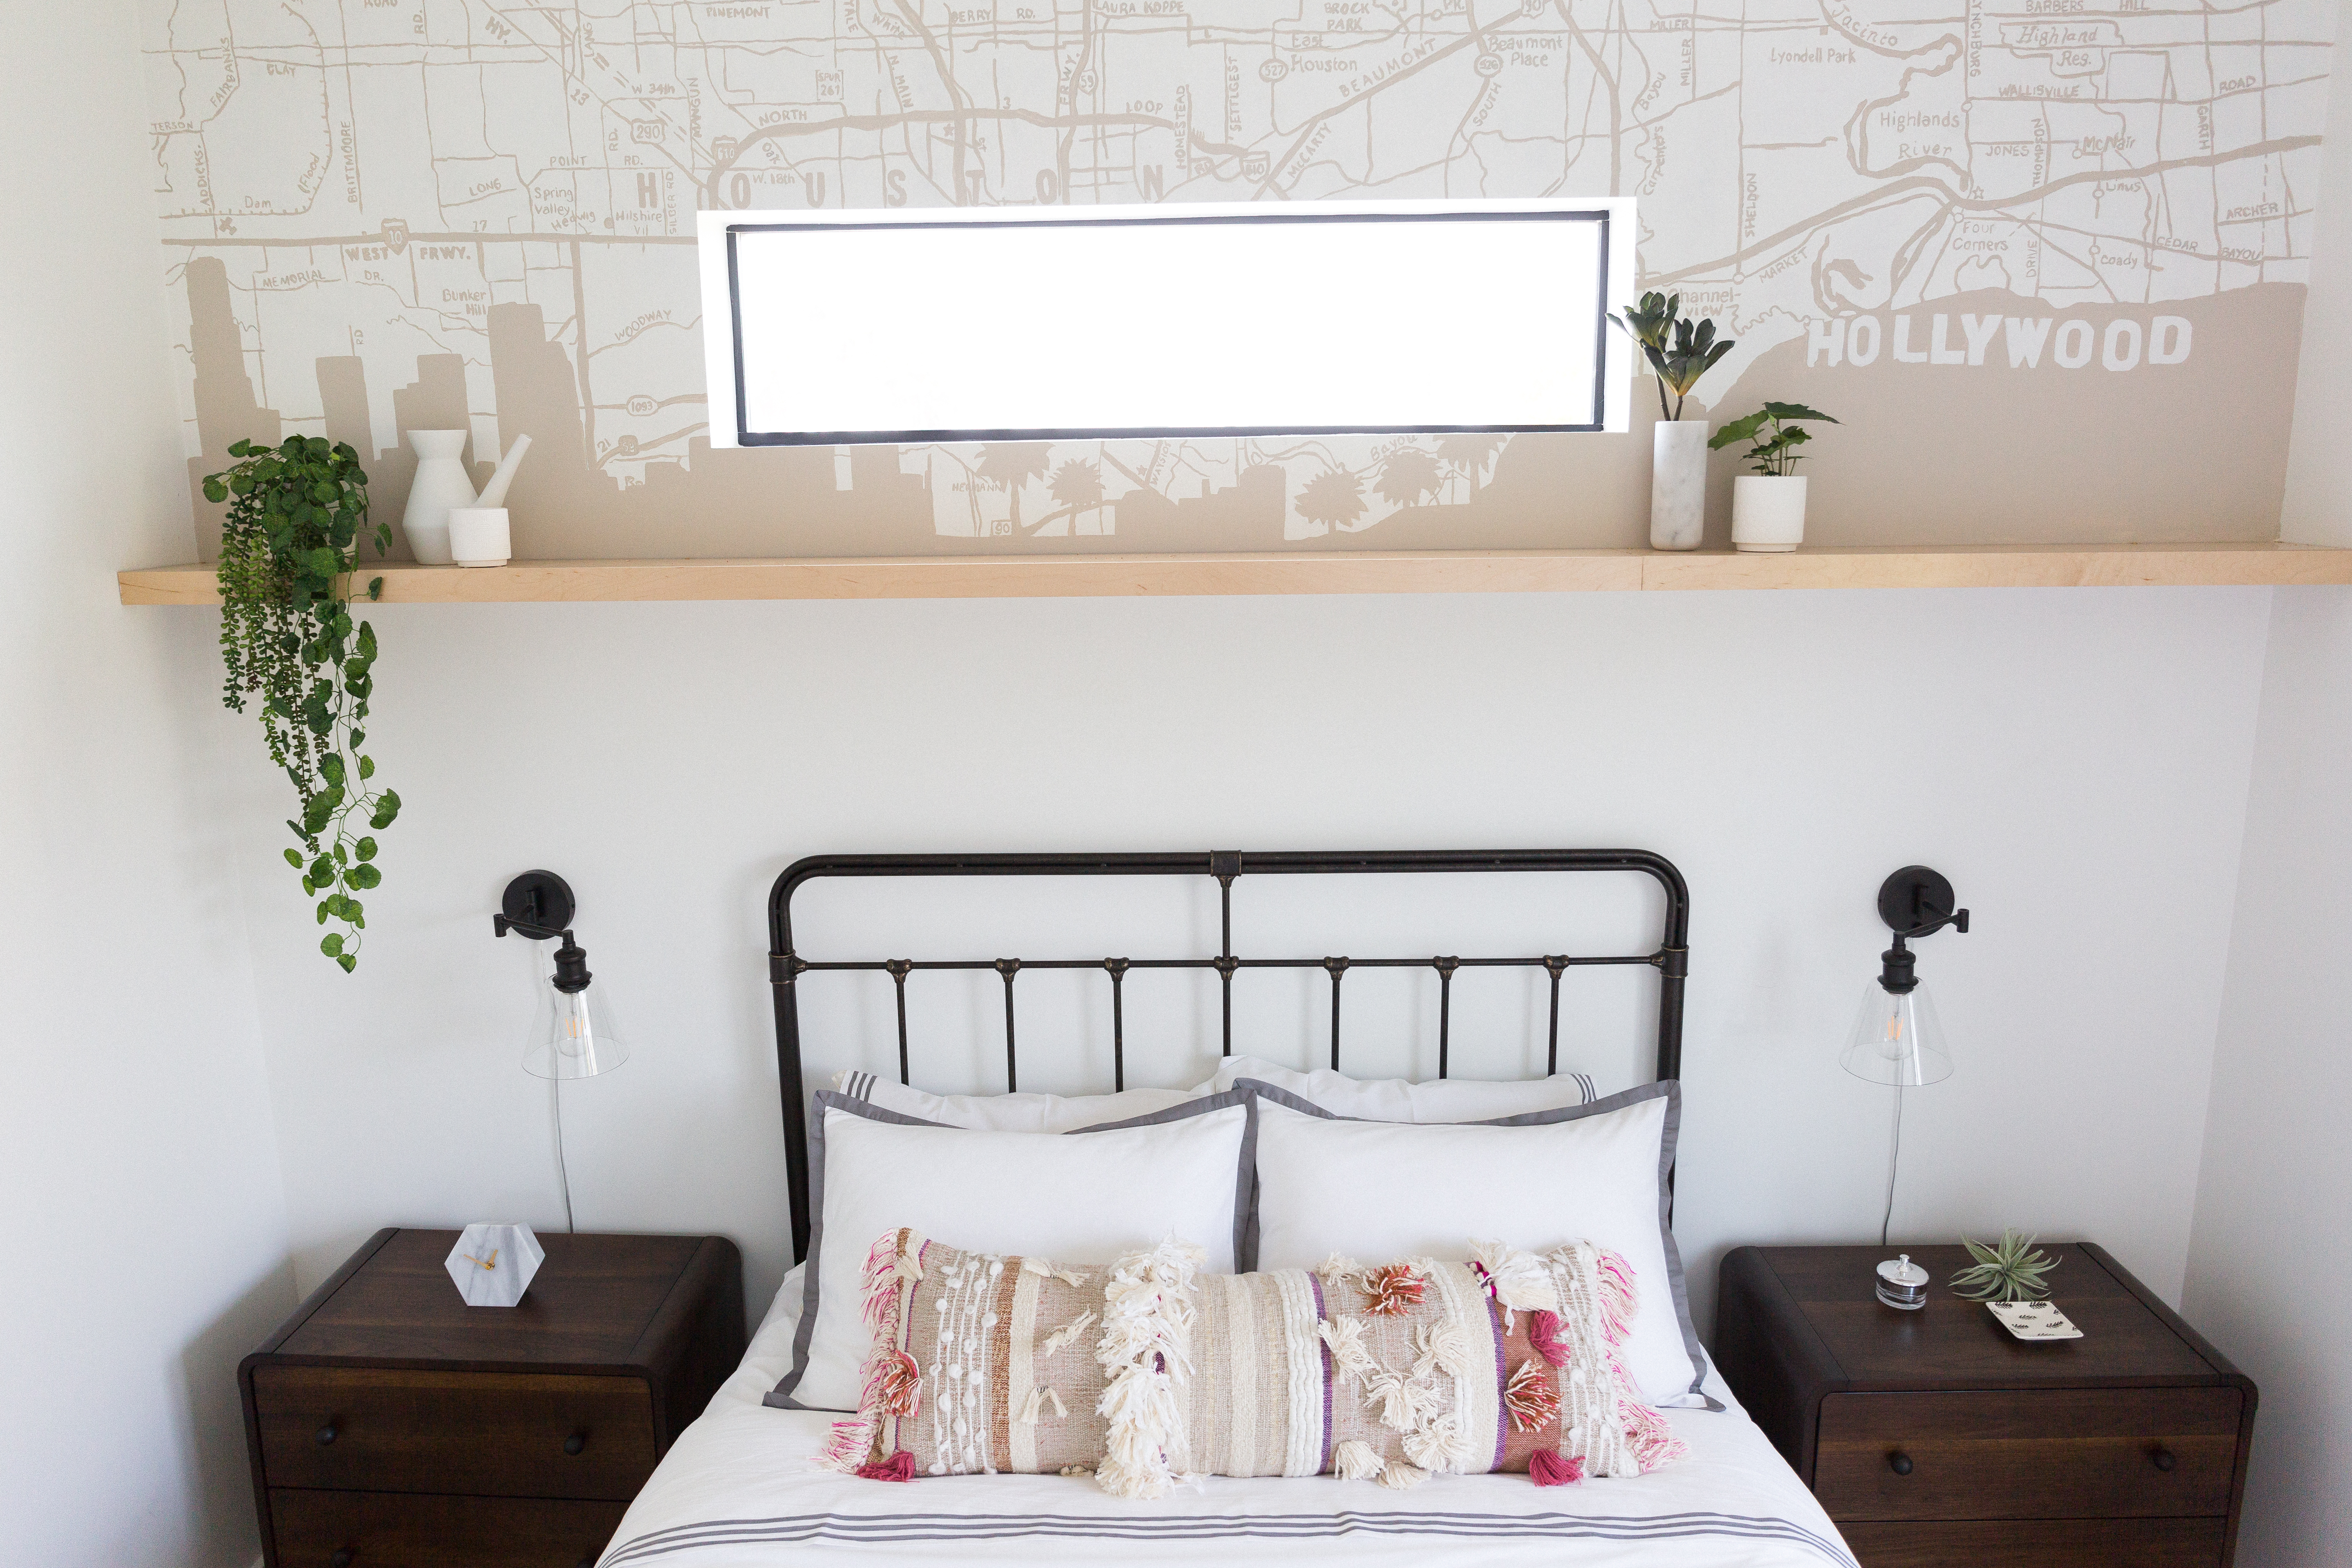
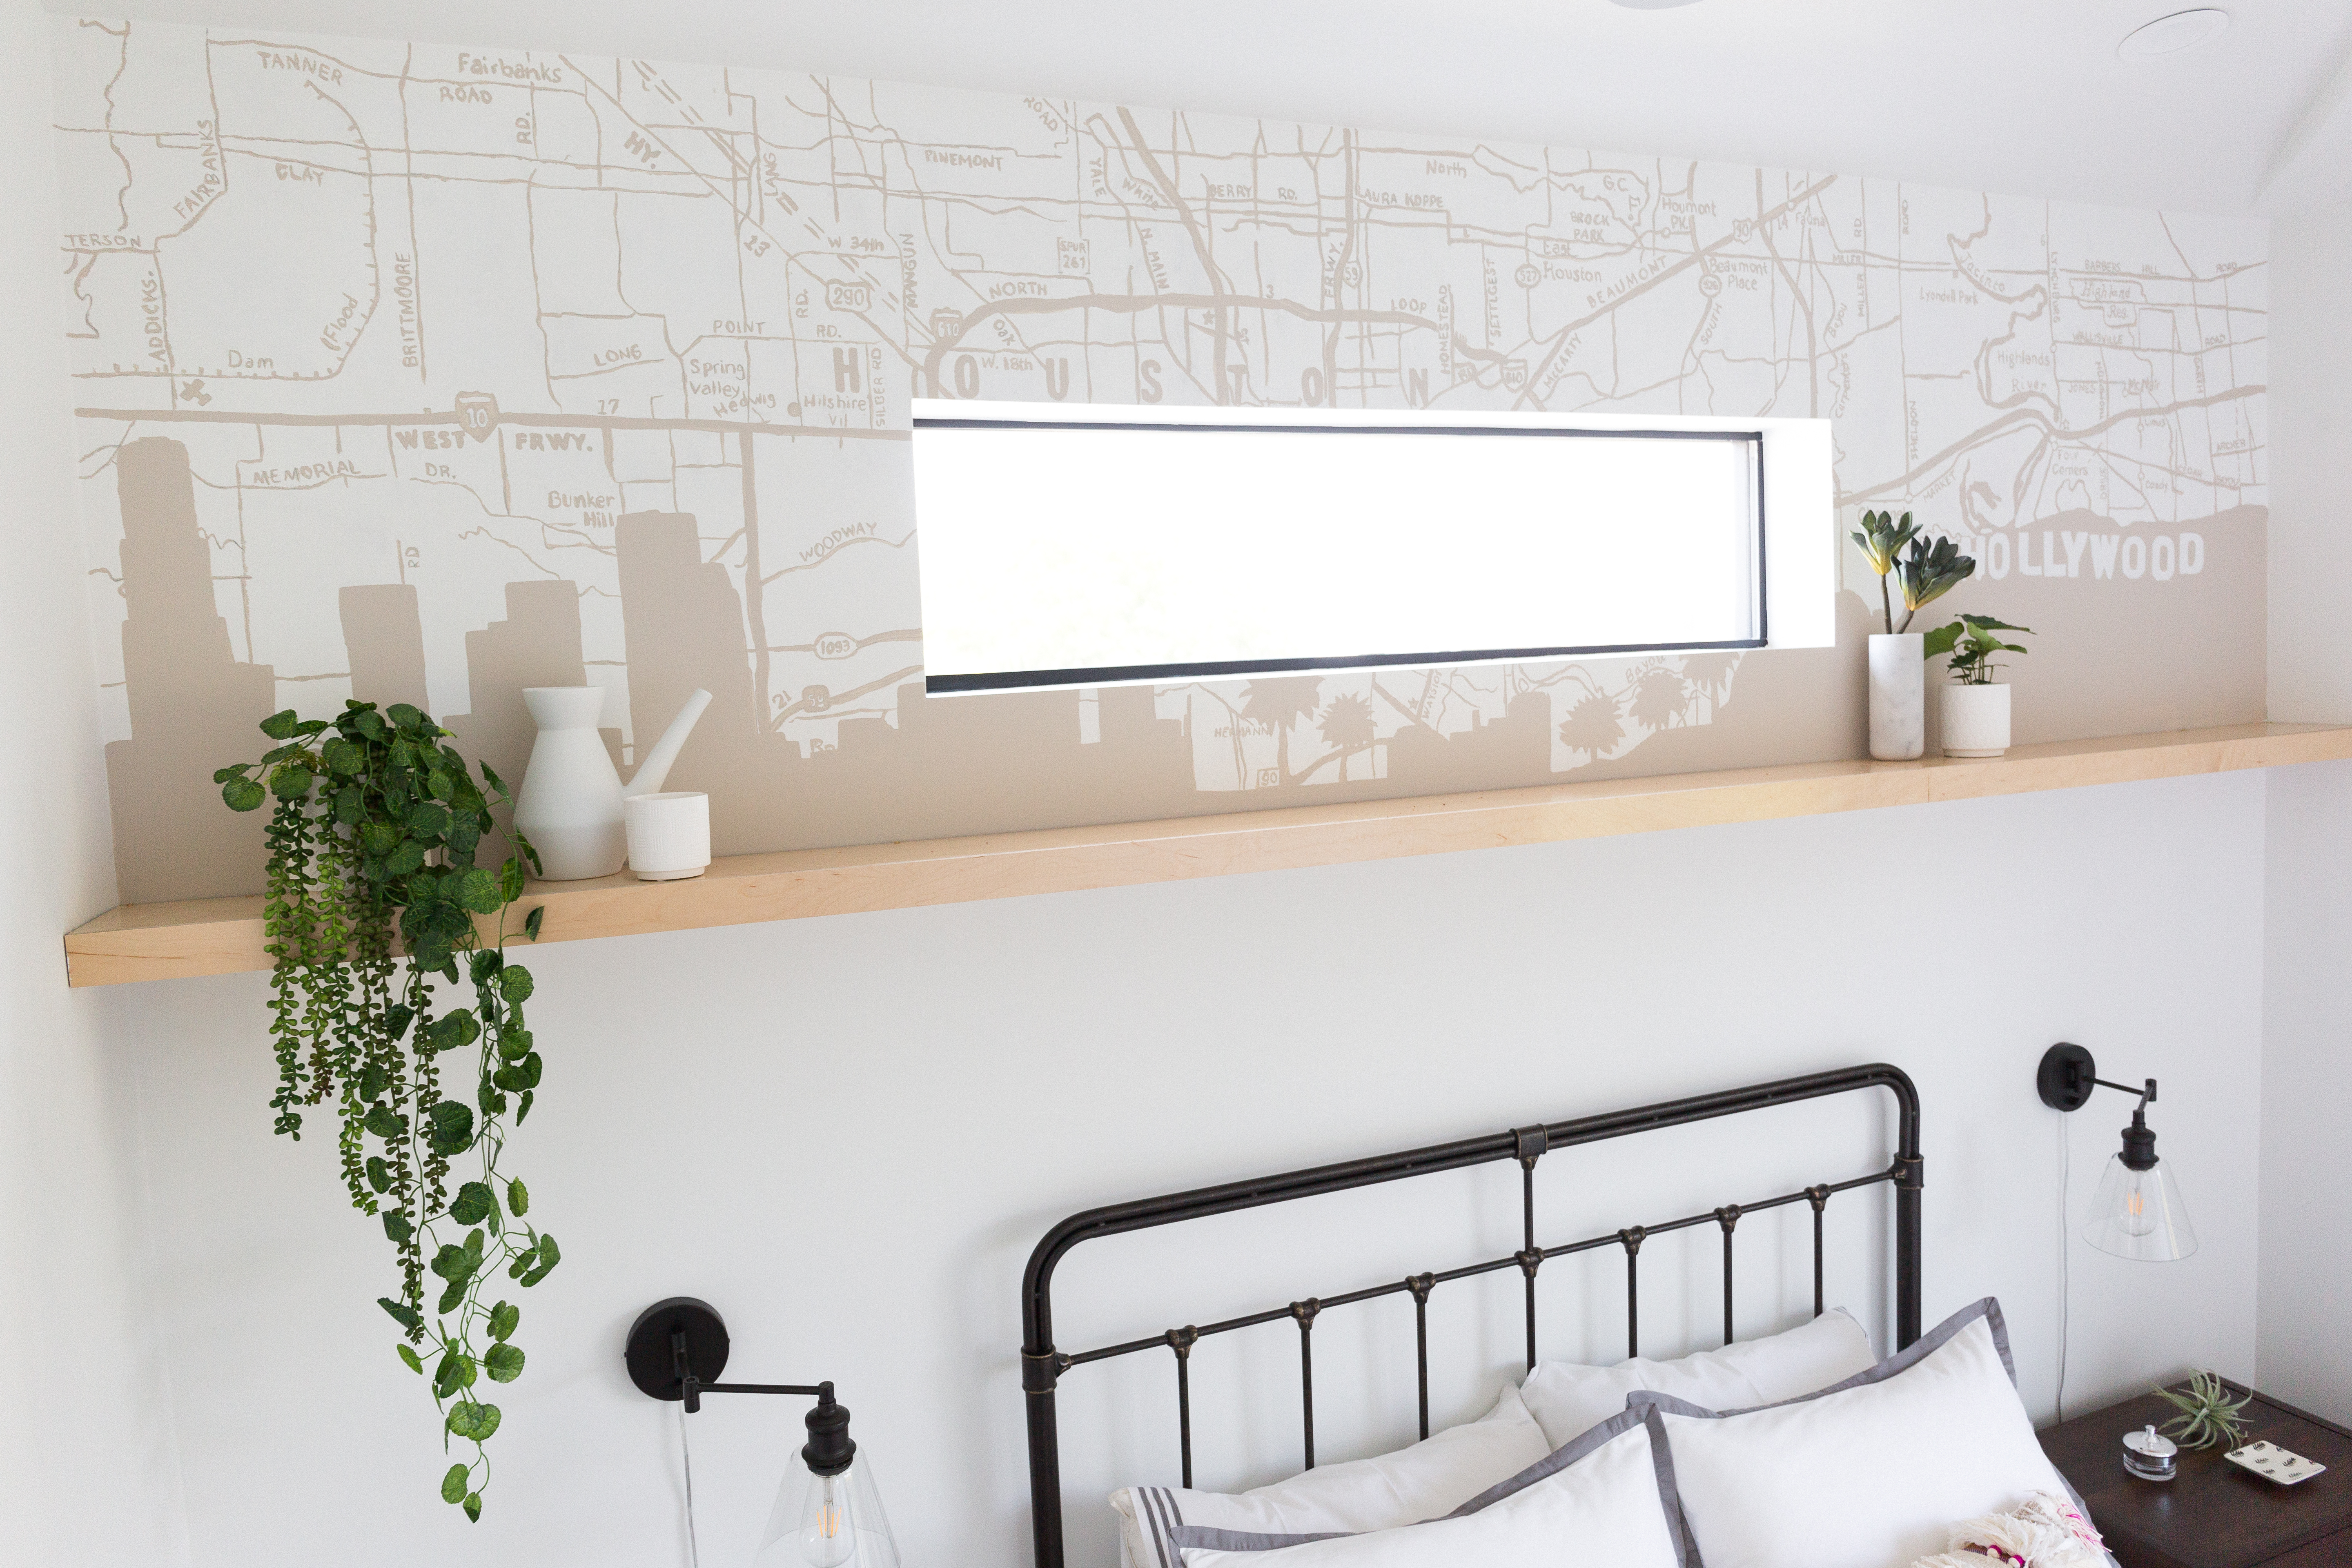
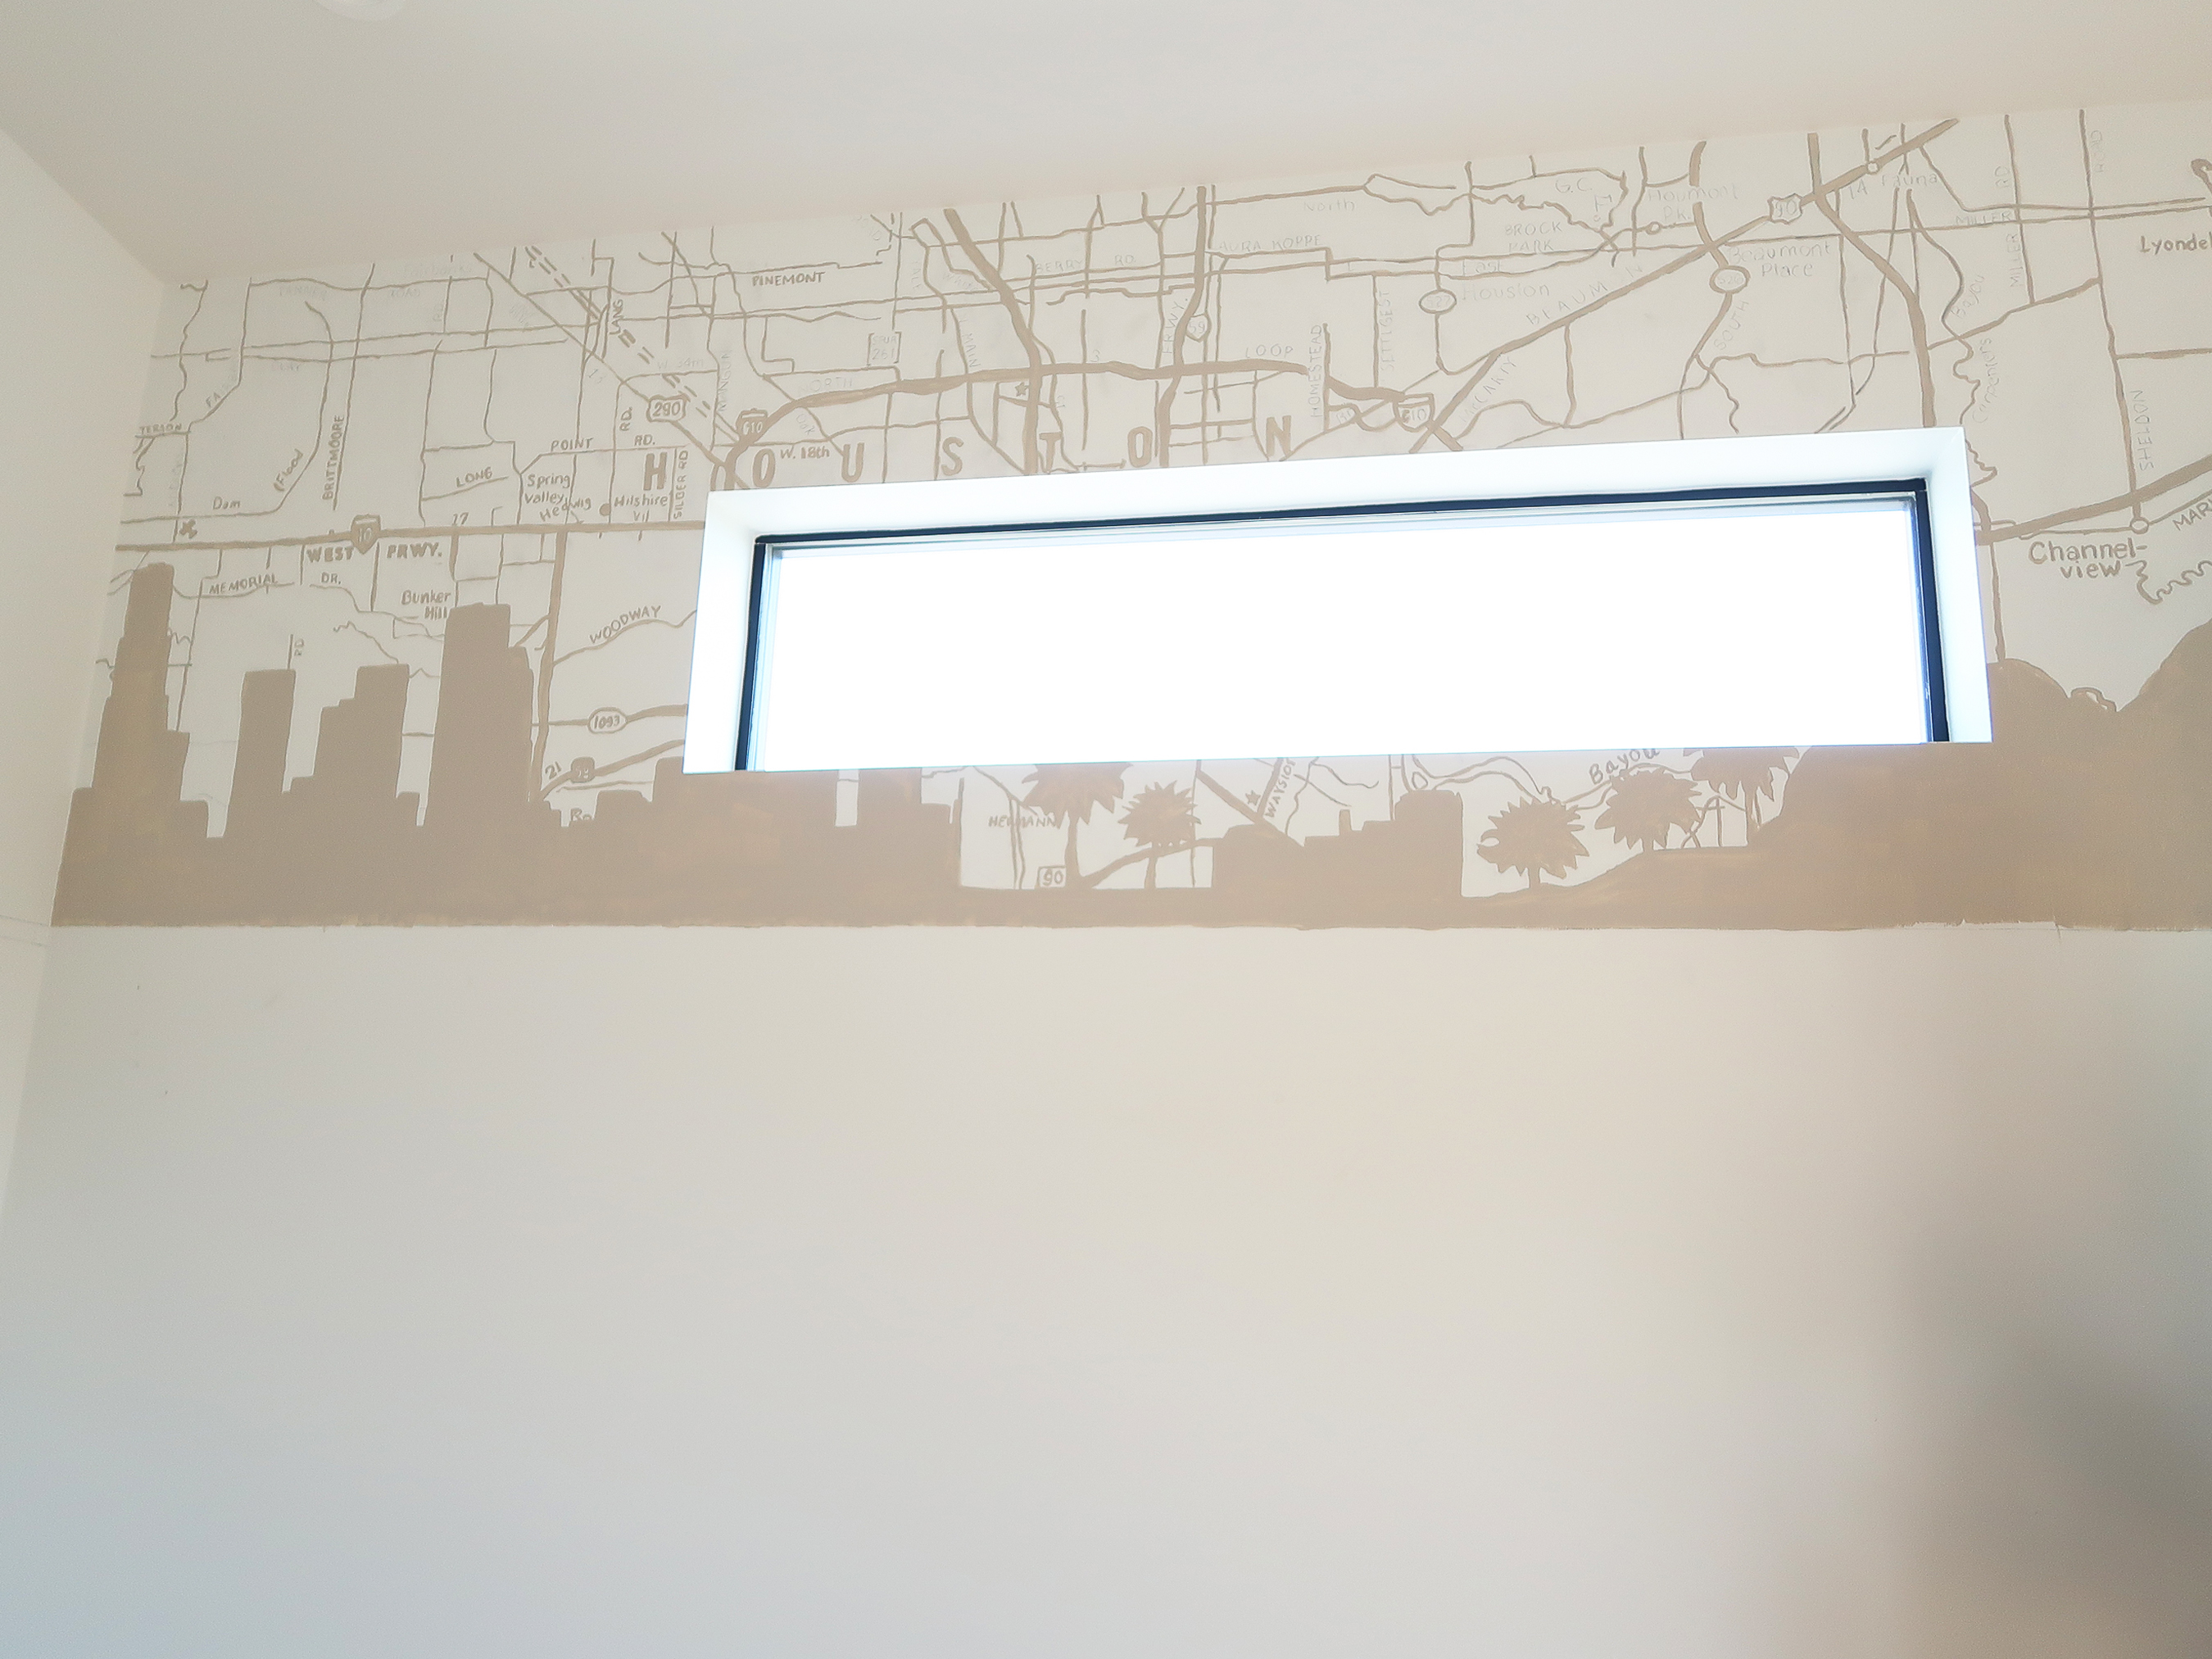
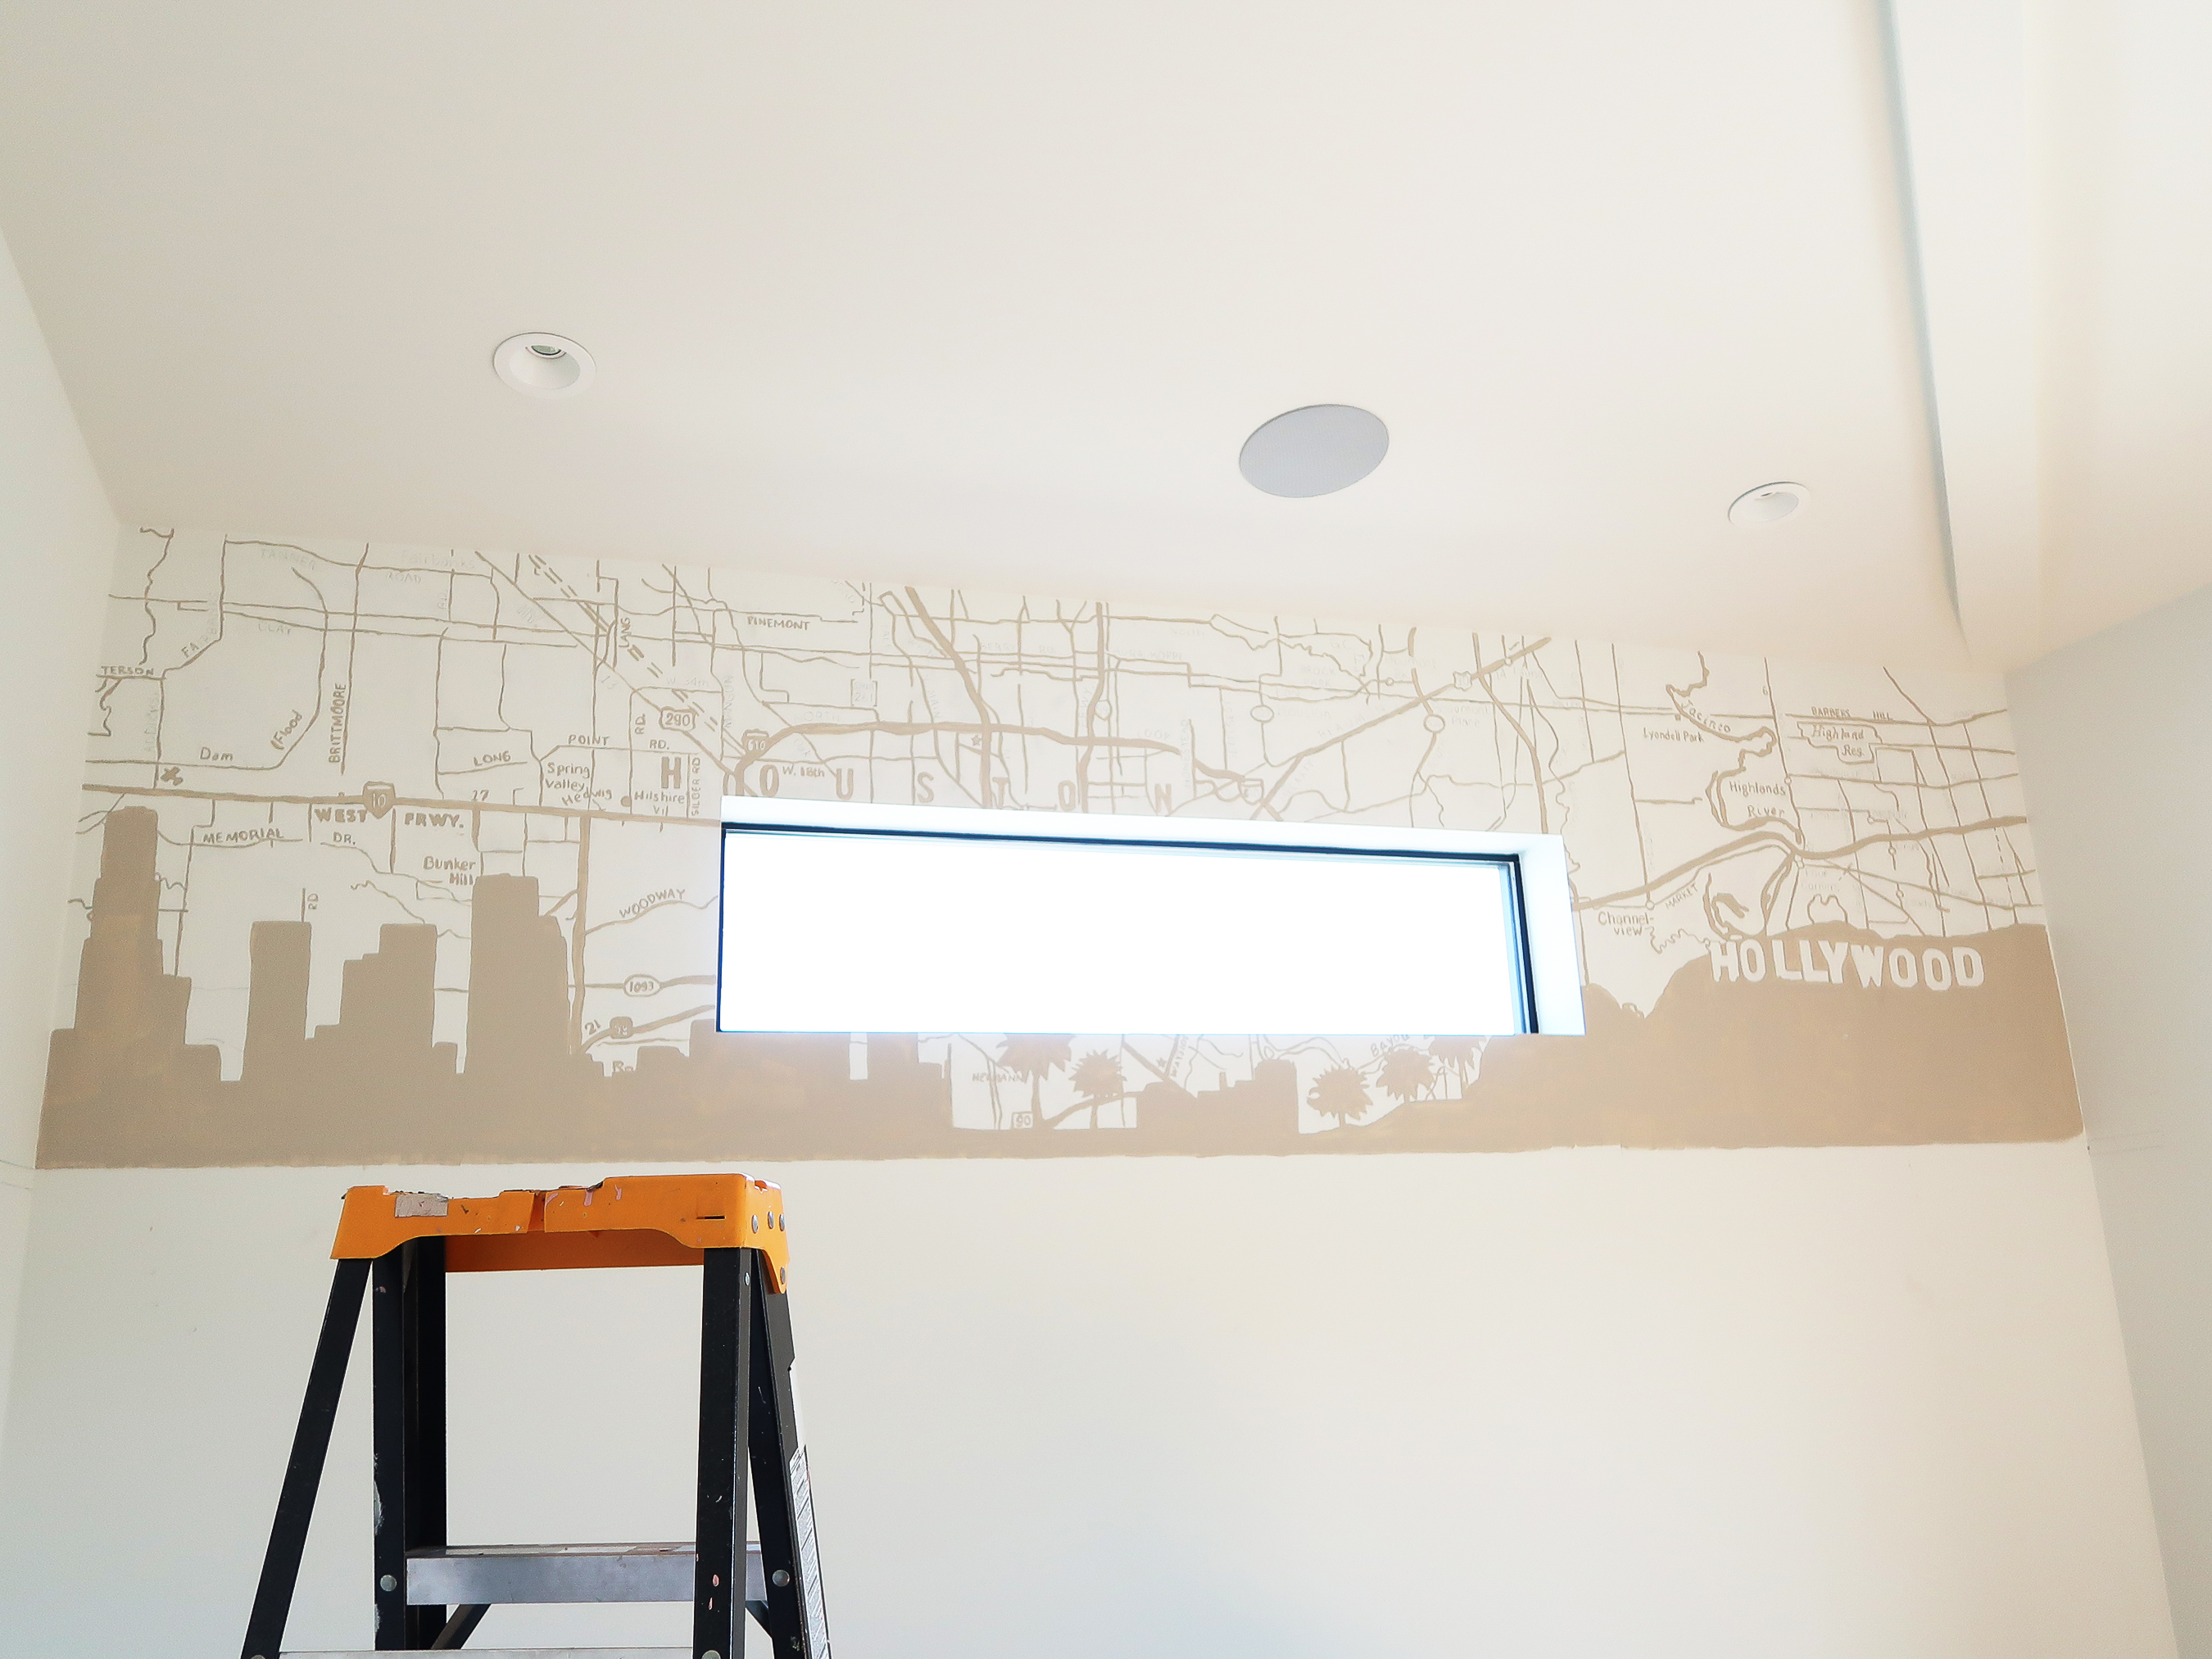
- You can also use Photoshop or a similar program to create your own map, as we did with Liza. Play around with layering street maps and skylines, to get the fusion of two cities like you see here. Keep in mind the space you're planning to work with during this step. We knew we were only painting the top of the wall, so the full height of the map wasn't important as long as we covered that specific area. If you are looking to cover an entire wall, consider those dimensions and plan ahead.
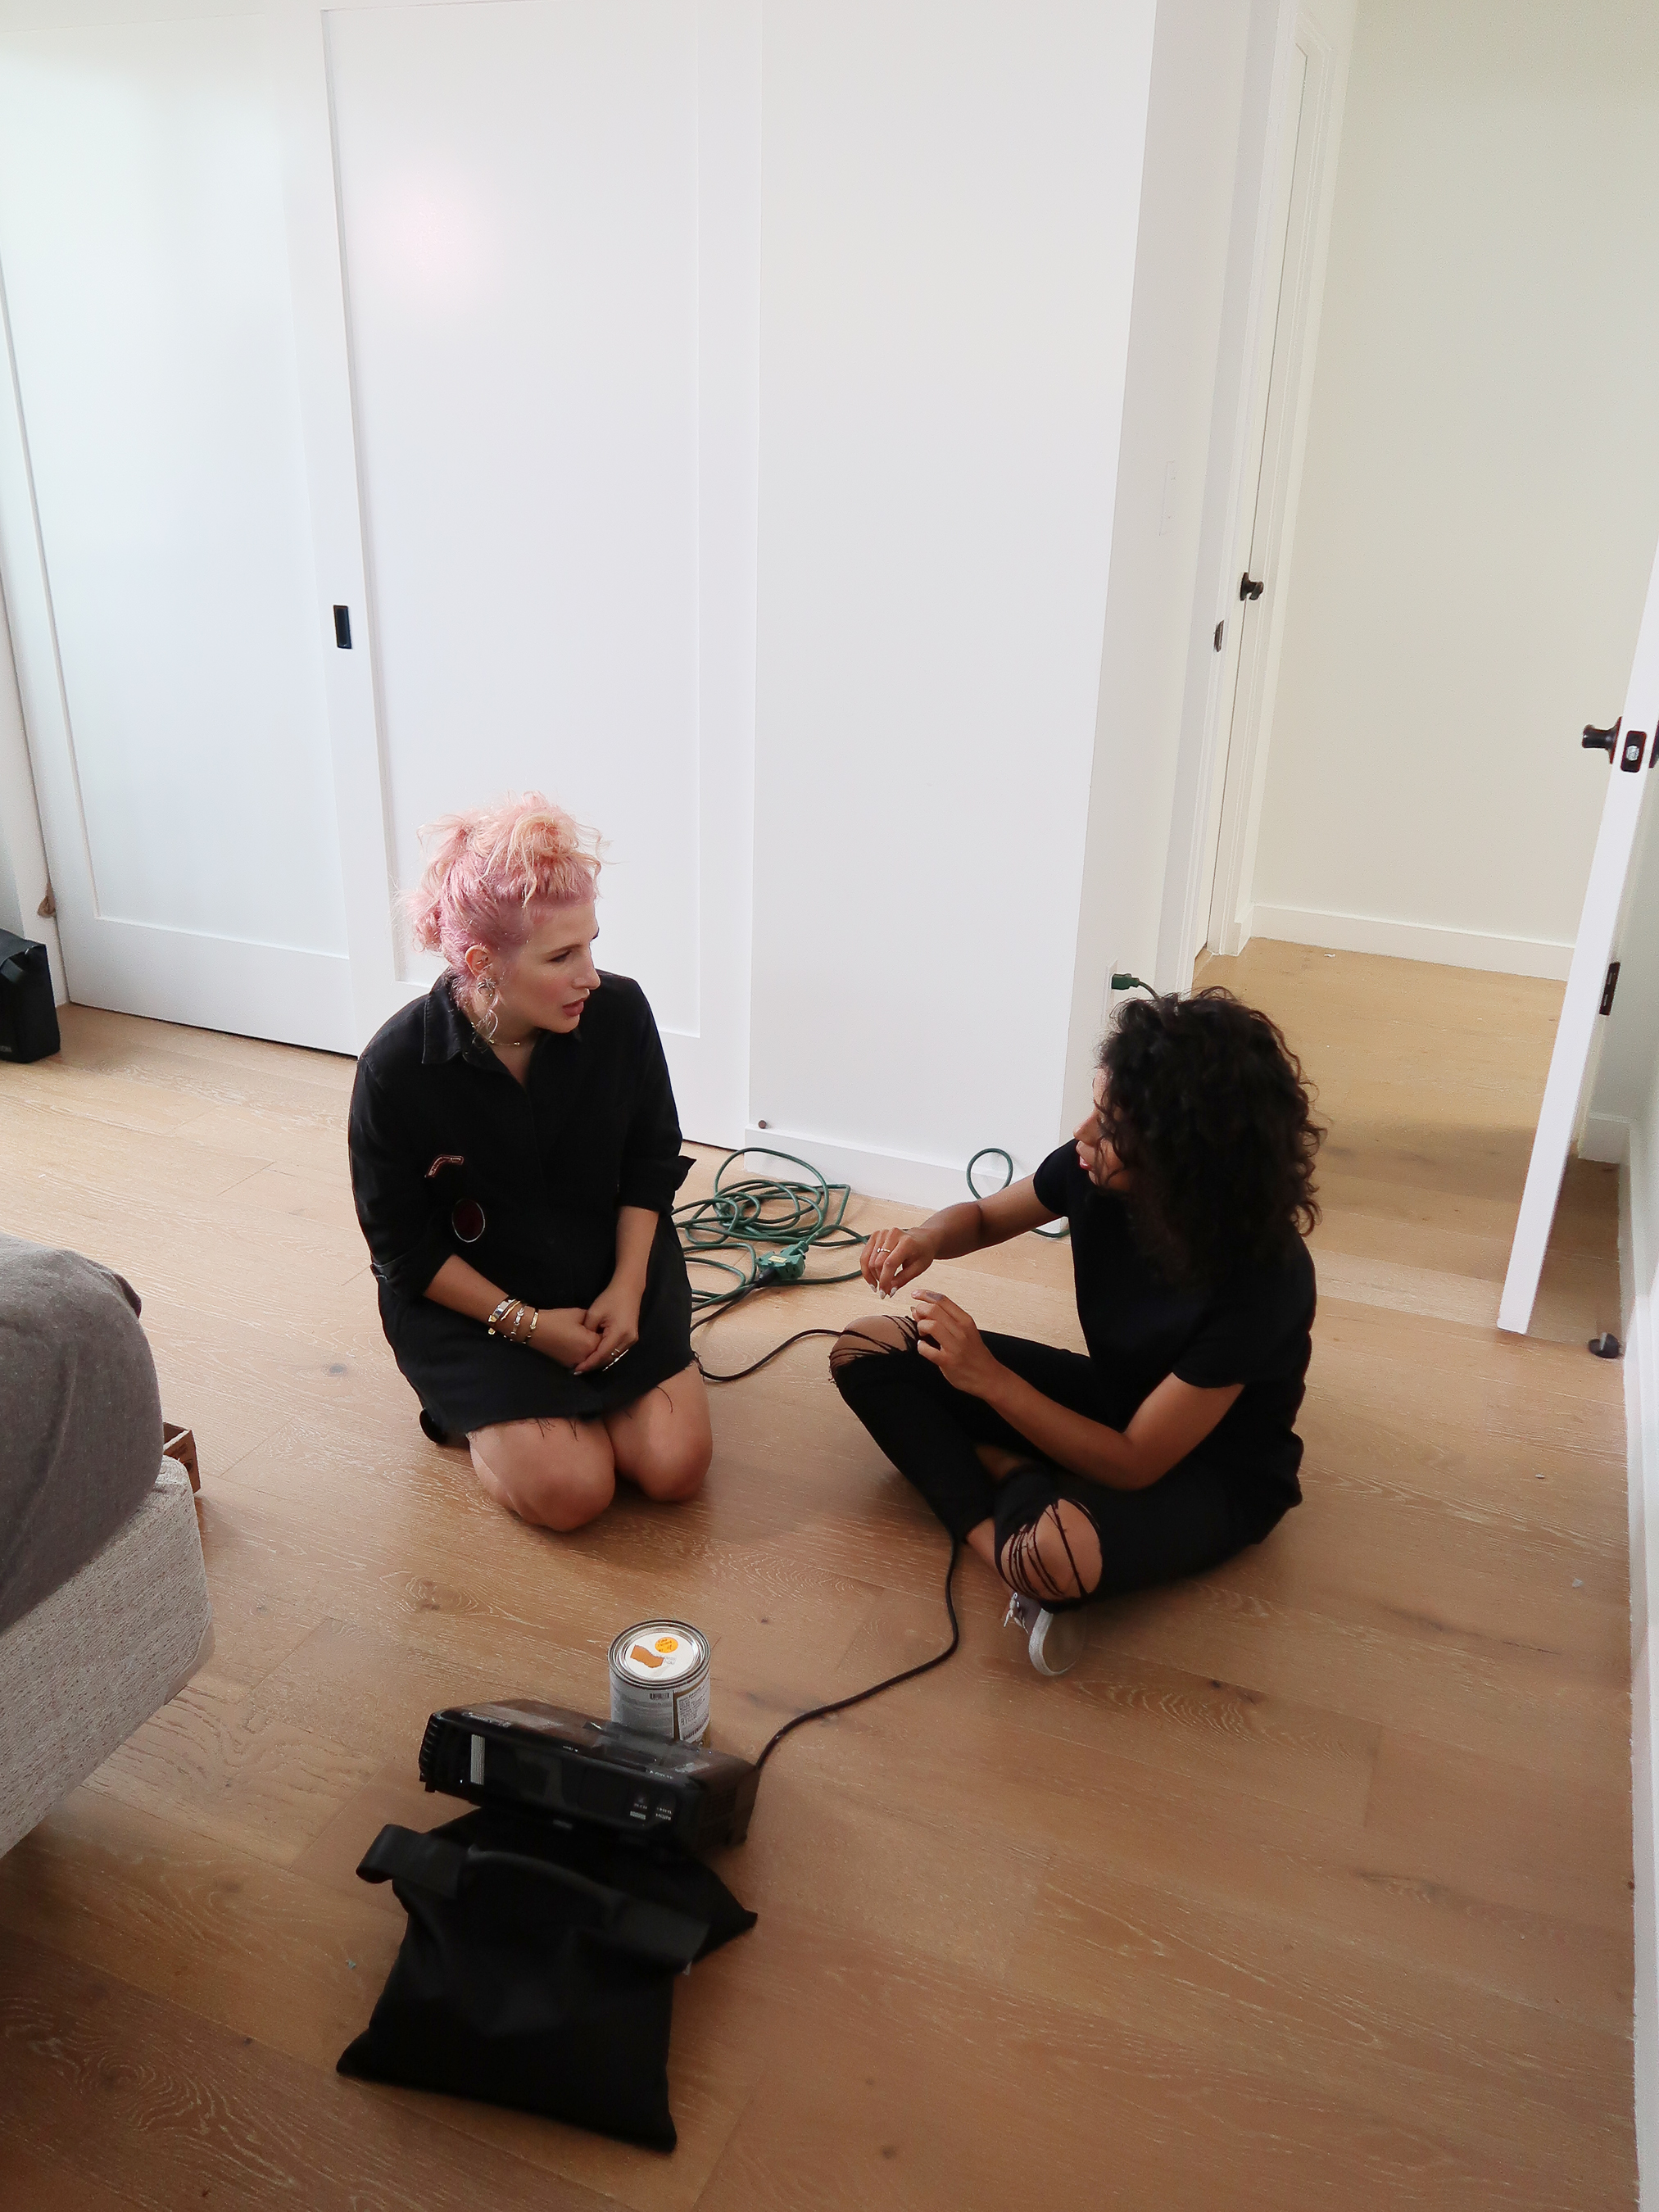
- Connect your digital map (via a computer or flash drive) to a projector and project it onto the wall. Use a level, if necessary, to make sure that it is projected straight across the wall. Adjust the size as necessary.
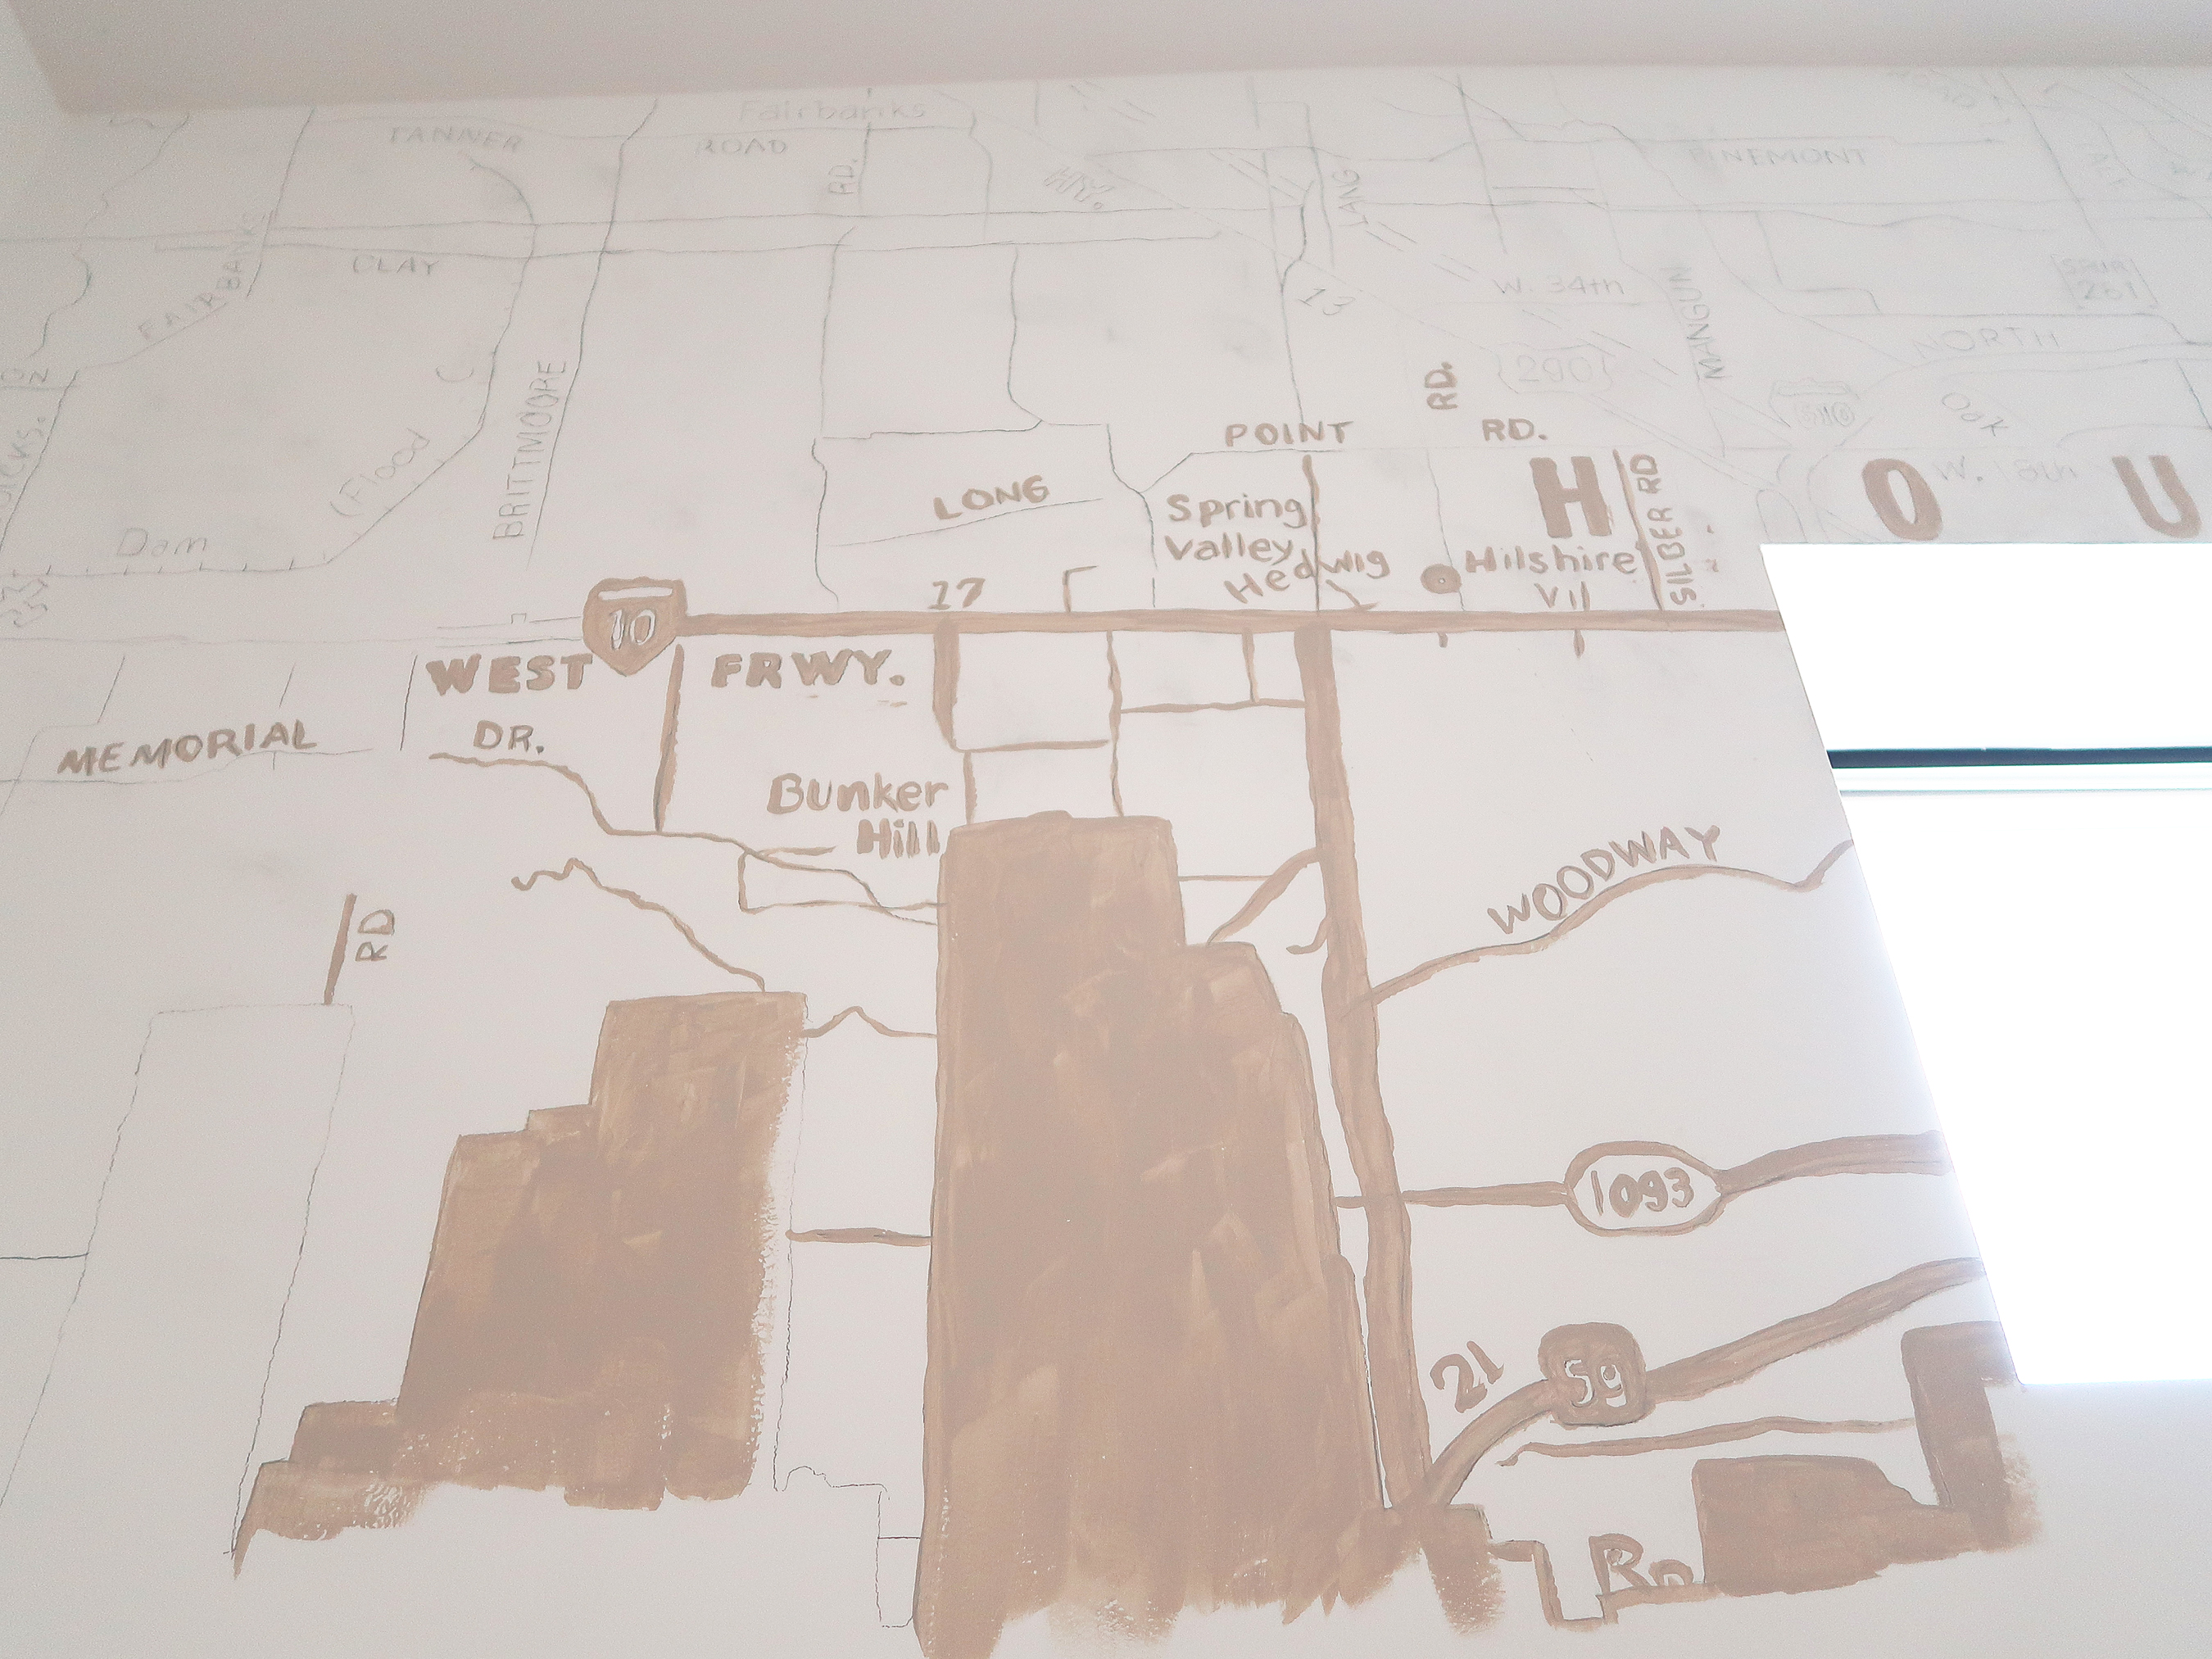
- Use a pencil to trace the map from the projection onto the wall. Pencil is a forgiving material because it can be painted over or erased later.
- Once you've fully traced your map onto the wall, turn off the projector and begin painting over it. Don't worry about taping for the larger shapes or making sure your lines are perfect! But if you want to fix anything, it's always good to have some spare paint of the original wall paint handy for touch-ups.
- I didn't paint a clean, straight bottom to my map mural because I knew it was going to be above a floating shelf. Consider the placement of your map on the wall and plan for finished edges as best fits your design!
- Let the mural dry, erase any stray pencil or correct any mistakes with touch-up paint, and voila! An intricate masterpiece that you did all by yourself. Yay, you.