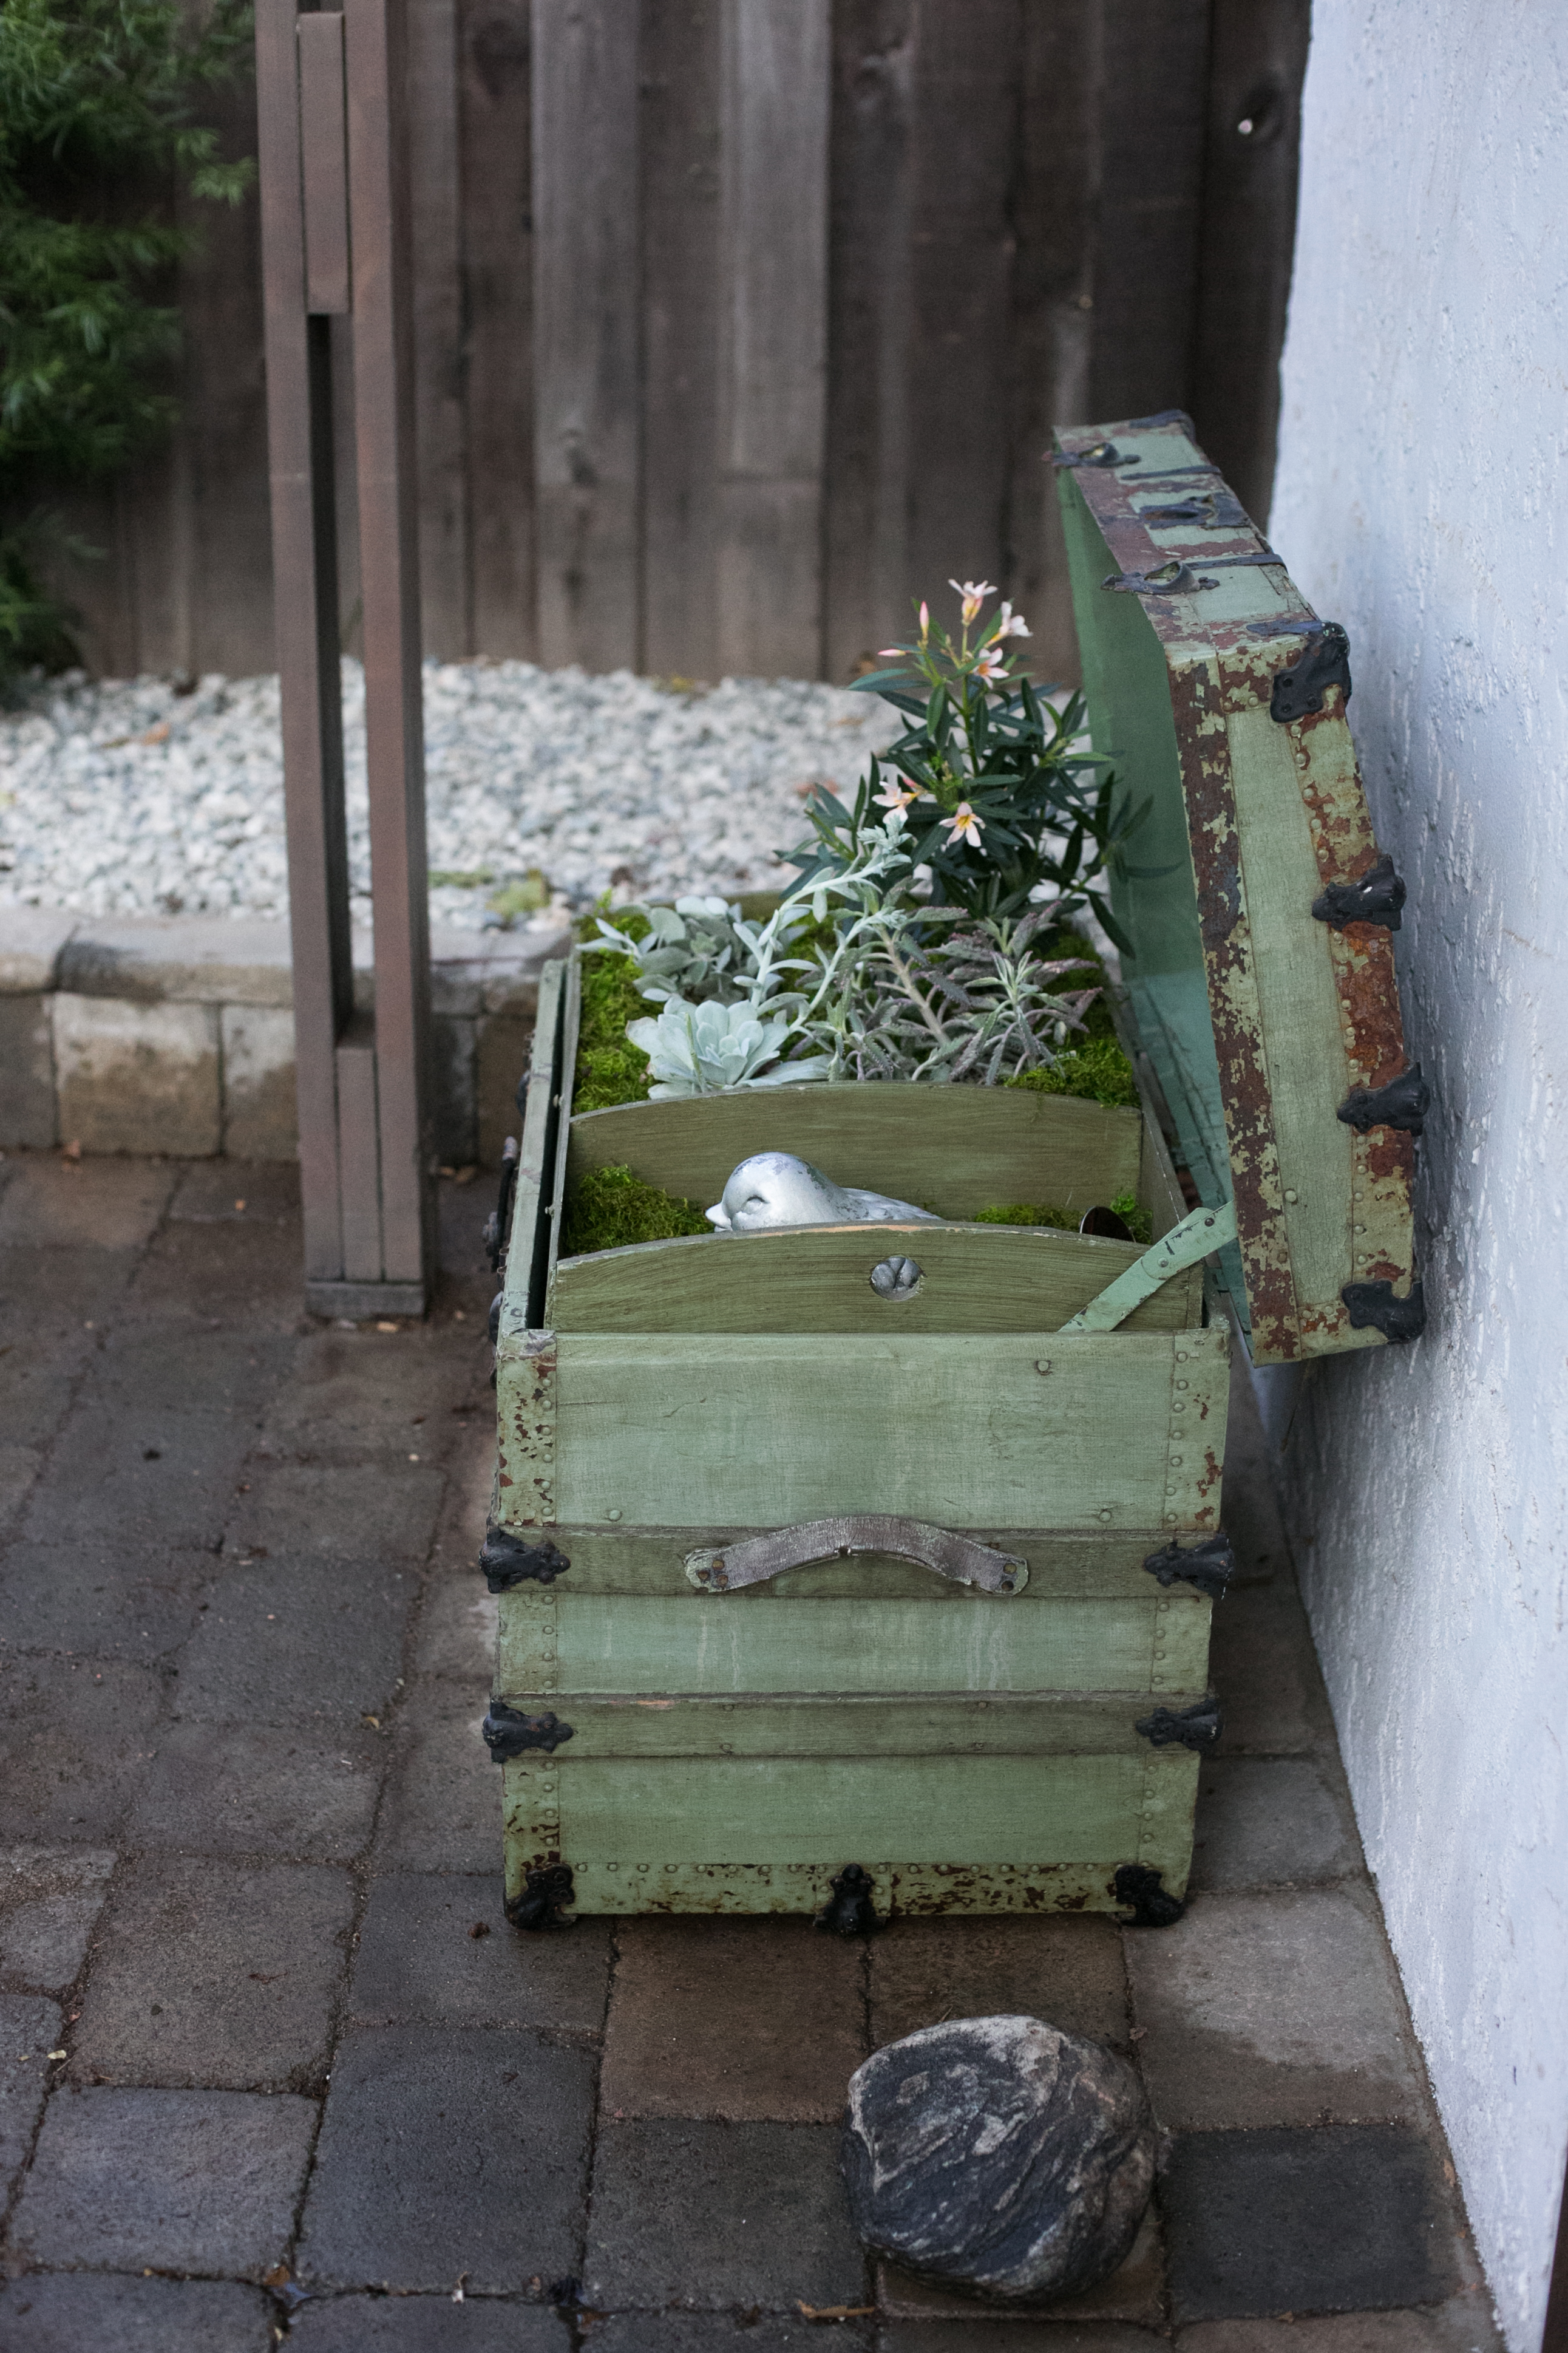
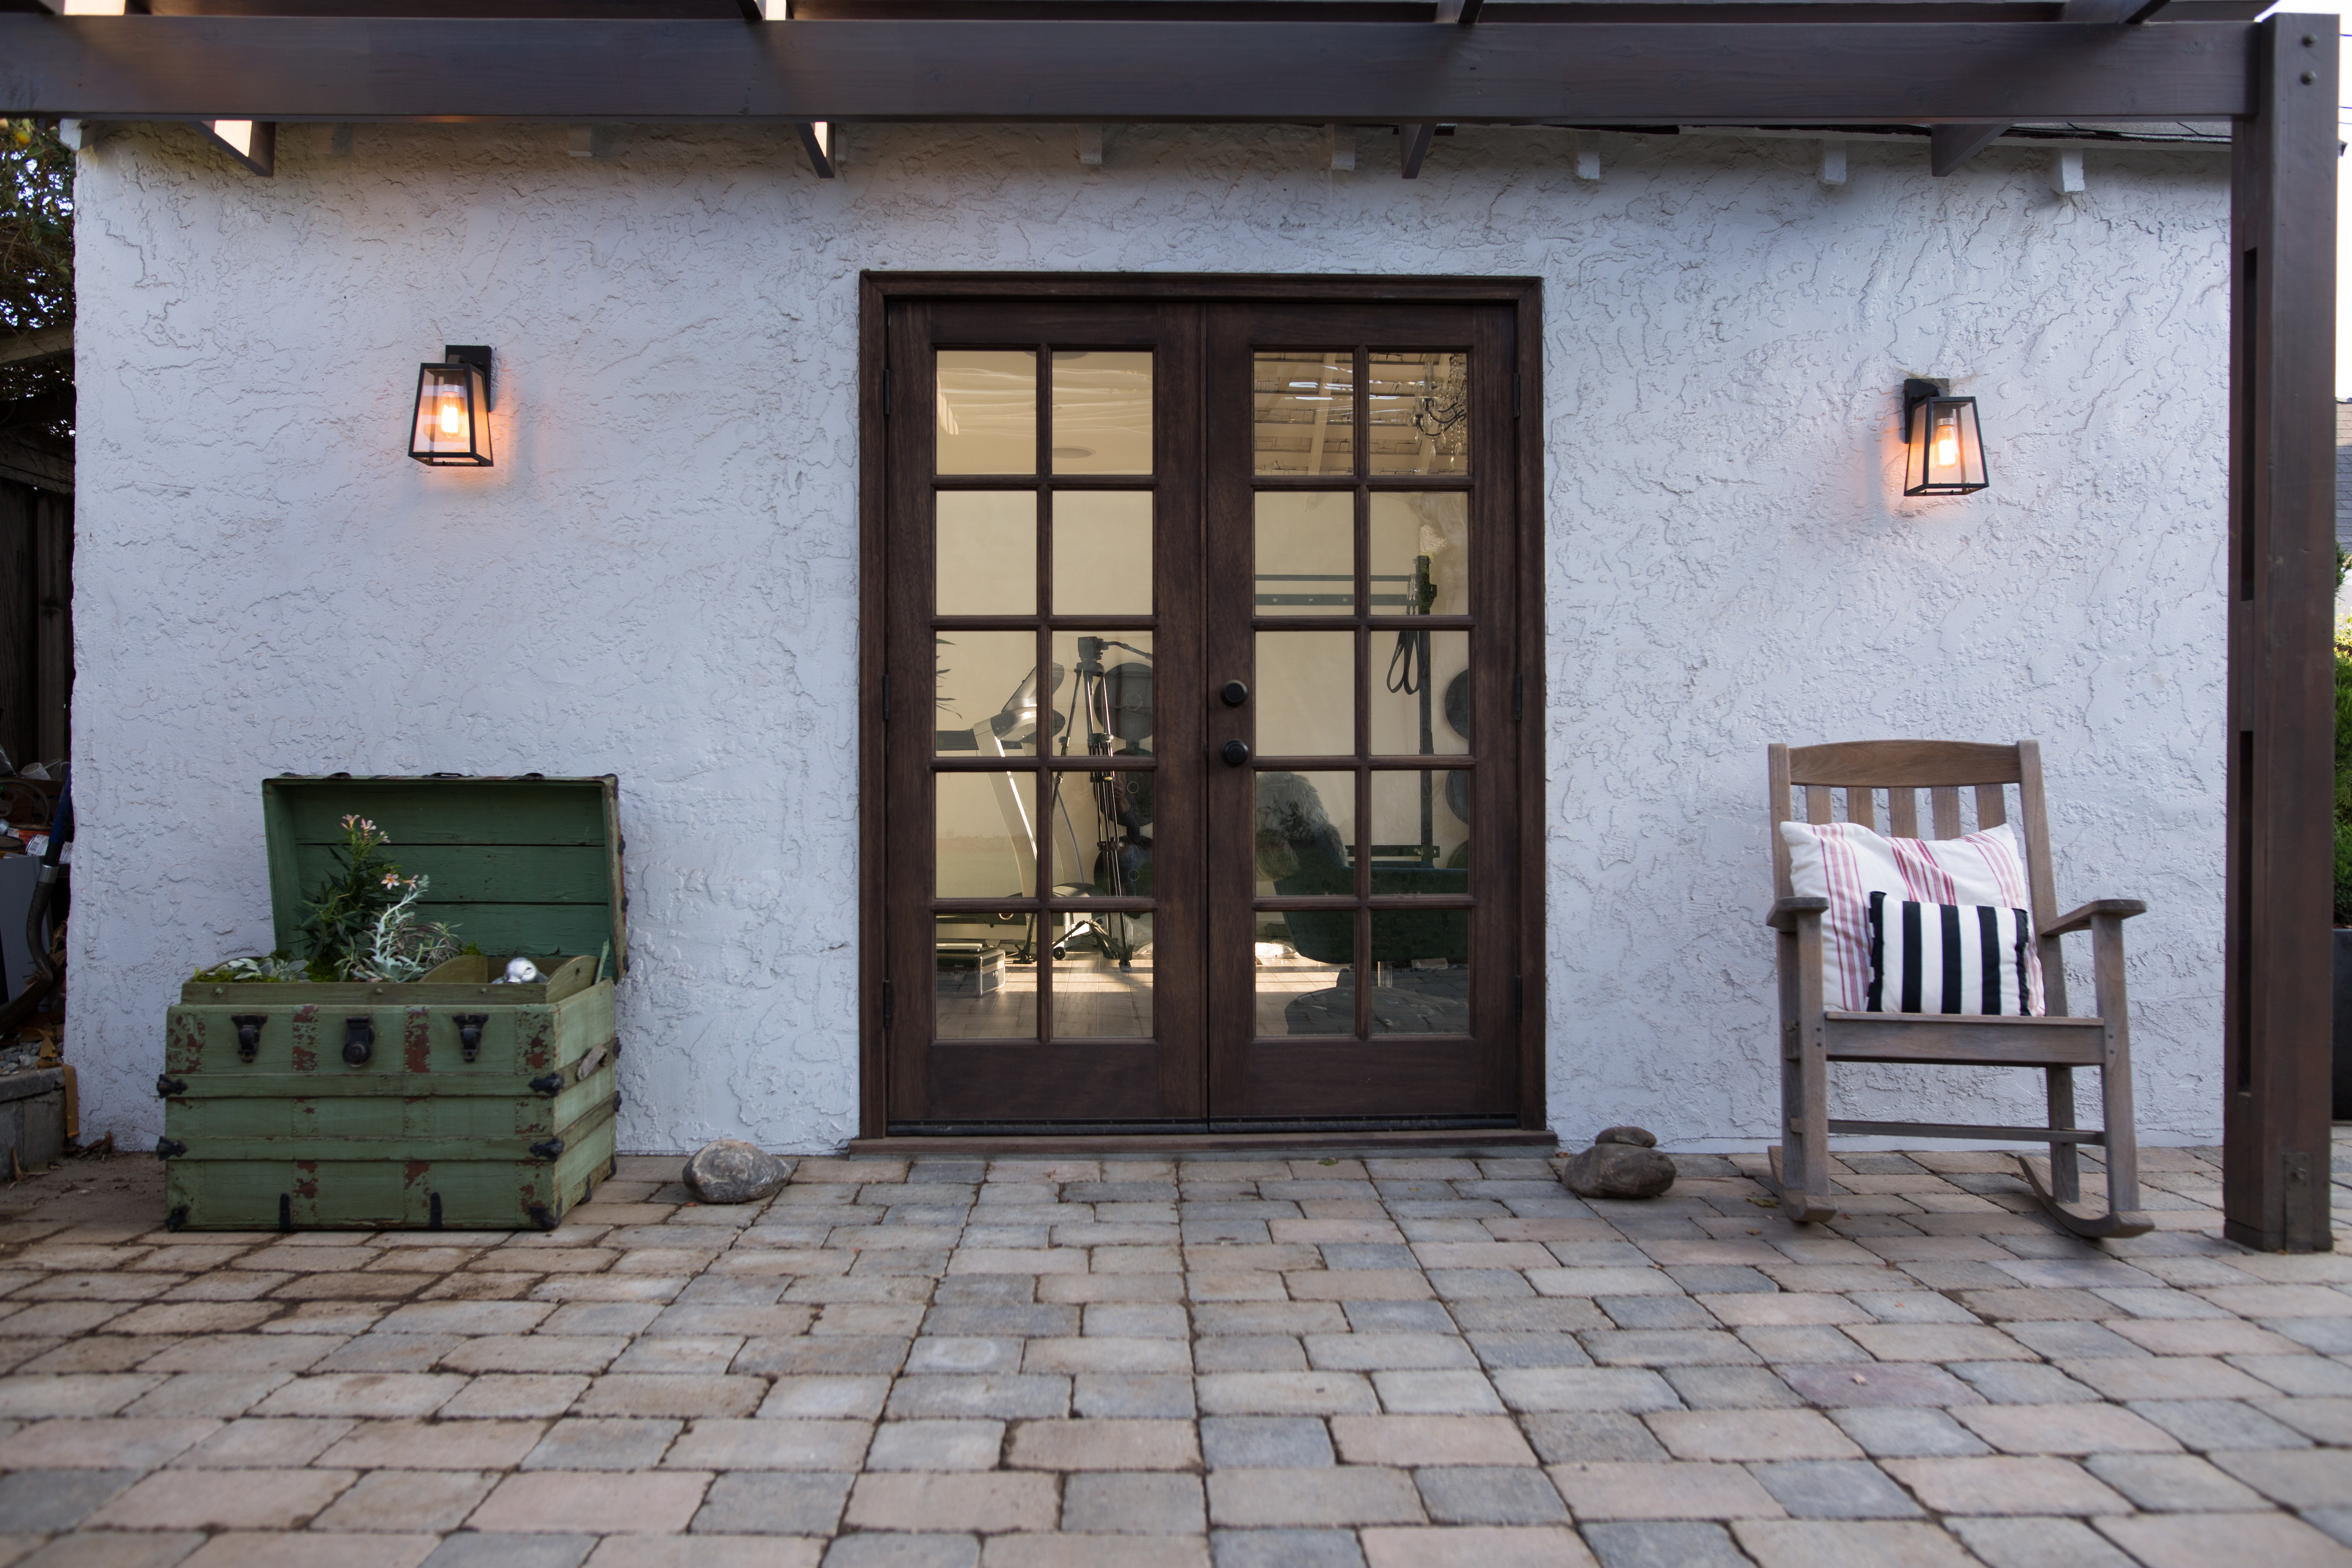
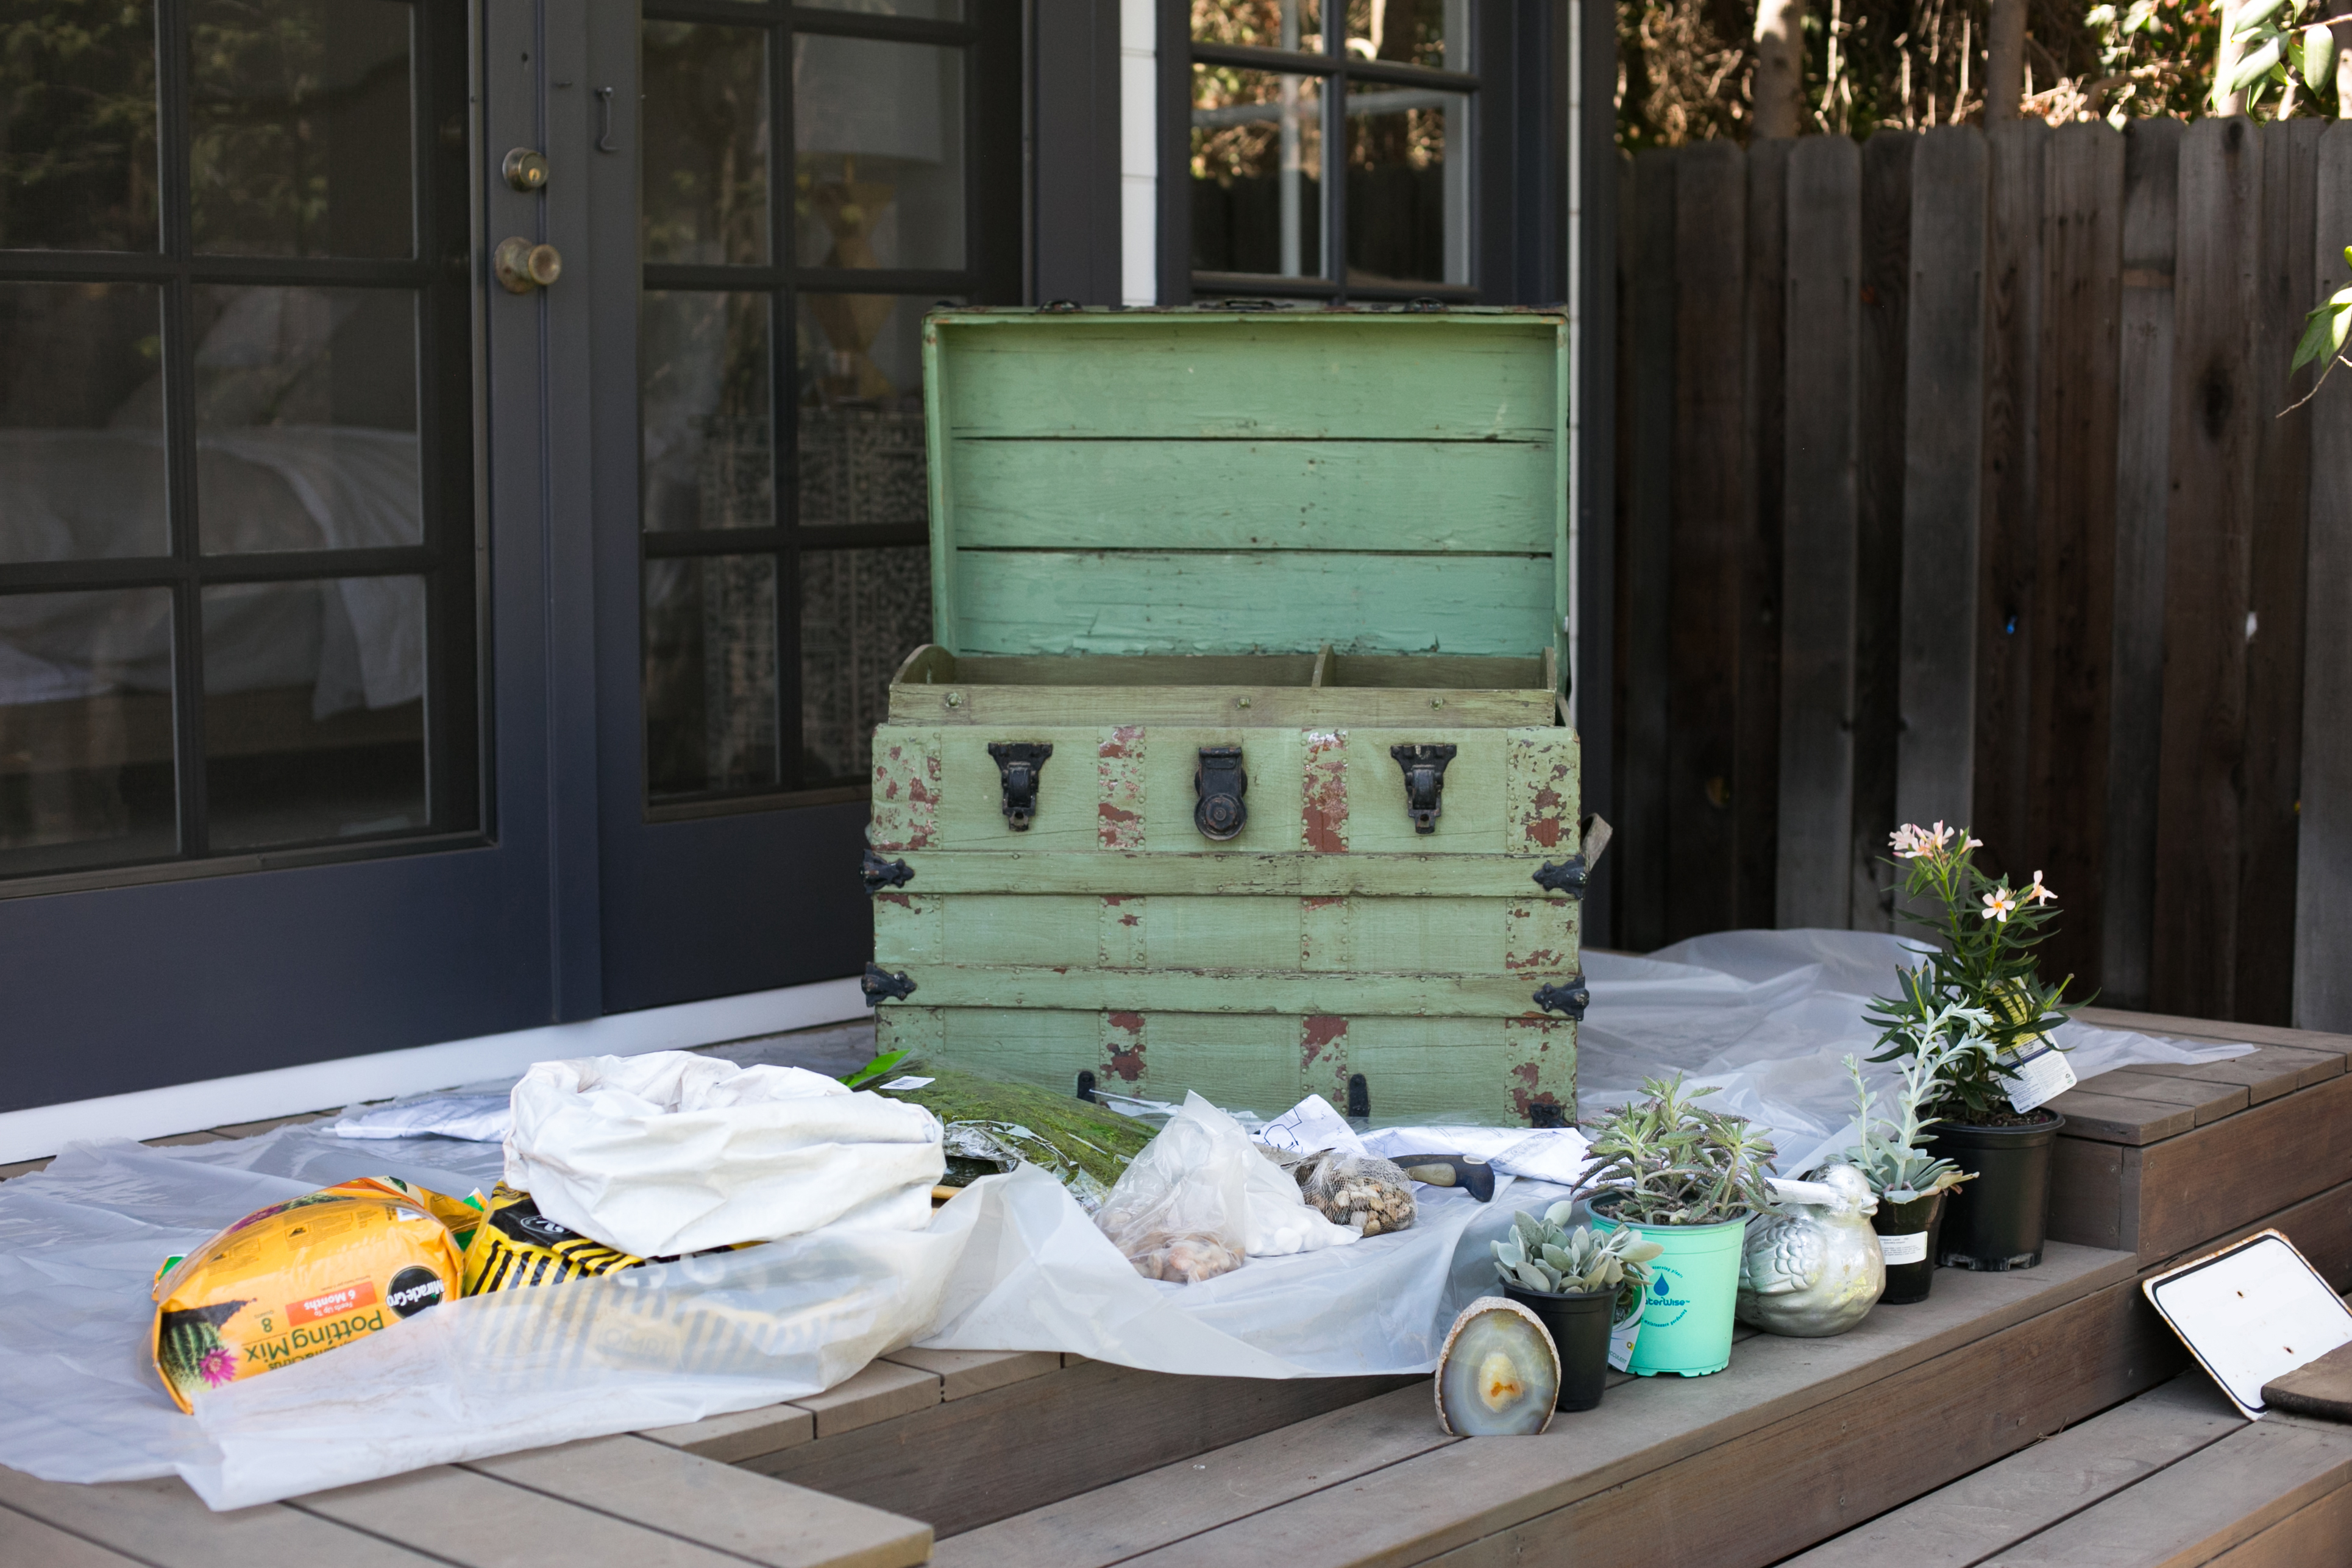
I've had this vintage trunk, a gift from my family, around my house for years, just trying to find the perfect place for it. Once we finished the backyard, I realized I could add it to my "unconventional planters" club (other members: a mug, some pinatas, and a stump of a bush) and give it a whole new life as the home to some baby greens!
This DIY works for trunks or similarly-shaped items of any size! Really, what can't you upcycle into a planter? The possibilities are endless!
Prep It:
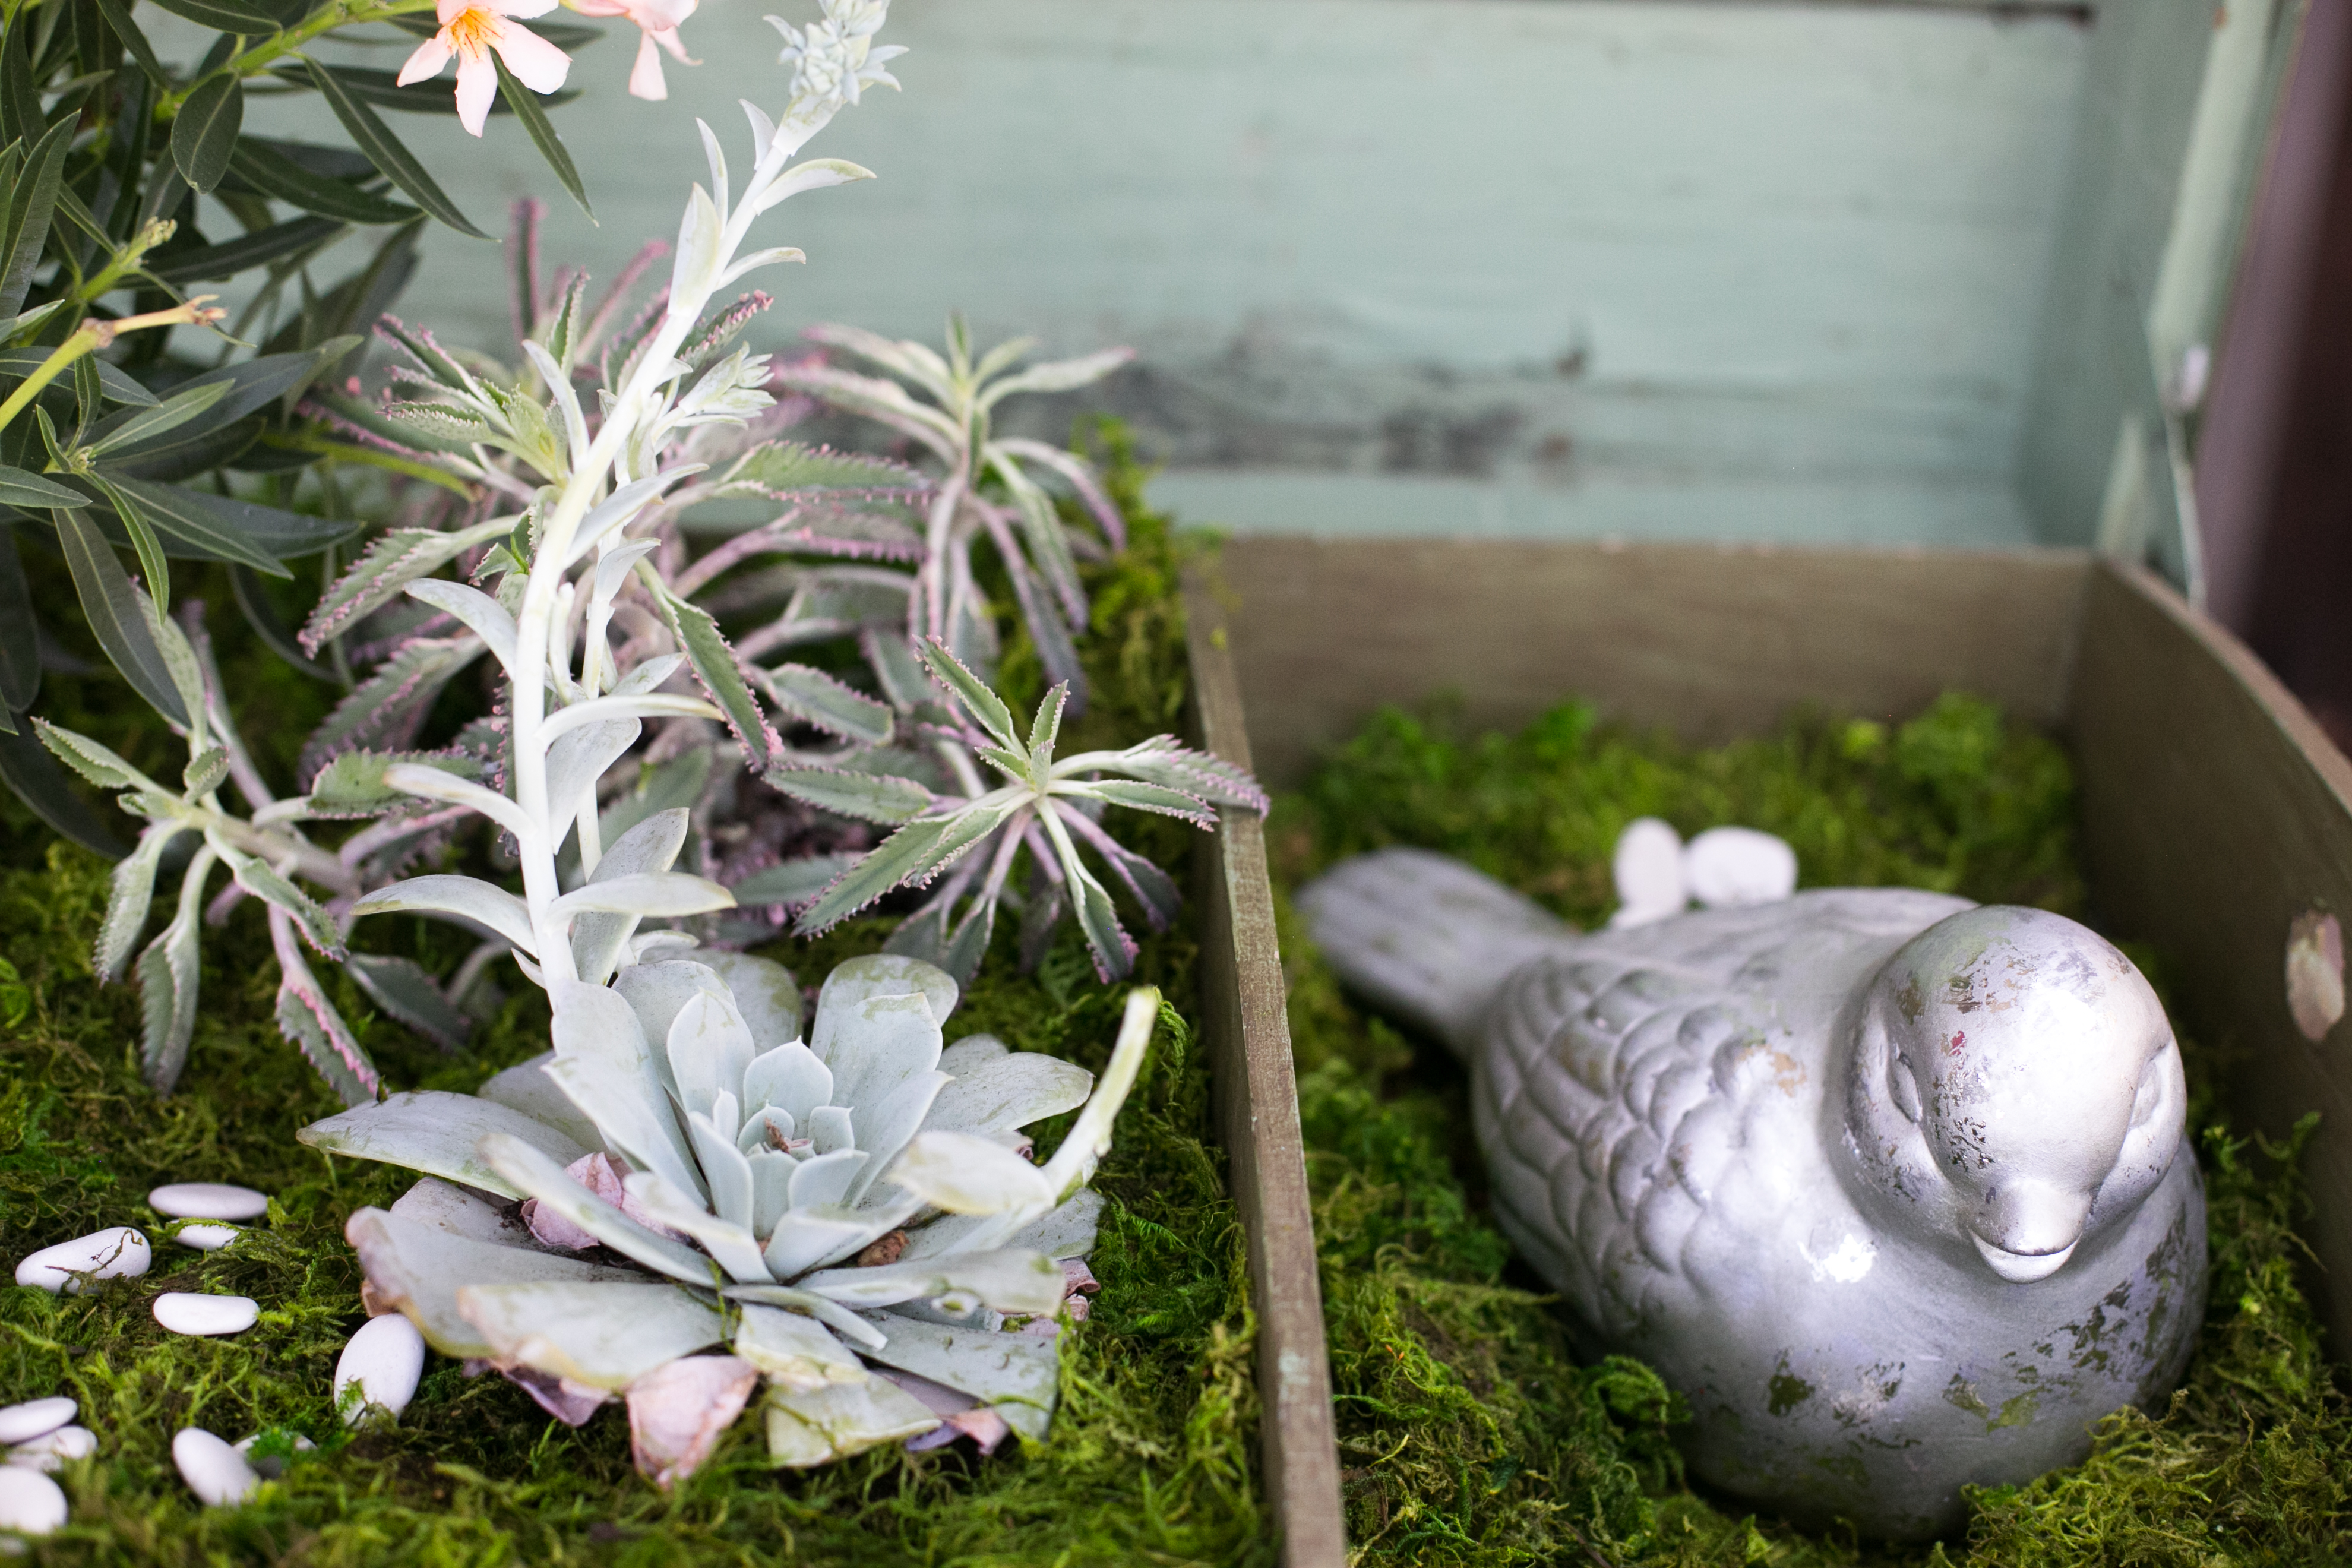
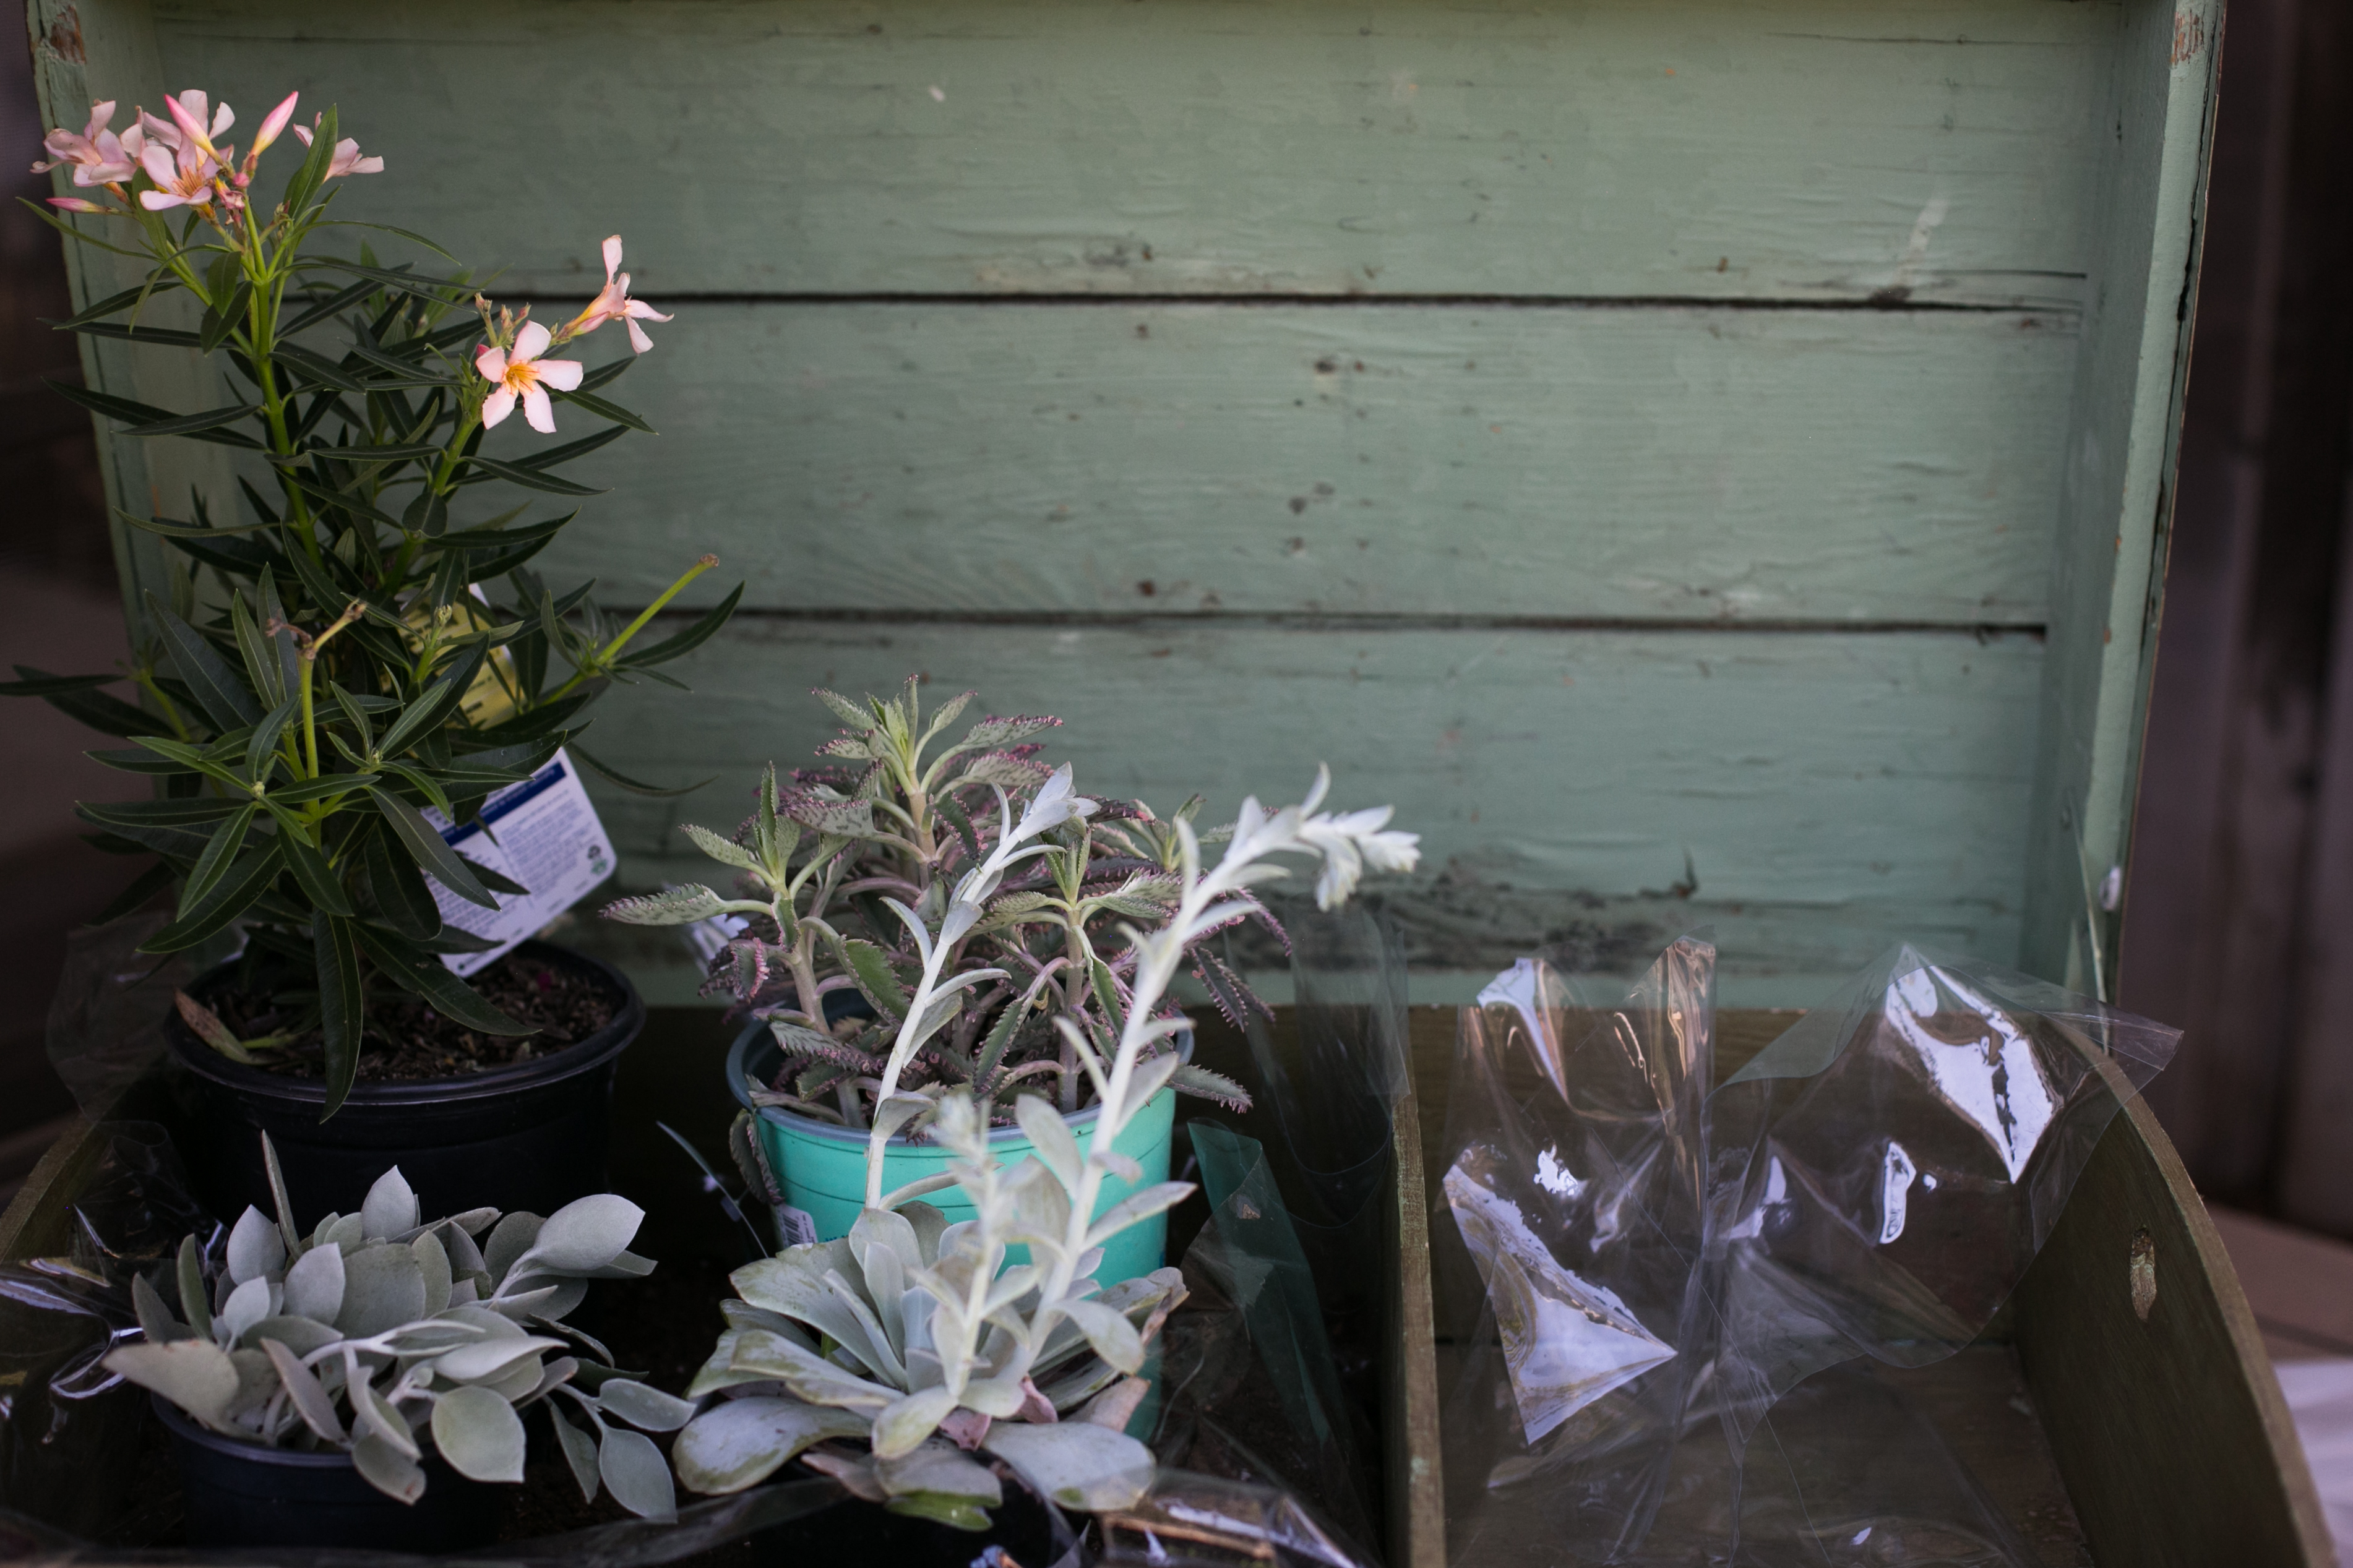
Trunk Vinyl sheeting Potting soil Gravel Plants (I used succulents and oleander) Moss Decorative details White stones


Do It!:
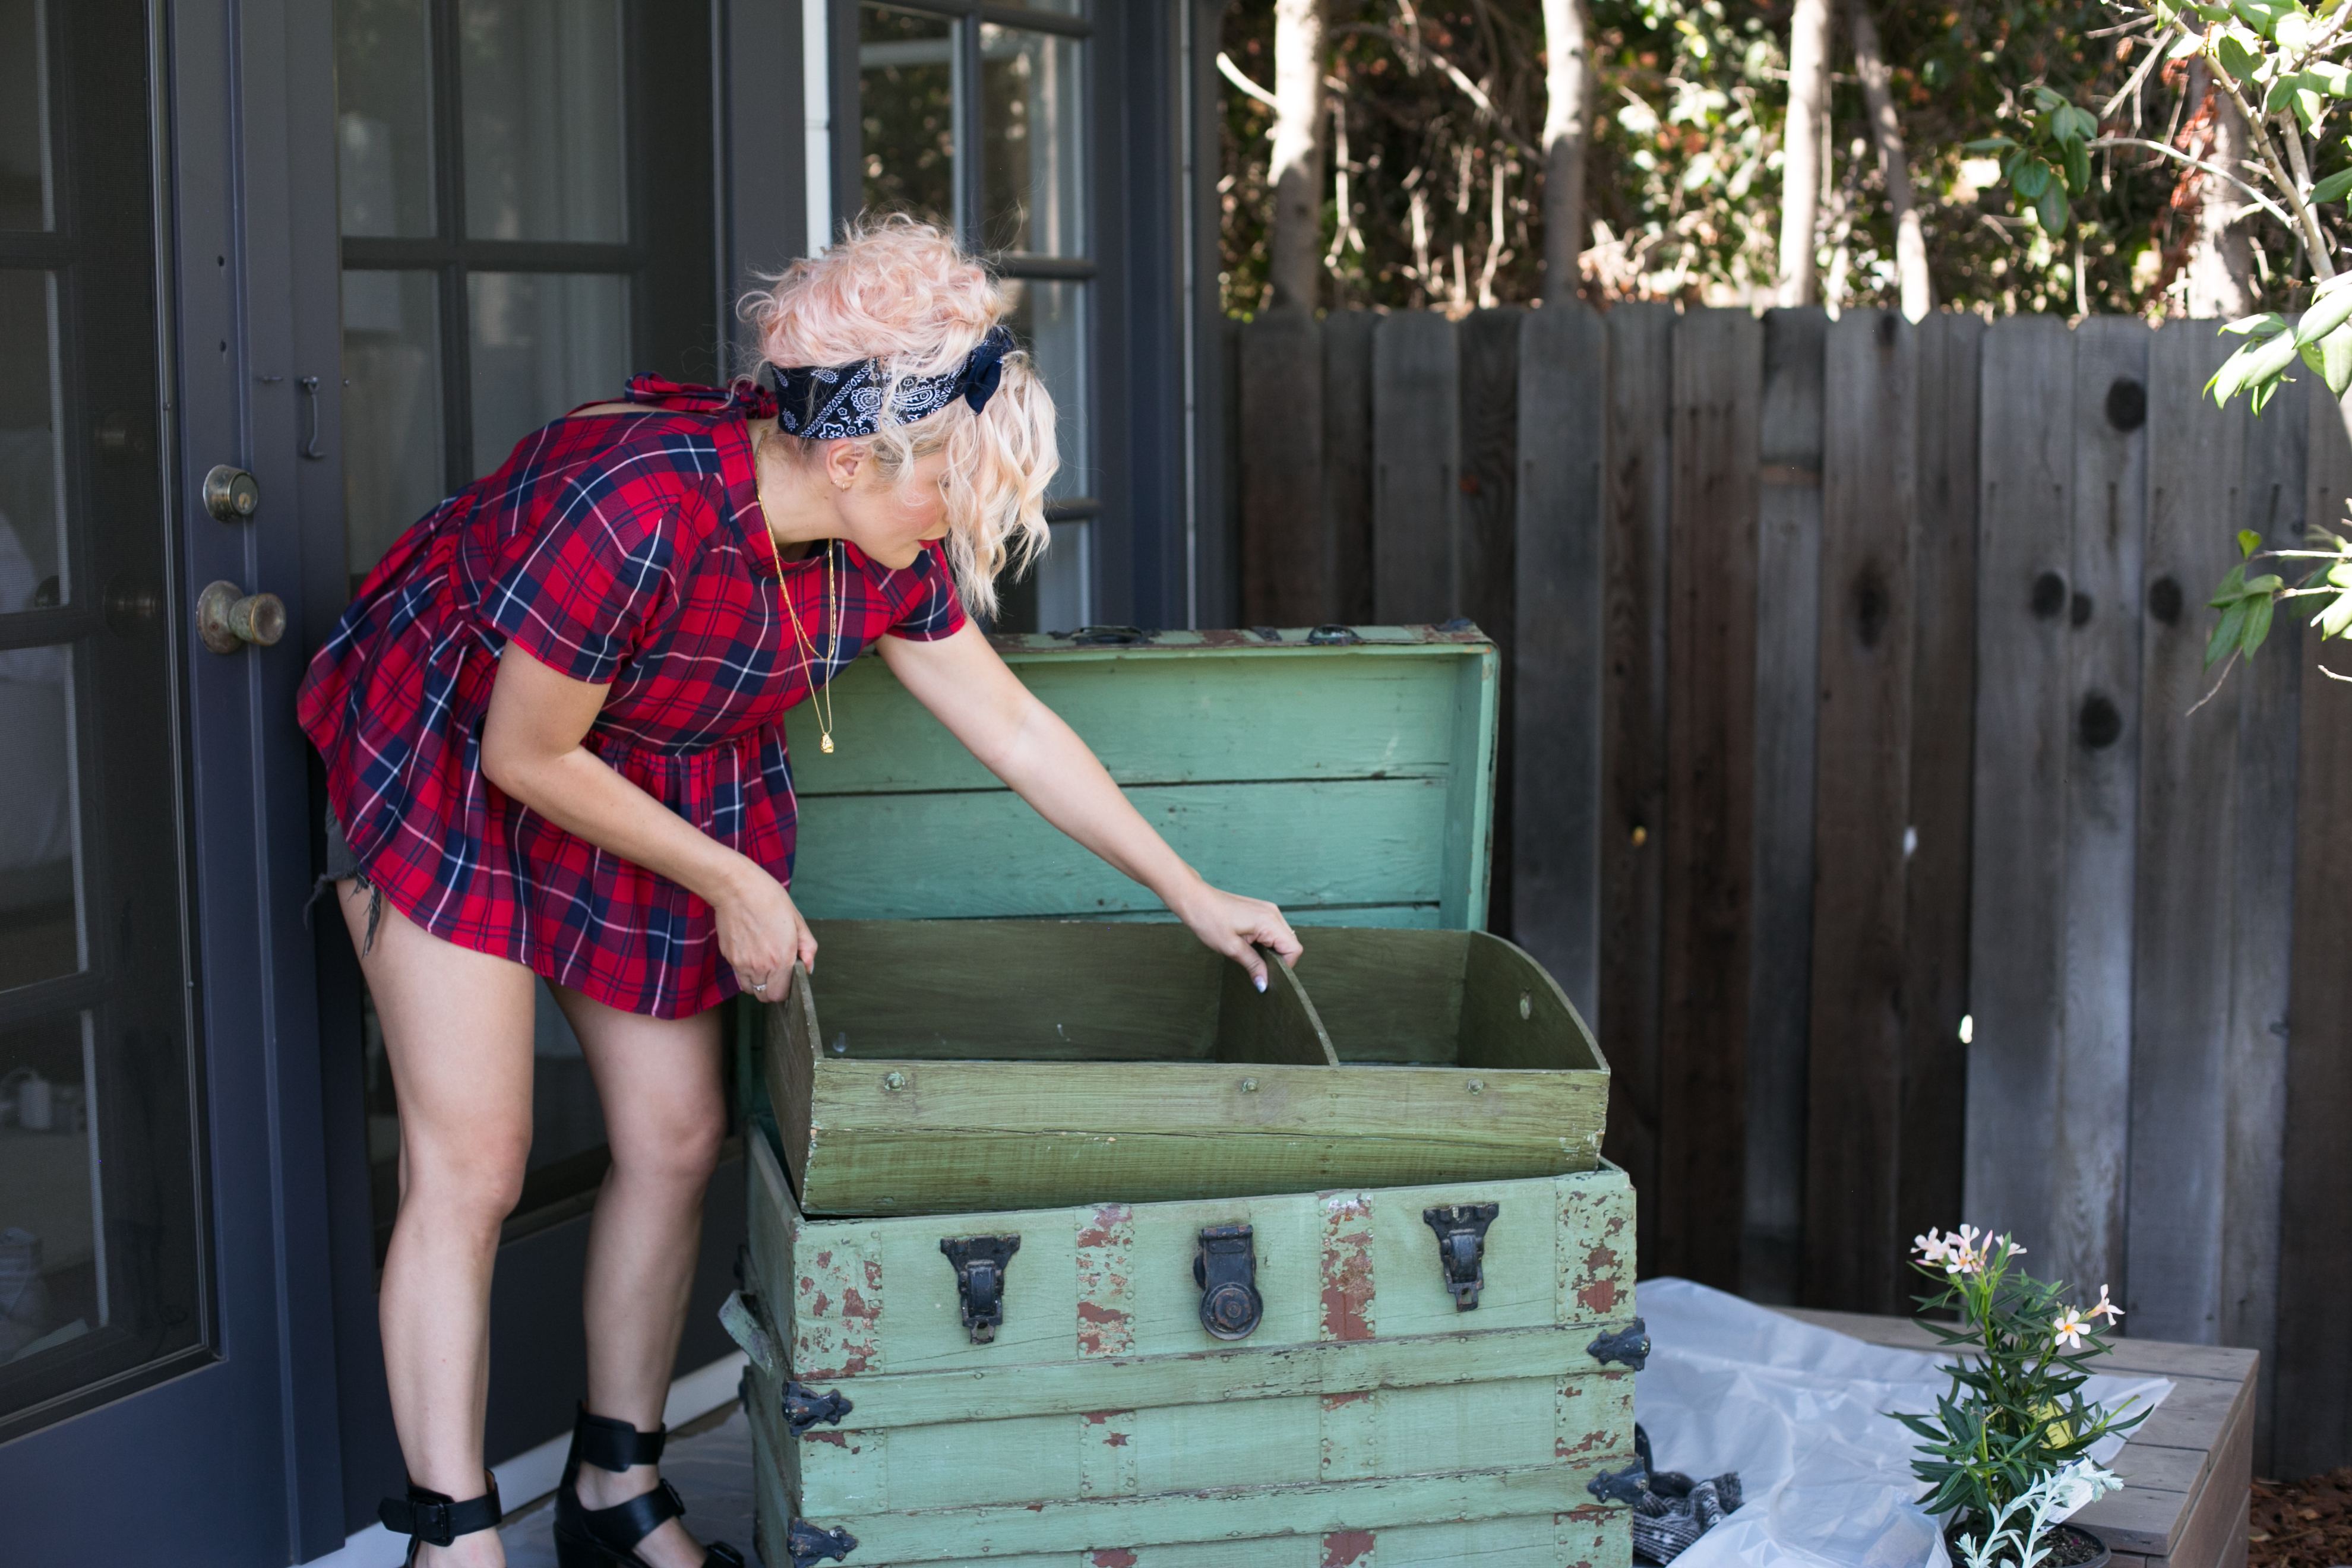
- This trunk had an upper shelf, which I fashioned into the planter, but if your trunk does not, I would suggest filling the lower 2/3rds of it with boxes or something flat and inexpensive.
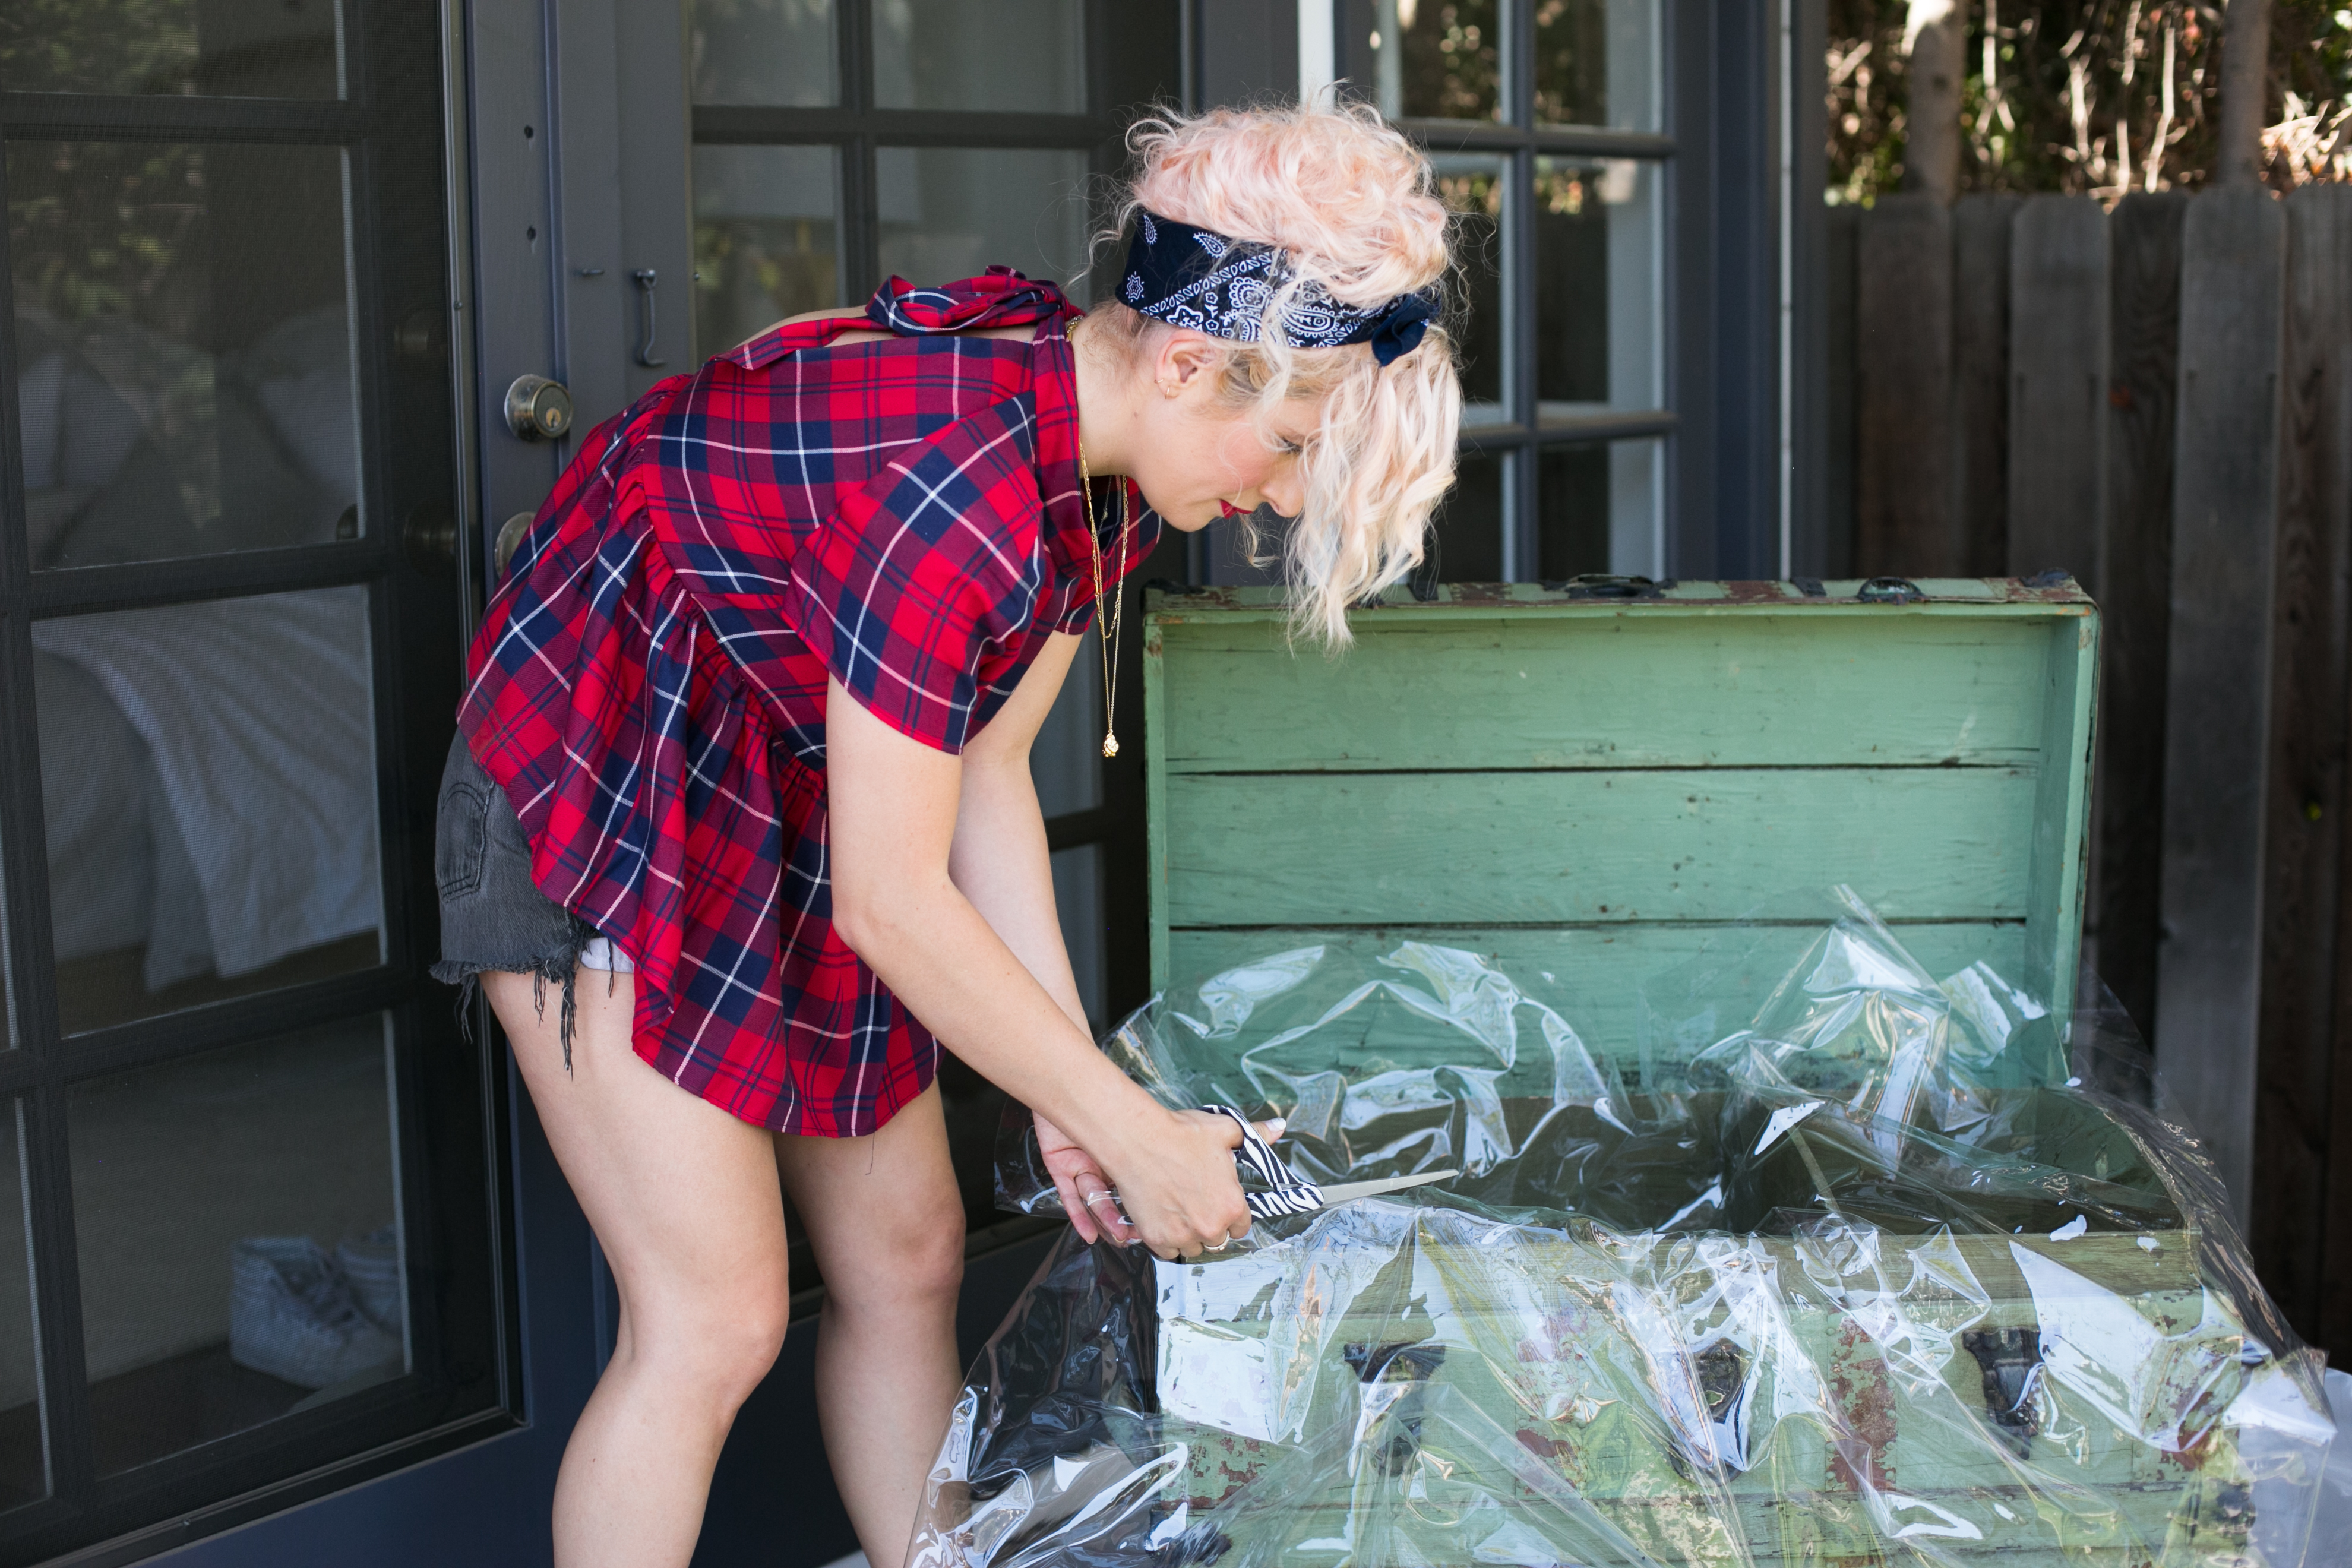
- Line the area that will become the planter with vinyl sheeting, cutting it down to size to cover the bottom and about halfway up the sides.
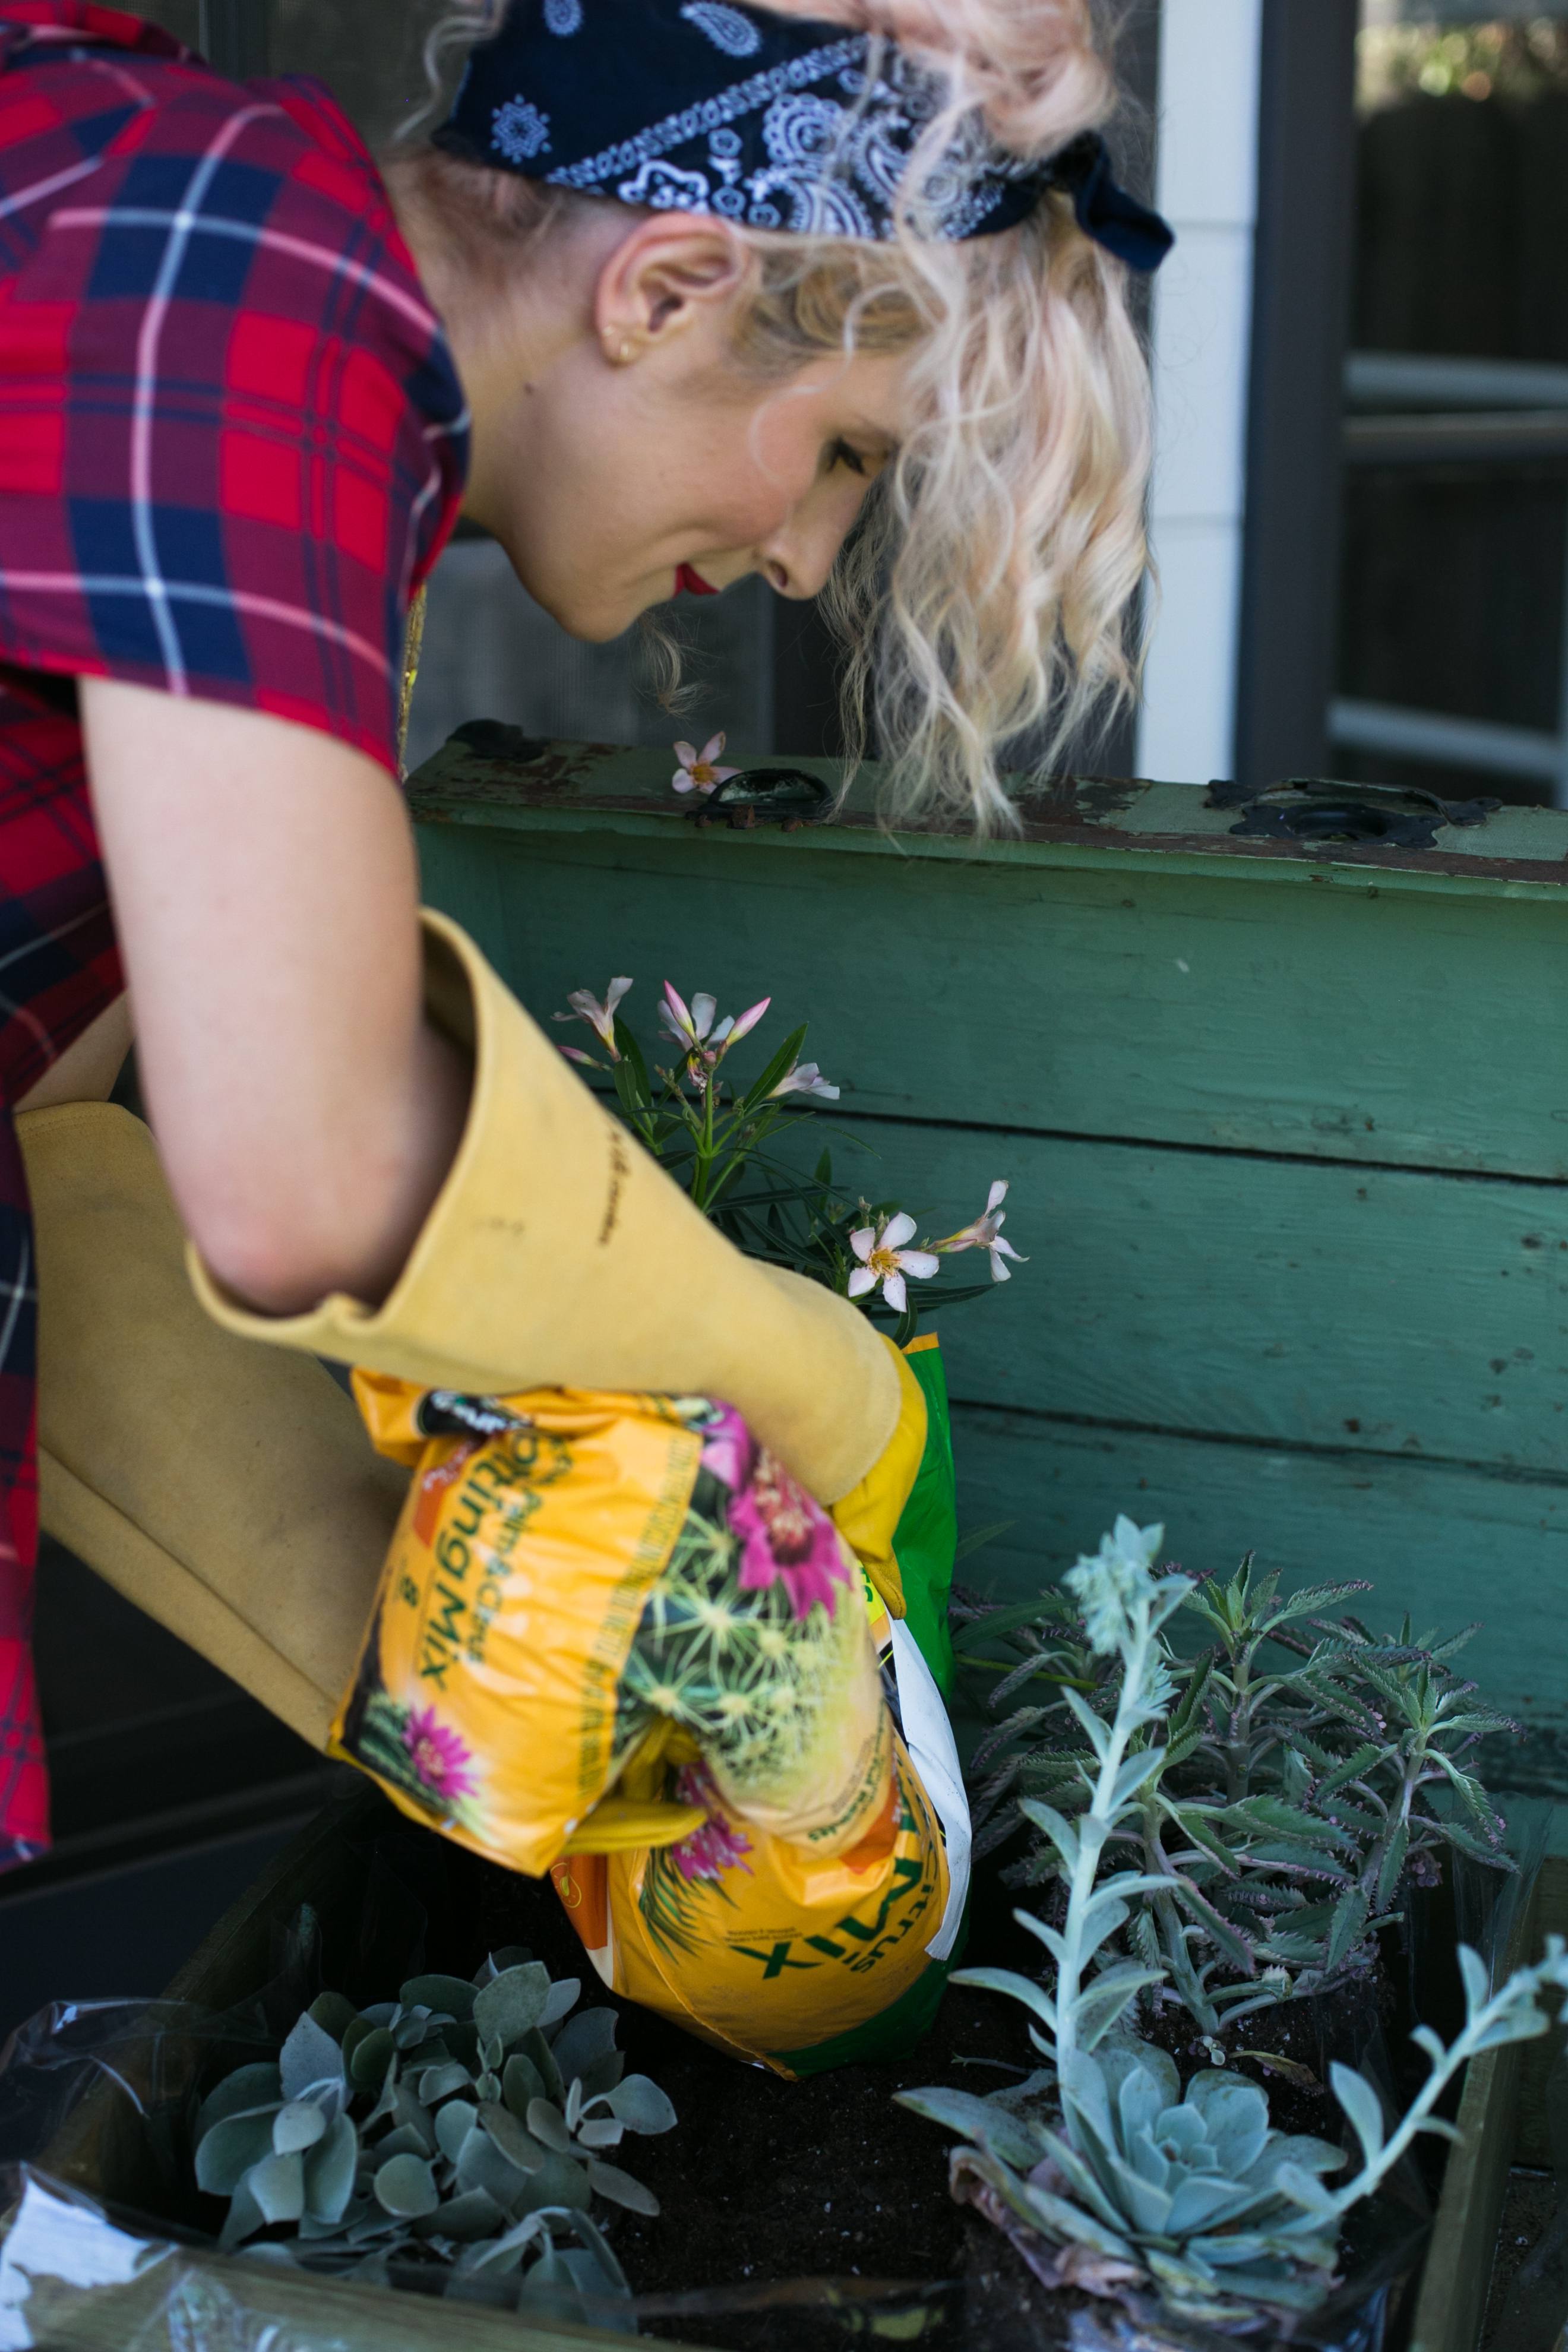
- Place the cut vinyl into the planter area and start to fill with soil. Make sure to layer some gravel or stones in your soil for drainage purposes!
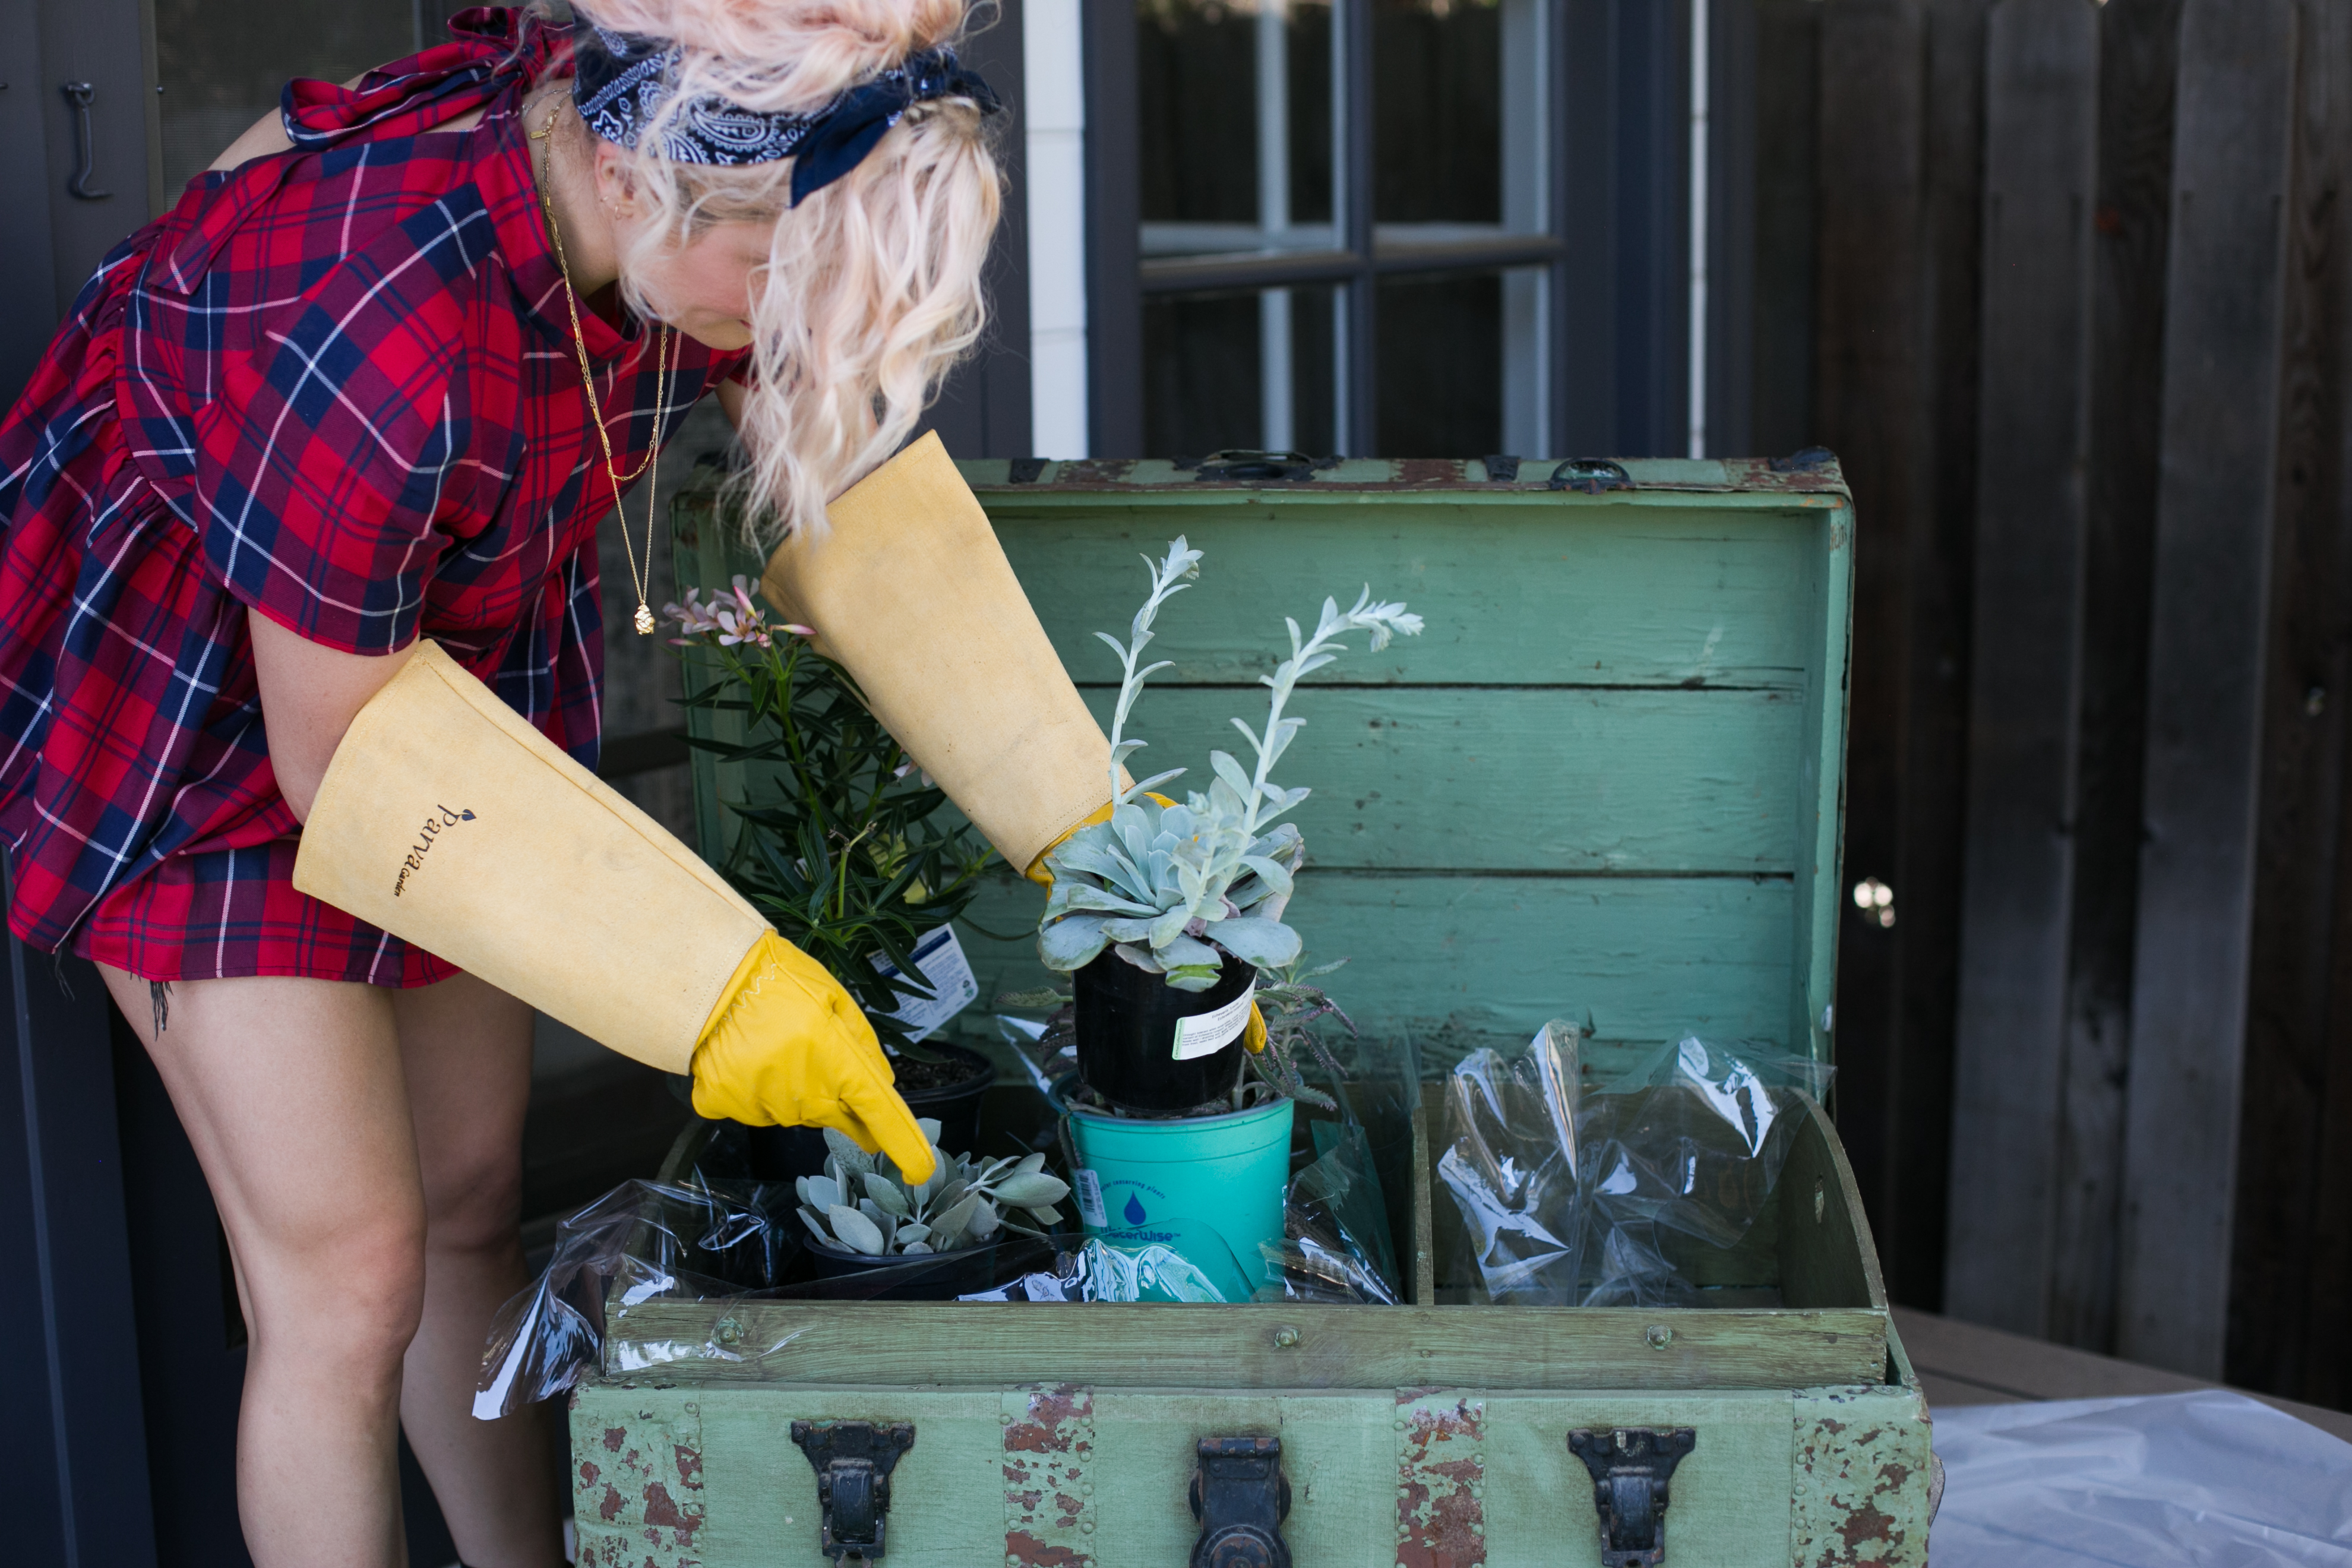
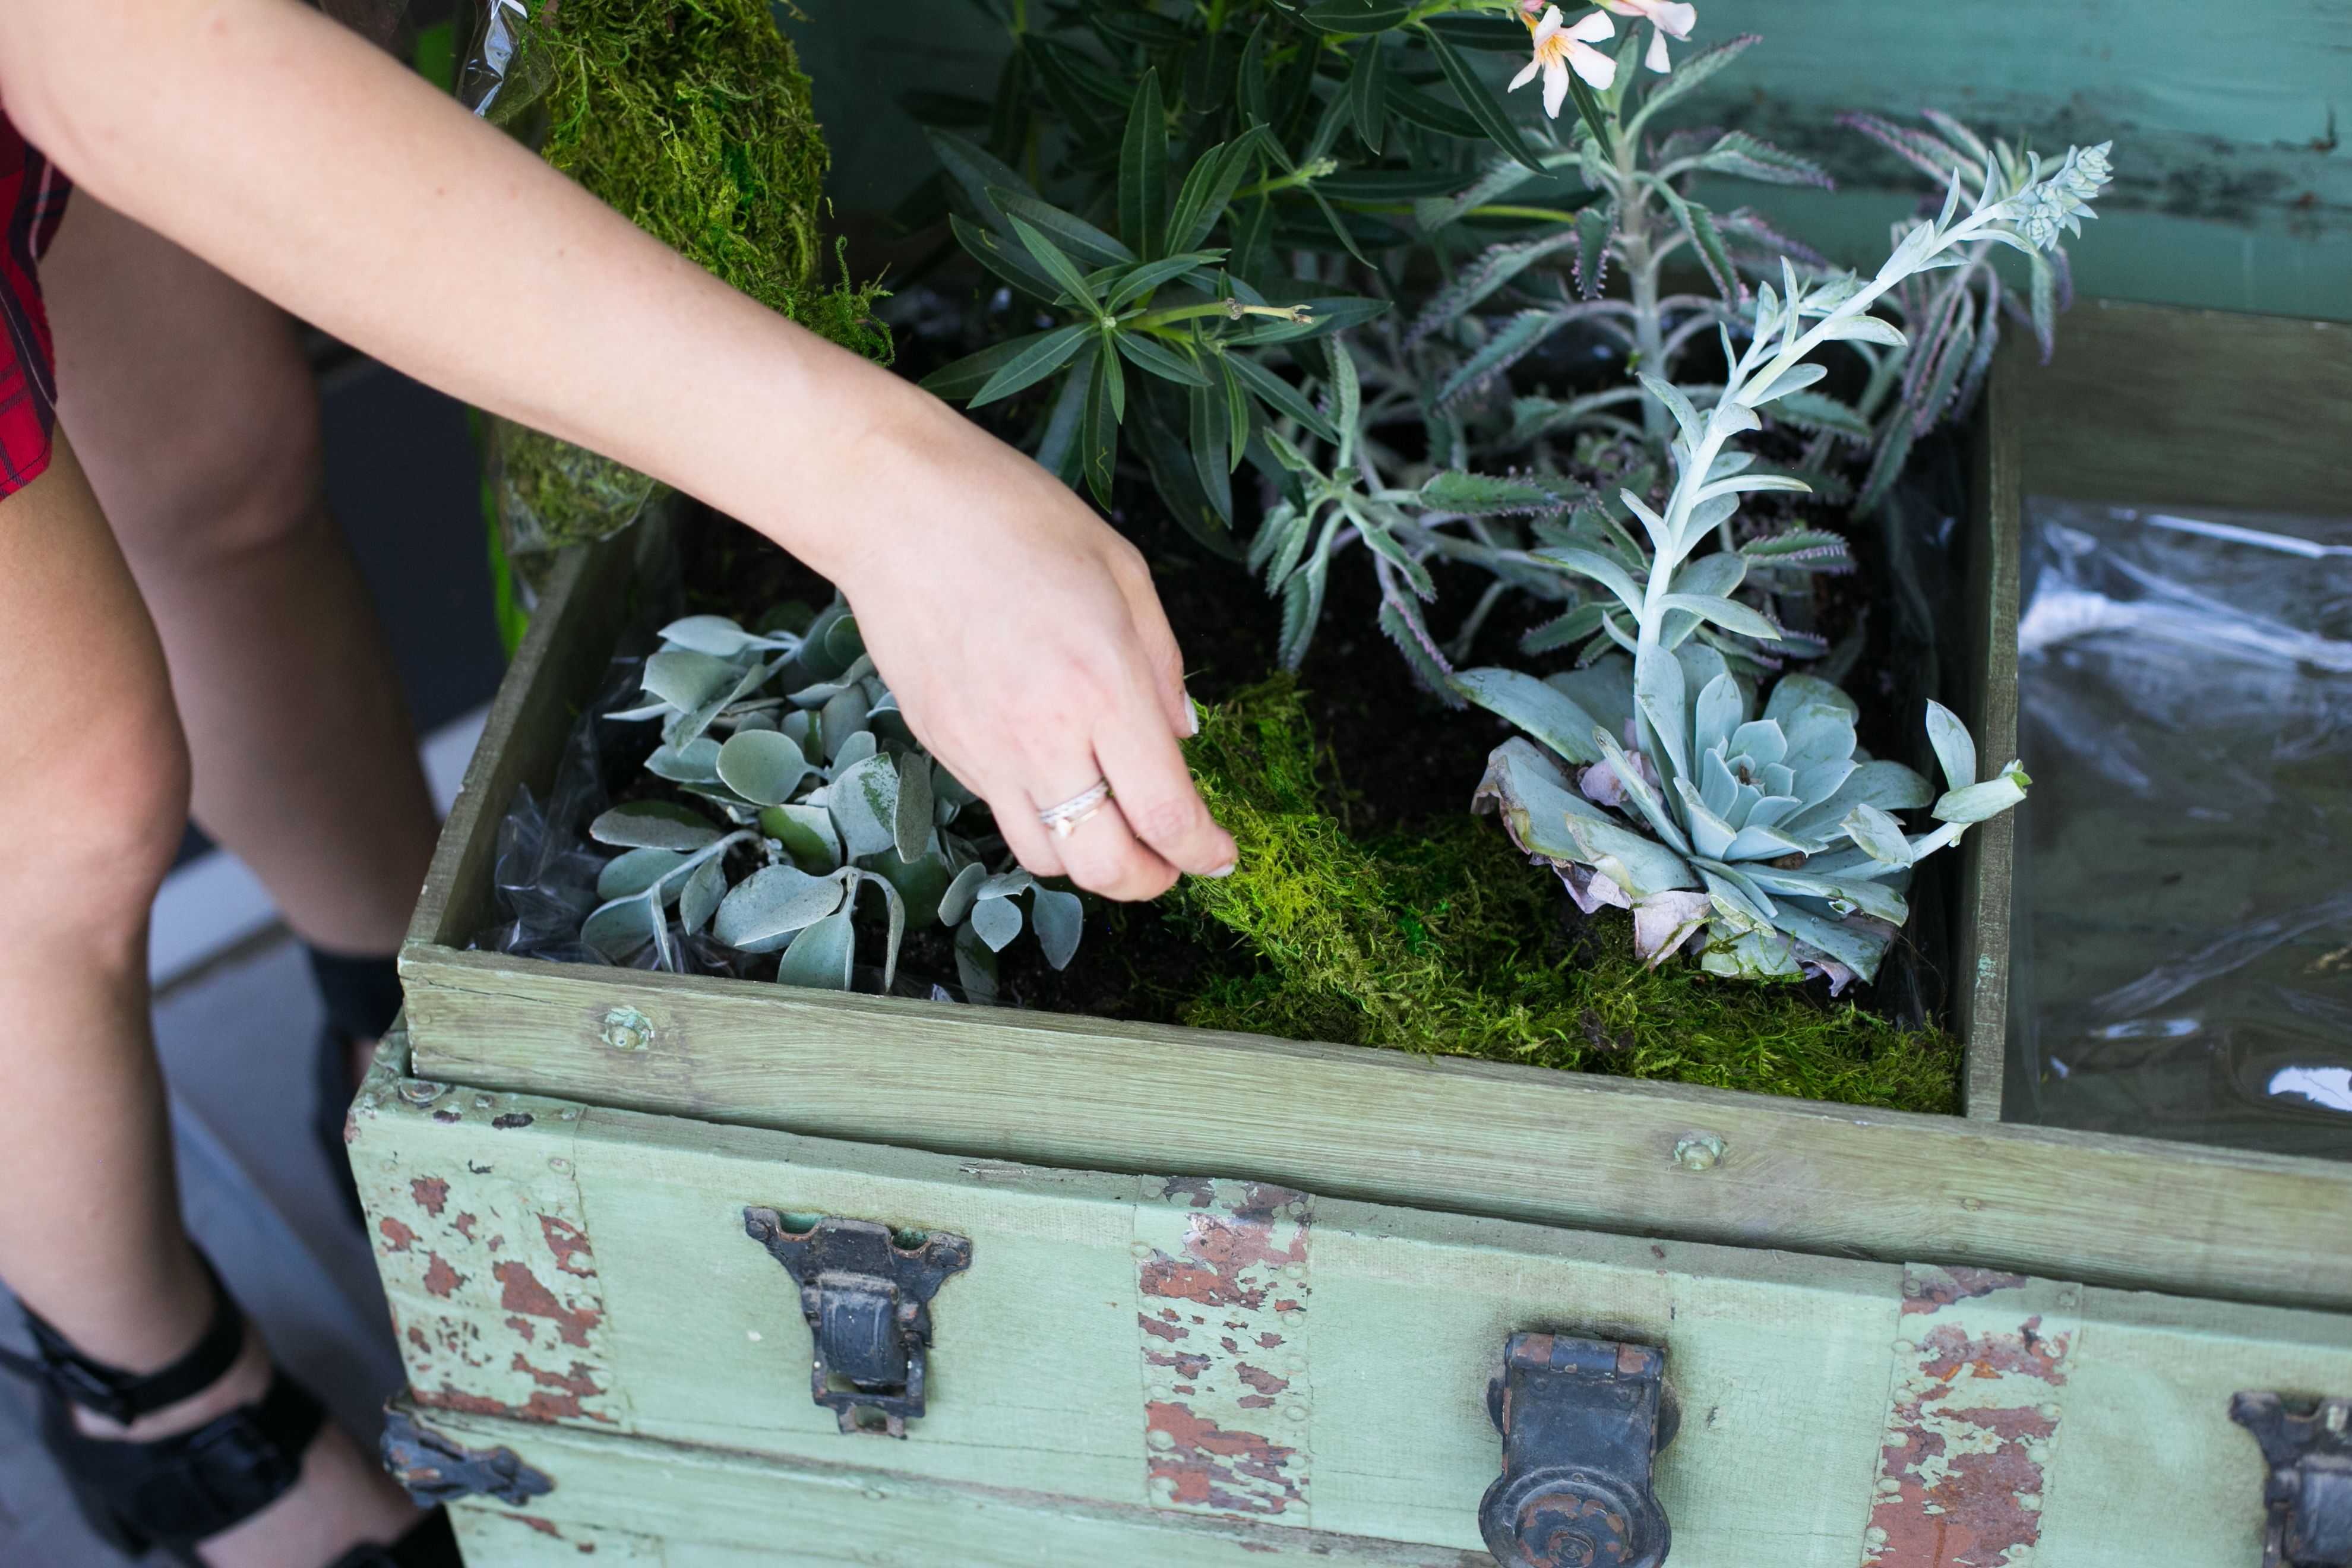
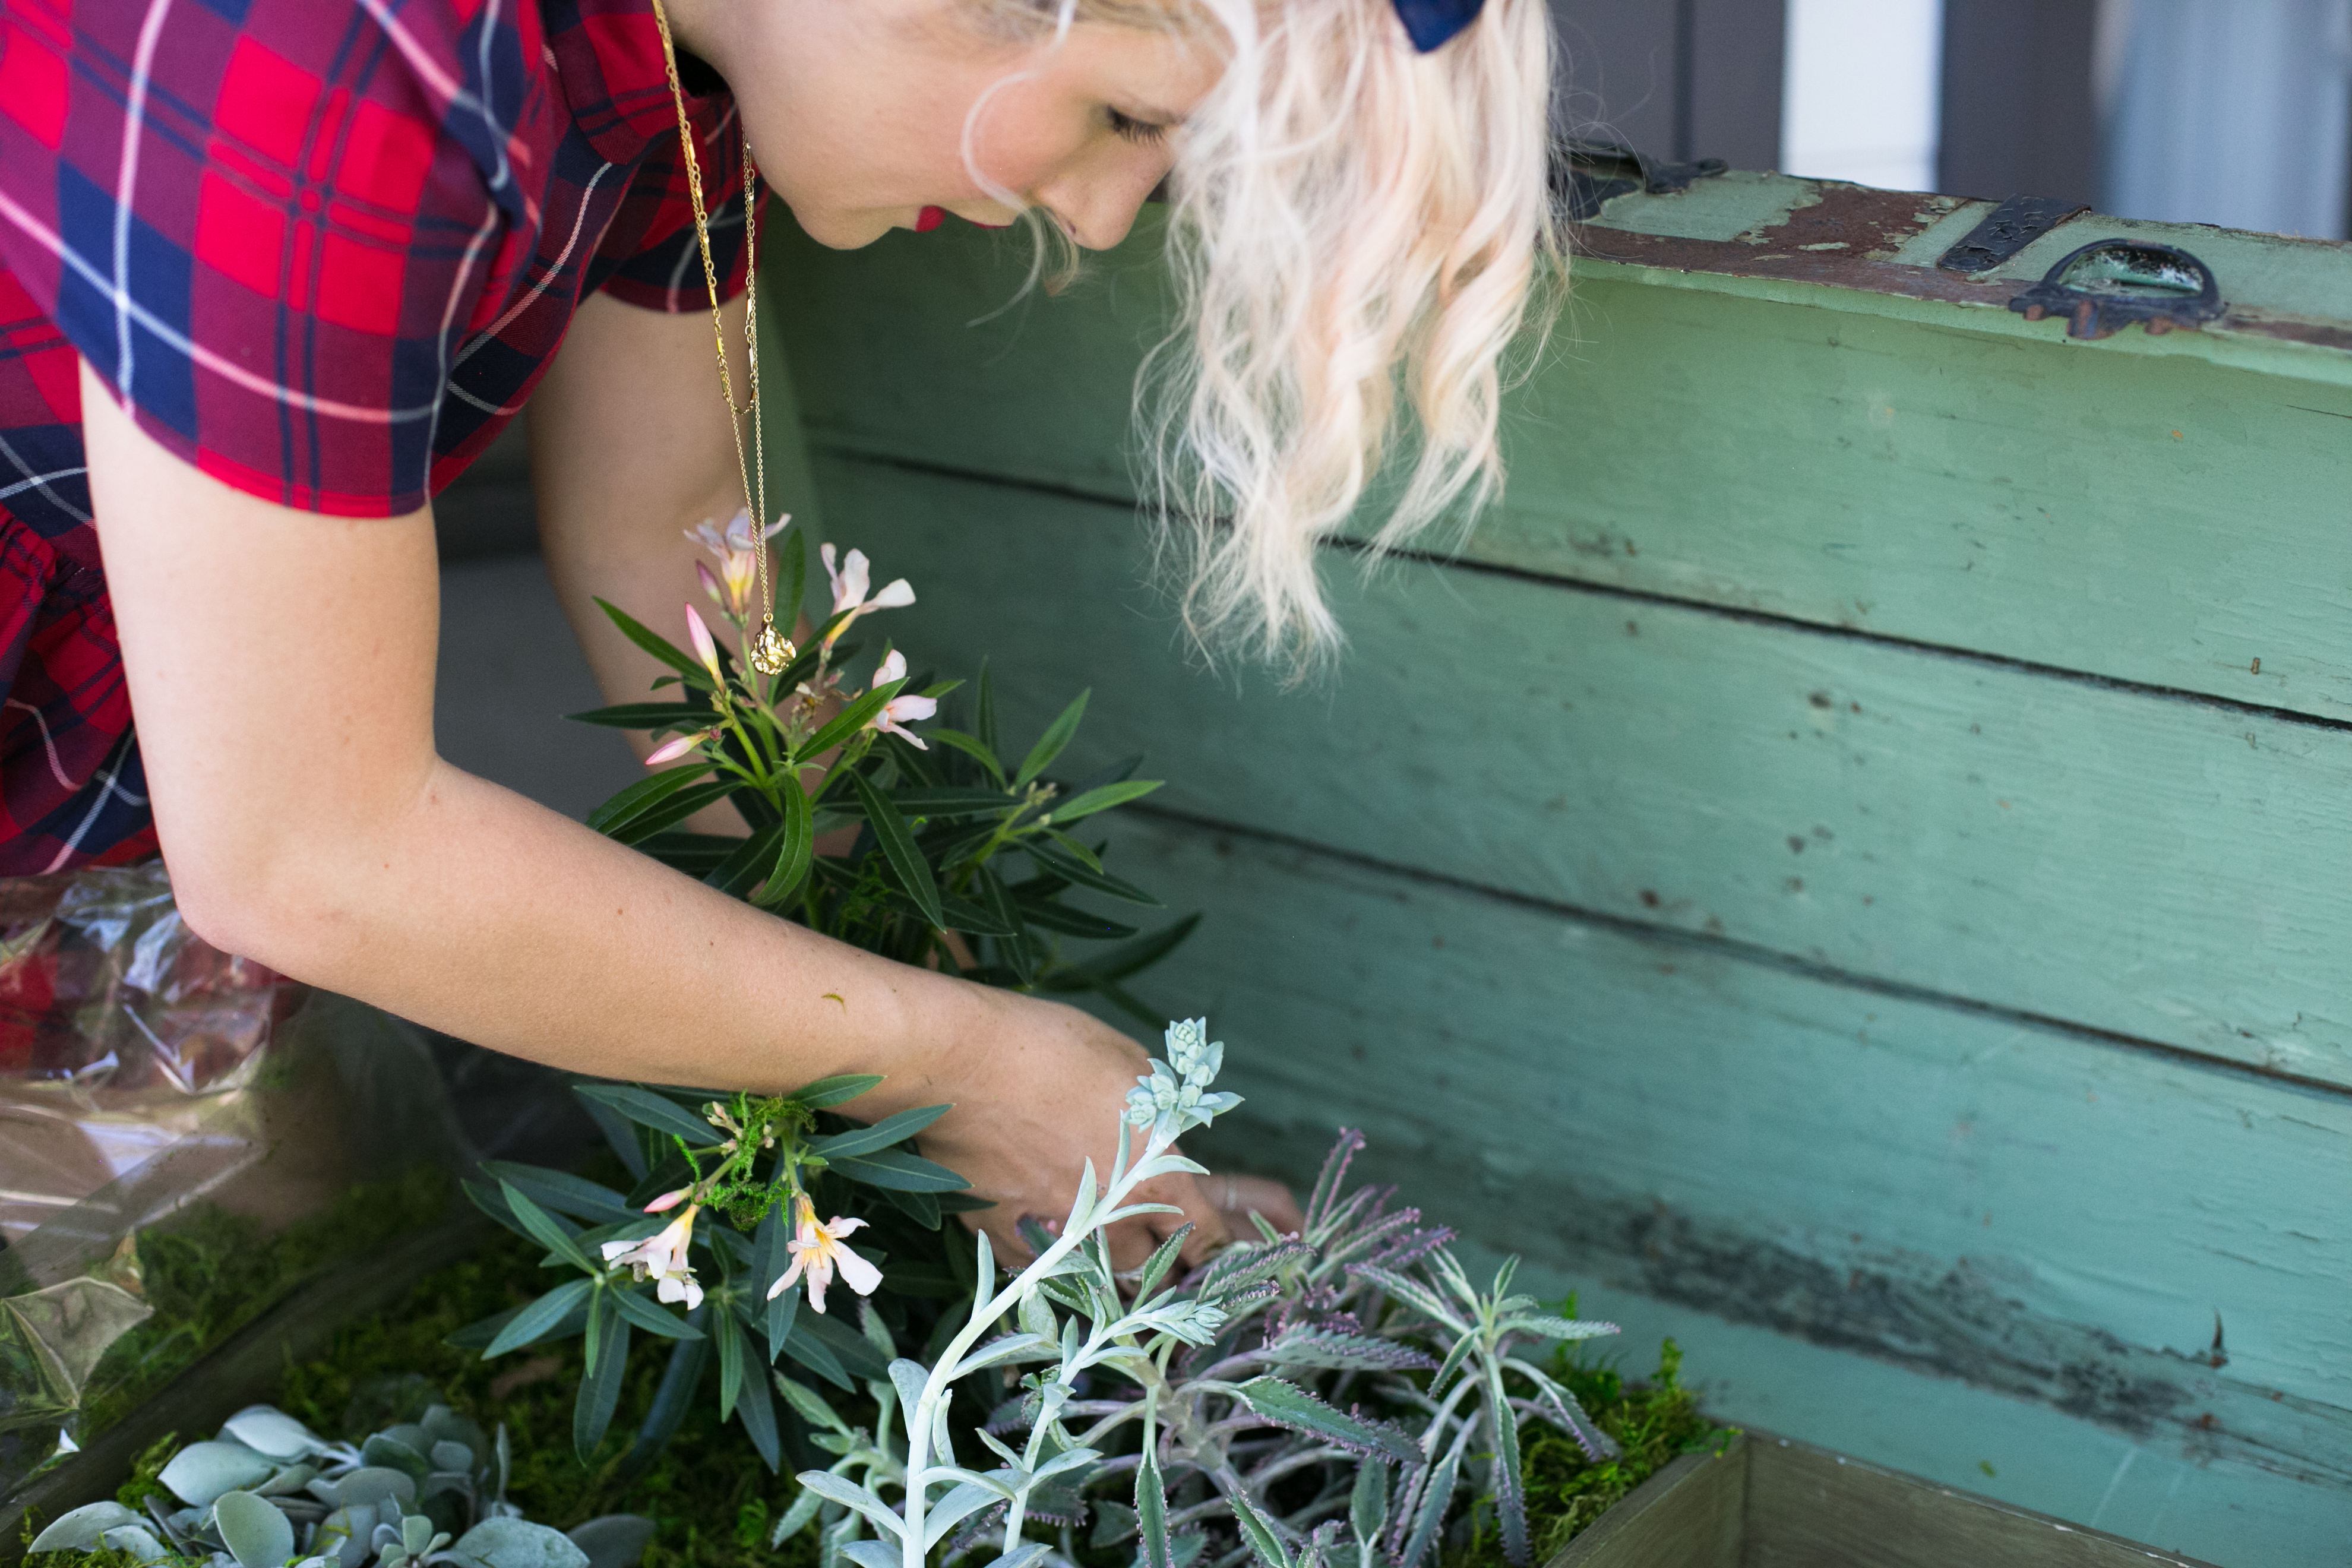
- Plant your greens and fill the up the rest of the planter with soil. Cover the top of the soil with moss and little white stones for a decorative touch!
- I had a second area of my trunk that I filled with a decorative bird figurine, so add in any decor touches like this to your planter as desired.
- Water and watch your plants grow!