
The big V is approaching, the day where we all get to express our inner cheese. Get romantic, cute and beautiful with these 3 fun and easy DIY Valentine's gifts including: a box of chocolates made out of an old matchbox, a floral arrangement that looks professionally done but is so easy and a cheeky and chic card made from dried rosebuds and humor!
Watch the video above for all three tutorials and see complete steps and photos below. Happy Valentine's lovers!
For a DIY Valenine's Day decor idea, check out 'DIY: Valentine's Wreath'


DIY It's A Match Box of Chocolates


Prep It:
- large match box
- decorative paper
- ruler
- pencil
- sponge brush
- Mod Podge
- hole punch
- scissors
- decorative ribbon
- candy cup liners
- chocolates


- Use your matchbox to measure a piece of paper to cover the outer square tube part of the box and two rectangles to fit the front of the drawer part of the box and cut them out.
- Crease the larger piece of paper to cover the outside of the box at each corner.
- Use your sponge brush to apply a coat of mod podge to the cardboard box and lay the paper over. Paint another layer of glue over the top of the paper - it will dry clear. Repeat with the two rectangles to cover the front of the drawers.
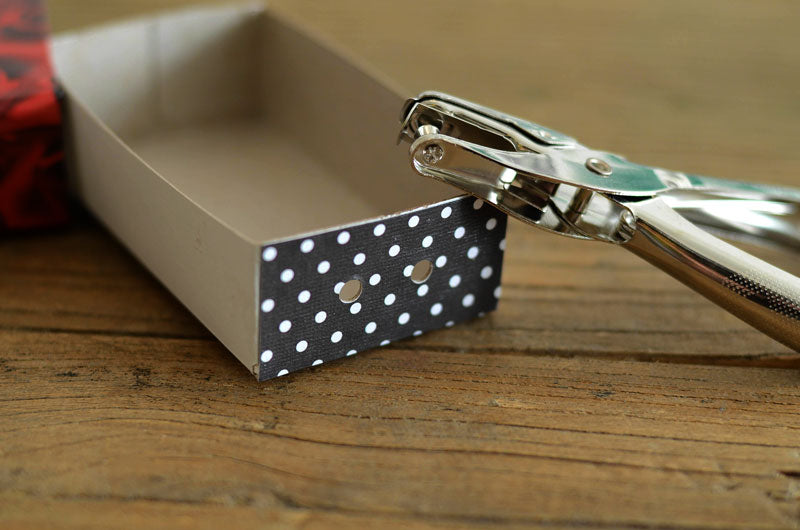
- Hole punch two holes on one end of the matchbox drawer and feed your ribbon through, tying a knot on the inside to create a loop tab as a drawer pull.
- Place your chocolates in the candy liners and nestle them in your new, homemade chocolate box!

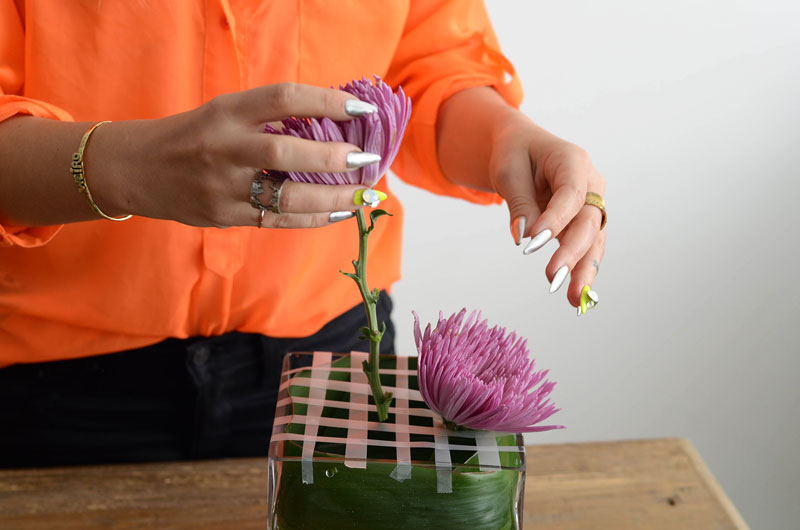
DIY Will You Be My Bou-quet Beautiful and Easy Flower Arrangement


Prep It:


 Do It!:
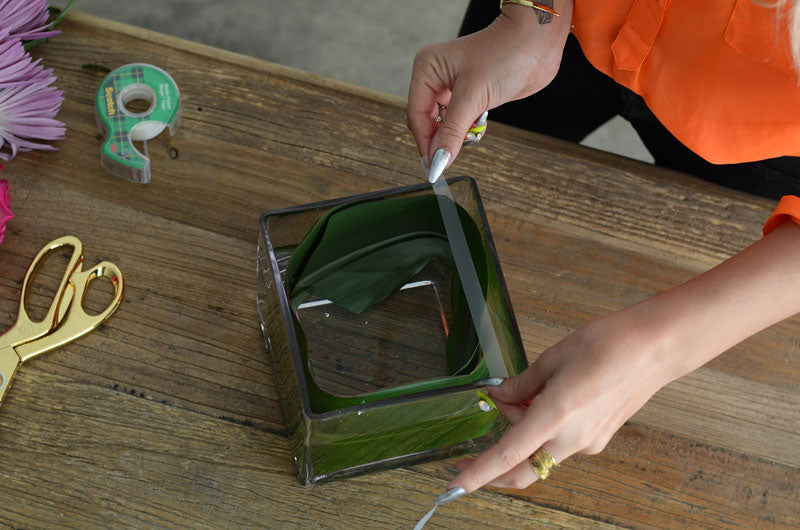
- Depending on your vase, either cut the leaf at the stem or in the mid section leaving enough room for the leaf to line the entire inside perimeter of the vase. Cutting above the thick stem will make it easier to mold the leaf to the shape of your vase.
- Line the inside of the vase with the leaves and fill with water - about two inches from the top of the vase.
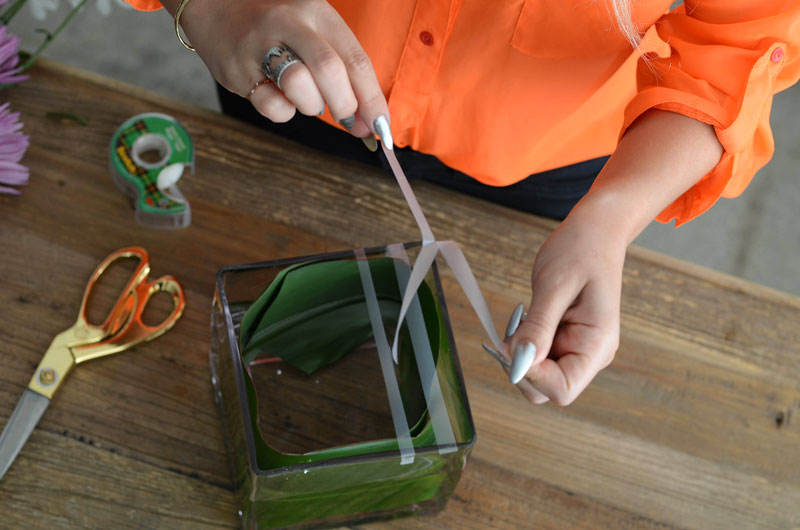
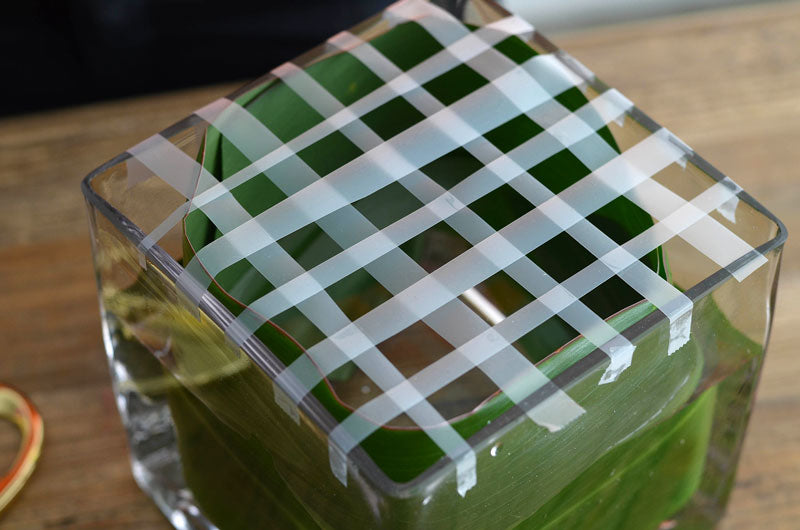
- Tear pieces of scotch tape a little longer than the width of your vase and tape your grid - I tore the tape in half to have skinnier pieces so my flowers could group closer together.
- Tear or cut off any leaves or excess foliage on your flowers and trim the stem to the height of your vase.
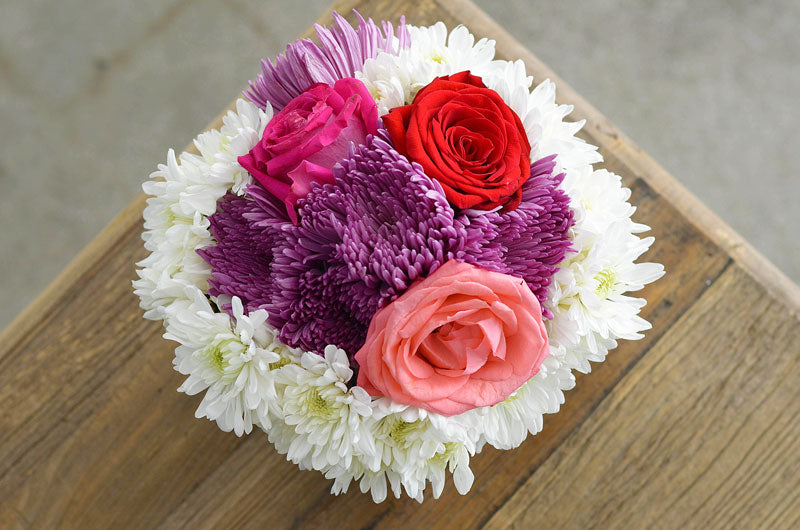
- Insert a flower inside each square of your grid - start in the middle and build out - Think of a globe like shape as you start shaping your bouquet and use the appropriate flowers to fill in and overlap the sides to cover the little tab of tape.
- Done! Gift to a lover or enjoy for yourself! xo
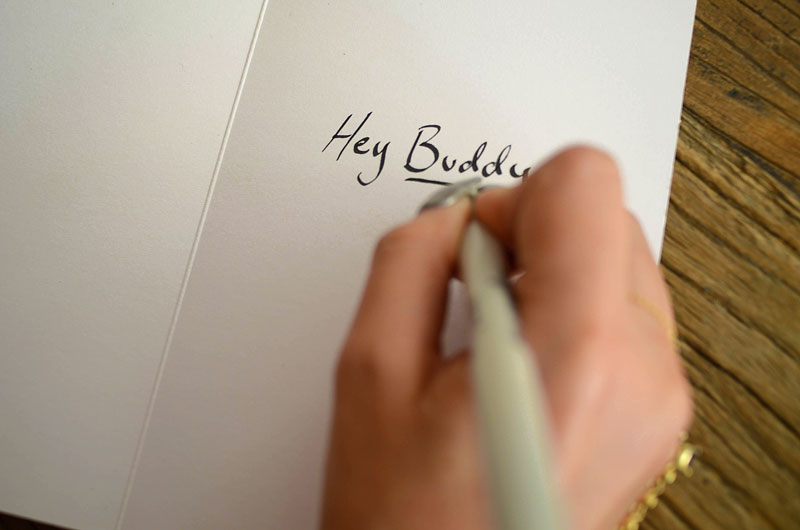
DIY Hey Buddy Rosebud Valentine's Card

 Prep It:


 Do It!:
- Write your message inside the card - I wrote "Hey Buddy, will you be my Valentine?"
- Plan the layout of your dried rosebuds and hot glue them in place.
- Give out your Valentines to your BUDdies.


