 Anchors away to school with you! Or, use this DIY anchor print design to update other articles of clothing like: a t-shirt, sweatshirt or pair of skinny jeans! Anchors are really easy to draw, but I made a diagram for you to follow to make it even easier (see below). This is a fun, nautical way to update an old or inexpensive backpack so you can have smooth sailing on those back-to-shool seas!
Other stylin' nautical ideas: Decorating with Rope, DIY Rope and Light Bulbs, and DIY Rope Sunglasses
 Prep It:
- backpack - light colored fabric is best
- scissors
- hot glue gun and glue sticks
- fabric marker (sold at craft stores or online)
- optional: scrap fabric like burlap or scrap white fabric if you want to make a new handmade label like I did


 DO IT!:
- Snip off the existing label using small scissors or a seam ripper
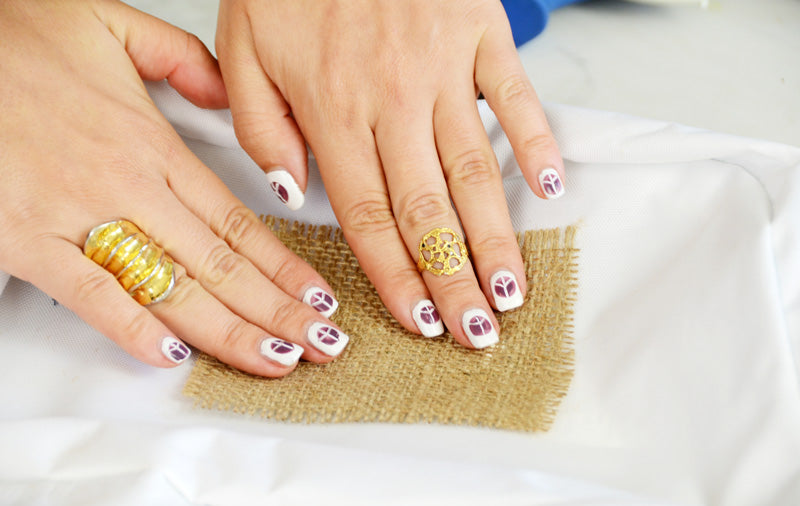
- Optional: cut a new label out of burlap or other scrap fabric and glue it over the area where the label used to be - draw an anchor in the center if you want too!
- Using your fabric marker, draw anchors all over the front pocket or the entire backpack (or surface of your clothing item). You can vary the size of the anchor or make them all the same size, whatever you want to do! Refer to the diagram above to see how to easily draw an anchor shape.


 The Deets:
- jewelry featured: Mr. Kate Dreamcatcher Lattice Ring and Vertebrae Ring.
- shorts: Zara
- shirt: Urban Outfitters


