DIY BeautyMarks planters

Posted by MrKate on

MrKate_DIY_BeautyMarkPlanters-12text2

We love using the Mr. Kate BeautyMarks on all kinds of things - not just your beautiful bodies and faces. These pots were decorated with #AHotGlueGunMess BeautyMarks, get yours by pre-ordering A Hot Glue Gun Mess here.

For more ideas on how to revamp potted plants, check out 'DIY Gold Dipped Potted Plants'

MrKate_DIY_BeautyMarkPlanters-23-ab MrKate_DIY_BeautyMarkPlanters

Prep It:

MrKate_DIY_BeautyMarkPlanters-2

MrKate_DIY_BeautyMarkPlanters-3

MrKate_DIY_BeautyMarkPlanters-4a

MrKate_DIY_BeautyMarkPlanters-5a

MrKate_DIY_BeautyMarkPlanters-6a

MrKate_DIY_BeautyMarkPlanters-7a

MrKate_DIY_BeautyMarkPlanters-8

MrKate_DIY_BeautyMarkPlanters-9

MrKate_DIY_BeautyMarkPlanters-10

Do It!:

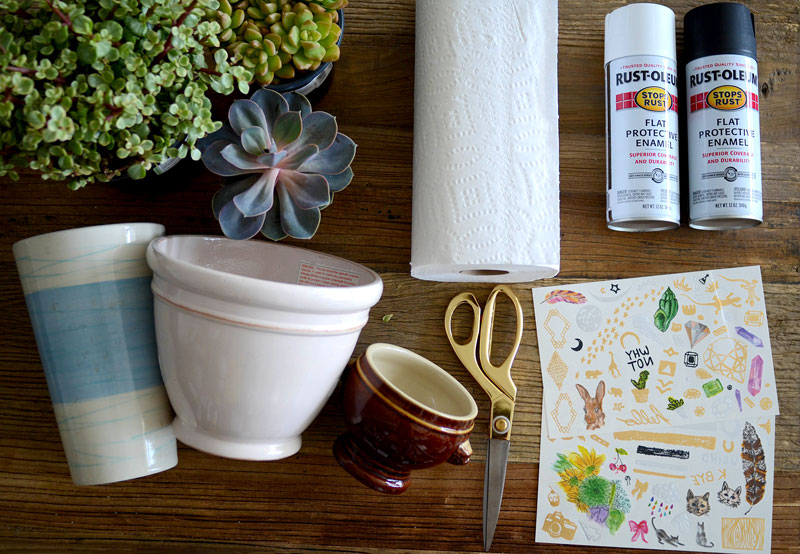
  1. Spray paint your pots the color(s) of your choice and let dry.
  2. Cut out the BeautyMarks you want to use and plan out your design.
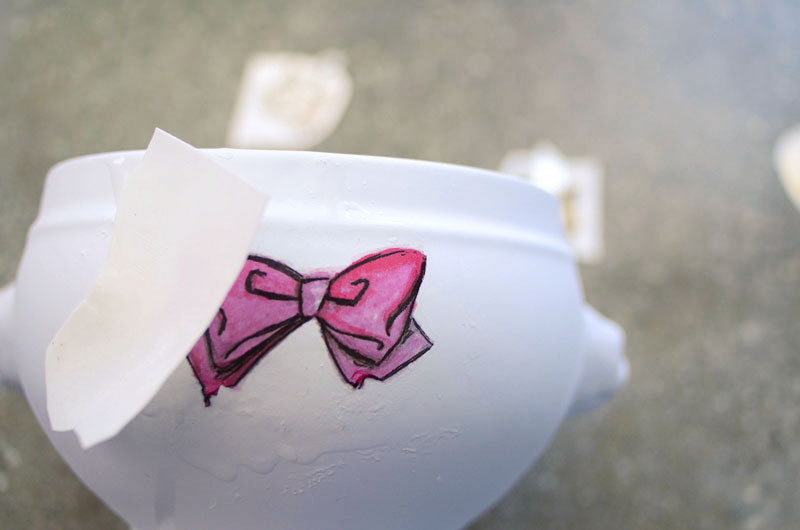
  3. Peel off the plastic and apply the BeautyMarks to the pots using a wet paper towel to saturate the paper backing and release the design.
  4. Plant your plants using the potting soil into your new beautiful pots!

MrKate_DIY_BeautyMarkPlanters-24

MrKate_DIY_BeautyMarkPlanters-25

MrKate_DIY_BeautyMarkPlanters-32

MrKate_DIY_BeautyMarkPlanters-17

MrKate_DIY_BeautyMarkPlanters-21

MrKate_DIY_BeautyMarkPlanters-18

MrKate_DIY_BeautyMarkPlanters-27

MrKate_DIY_BeautyMarkPlanters-22ac MrKate_Mother'sDay

Don't forget to get something for your mamas! Shop here!

← Older Post Newer Post →

Read

RSS
Raised Garden Bed DIY

Raised Garden Bed DIY

Materials: - Bottomless galvanized utility tub - Spray paint (made for metal surfaces) - Vegetables and herbs (from seedlings or seeds) - Soil (preferably a...

DIY Project: Minimalist Side Table

DIY Project: Minimalist Side Table

When making over this bedroom we wanted to go for a tranquil vibe and to achieve this we had to keep the elements neutral and...