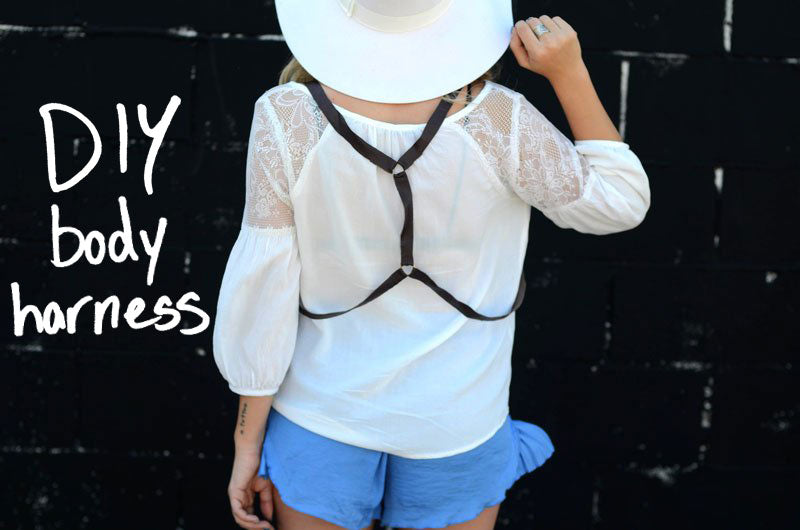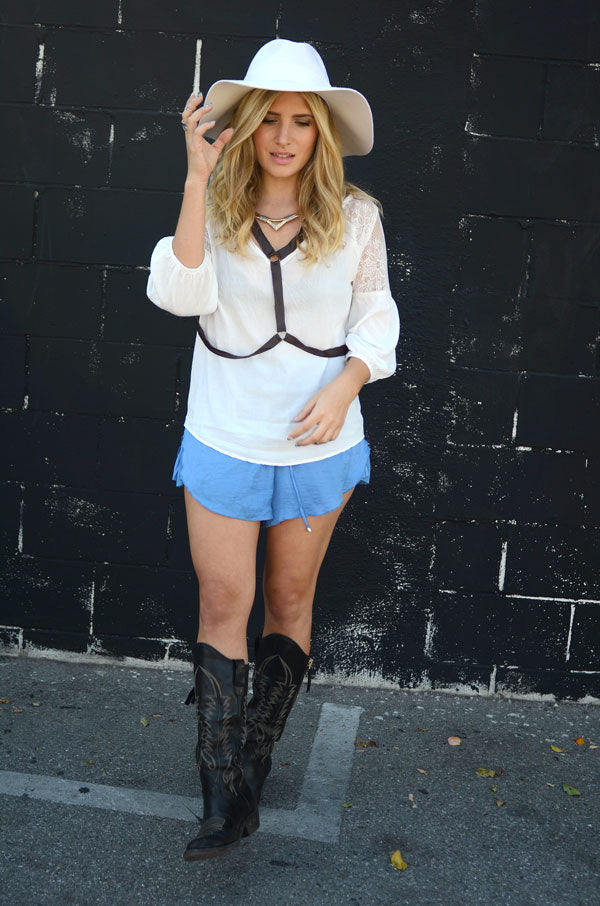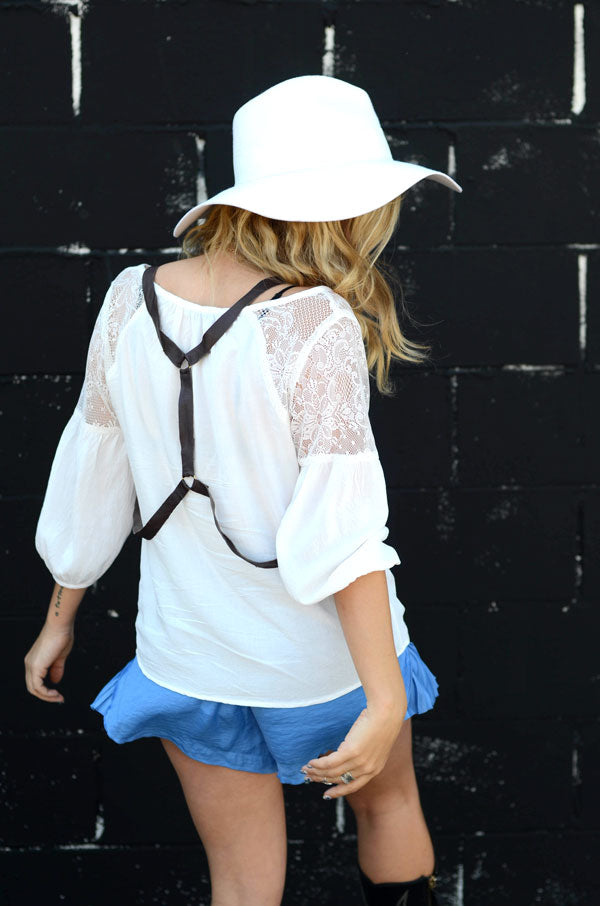
Joey's old leather jacket (that he bought at a thrift store years ago and never wears) was the perfect item to salvage to make this DIY Leather Harness. I love how a harness adds structure and bad-ass-ness to any outfit. This design you can wear either way, with the findings in the front or the back. You just put it on like a backpack or a reverse backpack (baby carrier) depending on how you like it styled.
Easy, upcycled and perfect for Spring/Summer!
Like funky leather accessories? Check out the DIY Spiked Mohawk Headband


Prep It:
- strips of leather (I used an old leather jacket)
- sharp scissors
- large jump rings or metal rings
- fabri-tac glue
- measuring tape


Do It!:
- Cut three 1"- 1.5" wide of leather from your old jacket at varying lengths: I'm petite so I cut one piece for the back, around 7" which included the half inch or so that became the hem tab (glued around the jump ring). The arm hole straps ended up around 33" but I added a jump ring halfway for more embellishment and flexibility, so give or take two 35" pieces for a petite person. To clarify: One 7" piece and two 35" pieces.
- Start with the back of the harness using the 7" to 10" inch piece (depending on your height) and two of the large jump rings. Loop each end of the short piece of leather around each jump ring and glue about a half inch down on the underside securing each end. You'll end up with a piece of leather that has two jump rings attached to each side. (As pictured above)
- For each armhole, attach the end of each longer piece of leather around each of the jumprings attached to the short piece with some glue like you did the center short piece. Each jump ring will now have three pieces of leather glued around it creating two backpack-like straps connected to the center (vertical) piece.
- (Optional) I put a jump ring halfway through both of the arm straps for added embelishment. Do this by cutting and gluing each side around a jump ring. Just make sure you give yourself enough extra length for the hem (glued down tab).
- Let dry completely and wear your new harness with the center tab at the back or front!


What do you think? If you make your own please post to social with #mrkate so I can see your creative masterpiece! xo


