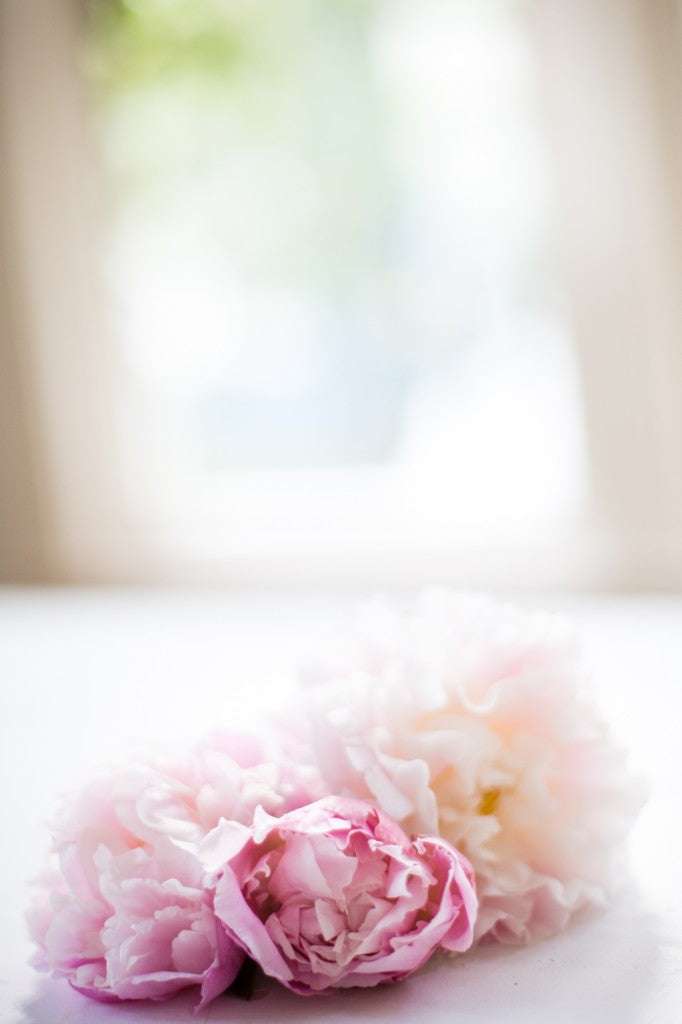
Whenever I transform a room with interior decorating, flowers are always part of the final touch. They bring life, color and fragrance which are all essential in any interior space. But the funny thing is, I often forget to put them in my own home and office!
So, as part of the #MrKateRefresh for 2016, we're launching the DIY Bouquet of the Month series, where we'll show you which seasonal sprigs and fresh flowers to use to put together a unique, bountiful, beautiful bouquet. Whether you use exactly the same flowers, or switch it up a little and add your personal flair, the whole point is adding an easy, pretty something to the room to give it life, color, and a sweet, sweet smell that didn't come from Bath & Body Works.
For more floral inspiration see the sunflower bouquet in Drip-Paint Pumpkin Vase, the myrtle, pine, and winter greens of the Winter Flower Crown and Peace Wreath, and the Birds of Paradise in the Greens Centerpiece.
Let's let nature inspire us in 2016!
DIY Protea Bouquet
I was enthralled when I first encountered this dinosaur-looking flower known as a Protea. It is huge, intricate, subtly colored and looks like it would have a dazzling personality - if it could talk. This bouquet showcases the protea as the main-stage-star amongst an un-done mix of softer flowers, like peonies and different hues of greenery. Style a bouquet like this on an entry table, as a dining table centerpiece or anywhere you want a statement.
Prep It:
Large Statement Flowers: 3 Peonies 1 Protea Flower
Fillers: 2-3 Palms 4 Eucalyptus branches 3 Amaranthus flowers 2 Dusty Miller bunches
 Do It!:
- Start building your bouquet with the biggest flower, or statement piece. This will be the focal piece, and the branch around which all the others are placed. In our case, that is the Protea flower.
- Pair the Protea with one of the peonies. Then, start adding a few of the eucalyptus branches, a palm, and one of the Dusty Millers. Look at your bouquet from a few different angles while building to make sure it's balanced from all sides. It's all about mixing and creating a good flow. You don't want all the same flowers next to each other.
- Fill out the bouquet with the rest of the blooms! I find it best to maintain an order — add a peony then a eucalyptus branch then a palm then a Dusty Miller, repeat until finished. When you've put together your perfect arrangement, wrap it together with string, twine or wire.
- Place the bouquet in a vase and change the water often to keep your blooms fresh!


