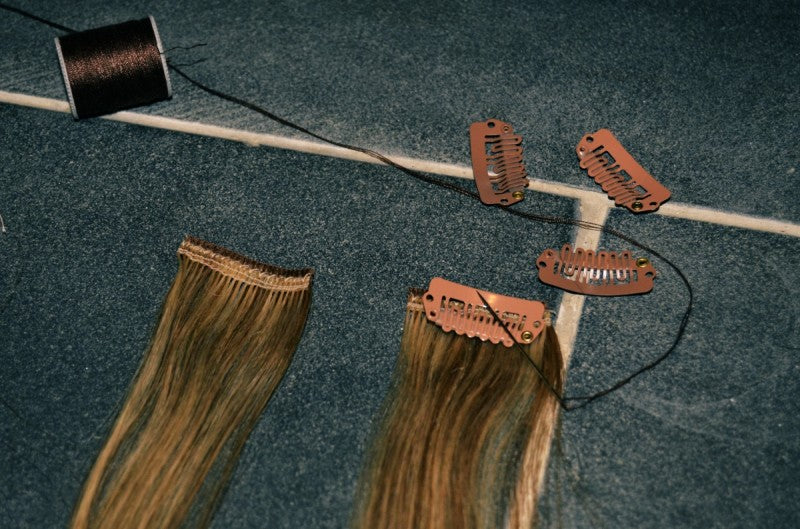
 it's a week of clip-in/clip-on things! i know i've been talking a lot about clip-in hair extensions lately (like the ones i dip dyed in bright colors) so i thought i'd do a quick post on how to actually fasten some clips onto stripes of hair extensions.
 me, wearing a full head of clip-in extensions. 5 strips total.
it's really the easiest thing ever. many times clip-ins come with the clips already attached but sometimes it's way cheaper to buy a package of hair that comes in a big long piece and then cut it in lengths and sew on the clips yourself!
- i got this package of hair for $20... (which is a great deal for 100% human hair - usually a full head of clip ins will run you $100 and up).
- then i bought a bag of clips - all from The Hair Shop in LA
- i simply sewed the clips to the hair with a needle and thread! it doesn't have to be neat because the clips won't be seen under your real hair, just make sure they're secure.
- i recommend cutting:
- one or two wide strips for the middle of your hair - these should be wide enough to clip behind your ear, wrap around the back of your head and clip behind the other ear. use 3 to 4 clips on pieces this long.
- one 3 inch wide piece for the base of your hairline near the nape of your neck. use 2 clips for this piece. like in the pictures.
- lastly cut two to four 1.5" wide pieces to use in the front of your head closer to your face. only use 1 clip on these like in the pictures.


