

One of the most impactful things you can do in a room design is bring in color. This DIY Ombré Dipped Paper Art project is perfect for those of you living in a rental where you can't paint the walls, in a dorm where you can't use nails in a wall or if you're just wanting to experiment with a color before you commit to overall wall paint! You could change this project per the seasons and use different colors and also change the scale by using larger or smaller pieces of paper... basically my point is, this is a very versatile project so you should DO IT!
I also love how delicate the gradient aka ombré of color looks and another great thing about this DIY is there are no painting skills necessary!
For another wall-art DIY, check out my 'DIY Poetic Clay Art'
 Prep It:
- bucket
- drop cloth
- water-based paint - latex from the hardware store or acrylic from the craft's store
- card stock
- poster tack
- a cup of water


 DO IT!:
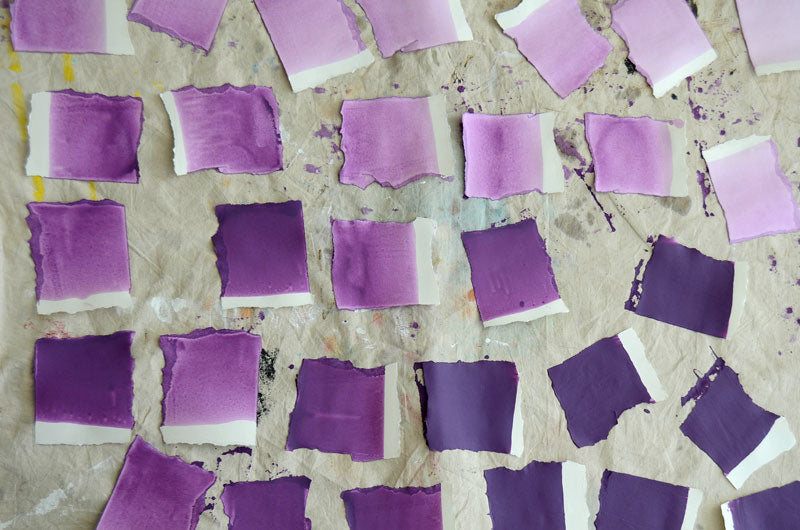
- Rip all the edges of your card stock to give them texture - optoinal if you'd rather have non-ragged edges.
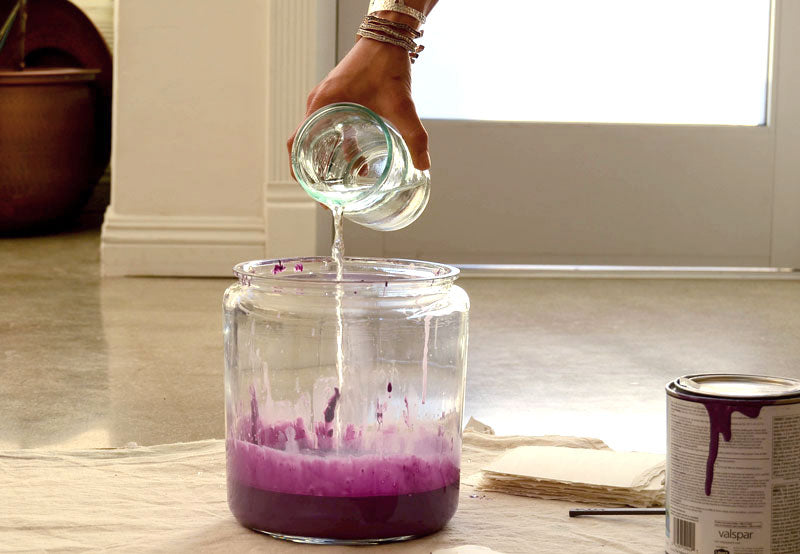
- Pour some of your paint color into a bucket filling just a couple inches from the bottom
- Dip some of your card stock pieces into the fully saturated paint and lay them on a drop cloth to dry. (tip: placing baking or parchment paper on top of your drop cloth will make for easy removal once all the pieces are dry)
- Pour some water into the paint bucket to thin the paint and lighten the color and start the gradient process. Stir. Repeat step number 3 with more pieces of paper.
- Keep repeating steps 3 & 4 adding more water to lighten the paint and dipping more pieces of paper until you're happy with your ombré and amount of pieces of paper to fill your wall space. I added a cup of water between each set of card stock dips, but the amount will vary based on the color of paint you desire.
- Let all your pieces dry fully and use poster tac to hang your color dipped paper in a gorgeous grid starting with lightest to darkest or vise-versa.


