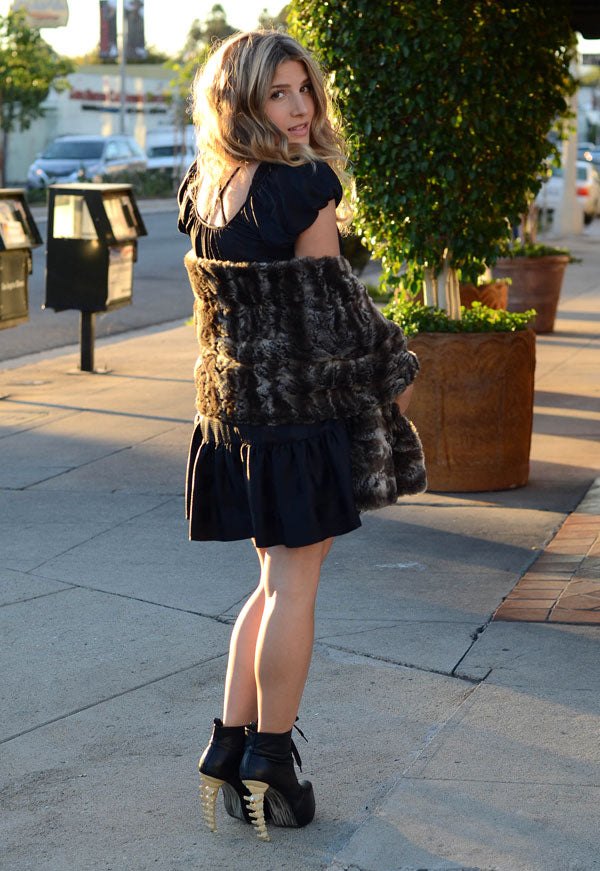
Give yourself the luxury of a fur wrap without spending the money or hurting an animal! A must do DIY for all you fashionistas out there. If you make one make sure to share photos by hash tagging #mrkate! xox
For the video tutorial click here.

Bone Heel Platforms from Ebay!

 DIY No-Sew Faux Fur Winter Wrap
Prep It:


 Do It!:
- Cut your piece of faux fur. I used 1 yard (36") of a 60" wide bolt. The piece I started with was 36" x 60" but you could make it slimmer than 36" if you want a more narrow wrap and shorter than 60 if you don't want it to wrap as far around. Keep in mind that you will be folding it in half lengthwise so that the faux fur is on the outside and inside.
- Hot glue down a 1.5" to 2" hem on each edge of the 36" long sides - these will create a finished look to each end of your wrap.
- Lay your fabric piece flat with the fur size down and fold the long edged in towards the center of the raw side of the fabric. Basically like you're folding a burrito. Glue this down in place and create a clean finish by folding whatever flap is on top under a couple inches creating another 1.5" to 2" hem. Keep gluing until you feel all sides are secure.
- Now you have your finished long rectangle and you could leave it like this or add a hook and eye closure.
- To add the closure, wrap the shawl around your shoulders (or the person you're gifting it to) and mark with a pin where you want to sew the hook to the underside of one flap and the eye to the top side of the other flap so they line up. I sewed mine up towards the top of my wrap to that it wouldn't fold over.
- Sew the hook and eye on through the loops using your needle and thread and done!


