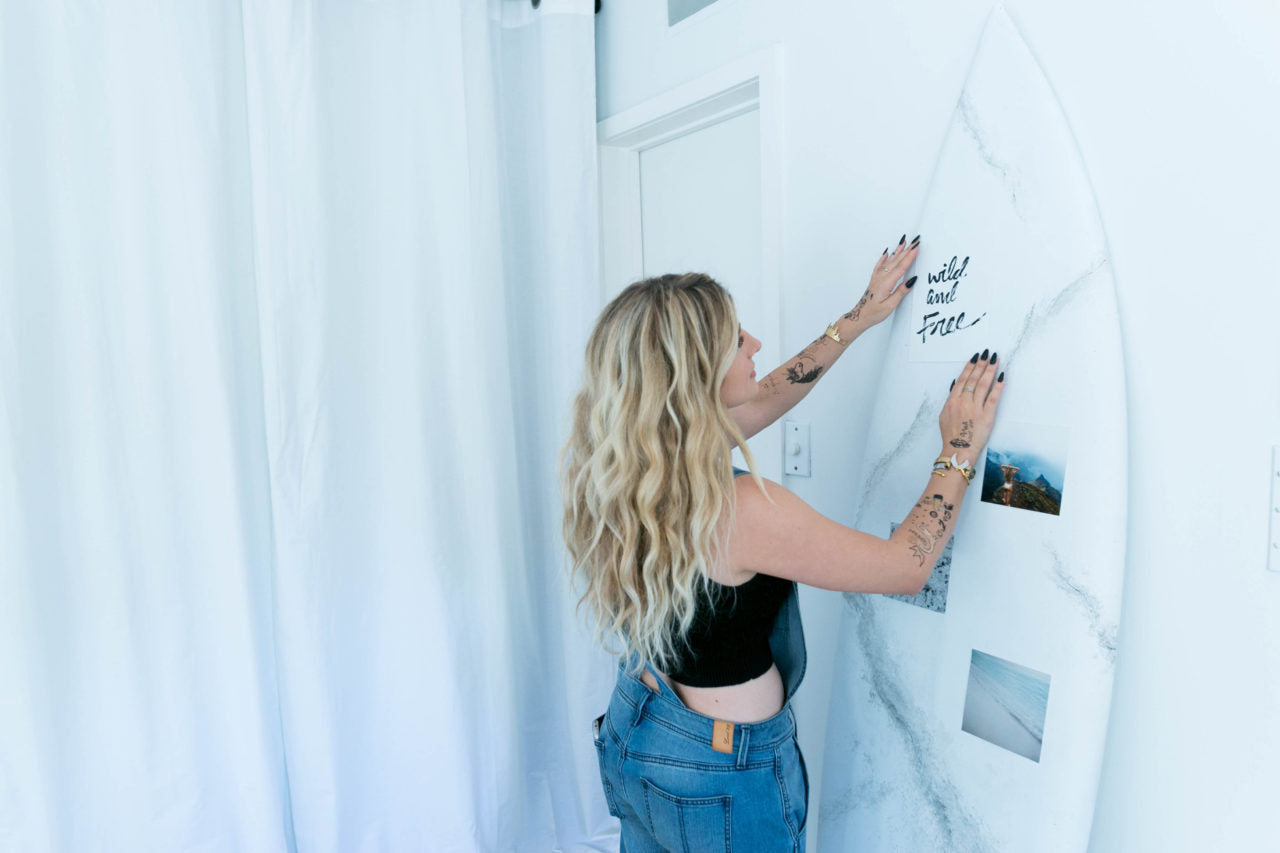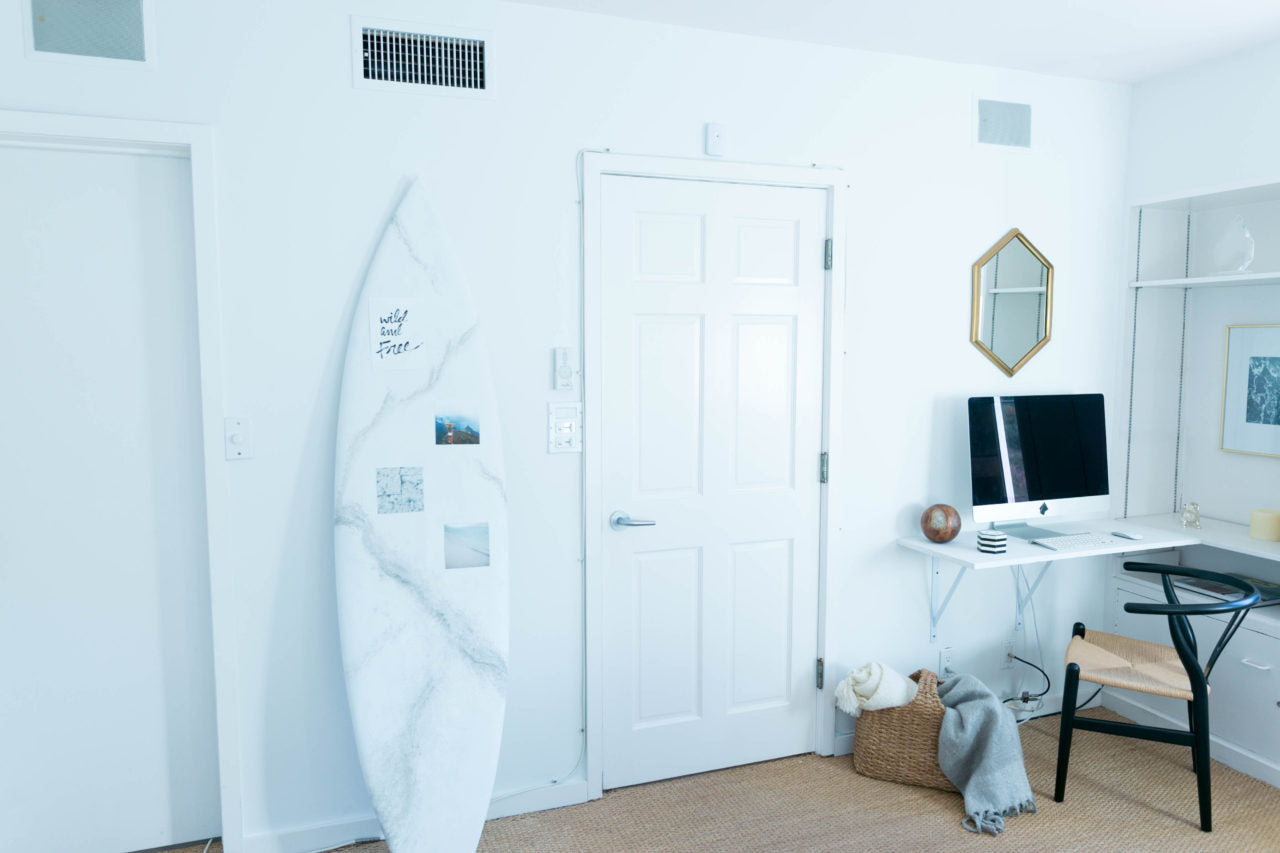
Unless you're surfing on the clouds of Mount Olympus (and you've found a way to contradict all laws of gravity), chances are you've never met a marble surfboard. I get it, as a piece of water sporting equipment, a marble surfboard would not succeed ... but as a piece of DIY home decor? That's another story.
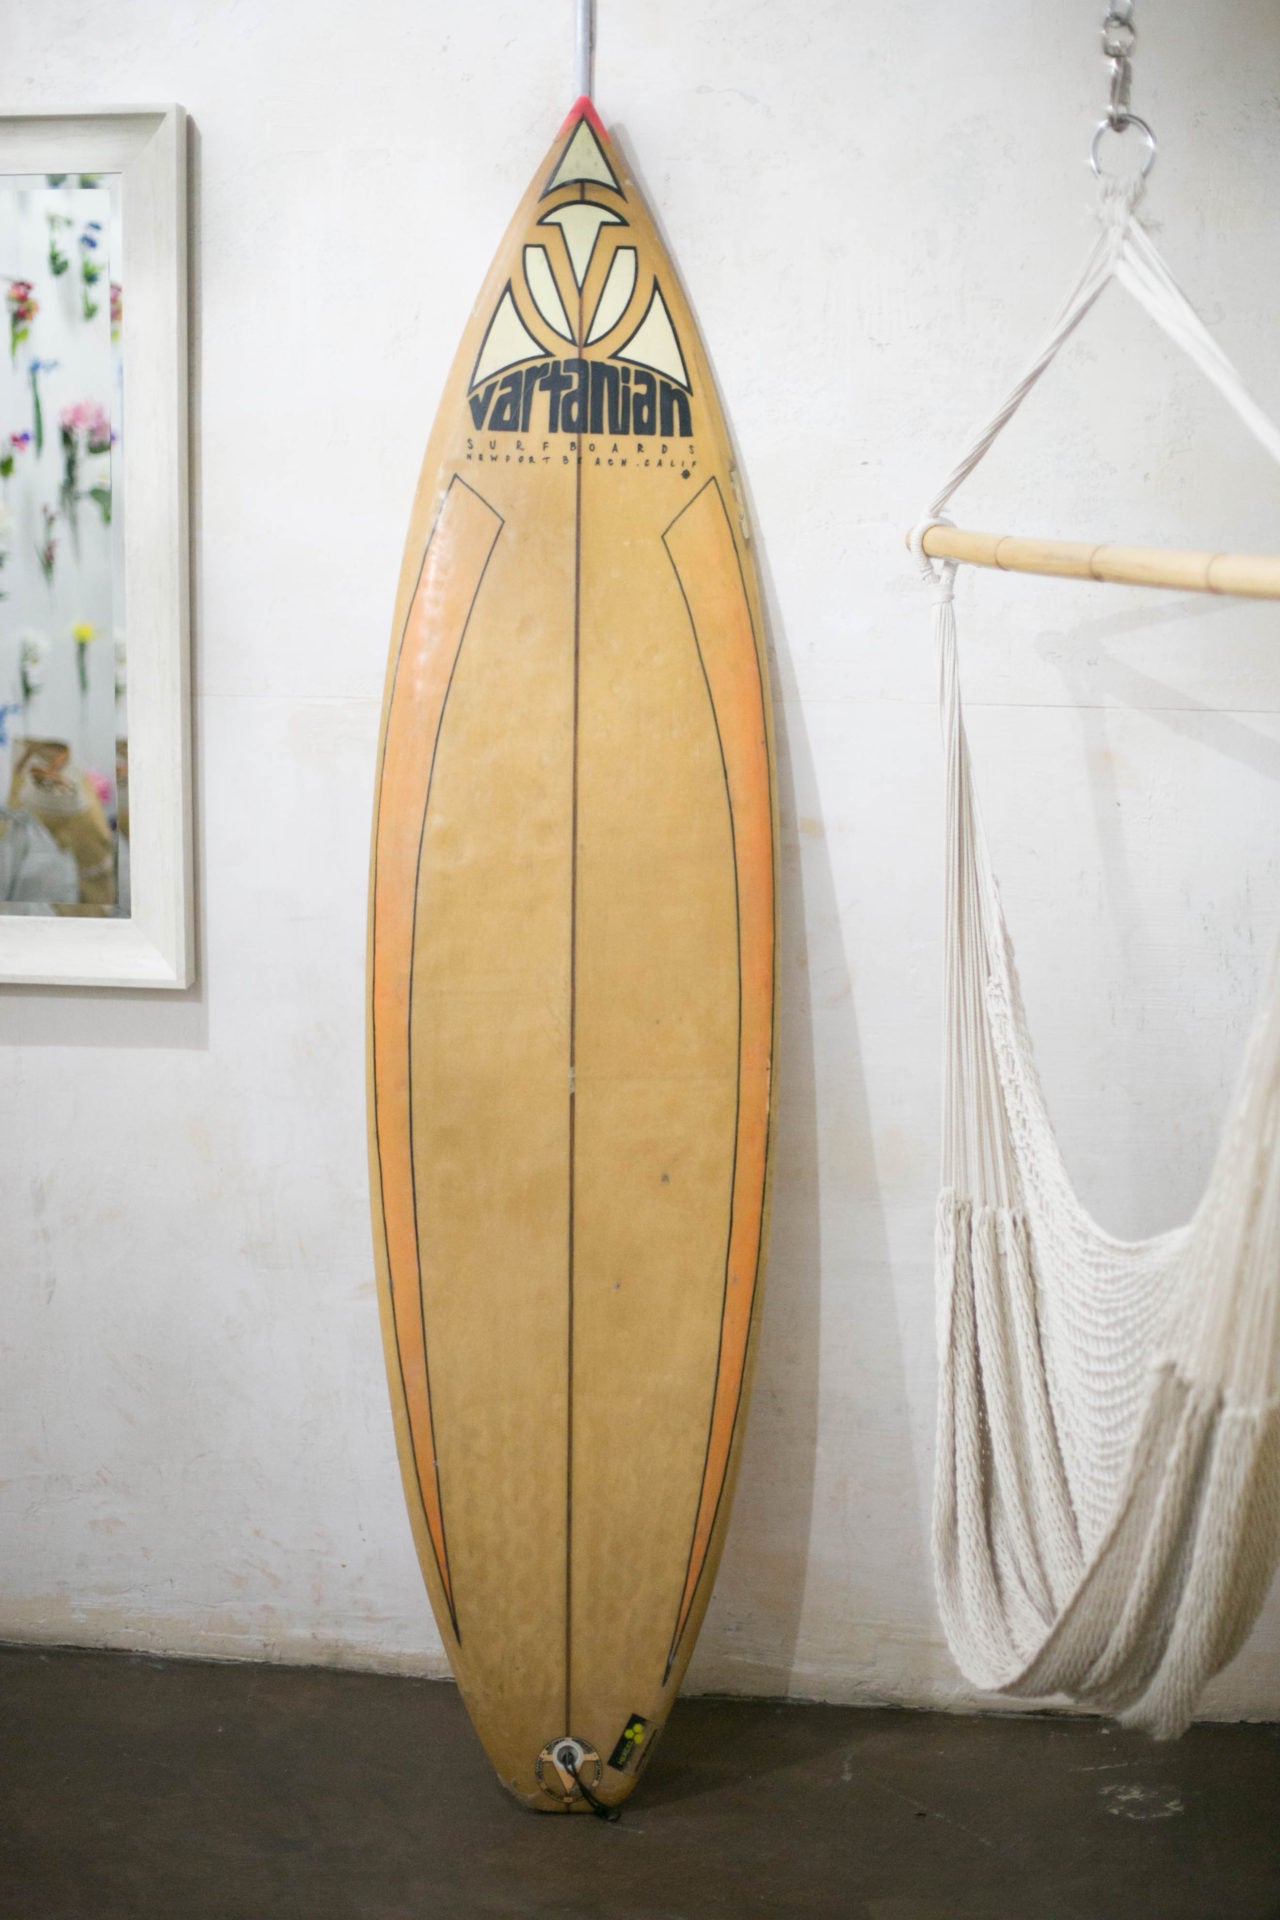
Since Eva is such an avid surfer, I wanted to pay homage to that in her beachy minimalist bedroom makeover. What better way than to give an old surfboard a new, chic, modern life as a marbleized masterpiece?
See this DIY in action in our totally rad episode of OMG We're Coming Over, and check out the step-by-step instructions below! Brah!


Prep It:
Surfboard (de-waxed - DIY idea for that below!) Flat white spray paint Gray acrylic paint Sea sponge Feather Sealer spray


Do It!:
- First things first, you'll need to de-wax your surfboard. We found success on this step by using a clothing steamer to melt the wax, then scraping it off with an old credit card! Whatever DIY method works best for you, clean your surfboard entirely of wax before moving onto the next step.
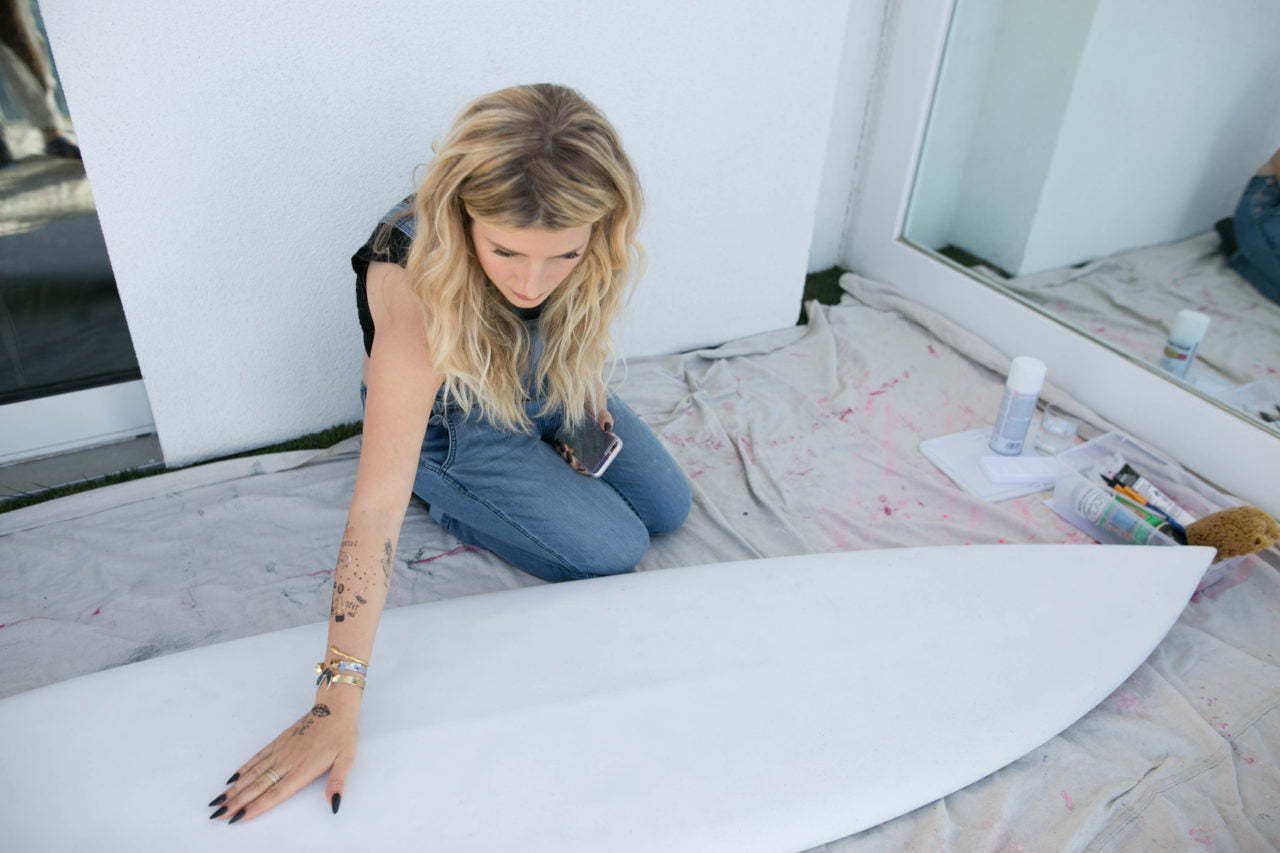
- In order to get that beautiful marble effect, spray paint your board with a flat white paint. Use multiple coats if needed to cover up the pattern or color of the board.
- Once dry, it's time to start marbleizing! Wet a sea sponge and dip it into light gray acrylic paint. Do some test dabs on another surface to make sure you're getting the effect you want. By dabbing the gray paint on in a stream-like line, you'll start the shading and shadows of the veins of marble.
- When you're done with the sponge, dip a small feather into water, then into gray acrylic paint. Use this gently to paint the vein of the marble in the center of the sponged sections. Think of this step as the eyeliner on top of the eyeshadow! Delicate feather-strokes will give you a beautiful and poignant effect.
- Repeat steps 3 and 4 until you've got a perfectly marbled board. Let it dry, then seal in your masterpiece with a spray glaze.


