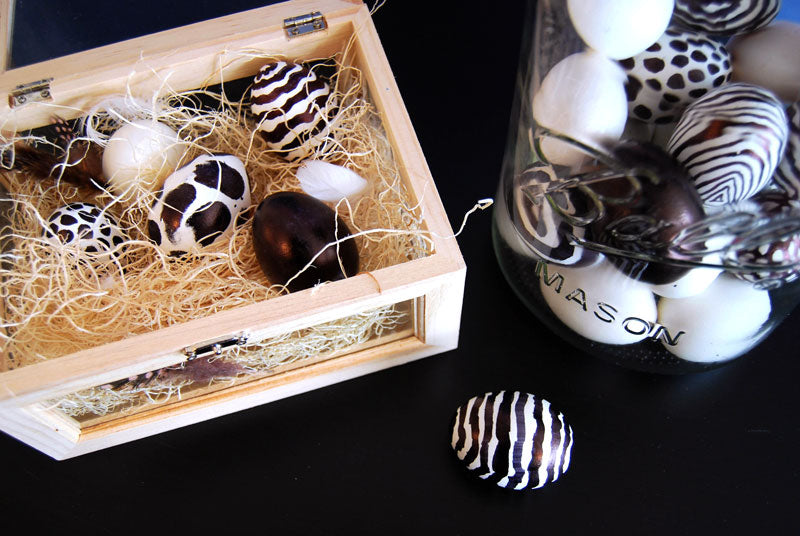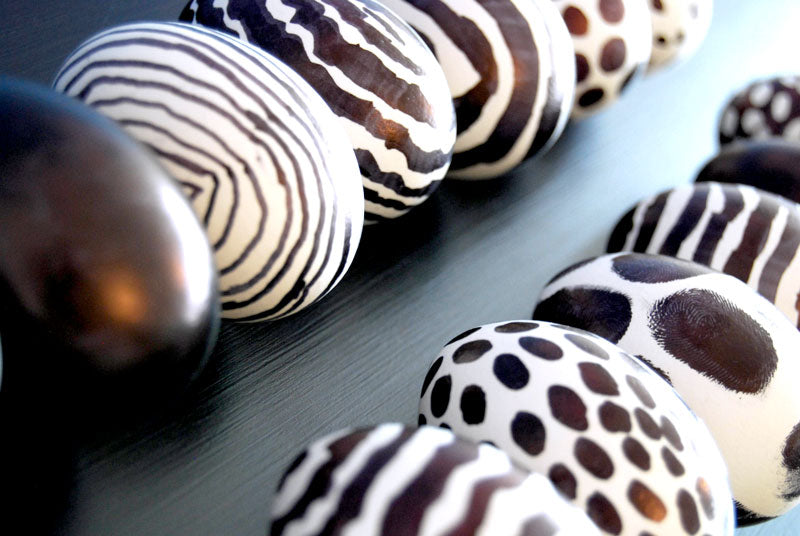
Instead of dying your eggs this year, whip out a permanent marker and make some bold pattern eggs to showcase. Because, why not?
To watch the video in which this + 2 other DIYs were featured, check out 'DIWhyNot: Whimsical DIY Easter Decor'


 Prep It:
- hardboiled eggs or white painted paper mache eggs or blown out eggs
- black permanent marker (magnum or thick chisel tipped sharpies can help save on time)

 Do It!:
- Prep your eggs by either hard boiling them (for short term display because of spoilage), blowing out the yolks by poking a hole in the top and bottom with a needle (save the liquid eggs for a quiche!) or using paper maché eggs (most long lasting and animal friendly option).
- Draw different patterns onto the eggs using different sized permanent markers. (TIP: have fun with these. The little hand done touches are what make these so cool looking. Do polkadots, stripes, fingerprints, all black, etc.)
- Display and enjoy! (TIP: I styled mine in an oversized mason jar and in a glass jewelry box with some dried straw (from crafts store) for nesting. I also think these look cute displayed in the cardboard egg carton with the top ripped off and feathers scattered around!)


