Hot damn, do I love me a good piñata. DIY piñatas have a special place in my heart, but for this Cinco de Mayo, I decided to relocate that adoration to another part of my anatomy.
With some glitter, simple nail art, and possibly a Mariachi music soundtrack to set the mood, I set out to transform my fingers into the little piñata-themed pieces of magic. Just don't whack at these with a stick! There's no candy inside, I promise, just some phalanges!

Prep It:
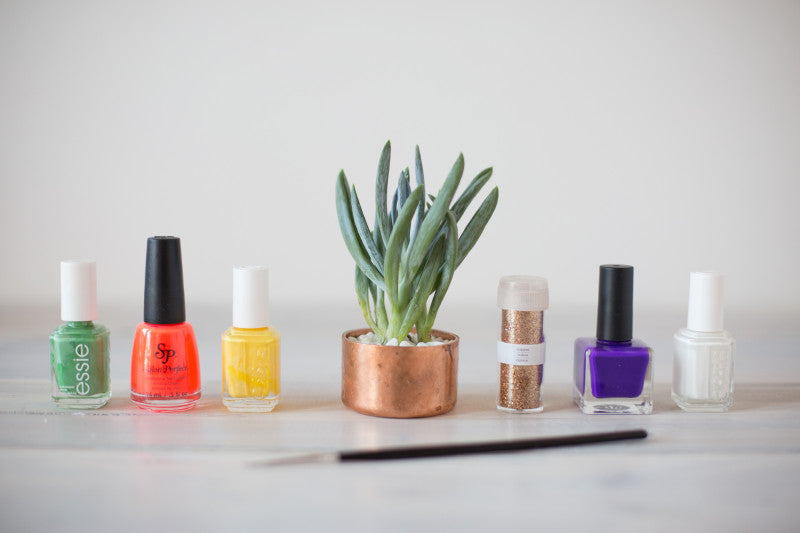
Fine rose gold glitter Clear gel nail polish White nail polish Purple nail polish Yellow nail polish Neon pink nail polish Green nail polish Dotting tool


Do It!:
- Base coat: Mix together the glitter and a clear gel polish for the all over shimmer like I have with this rose gold glitter. Use the technique as seen in my At-Home Gel Manicure tutorial, then cure.
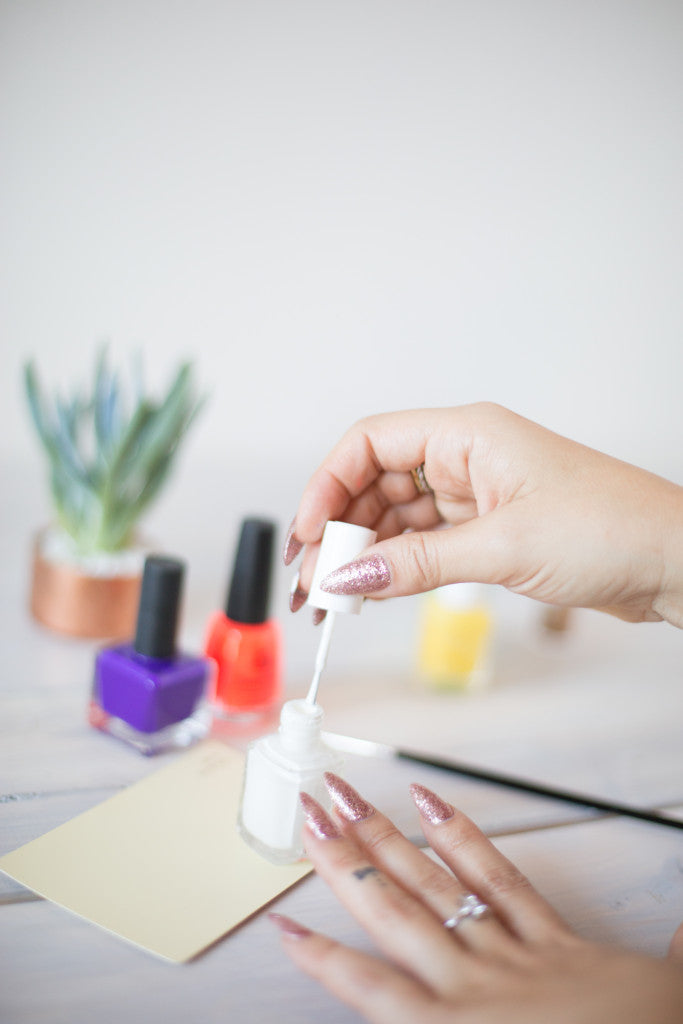
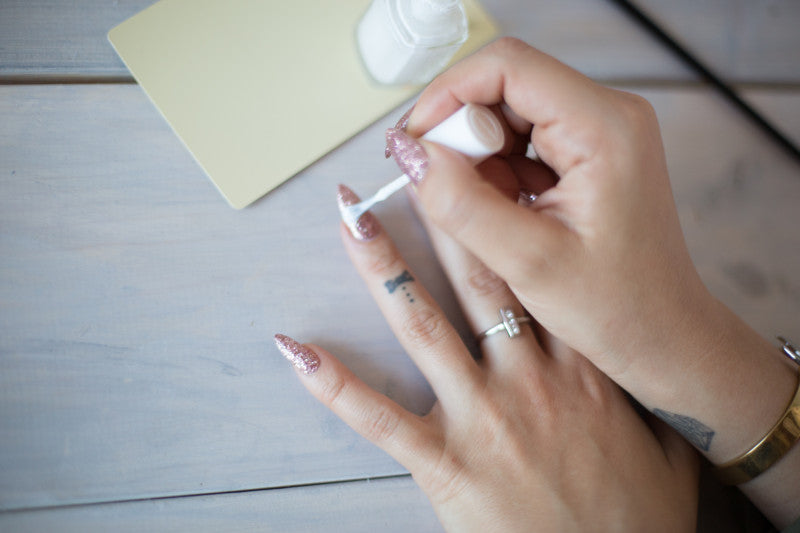
- For the embellishment, paint a thick stripe of white horizontally across your nail. Depending on the white polish you have, this might need 2 coats, so let the first one dry and assess. Don't worry about having it too exact! The freehand vibe of this manicure is what gives it that party party feeling. Creative note: I painted my band across the middle of my nail, but you could paint it at the top, as a half moon on the bottom — get creative with the placement!
- Place dollops of your piñata colors onto a small piece of paper so they're easily dippable for your dotting tool.
- Working one color at a time, make small dots horizontally across the band. If you don't have a dotting tool, you can use a toothpick or the rounded end of a bobby pin for this step.
- Make sure to clean off the end of your dotting tool between colors, and continue with the pattern until you've filled the band with colorful polka dots!
- Let it dry, seal with a clear top coat (and cure, if using gel) and enjoy!


Don't they also look like those candy buttons!?


