

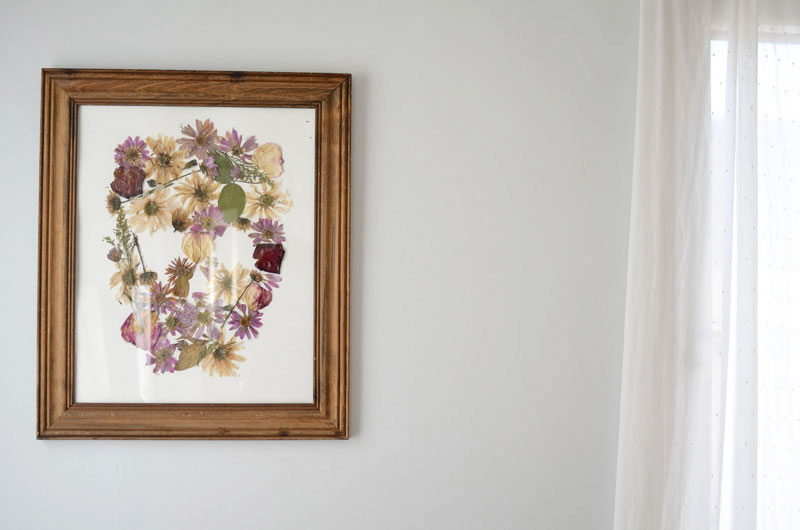
Pressed Spring flowers make fantastic art when decoupaged in any arrangement on some thick paper and framed. I love the juxtaposition of a skull shape made from flowers, kind of sugar-skull-esque. This is a fun and easy project to do with your DIY Pressed Flowers'... would also make a great Mother's Day gift!

 Prep It:
- pressed flowers (buy them HERE or make them HERE)
- frame
- watercolor paper or card stock that fits in your frame
- matte Mod Podge
- sponge brush or small paint brush
- (not pictured but VERY helpful) needle nosed tweezers


Do It!:
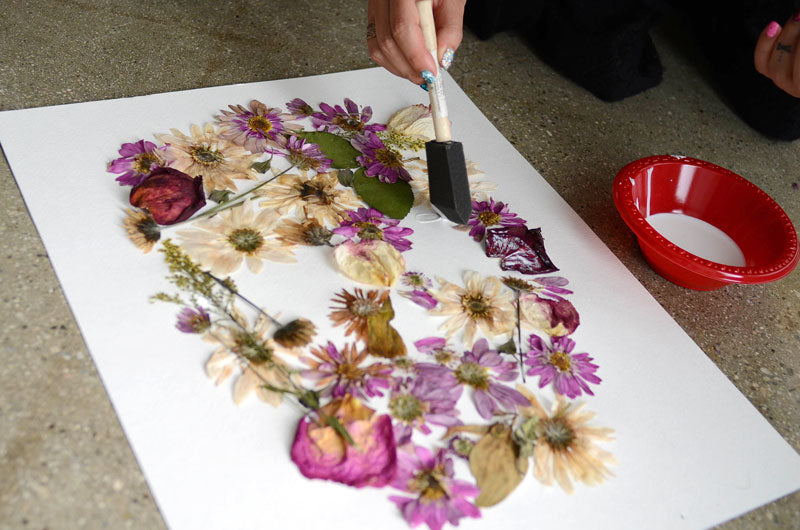
- Plan the layout of your dried flowers and leaves in a pattern you like. I chose a skull because I like the juxtaposition. Play with using stems, leaves and small flowers to create curves and lines for your perfect shape. The tweezers help with the delicate flowers.
- Mod Podge all your foliage down to the paper by lifting each flower and painting the paper under it and laying the flower back down. Let dry.
- Cover all your flowers and leaves in a thin layer of Mod Podge. This is going to help prevent the color from fading and keep your art in place. Let dry.
- Frame your new dried flower masterpiece and hang it!


What do you think? If you make this project post pictures with #mrkate so we can see! xo

