it's time for this year's installment of no-carve pumpkin decorating! check out last years video and post here and some more pumpkin decor ideas here! i like to do no-carve pumpkins because the pumpkins last a lot longer and you can use them for table centerpieces, etc!
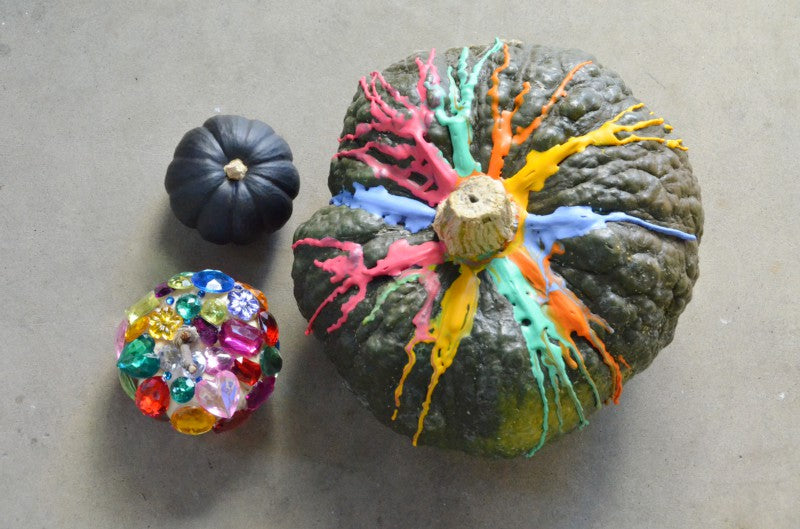
this year i did: 1. chalkboard paint 2. melted crayons and 3. jewel encrusted with stick stems. all instructions below and in the video above. i hope you like! how do you no-carve your pumpkins?
Chalkboard Paint Pumpkins...
Chalkboard Paint Pumpkins
Need:
- pumpkin
- chalkboard paint
- paint brush
- chalk
- paint your pumpkin with chalkboard paint and let dry.
- repeat with 2 or 3 coats.
- write or draw whatever scary face or message for halloween!
Melted Crayon Pumpkins...


Need:
- pumpkin
- crayons
- hot glue gun and glue sticks
- hair dryer
- peel the paper wrappers off the crayon colors of your choosing.
- break the crayons in half and plan your layout around the top of your pumpkin near the stem.
- glue the crayon halves in place with the glue gun.
- use the hair dryer on low air flow/high heat to melt the crayons and let them run down the pumpkin. you may want to tilt the pumpkin to direct the melted flow. let dry.
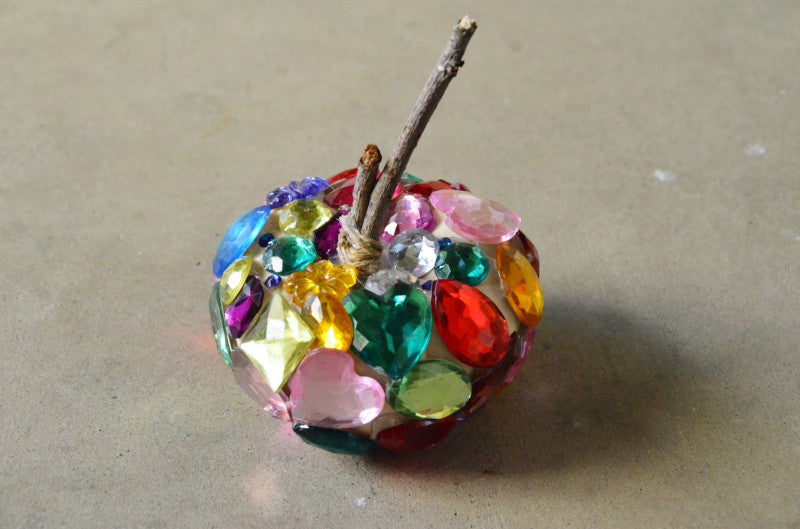
Jewel Encrusted Pumpkins with Stick Stems...


 Jewel Encrusted Pumpkin with Stick Stem
Need:
- small pumpkin
- acrylic gems from the craft store
- sticks from outside
- hot glue gun and glue sticks
- twine
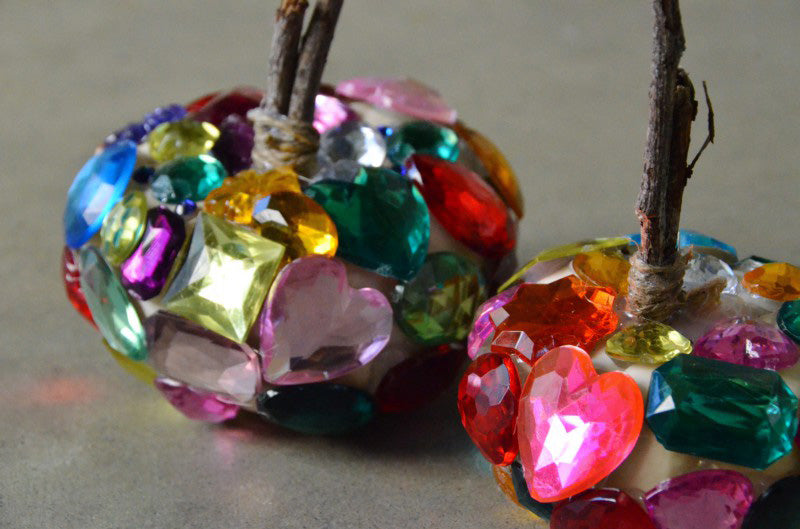
- hot glue gems all over your pumpkin leaving the base bare so it stands straight.
- take two small sticks and attach them together with a piece of twine wrapped around the base and a dot of hot glue to seal the ends of the twine.
- glue the stick stem to the top of the pumpkin where the real stem once grew. you'll need a generous amount of hot glue to get it to stand straight.


