It's raining ... rainbows!
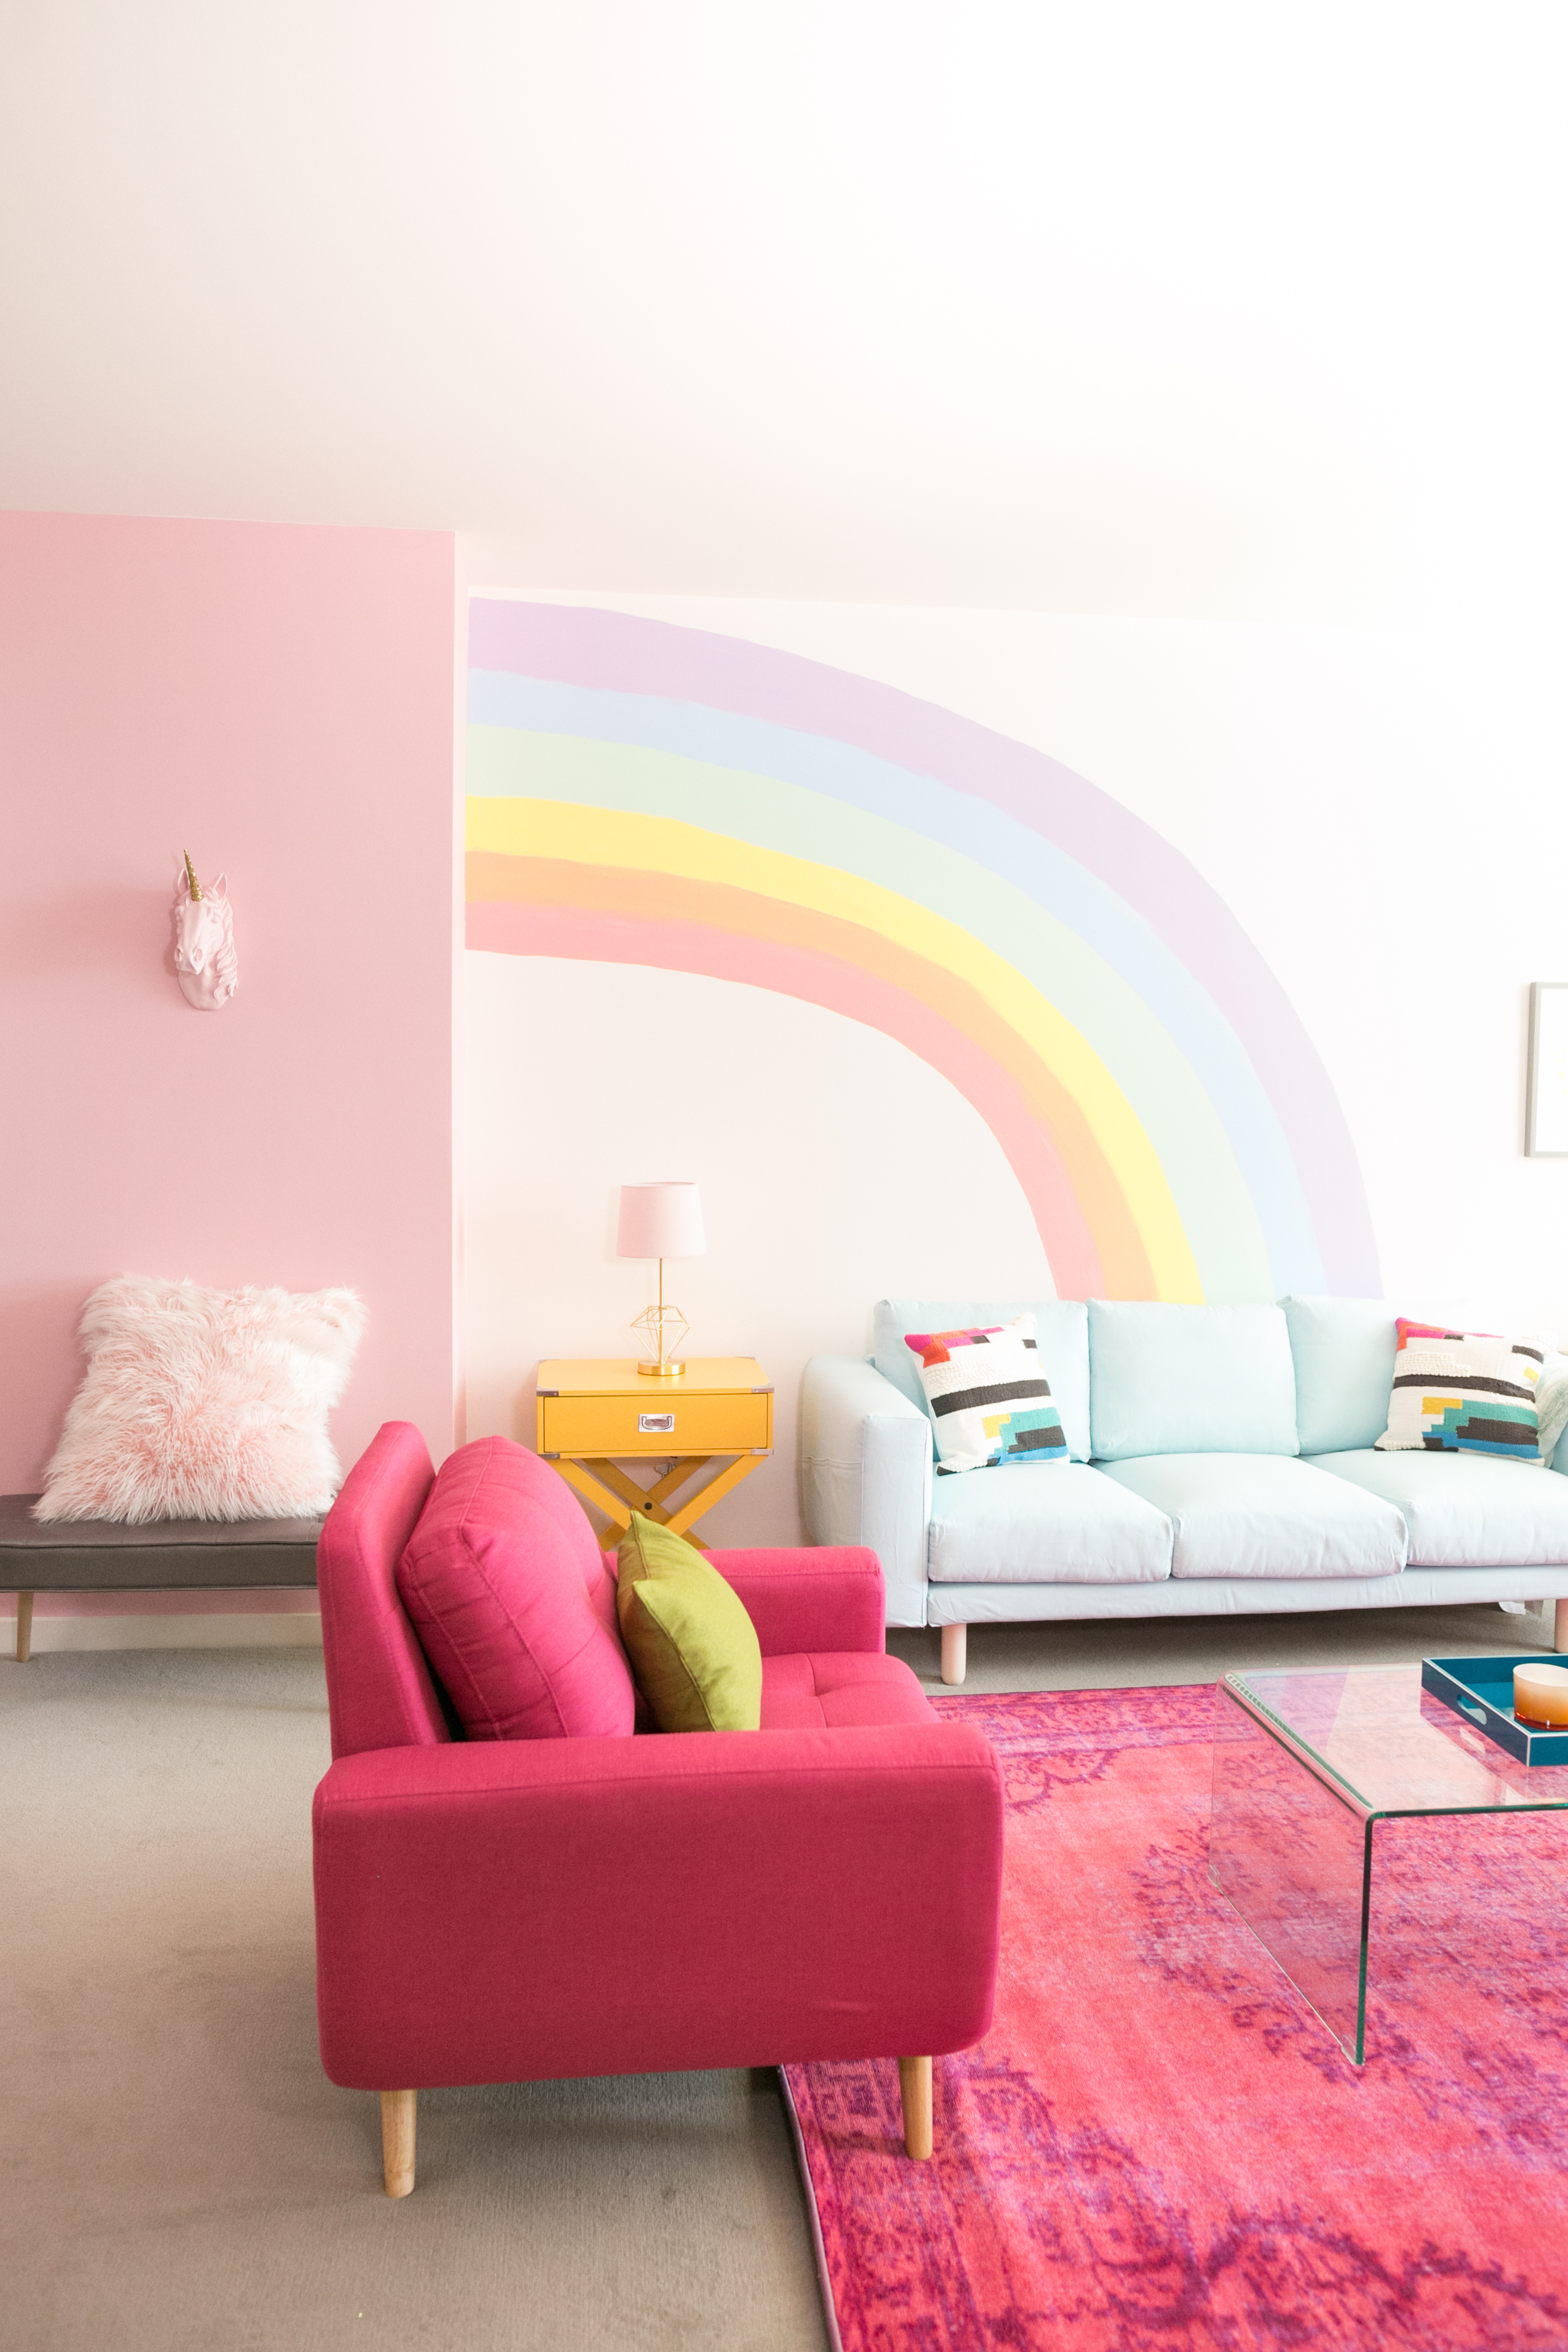
When I was talking to human unicorn Jessie Paege about the color scheme for her apartment makeover, she didn't give me just one color, she gave me an entire rainbow! With her love for the good ole ROYGBIV known, and her constant use of the rainbow emoji 🌈, I couldn't resist giving Jessie her own literal rainbow as an accent wall behind her sofa.
Unlike the rainbow striped wall in IISuperwomanII's office, this DIY is painted freehand, which means if you want your colors to create a heart instead of the traditional arch ... #whynot?
Prep It:
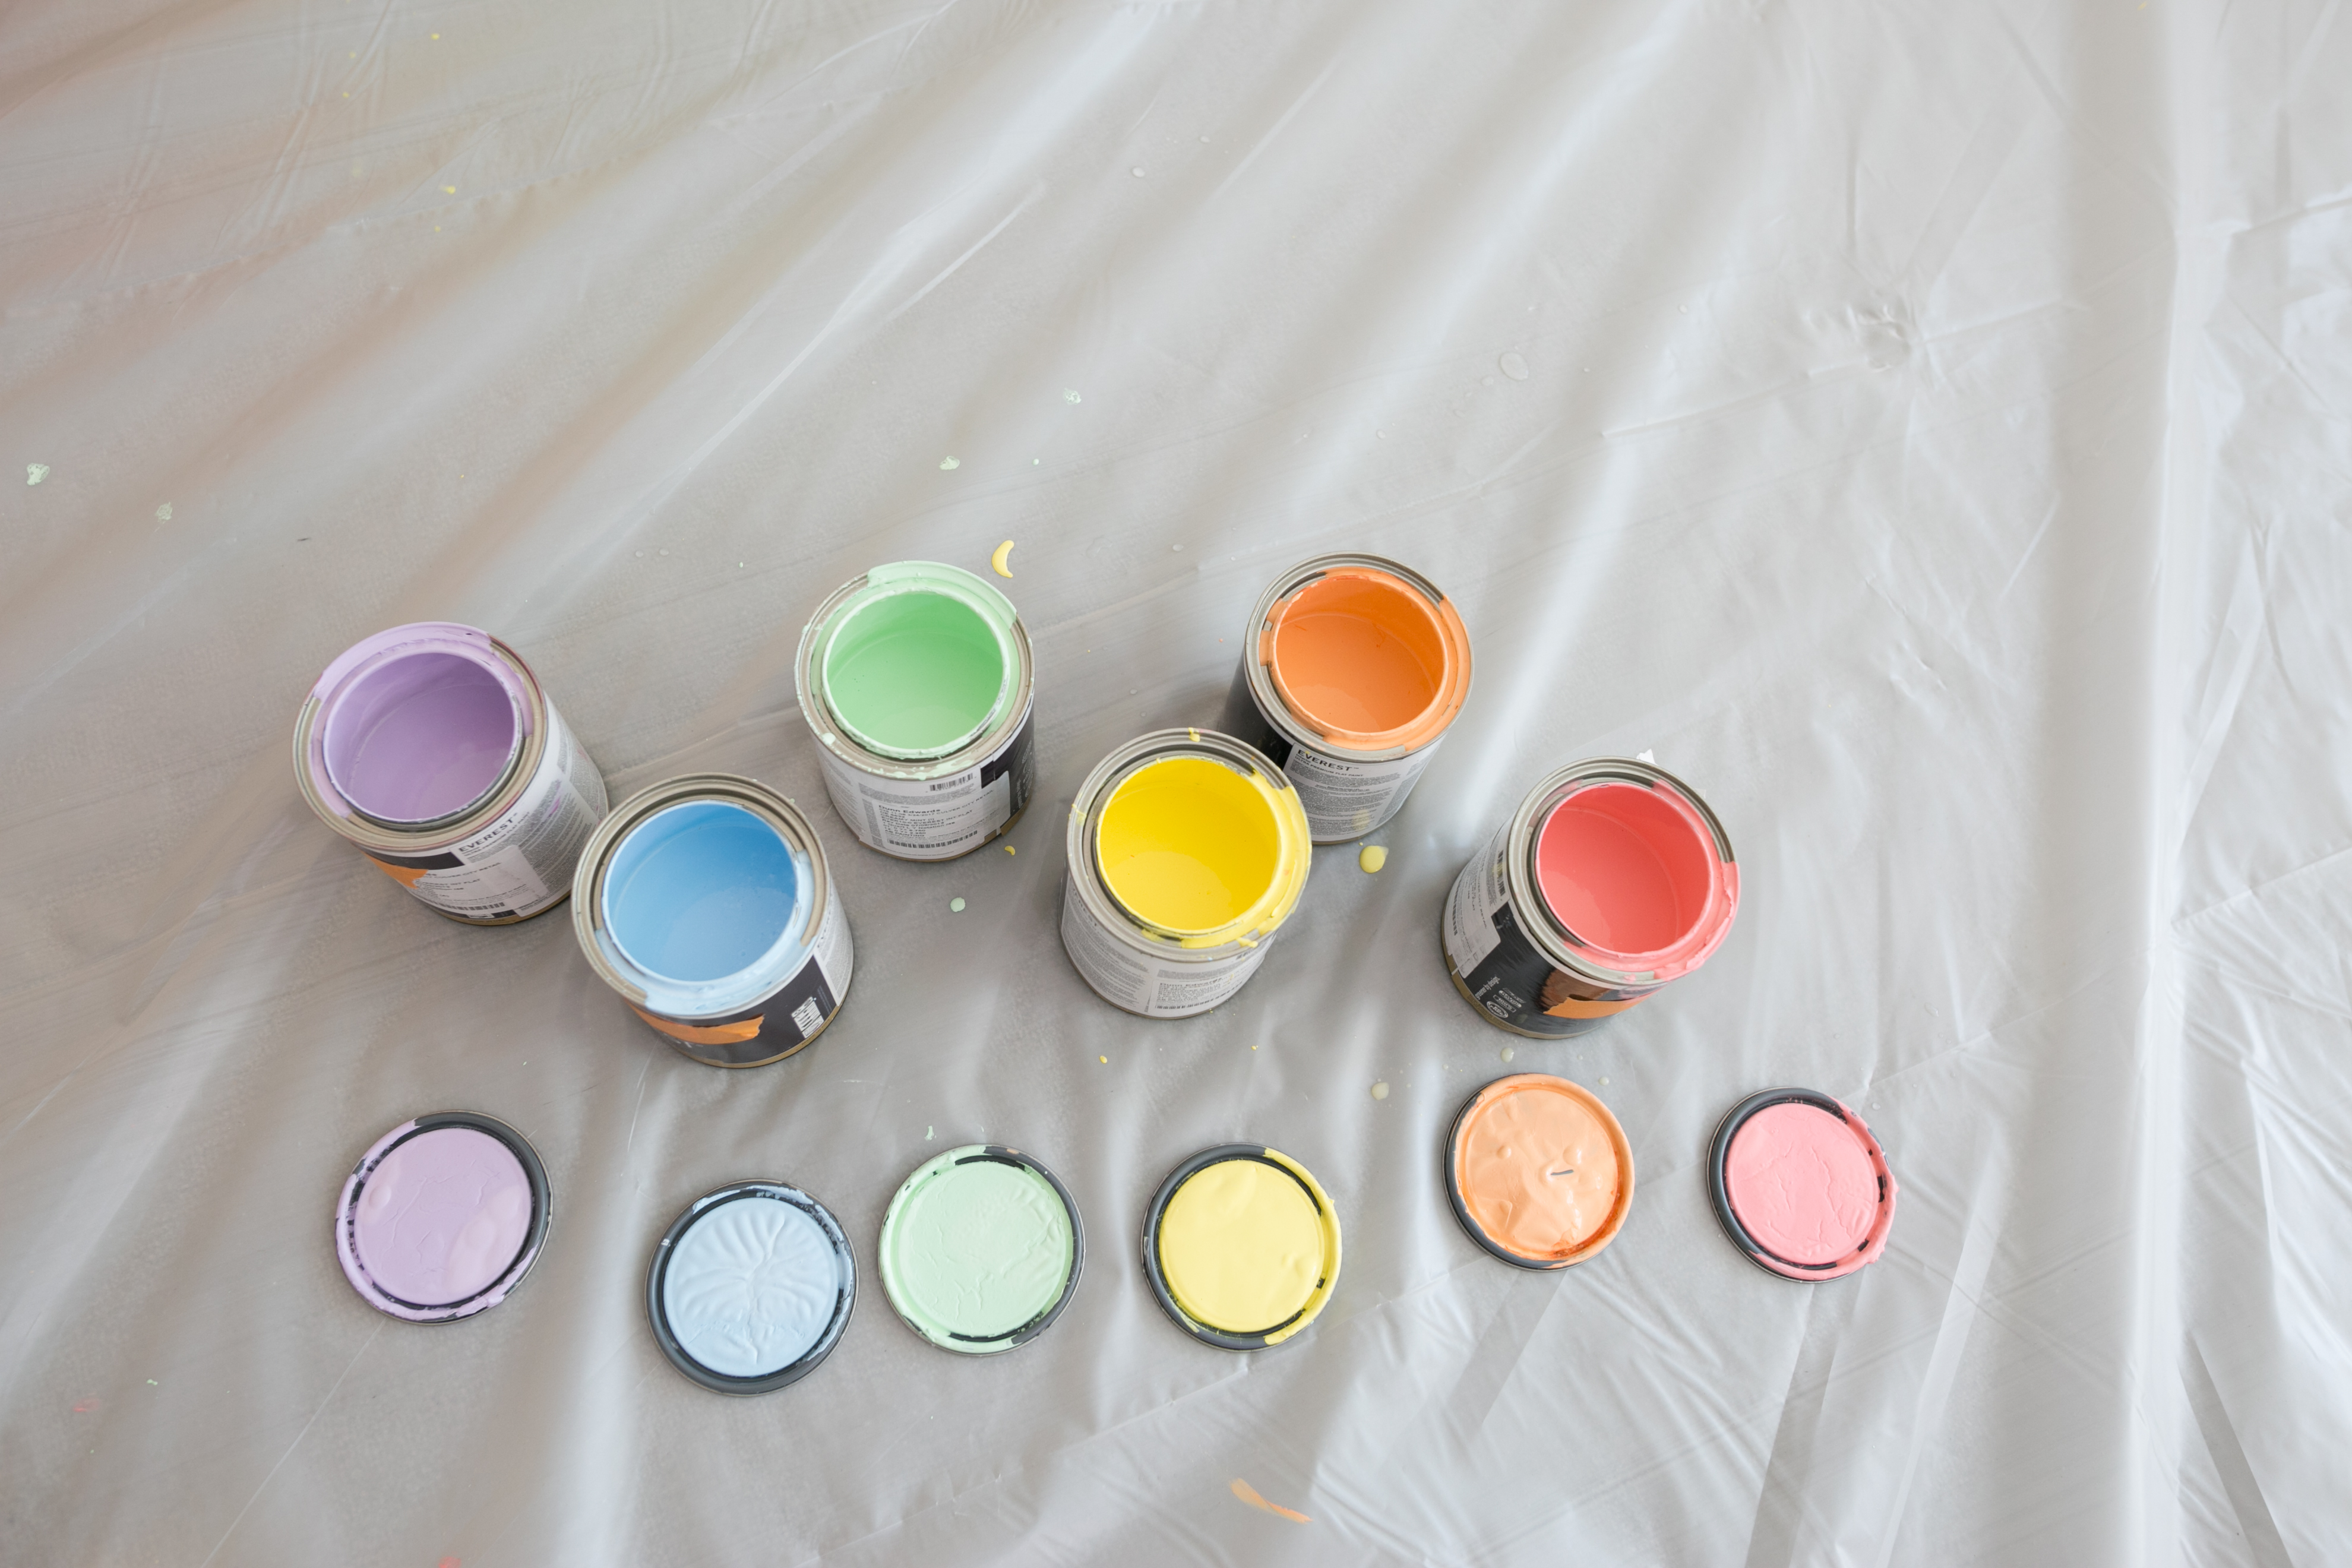
Pastel pink wall paint Pastel orange wall paint Pastel yellow wall paint Pastel green wall paint Pastel blue wall paint Pastel purple wall paint Painters tape Paintbrush Water
Do It!:
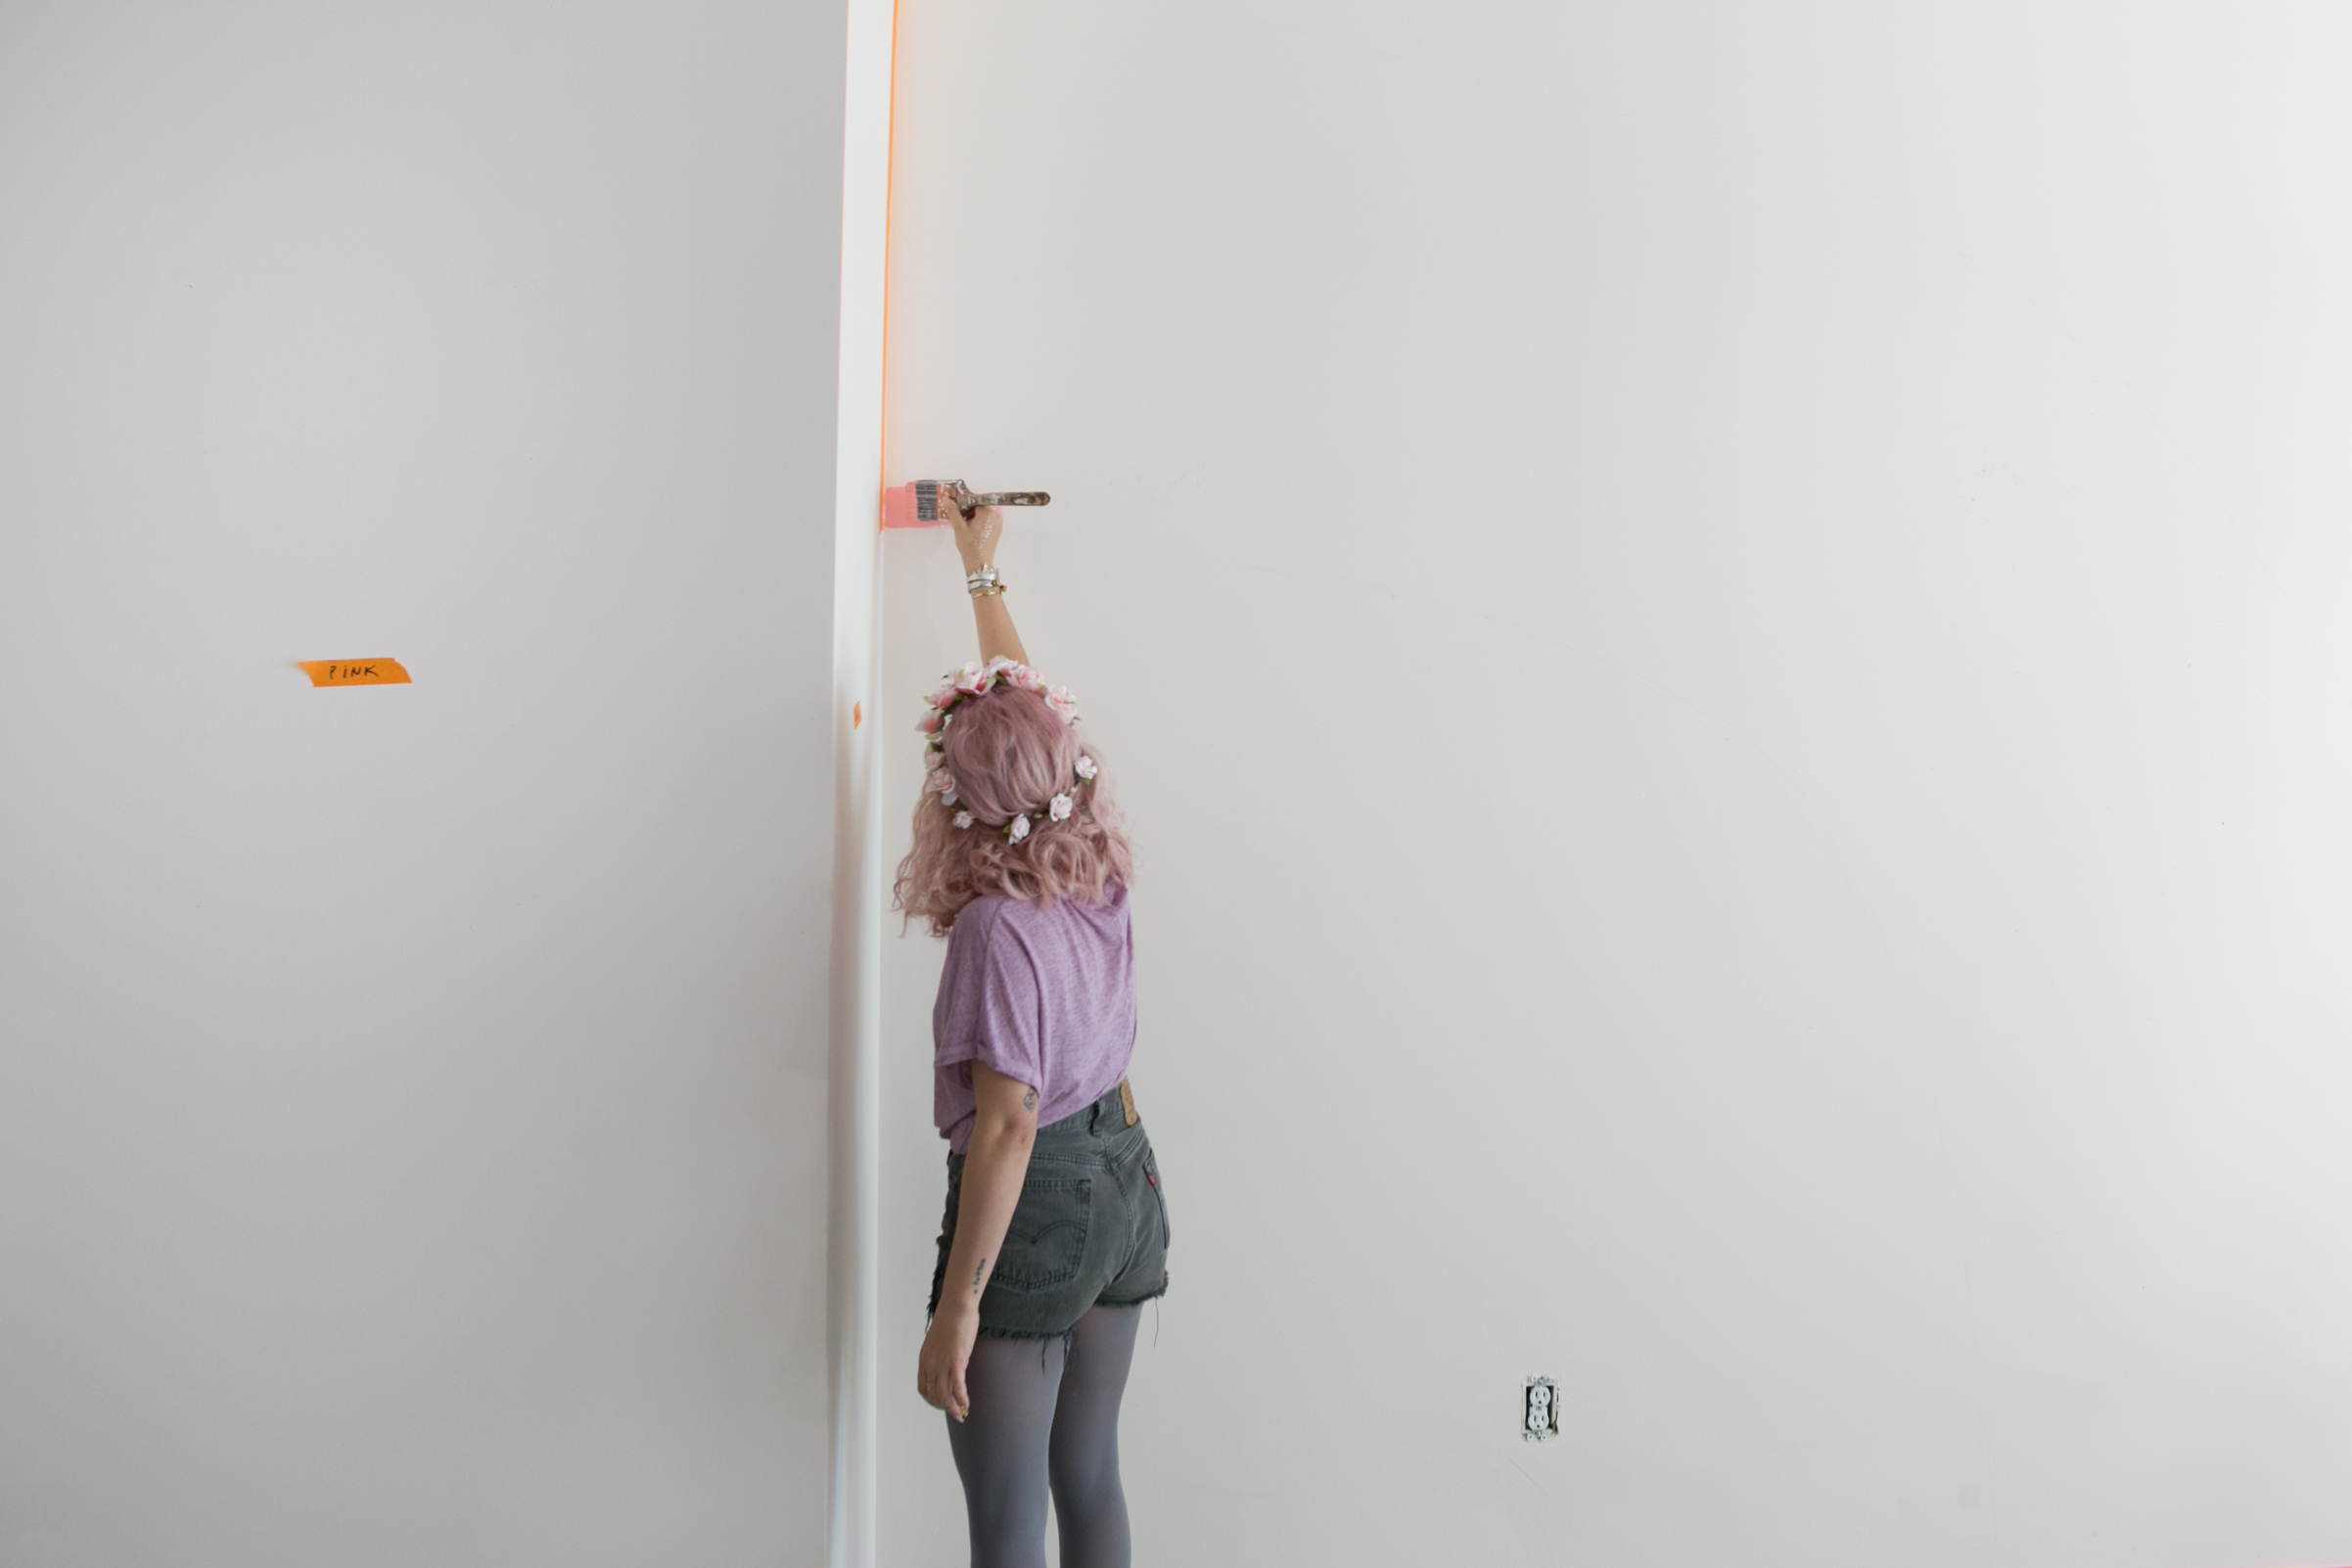
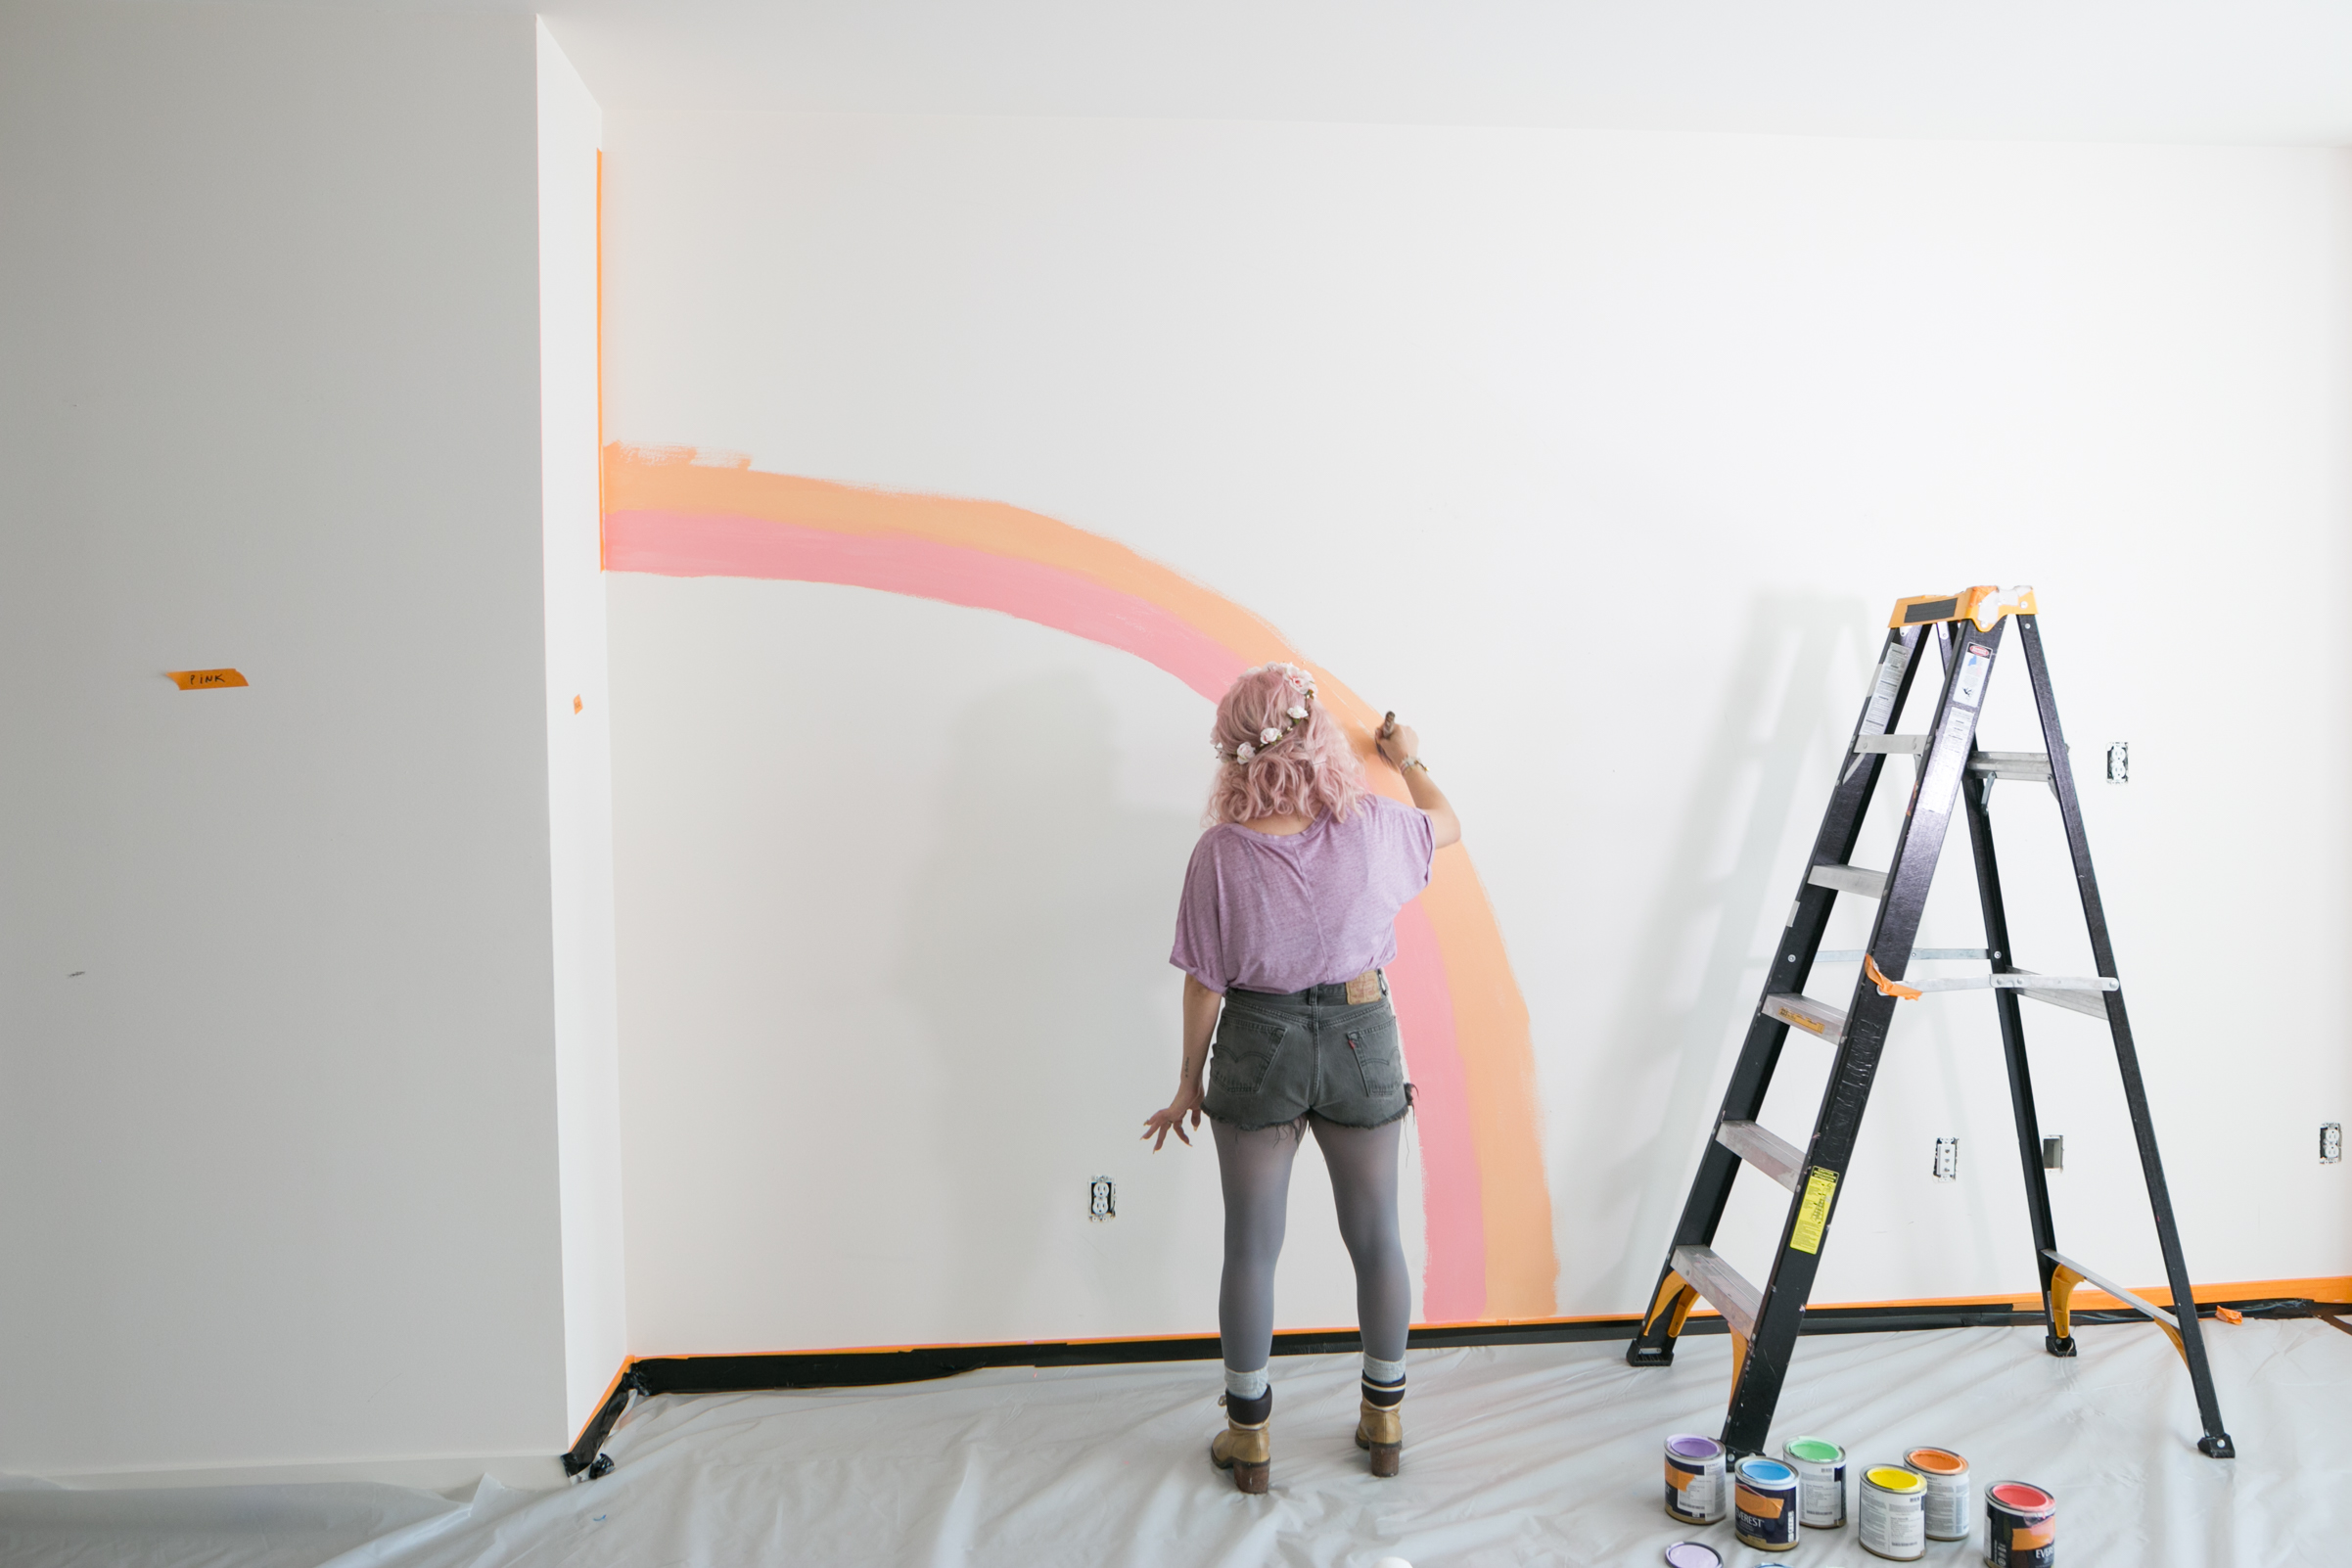
- Start by taping off the corner of the wall where your rainbow will be starting from. You can tape the entire height of the corner, or just the section the size of your rainbow. Tape across the bottom of the wall too, so your rainbow doesn't spill onto the floor!
- Since this is free-hand, I first used a pencil to lightly sketch on the wall where I wanted the two sides of the rainbow to be. Basically I created the bottom arc and the top arc and knew I would cover up the lines with paint and then paint all the colors within those two lines.
- Begin where all rainbows do ... with red! Paint an arch from the wall down to the floor. It doesn't have to be perfect! Focus on making a wide curve for the first line and then just paint around it until it is a curved stripe about 4-5 inches wide on the side and bottom! This is where water is really your friend because you can wet your brush a little to keep the paint moving on the wall.
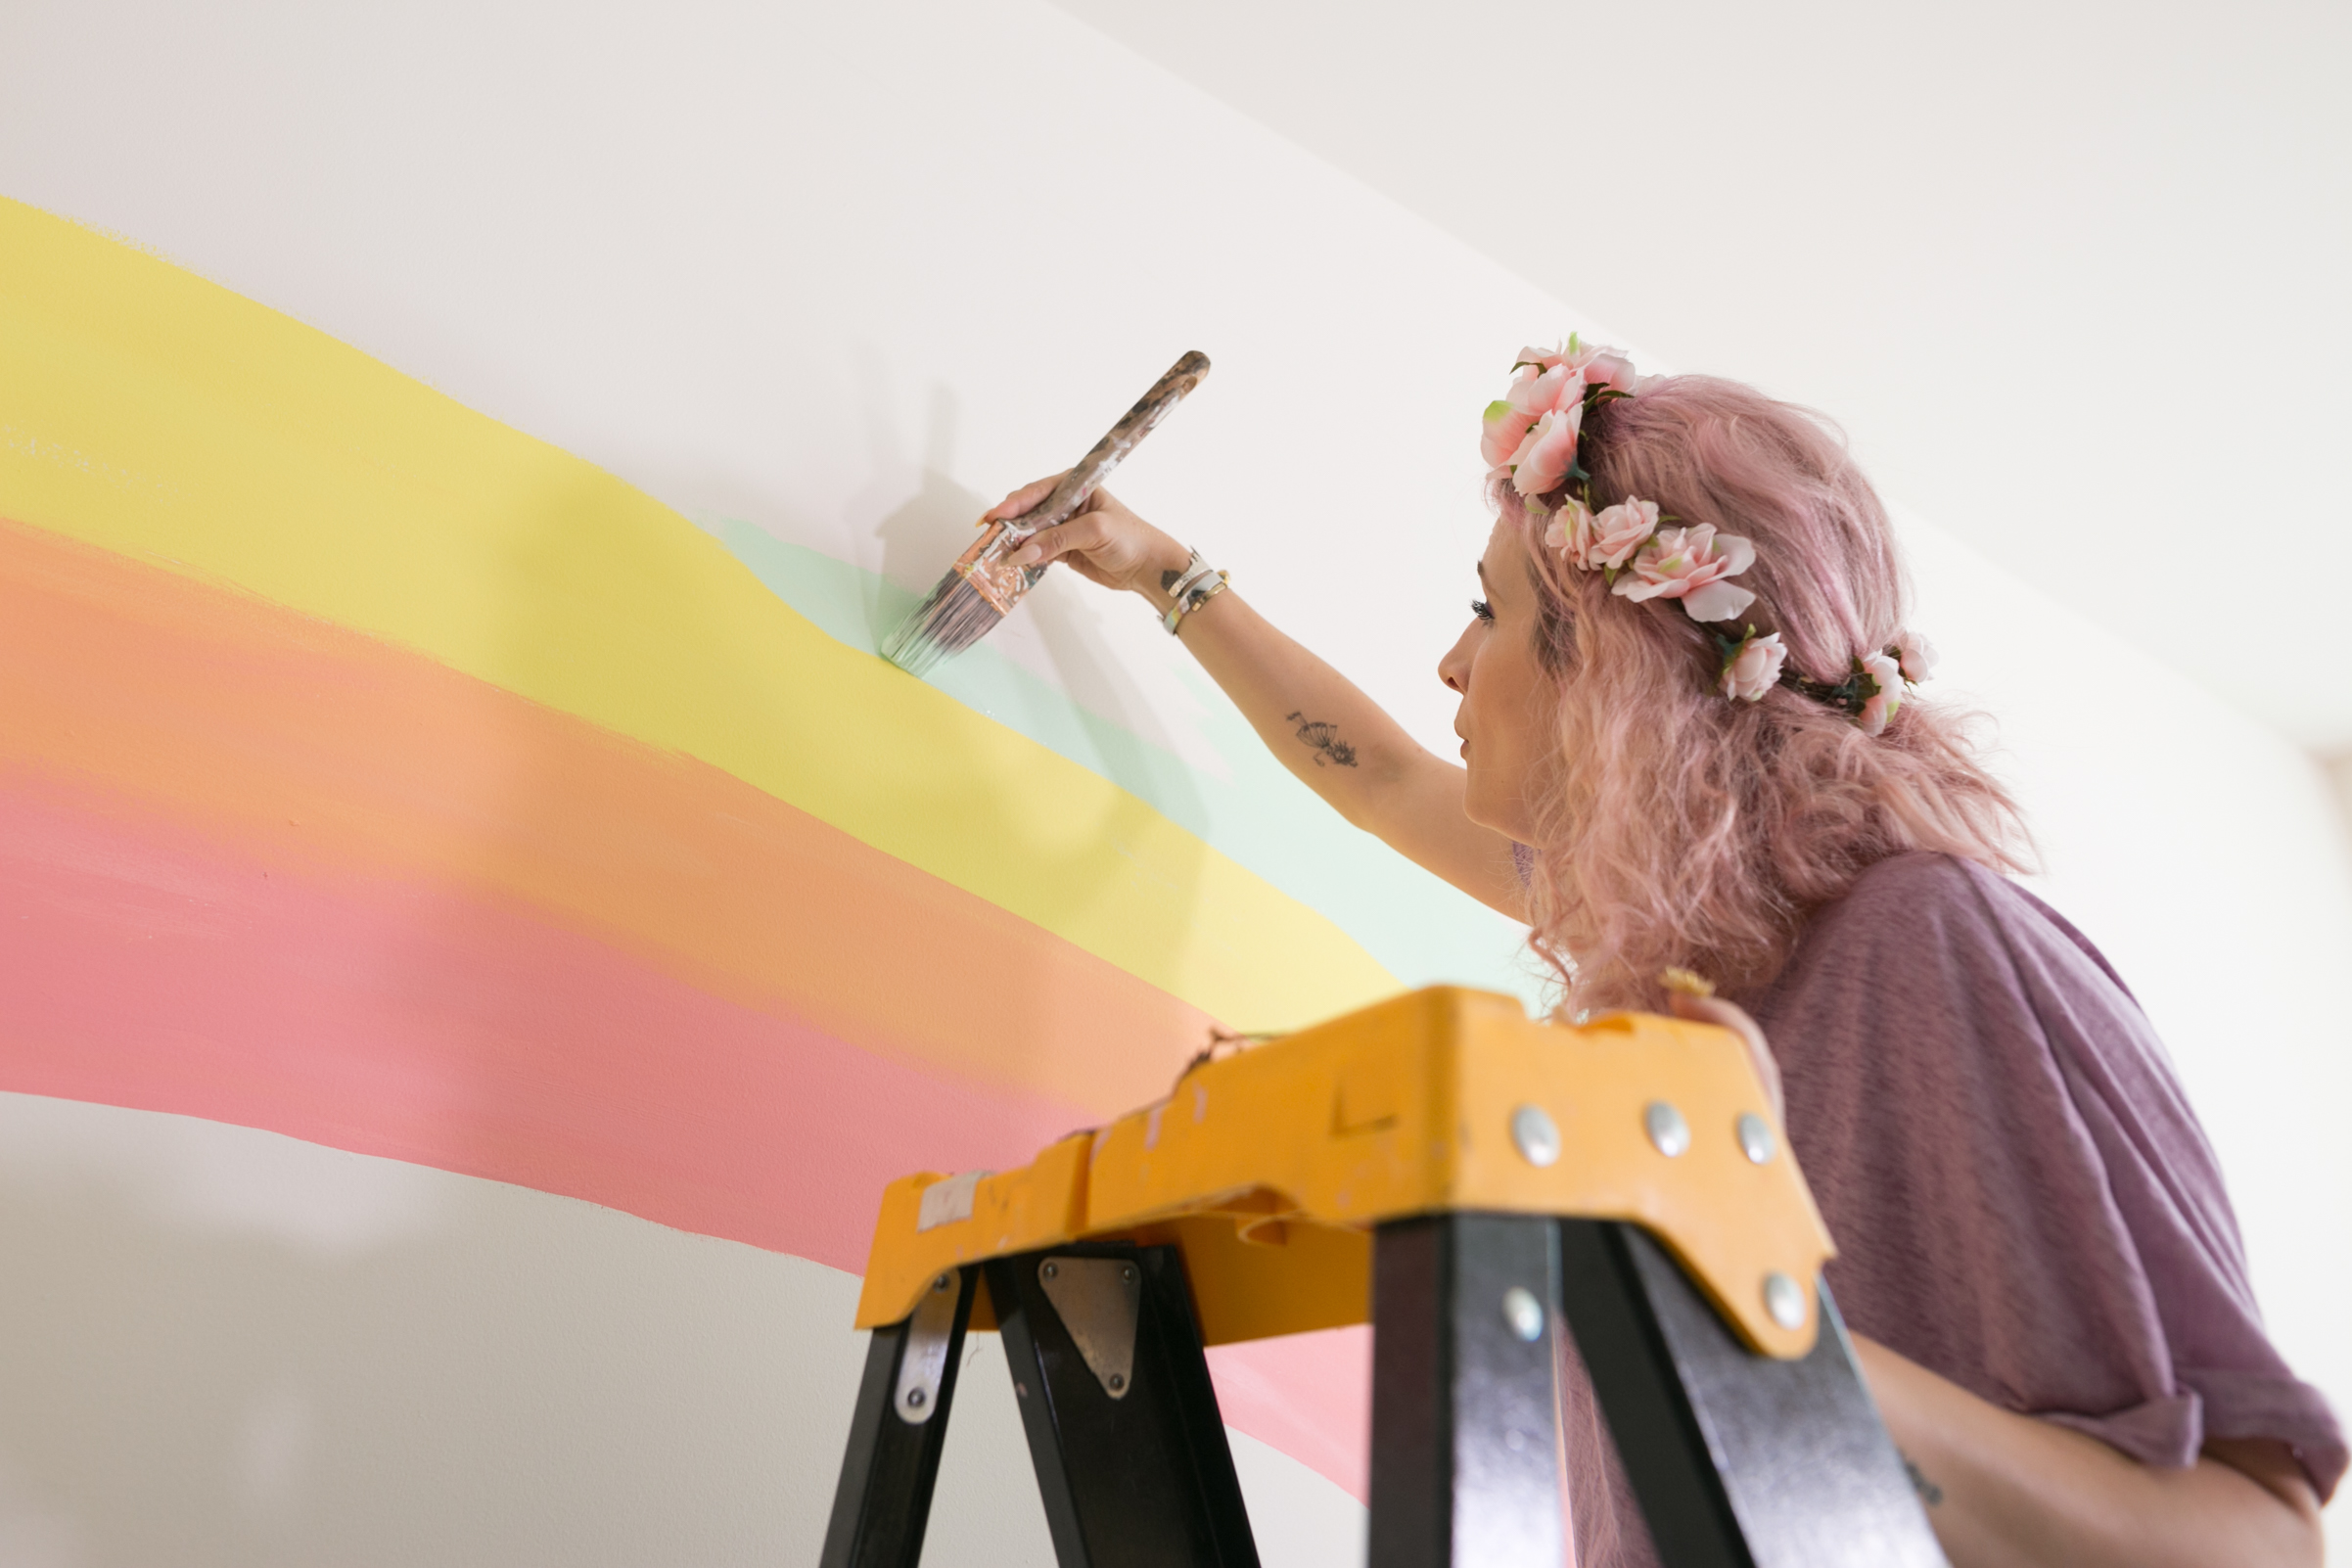
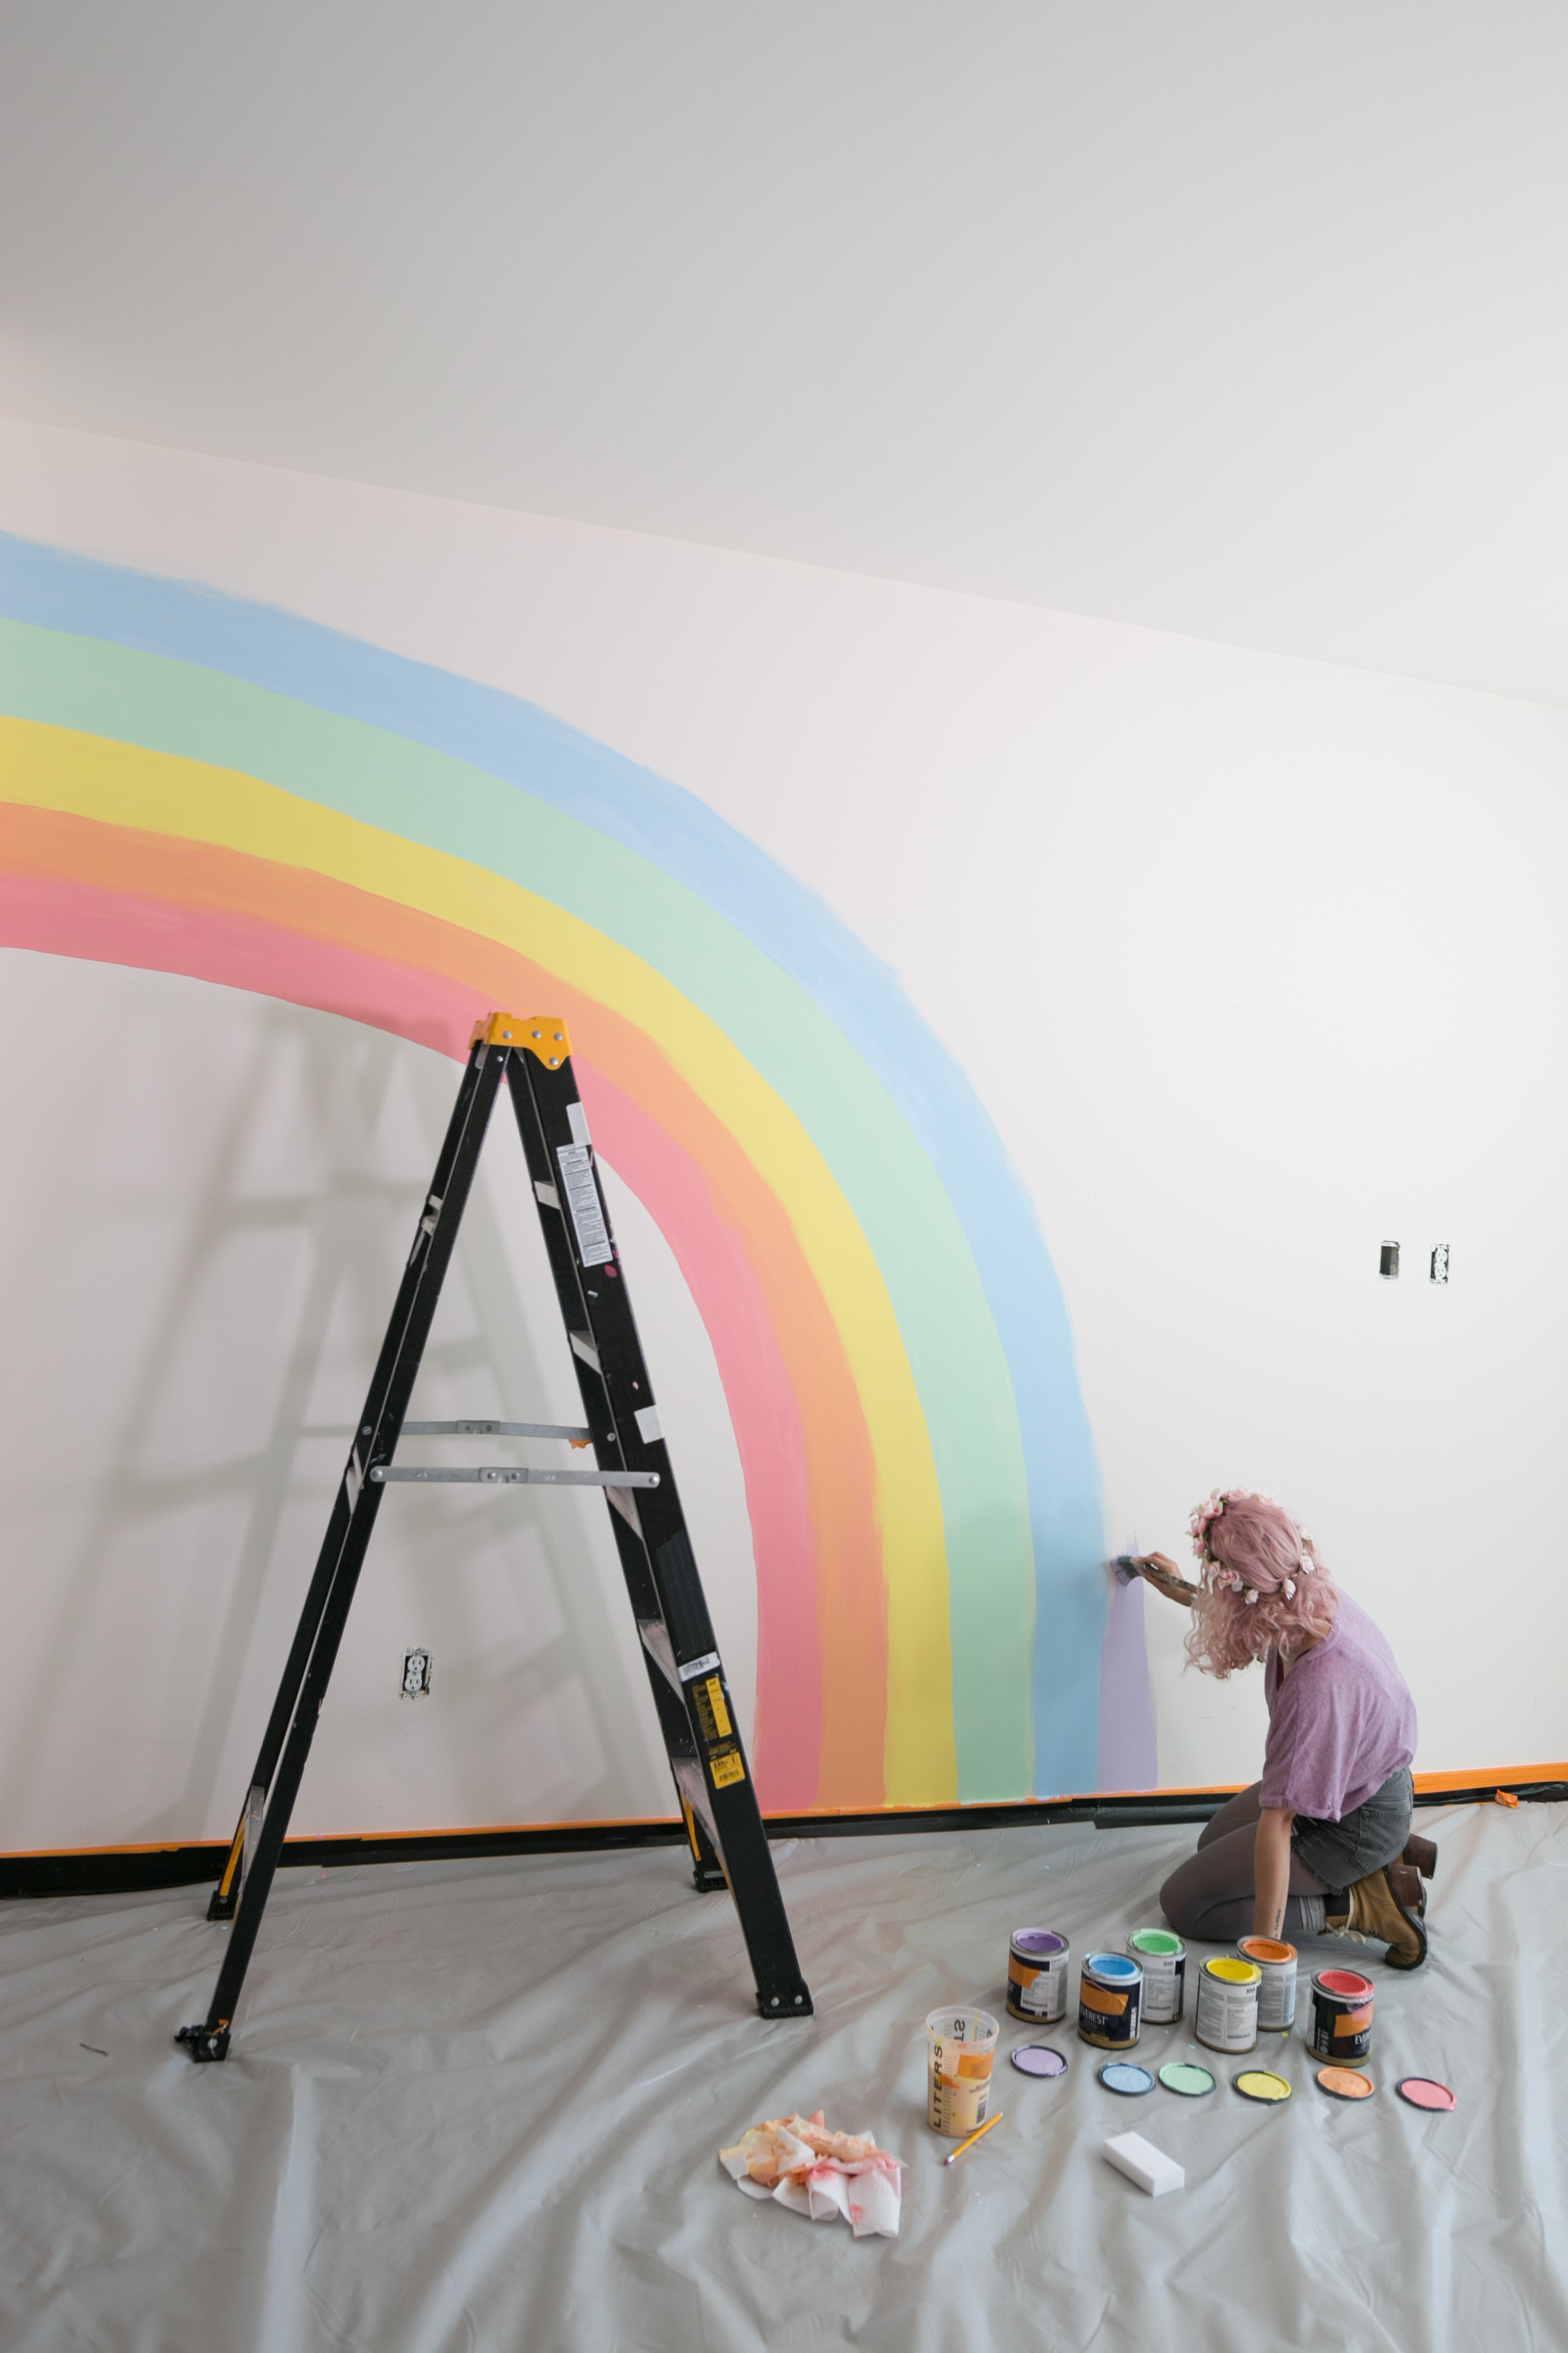
- Continue step 2 with each following color of the rainbow. You'll need to wash your brush in between colors, but this water will actually help blend the lines between shades so it looks smooth and has less emphasis on the lines (because they don't need to be and probably won't be perfectly even!) Let the colors overlap slightly which will help with a pretty blended look.
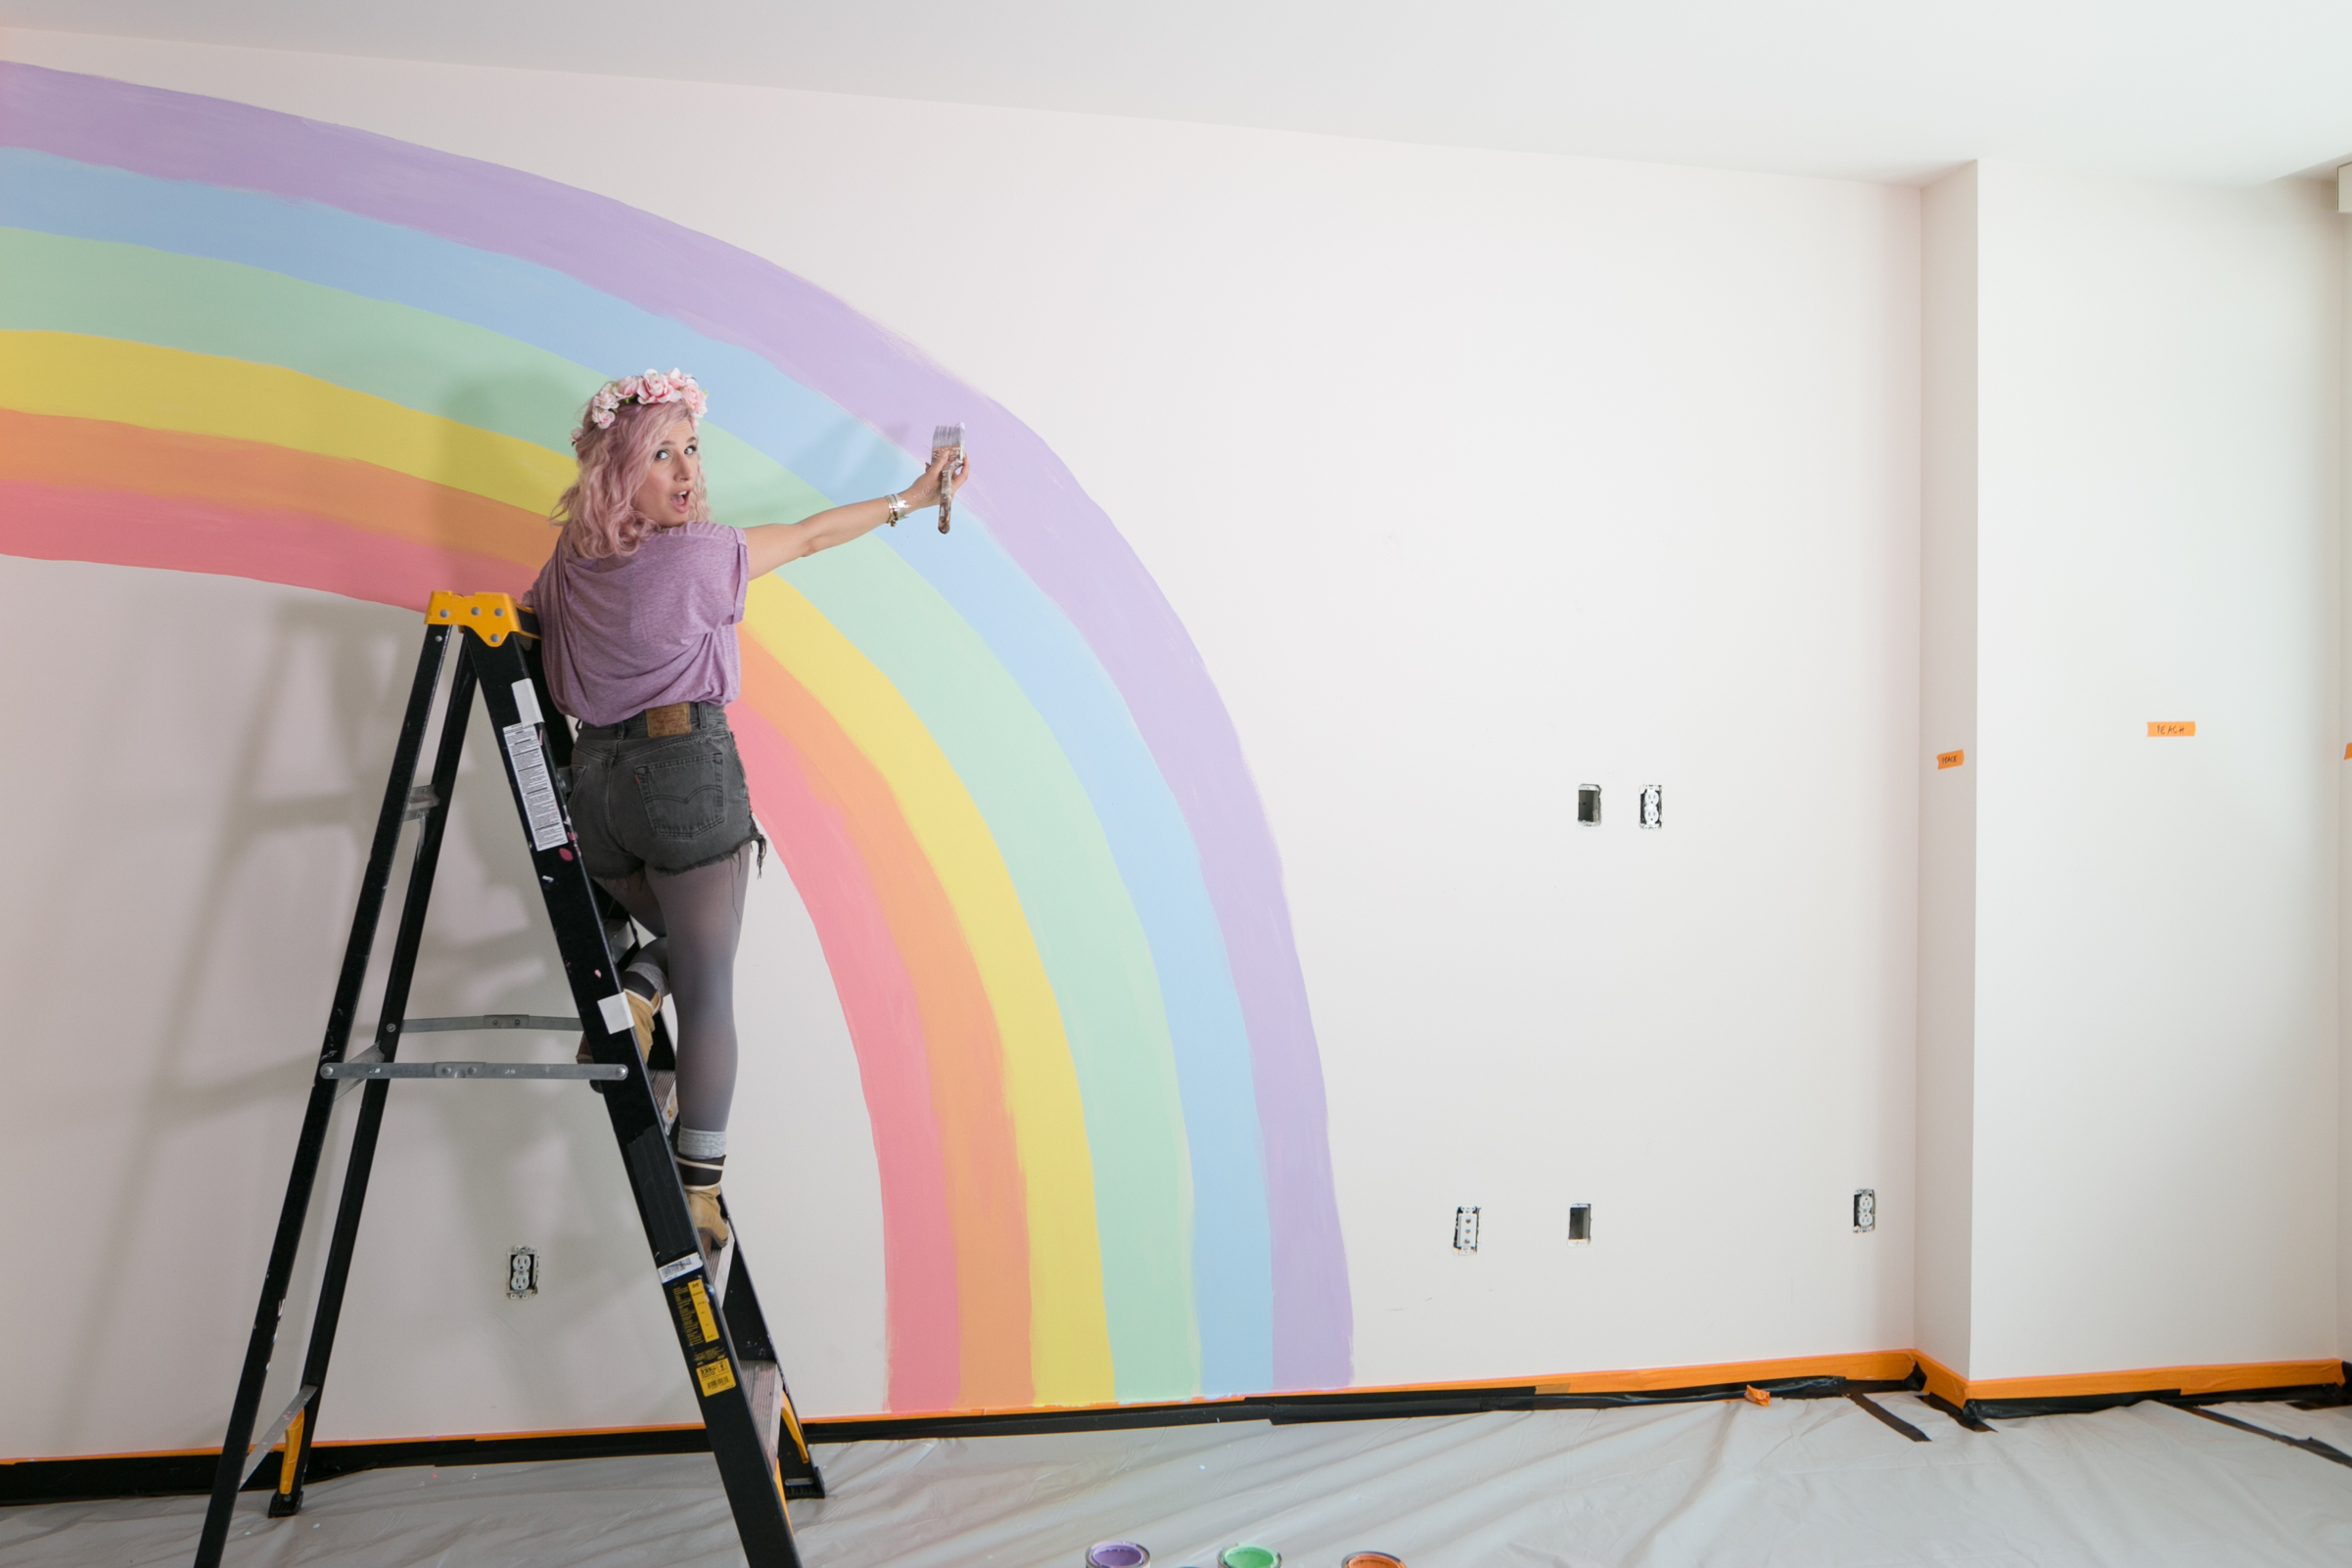
- Finish off your rainbow with the purple curve on top, then check to see if there are any spots you want to clean or touch up a little!
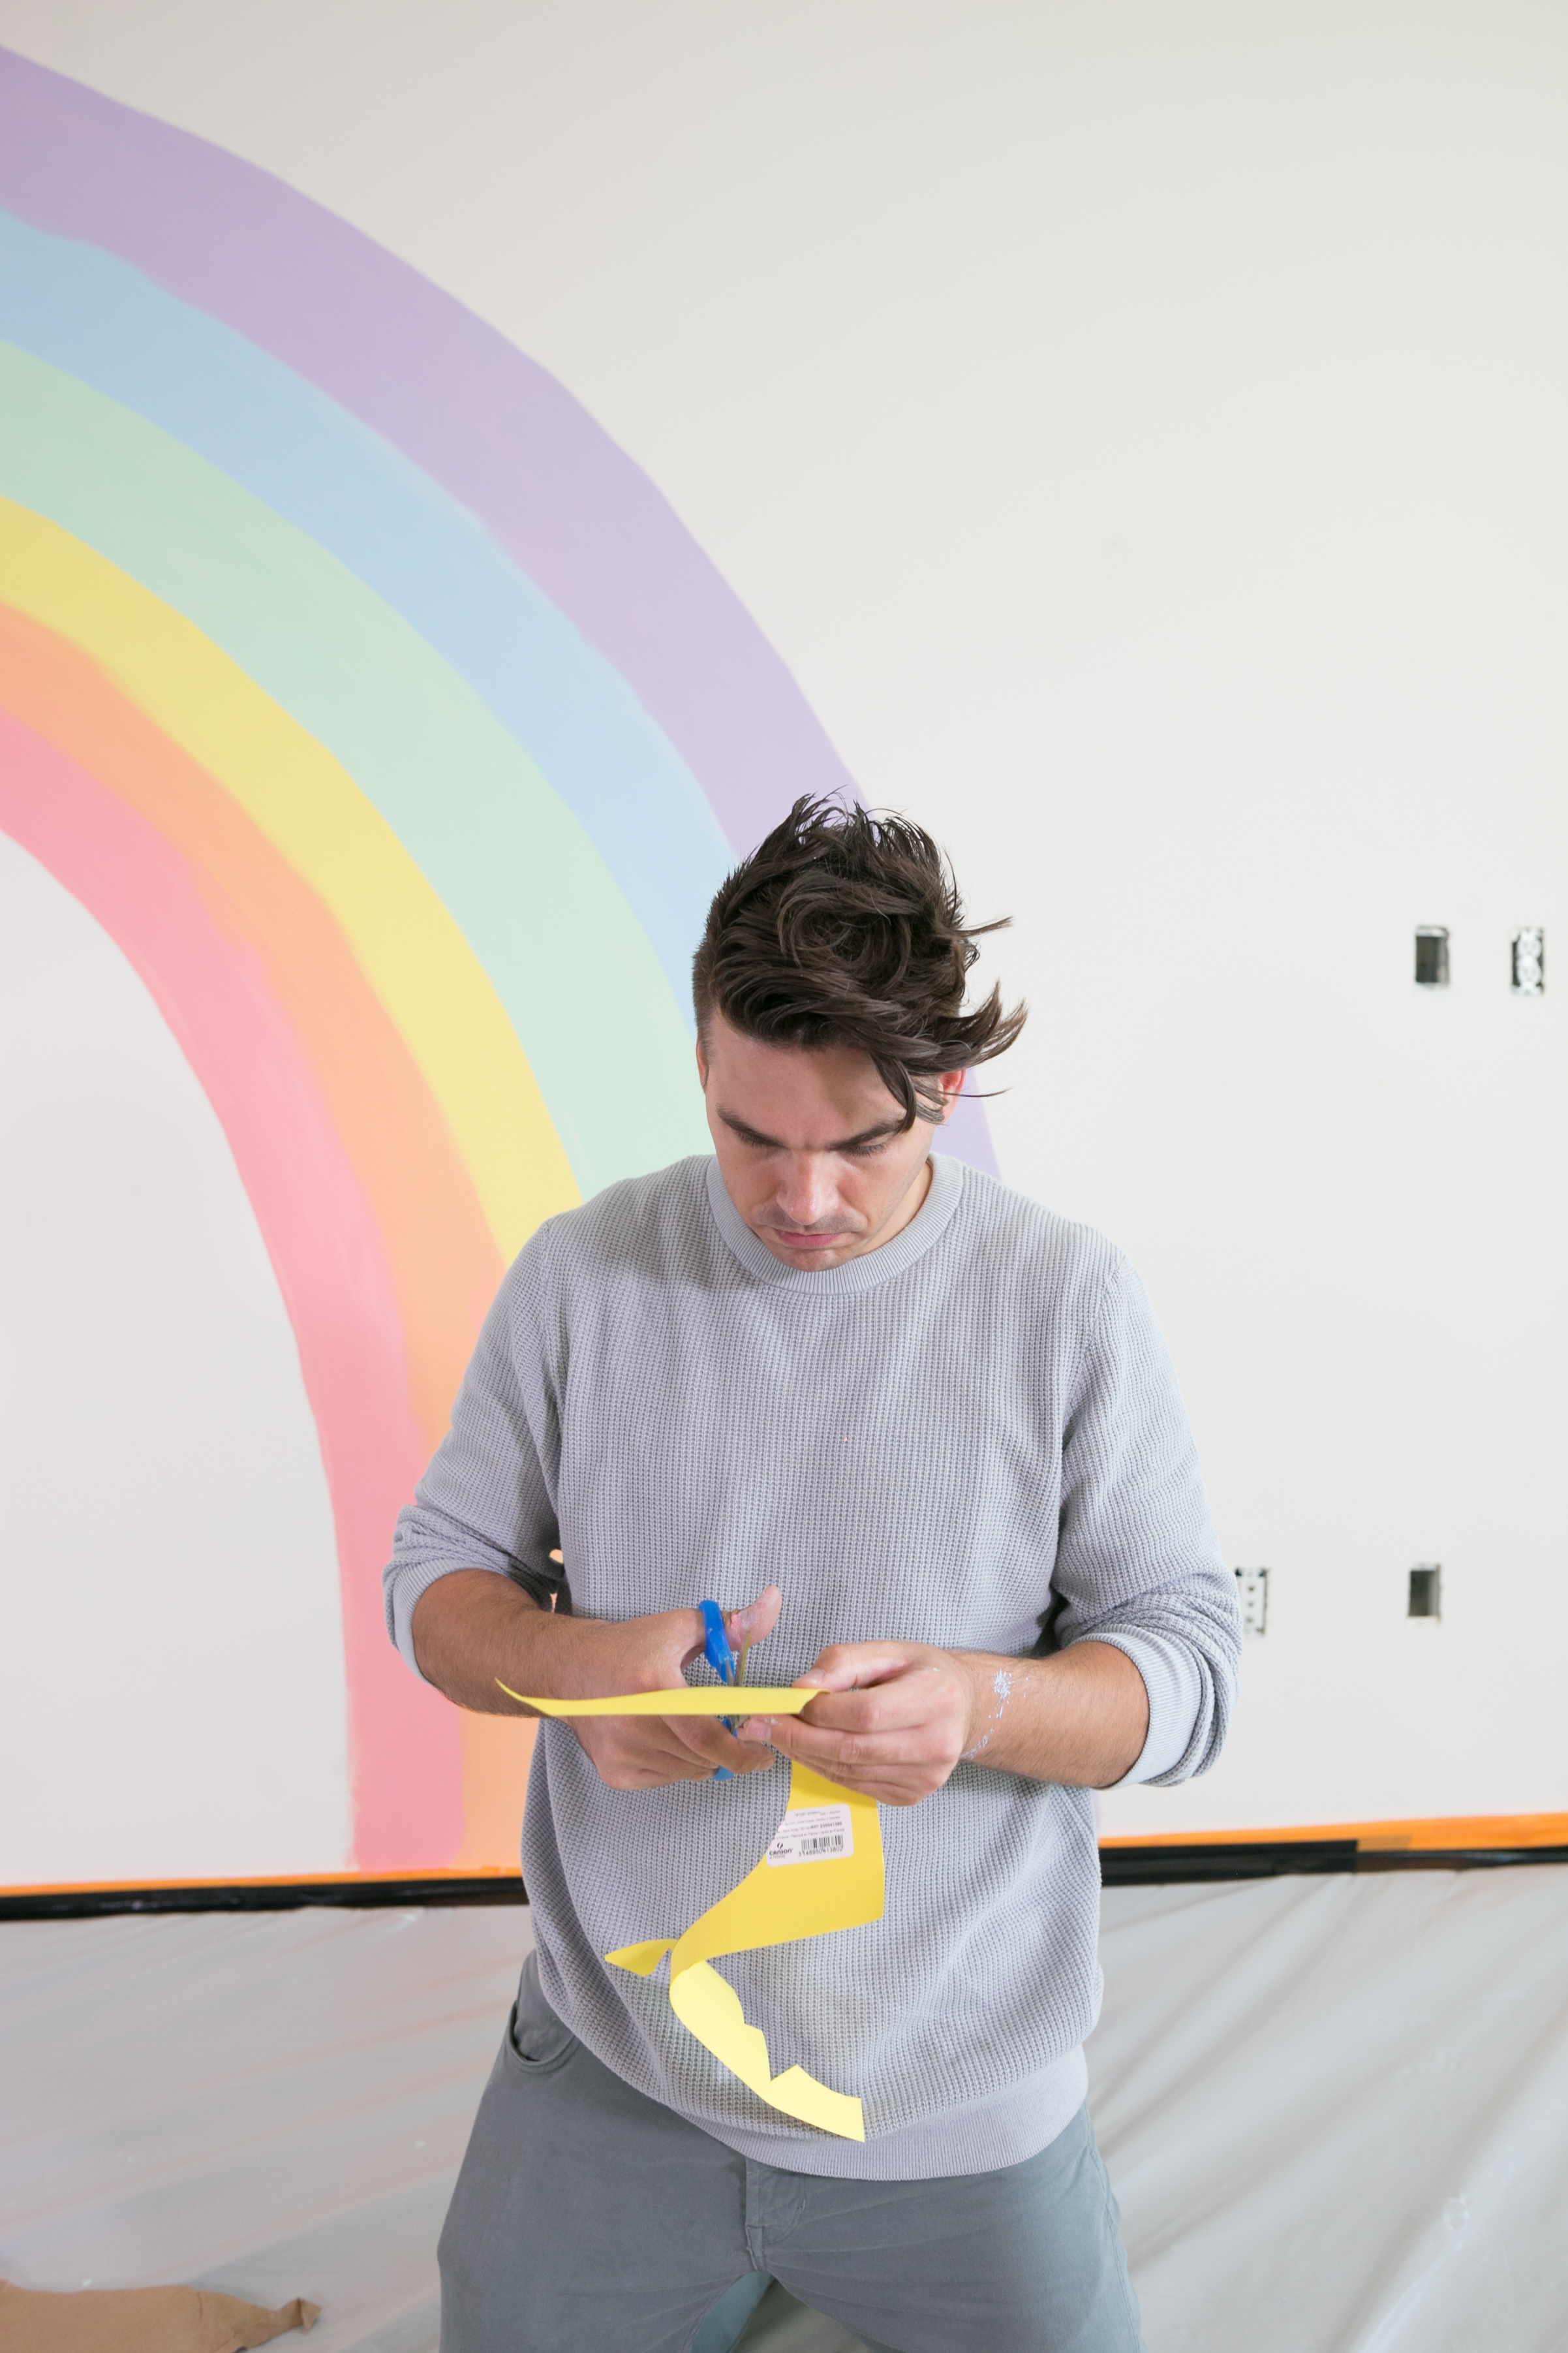
- Let your rainbow dry and remove the tape from the edges. We added some solar power to our good-weather wall by cutting a sun out of yellow paper and framing it opposite the rainbow!