a few months ago we painted a large wall in the Mr. Kate office with whiteboard paint... otherwise known as "dry erase" or "idea paint" and it's given us the ability to write our ideas, dreams, do-it lists, and random spewings on the wall!!!
it's a great idea for a kid's room too! just make sure they know which walls to draw on ; )
my cartoon sketch of myself, plus some very productive commentary
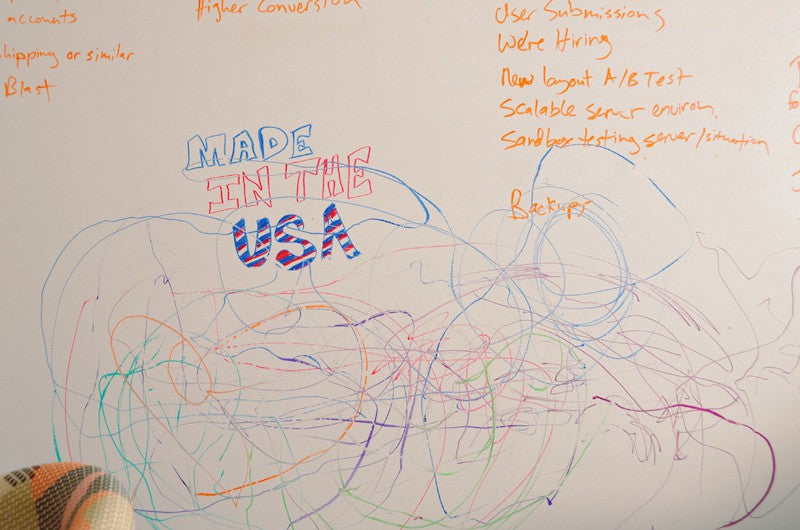
Joey's 3 year old nephew Jonah came over and did an art installment
my cartoon of Joey, which turned out better than the one i drew of myself...he's so annoying, i mean awesome!
and again, some more very productive work commentary... i really hope that is NOT a booger because i did not flick it there!
DIY Whiteboard aka Dry Erase Paint Walls
Prep It:
- Whiteboard paint from a home improvement store or online - we used this Dry Erase paint by Rustoleum. i'd say use one quart per average sized wall. you may need more if you want to do two coats which is ideal.
- paint rollers, trays, drop cloth and paint brush
- light grit sand paper
- damp rag
- painter's tape
- lay your drop cloth down and tape off your wall area with painter's tape
- sand your walls where you see any rough spots and use your damp cloth to clean the walls and let dry
- use your roller and your paint tray to roll on a nice coat of the dry erase paint and let dry. use your paintbrush for edges and corners.
- to get a very slick, write-able finish, sand your first coat with a light sanding using your light grit sandpaper and wipe clean with your rag. then paint a second coat.
- let your paint dry for two days before you start writing on it to ensure proper erasing ease. make sure you use only dry erase or whiteboard markers and erasers! let the ideas flow!!!


