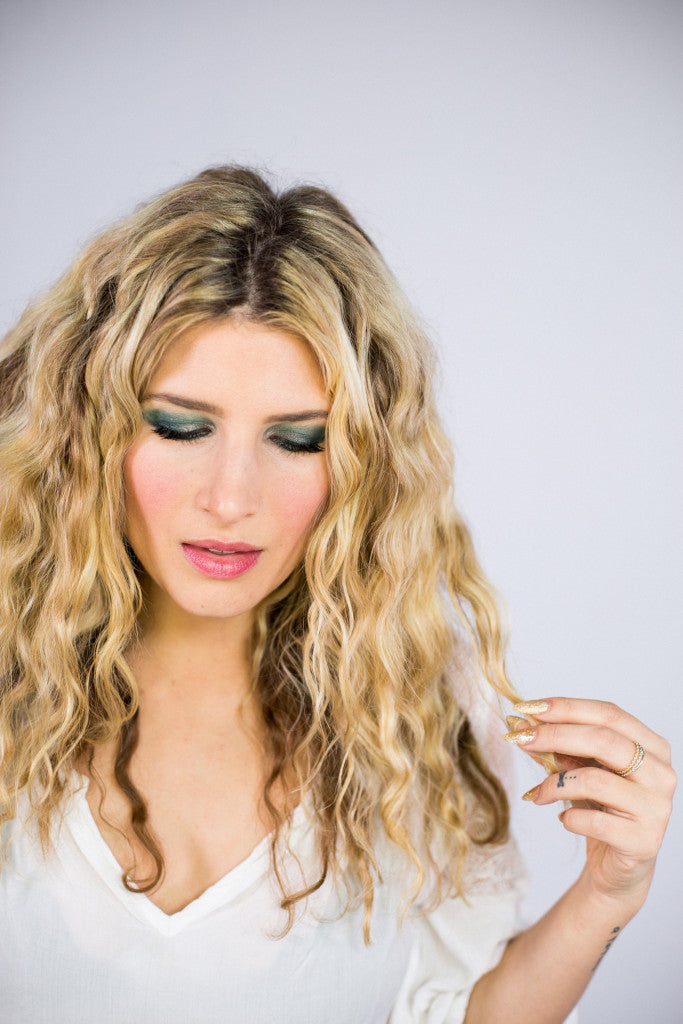
Of all the precious jewels, diamonds tend to get the most attention, be the most popular or sought after. But when it comes to jewel tones, there ain't a diamond in the world that can hold a sparkle to the impact and glamour of an emerald green. Especially an emerald green smokey eye. This look is edgy, yet unexpectedly feminine. The green softens a look that is usually reserved for the blackest of kohls and accents all eye colors in an equally flattering way.
Basically, this is the makeup equivalent of discovering your long lost power color. See it in action in the DIY Crystal Crown video. It plays just as well with some shorts and a tee as it does with a late night formal look. You'll never blink twice at a diamond again now that emerald has stolen your heart (and your eyes.)


Prep It:
Eyelash curler Smashbox Eyeshadow Primer Laura Mercier Translucent Powder Nyx powder brush Urban Decay Vice Eyeshadow Pallet Sigma Gel Liner in Wicked Sigma eyeliner brush Eyeko Mascara Makeup remover Tarte Creaseless Concealer Hourglass Brow Pencil



Do It!
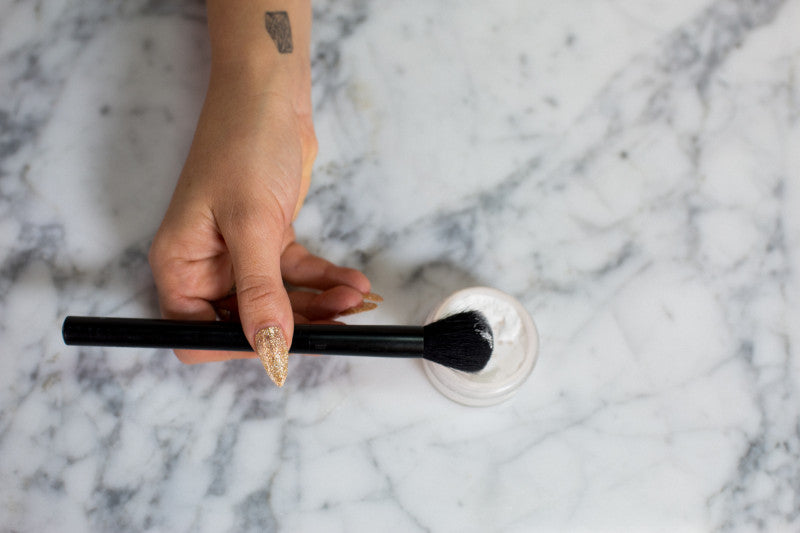
1. Prep your workspace, which in this case is your face, by curling your lashes and swiping some eyeshadow primer across your lids. Then set the primer with translucent powder, applied with a powder brush.
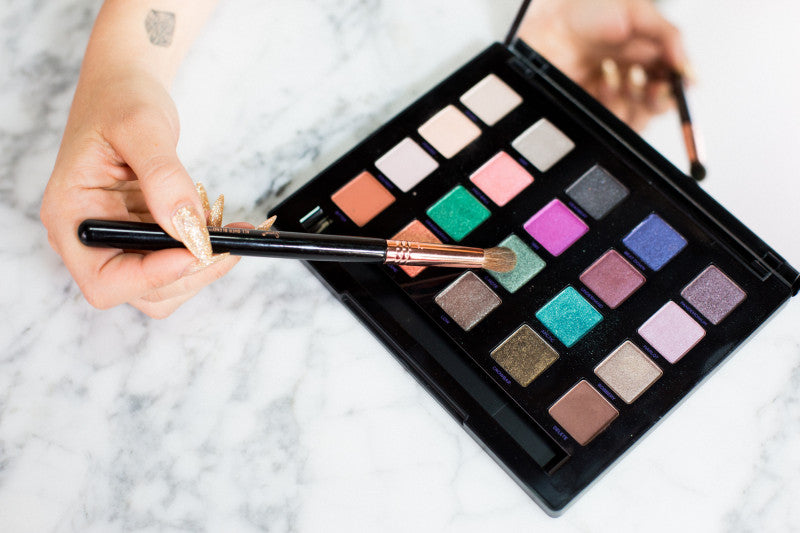
2. Using the Urban Decay Vice pallet, start adding green by applying the seafoam-y light green, called C-Note, over your lid, working into but not going above your crease.
3.Use a small flat brush to apply this color across your entire lower lid, as well.
4.Now to add some drama. Use Sigma gel liner and the Sigma winged liner brush to thickly line your upper lids. 1/4 - 1/2 inch line is you goal. While this would normally be a very heavy look, it is serving as a base for a later coat of green eyeshadow (a technique that gives depth and vibrancy.)
5. Line your lower lid as well, drawing a normal line thickness.
6. Use a flat brush press the emerald green eyeshadow, called Grasshopper, onto the black liner. It’s important to press and not swipe here! Repeat this step on your lower lids.


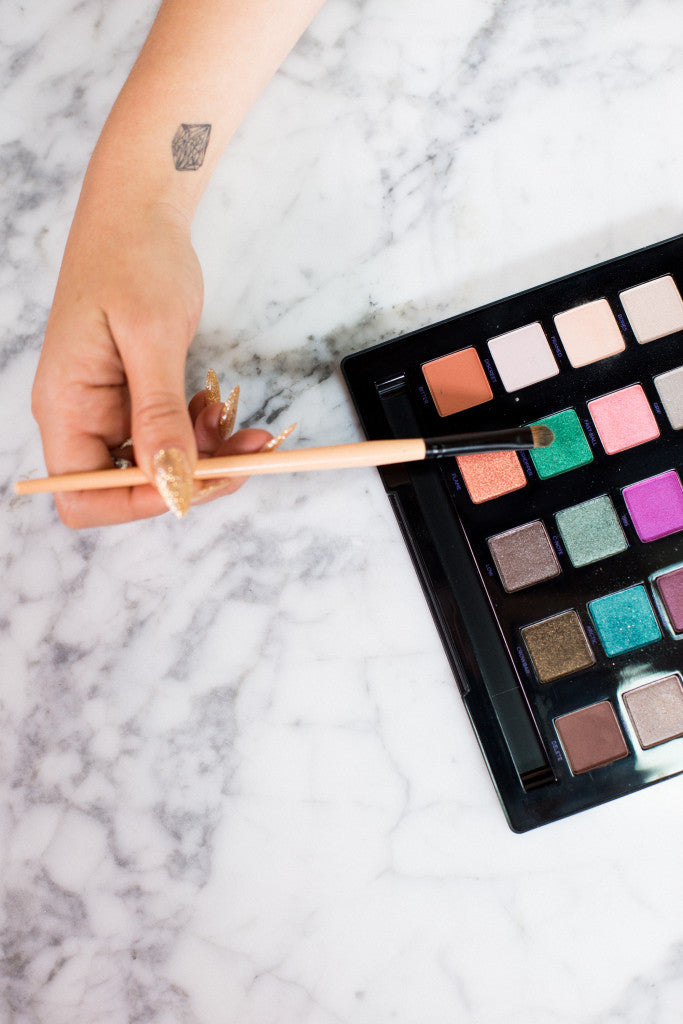


7. Now use a fuller, round eyeshadow brush to work the Grasshopper shade into your crease. Blend, blend, blend!
8. For dimension, add a touch of the turquoise blue eyeshadow, called Arctic, onto your lids and blend into the creases and down to your lash line.
9. Use a flat brush to apply the pewter grey eyeshadow, called Grip, into the inner corners of your eyes.
10.Coat your top and bottom lashes with black, volumizng mascara. Add in individual false lashes for a more intense and dramatic look. Lastly, for that total Tyra Banks smize effect, apply black eyeliner to your lower water line.
11. Now that the majority of your look is done, wet a cotton pad with some makeup remover and carefully clean up any stray pigment from your under-eyes and cheeks.
12. Use a concealer brush to apply Tarte Creaseless concealer to your under-eye area, making sure not to work over the smokey effect on the bottom lash line.
13. Last step! Highlight your brows with a brow pencil. Leave your face makeup light and lips neutral for this look. The drama is all in the eyes!


