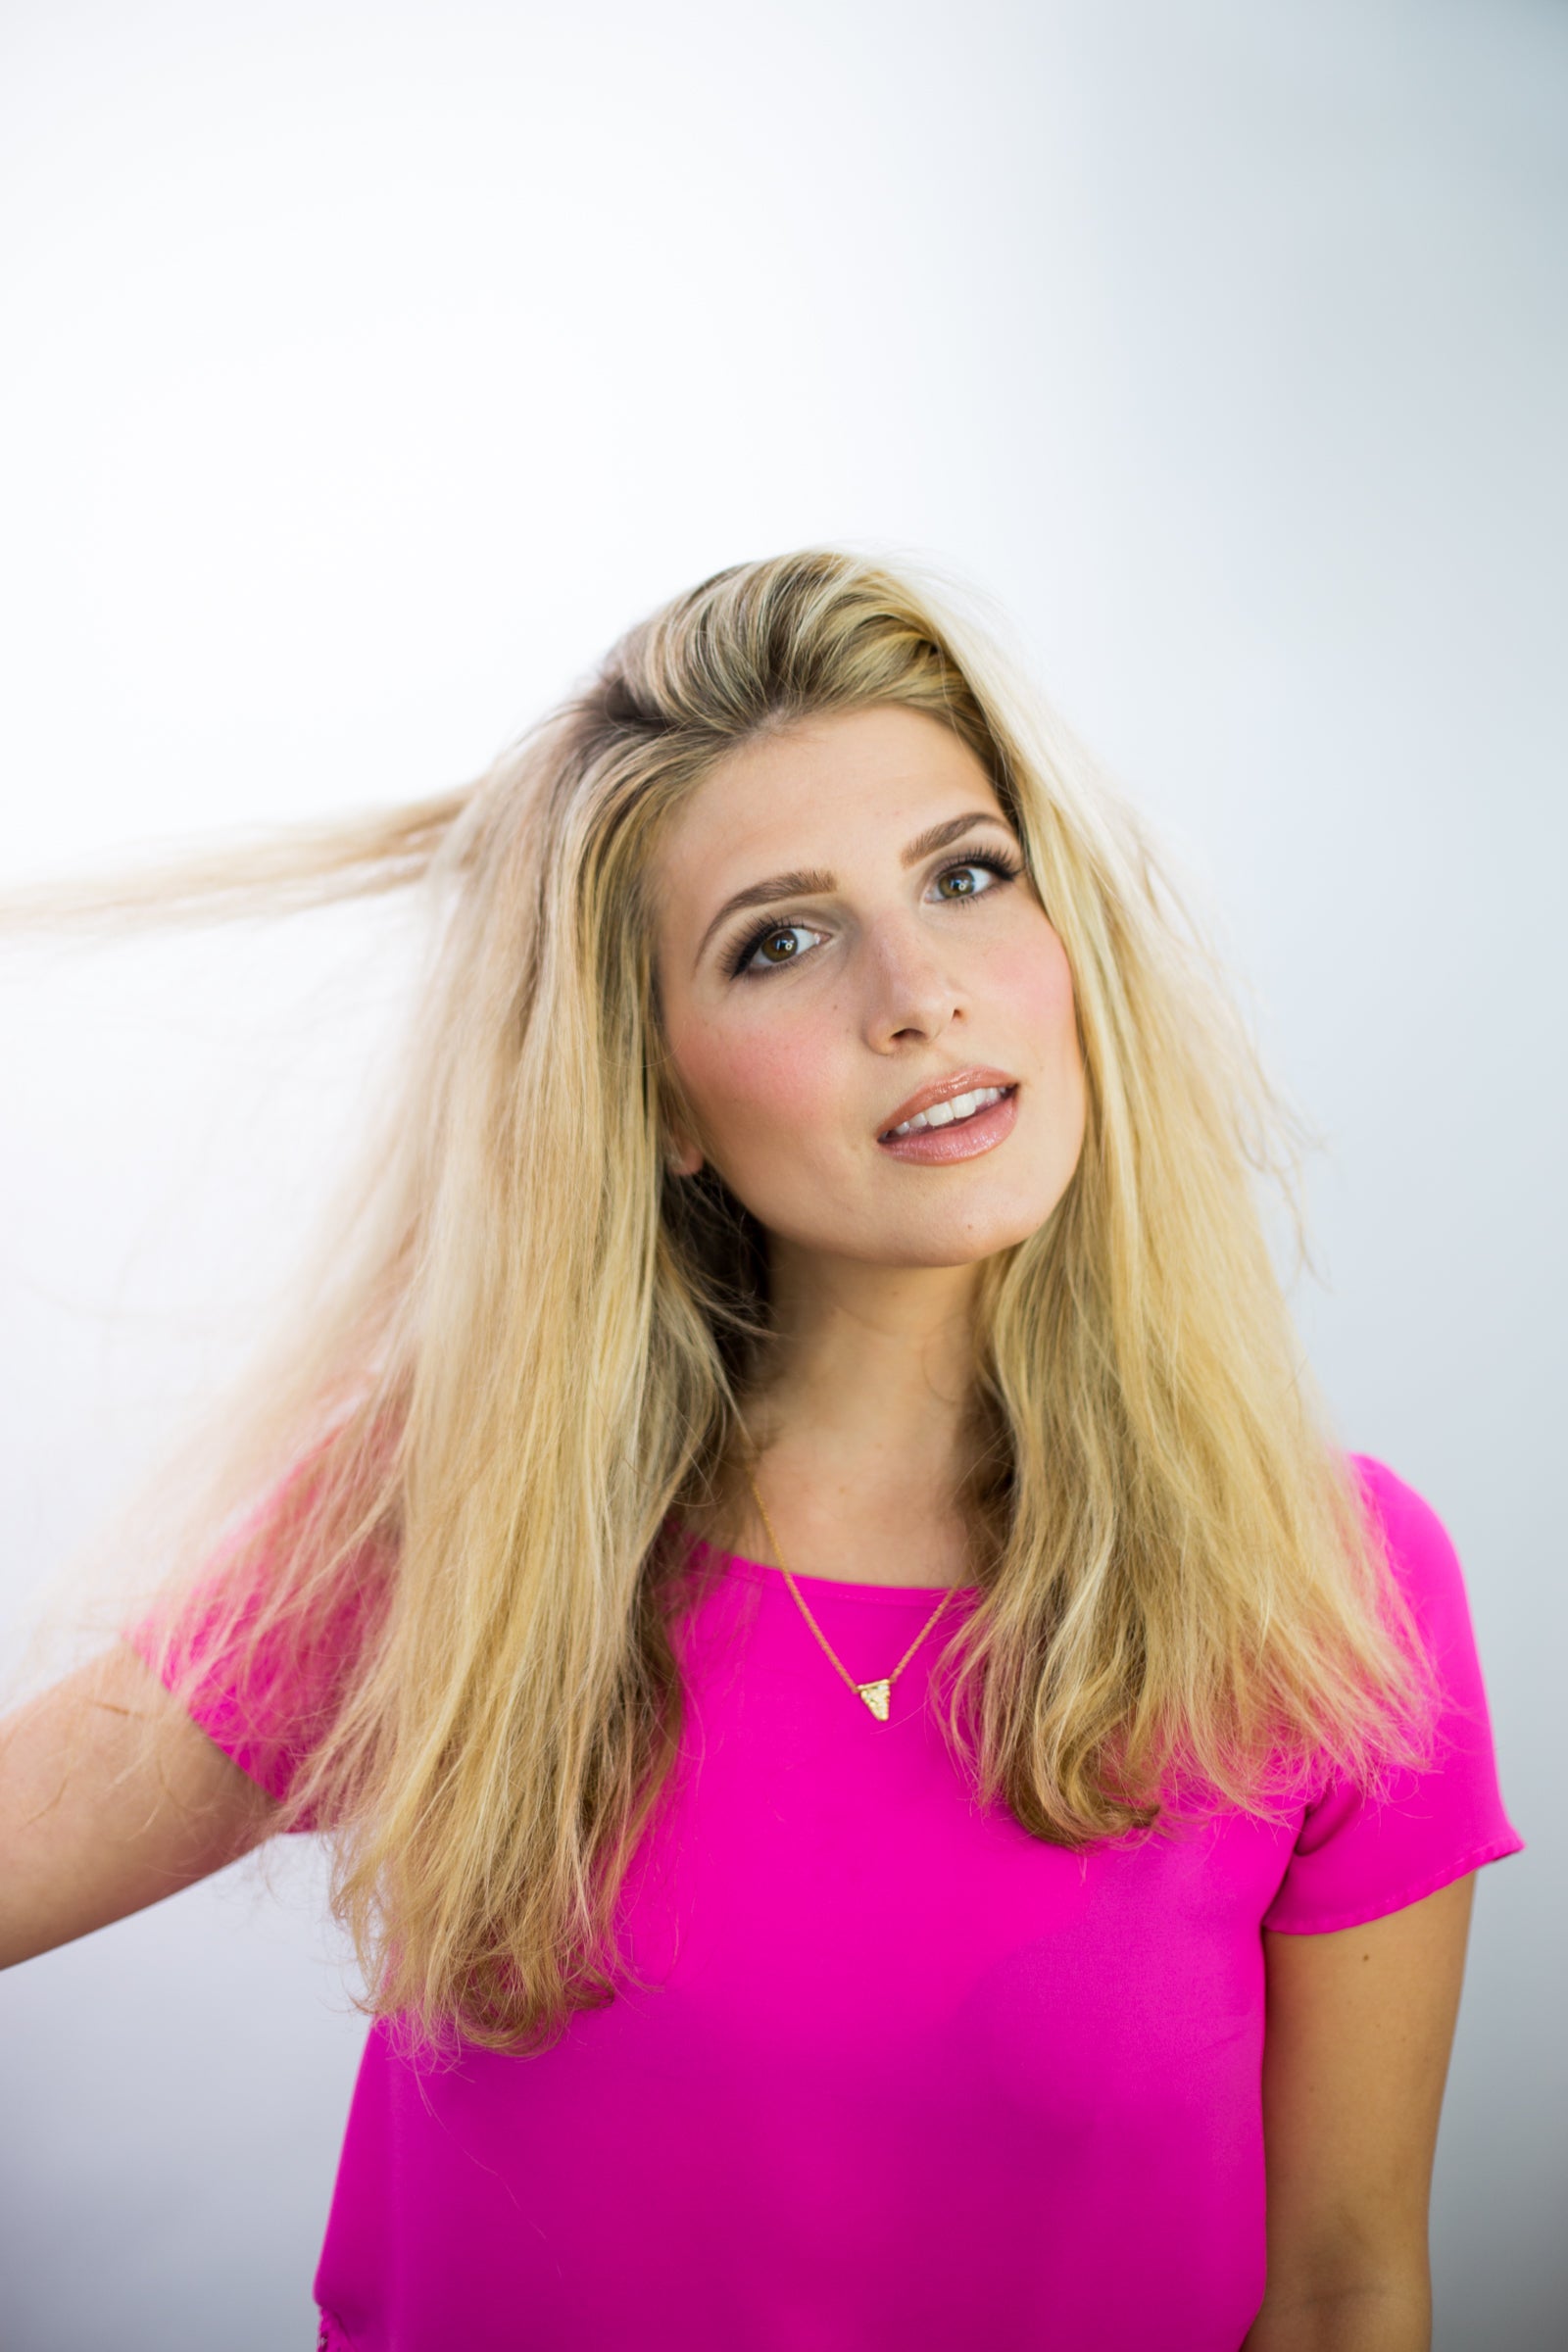
As the proud owner of some super-powered curls (no, really, you try combing these locks into a bun on a hot day), I am all about embracing big bouncy hair. But, admittedly, there are times I yearn for a more laid back, low maintenance beachy wave. Luckily, that look is very attainable. All you need is some time, a tutorial (which I just so happen to have made - finally! I know y'all have been asking for so long) and a magic wand. Okay, now repeat after me: Accio waves!! You all set?
I kid, I kid. The wand you need is actually a curling wand, and although magic certainly would be nice, there's no need to use it when it's so simple to create this style all on your own!
Blow dryer
Aerated round brush
Barrel curling wand
Tapered curling wand
Alligator clips
Hairspray


 Do it!:
- Start with wet hair, lightly towel dried. I recommend using WEN Conditioning Wash to keep hair nourished and healthy for the styling process. To prep hair before blow drying, work Oribe Super Shine Moisturizing Cream into your mane, focusing on the ends, or any frizz-prone places.
- Give your hair a once over with a Babyliss Ceramic Blow Dryer, set on high force and medium heat, creating lift at the roots.
- Section your hair into three layers: bottom, middle, and top. Pin the top two layers up with alligator clips and start drying the bottom layer of your hair. If you have natural curls, pull hair straight with an aerated Prego round brush while drying, focusing the blow dryer down the shaft of your hair. If you have naturally straight hair, just blow dry this section.
- Release the middle layer of your hair, and use blow dryer to direction your hair forward to frame your face. With the round brush, pull these face-framing pieces forward while drying, and twirl ends away from the face. Loosely dry the rest of the middle layer.
- Release the top layer. Again, focus blow dryer on the face framing pieces, pulling them forward with a round brush while drying. Blow dry hair at the the crown of your head forward towards your forehead to give it lift. Switch the dryer to the cool setting and give your whole head a once over.
- Prep hair for heat styling with Oribe Gold Lust Nourishing Oil. Section hair off into three layers again and clip up top and middle layers.
- Start curling the bottom layer with a Sultra Barrel Curling Wand, wrapping hair away from from face. When done, set waves with a light misting of hair spray. If you have naturally straight hair, use the tapered wand for this step.
- For the middle layer, curl hair with a Conair Tapered Curling Wand, again wrapping away from your face. Set with hairspray.
- To curl the top layer, use the barrel wand, wrapping hair away from your face and leaving the ends loose.
- To complete the look, separate clusters of waves to get a more tousled look and set with a final misting of hairspray.


Some Instagram posts where I used the same technique!


