Introducing:
Upcycl'd!
I'm so excited about Upcycl'd, our first new series of 2016. It's all about being generous with that refreshing spirit, and giving new life to furniture and home decor pieces that have, to put it gently, seen better days. Basically I'm the DIY fairy godmother and this wicker bookshelf is my Cinderella. There might not be princely smooches or midnight fleeing from grandiose estates (in this episode, at least), but I can promise a stunning transformation and a fairytale ending that'll make you believe in magic. The magic of upcycling, that is.
Click play above to watch the transformation, and get all the DIY deets below! Also stay tuned for more fun transformations from the Upcyl'd series!


PREP IT!
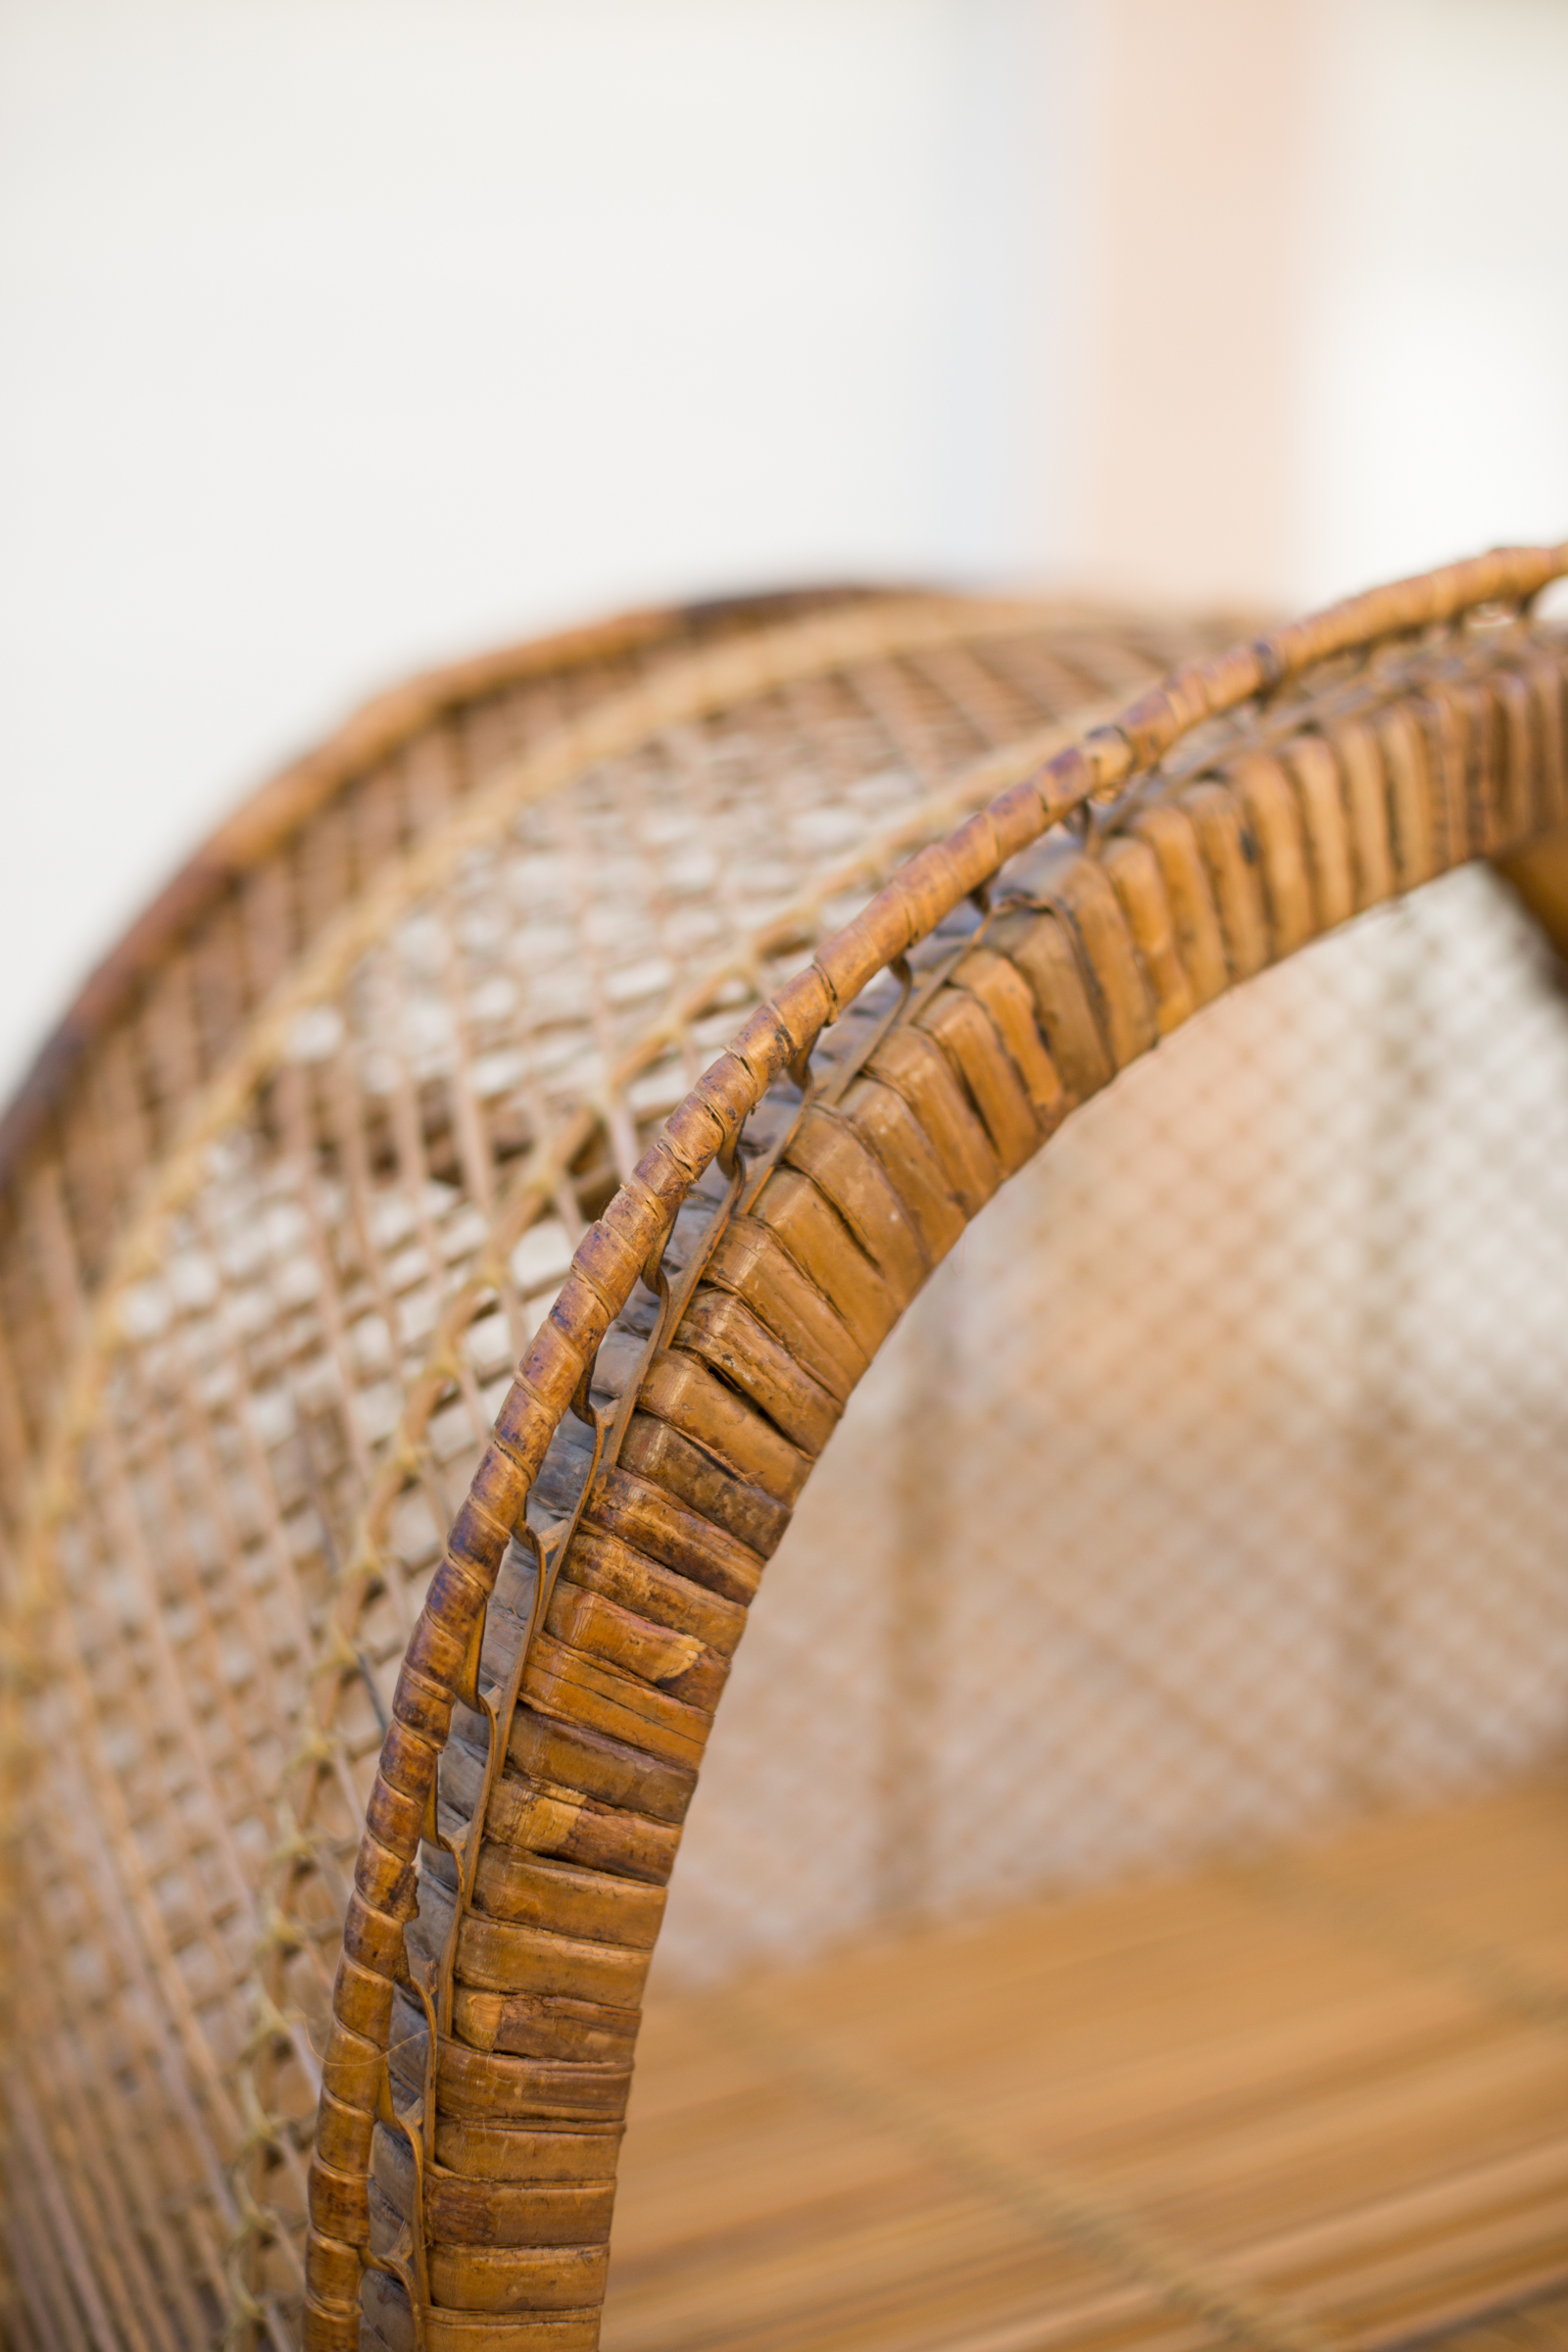
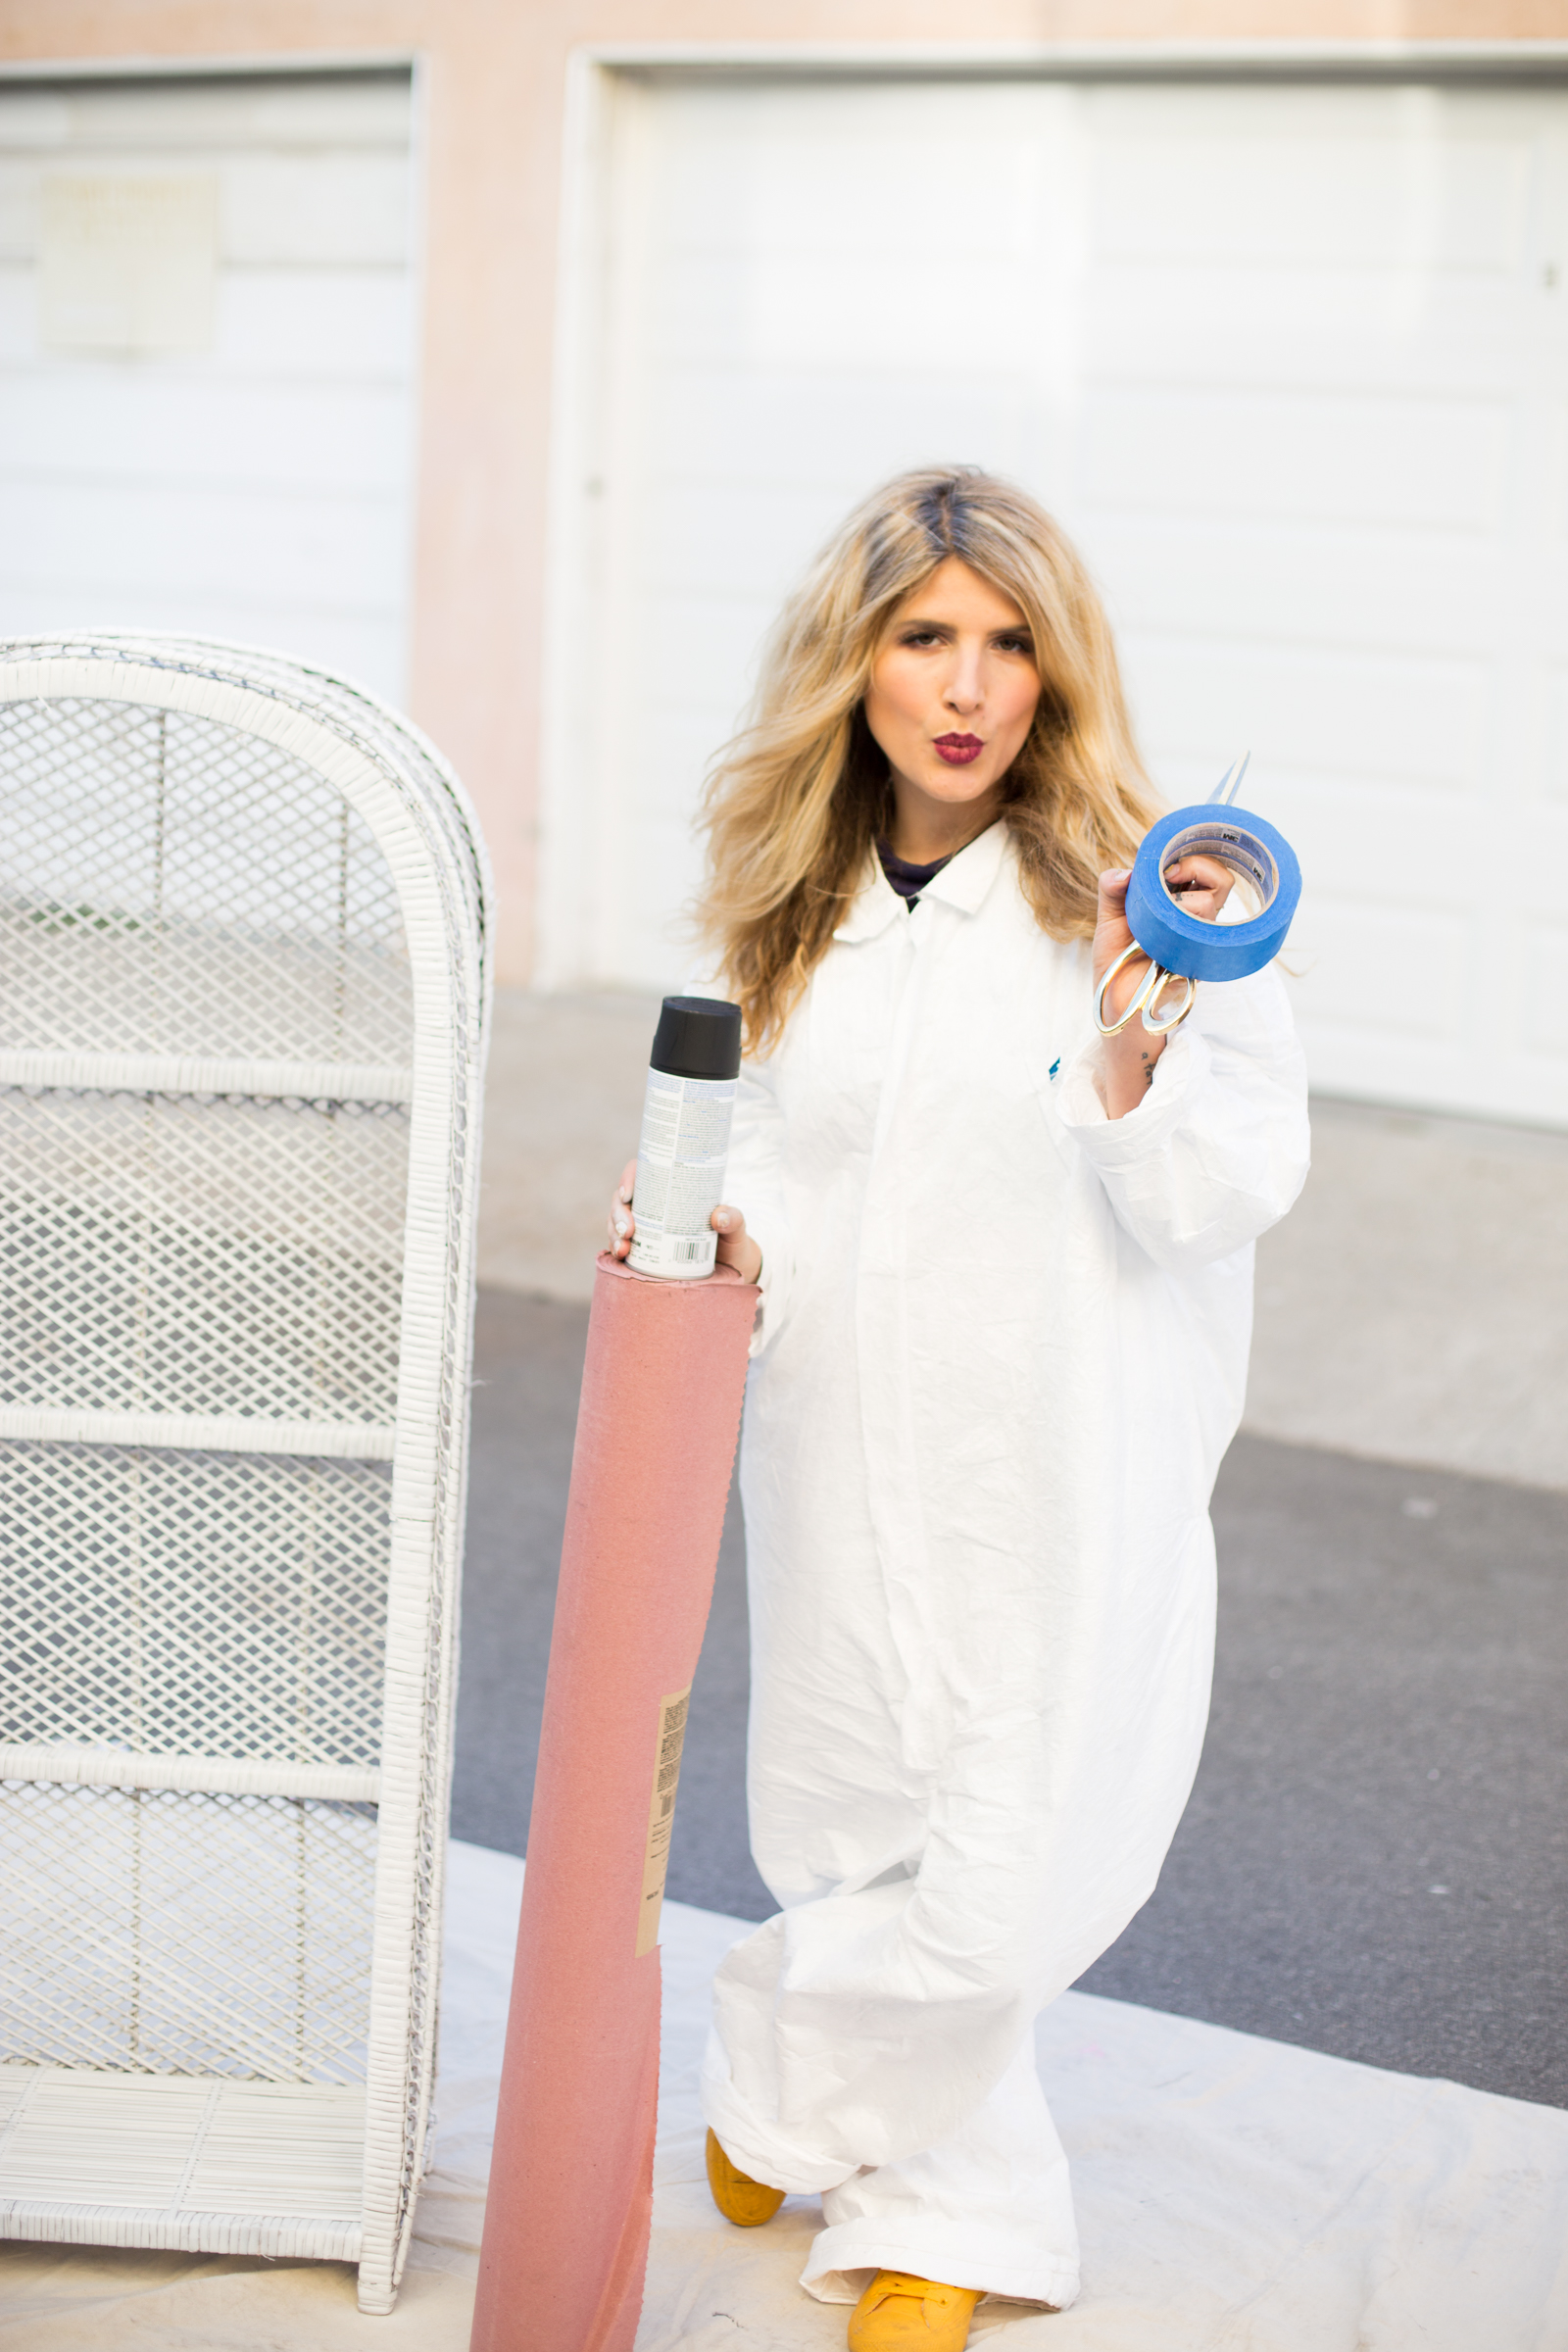
Wicker bookshelf (I found mine in a thrift store!)
White spray paint with primer
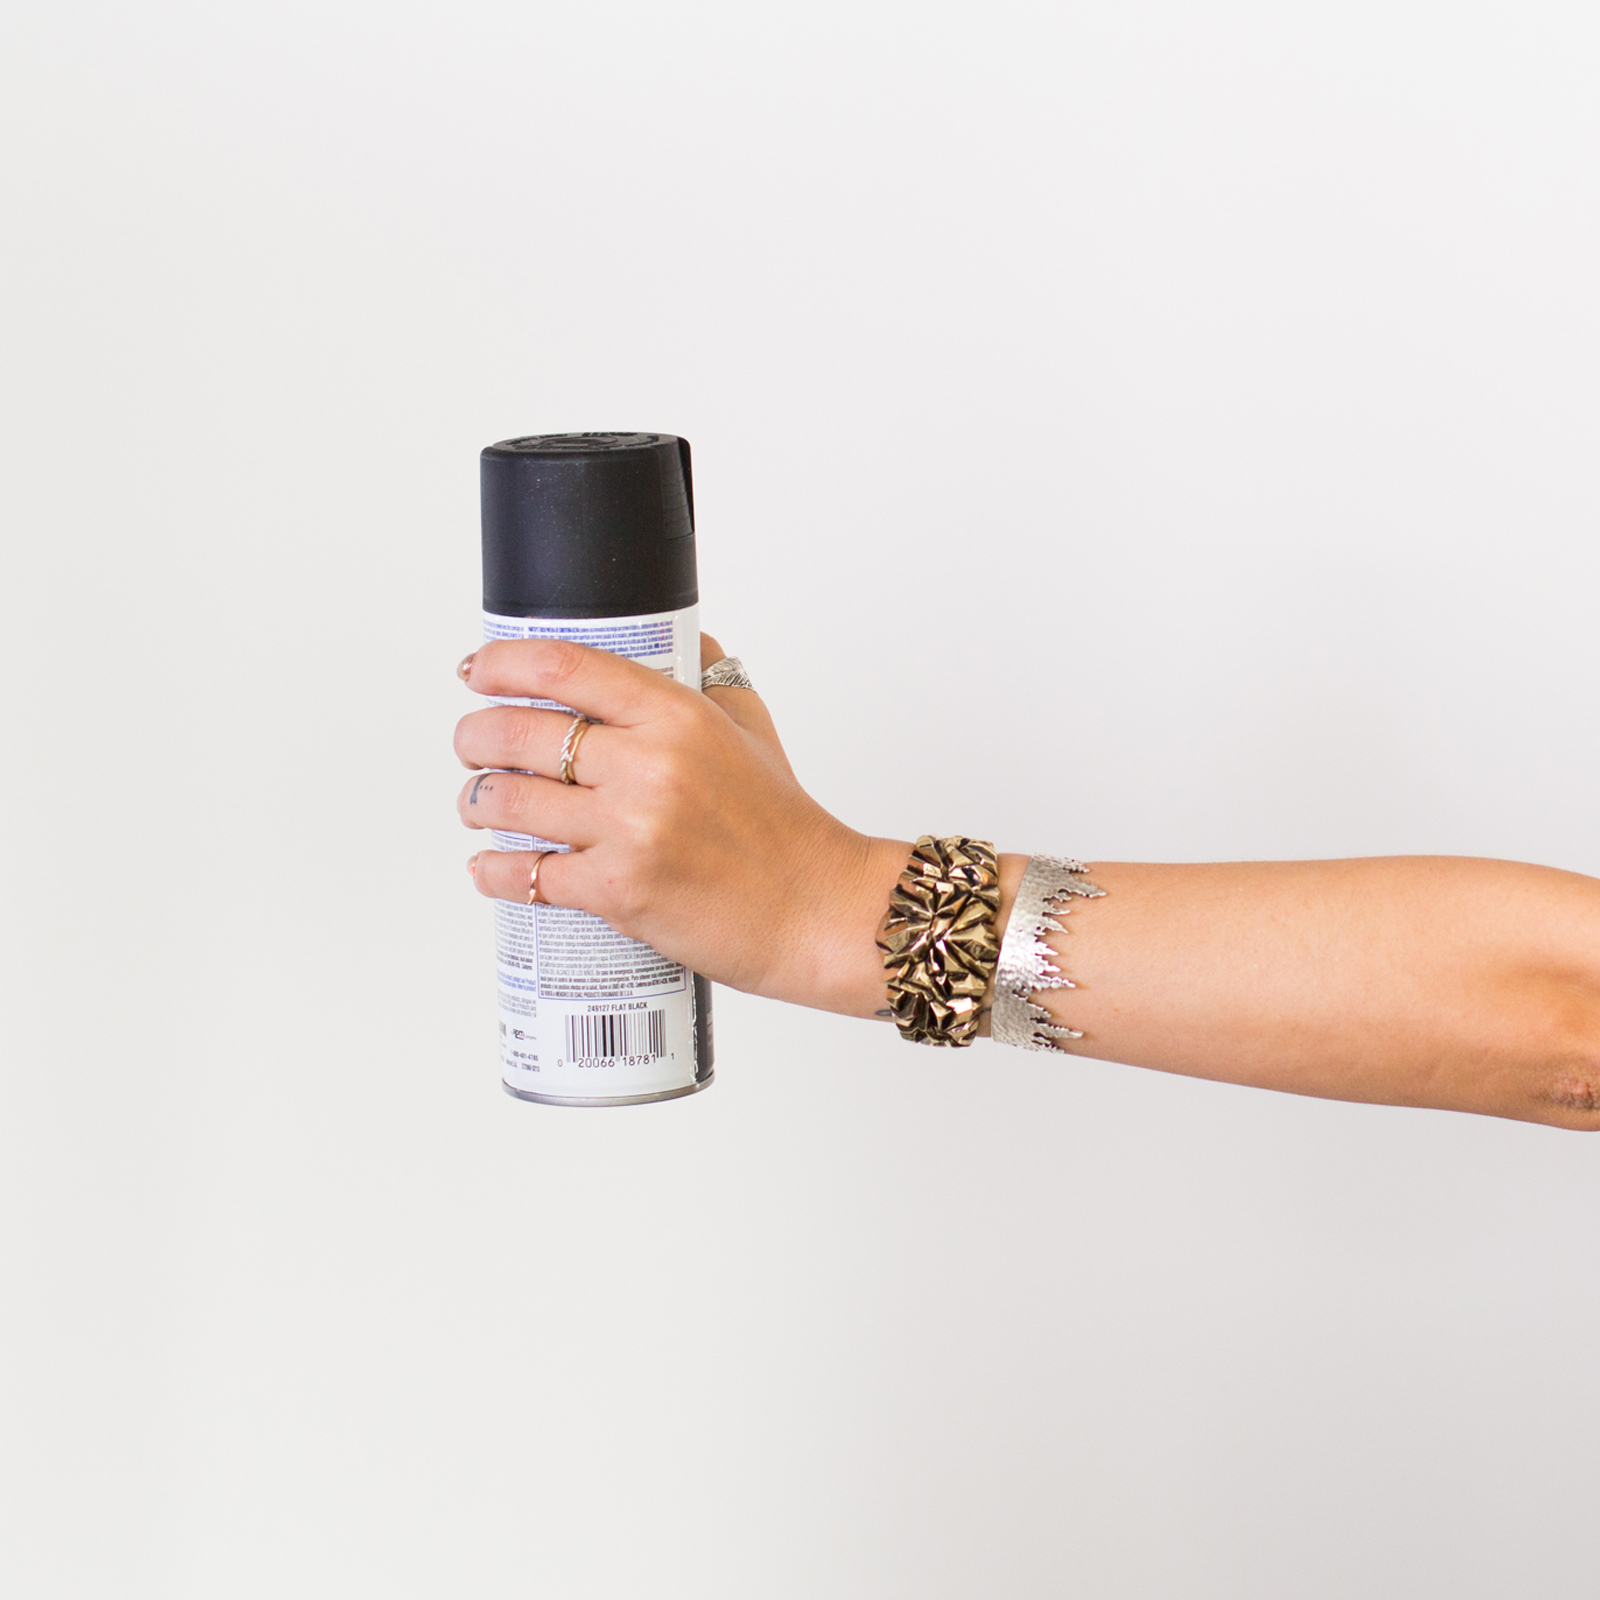
Black spray paint
Painter's tape
Protective paper
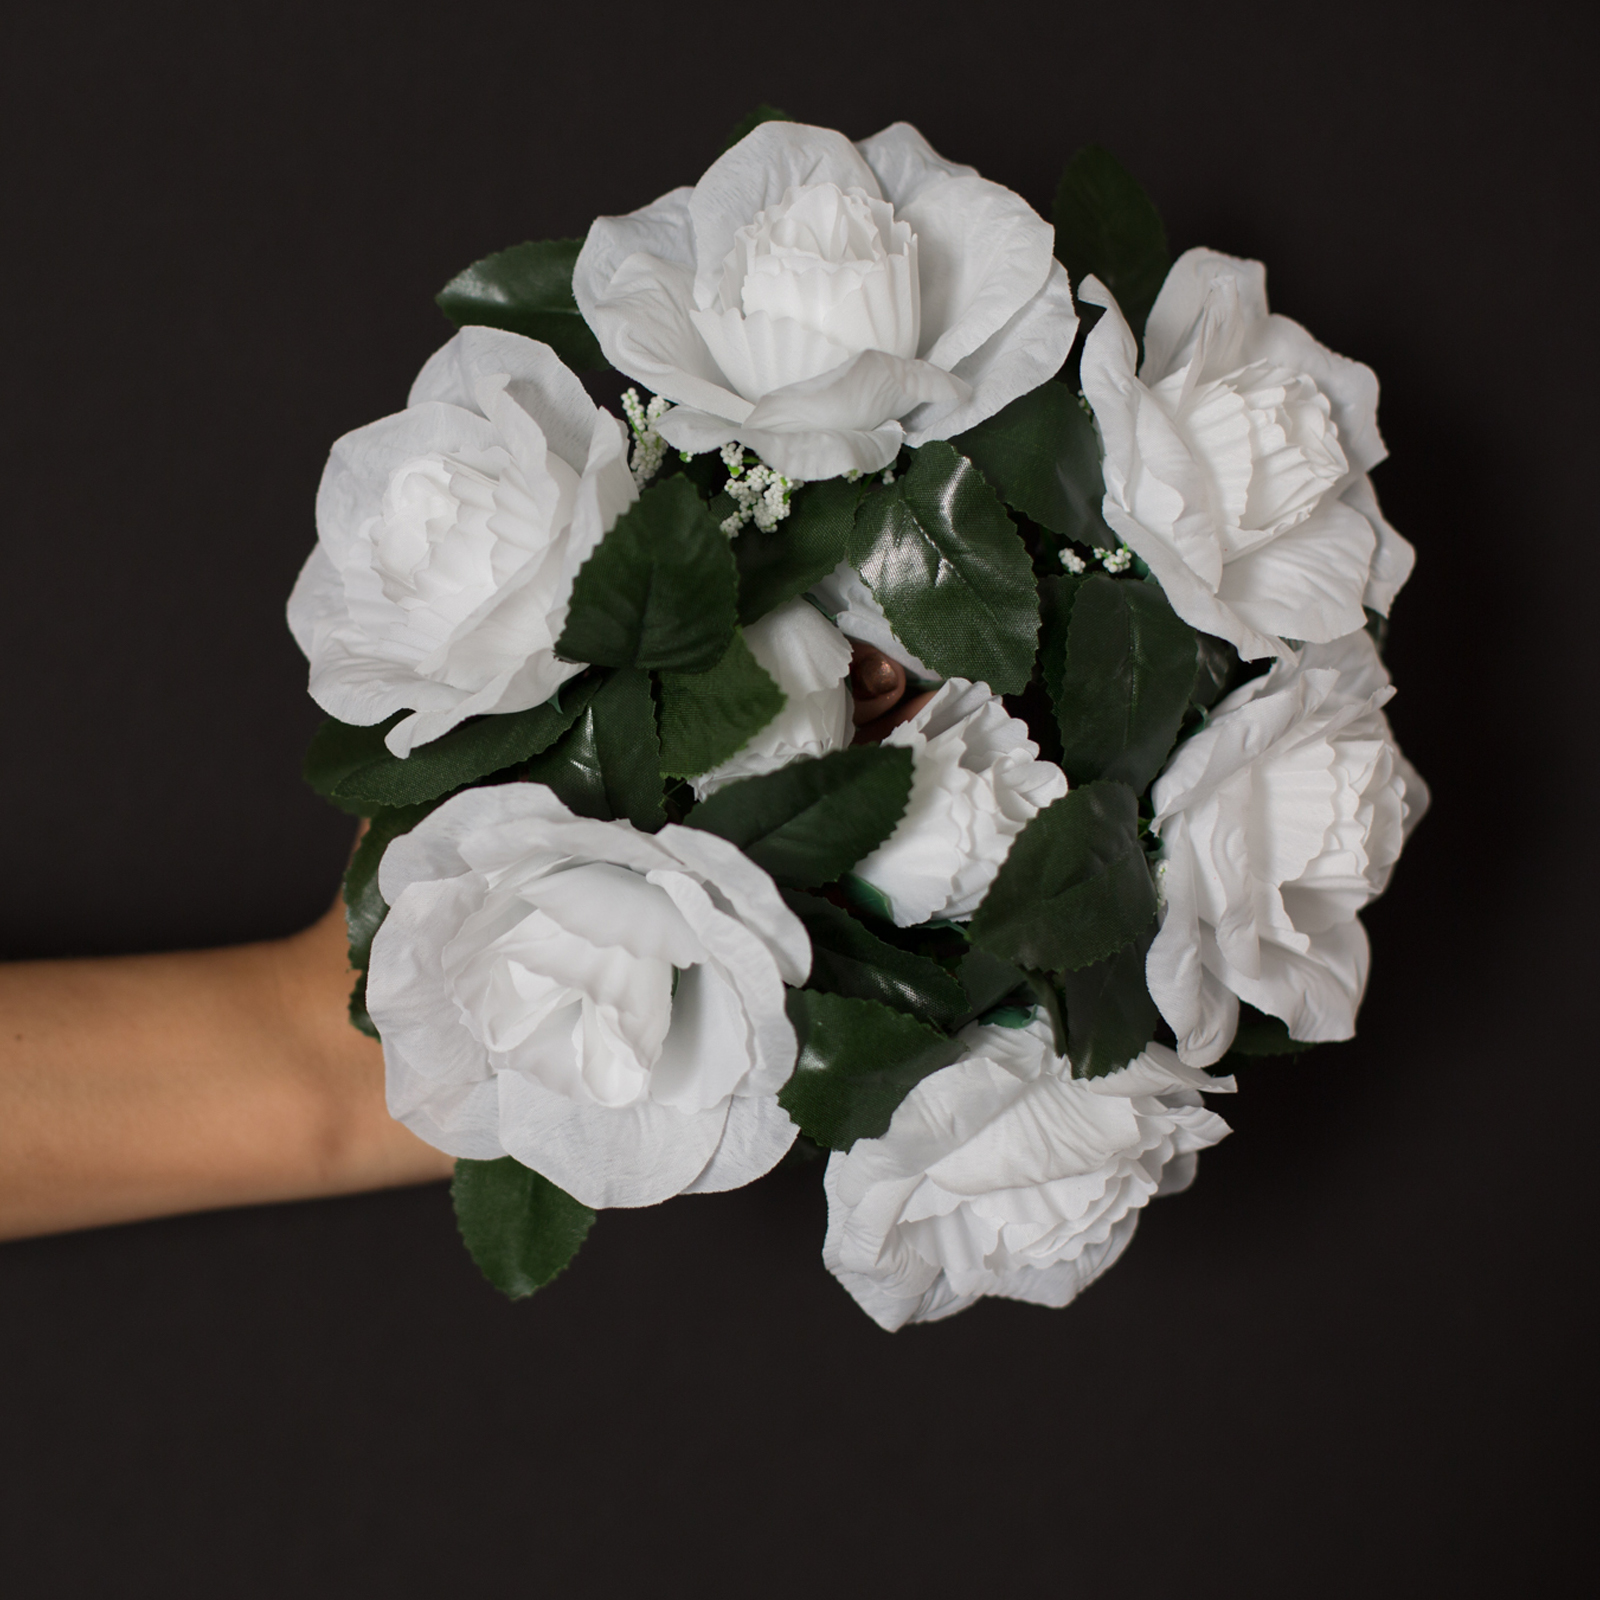
Faux flowers
Hot glue gun and glue sticks

 Do It!:

- Get your bookshelf ready for its glamorous transformation with a coat or two of white spray paint with primer. If you can, remove the shelves for this step and paint them separately.
- Using a handy combination of protective paper and painter’s tape, cover the areas of the bookshelf that you’d like to stay white. It helps to put the shelves back in for this step, so you can tape them off and plan for them as they will be seen.
- Stripe it up! Using black spray paint, work carefully along the exposed parts of the bookshelf. Make sure to paint the insides, underneaths of the shelves, and outsides! There are a lot of spaces to cover here, so make sure you’ve hit them all. If the back of your bookshelf is going to show, carry on the striping all around. If it’s not, there’s no need!
- Wait until the paint is dry and remove your tape and paper.
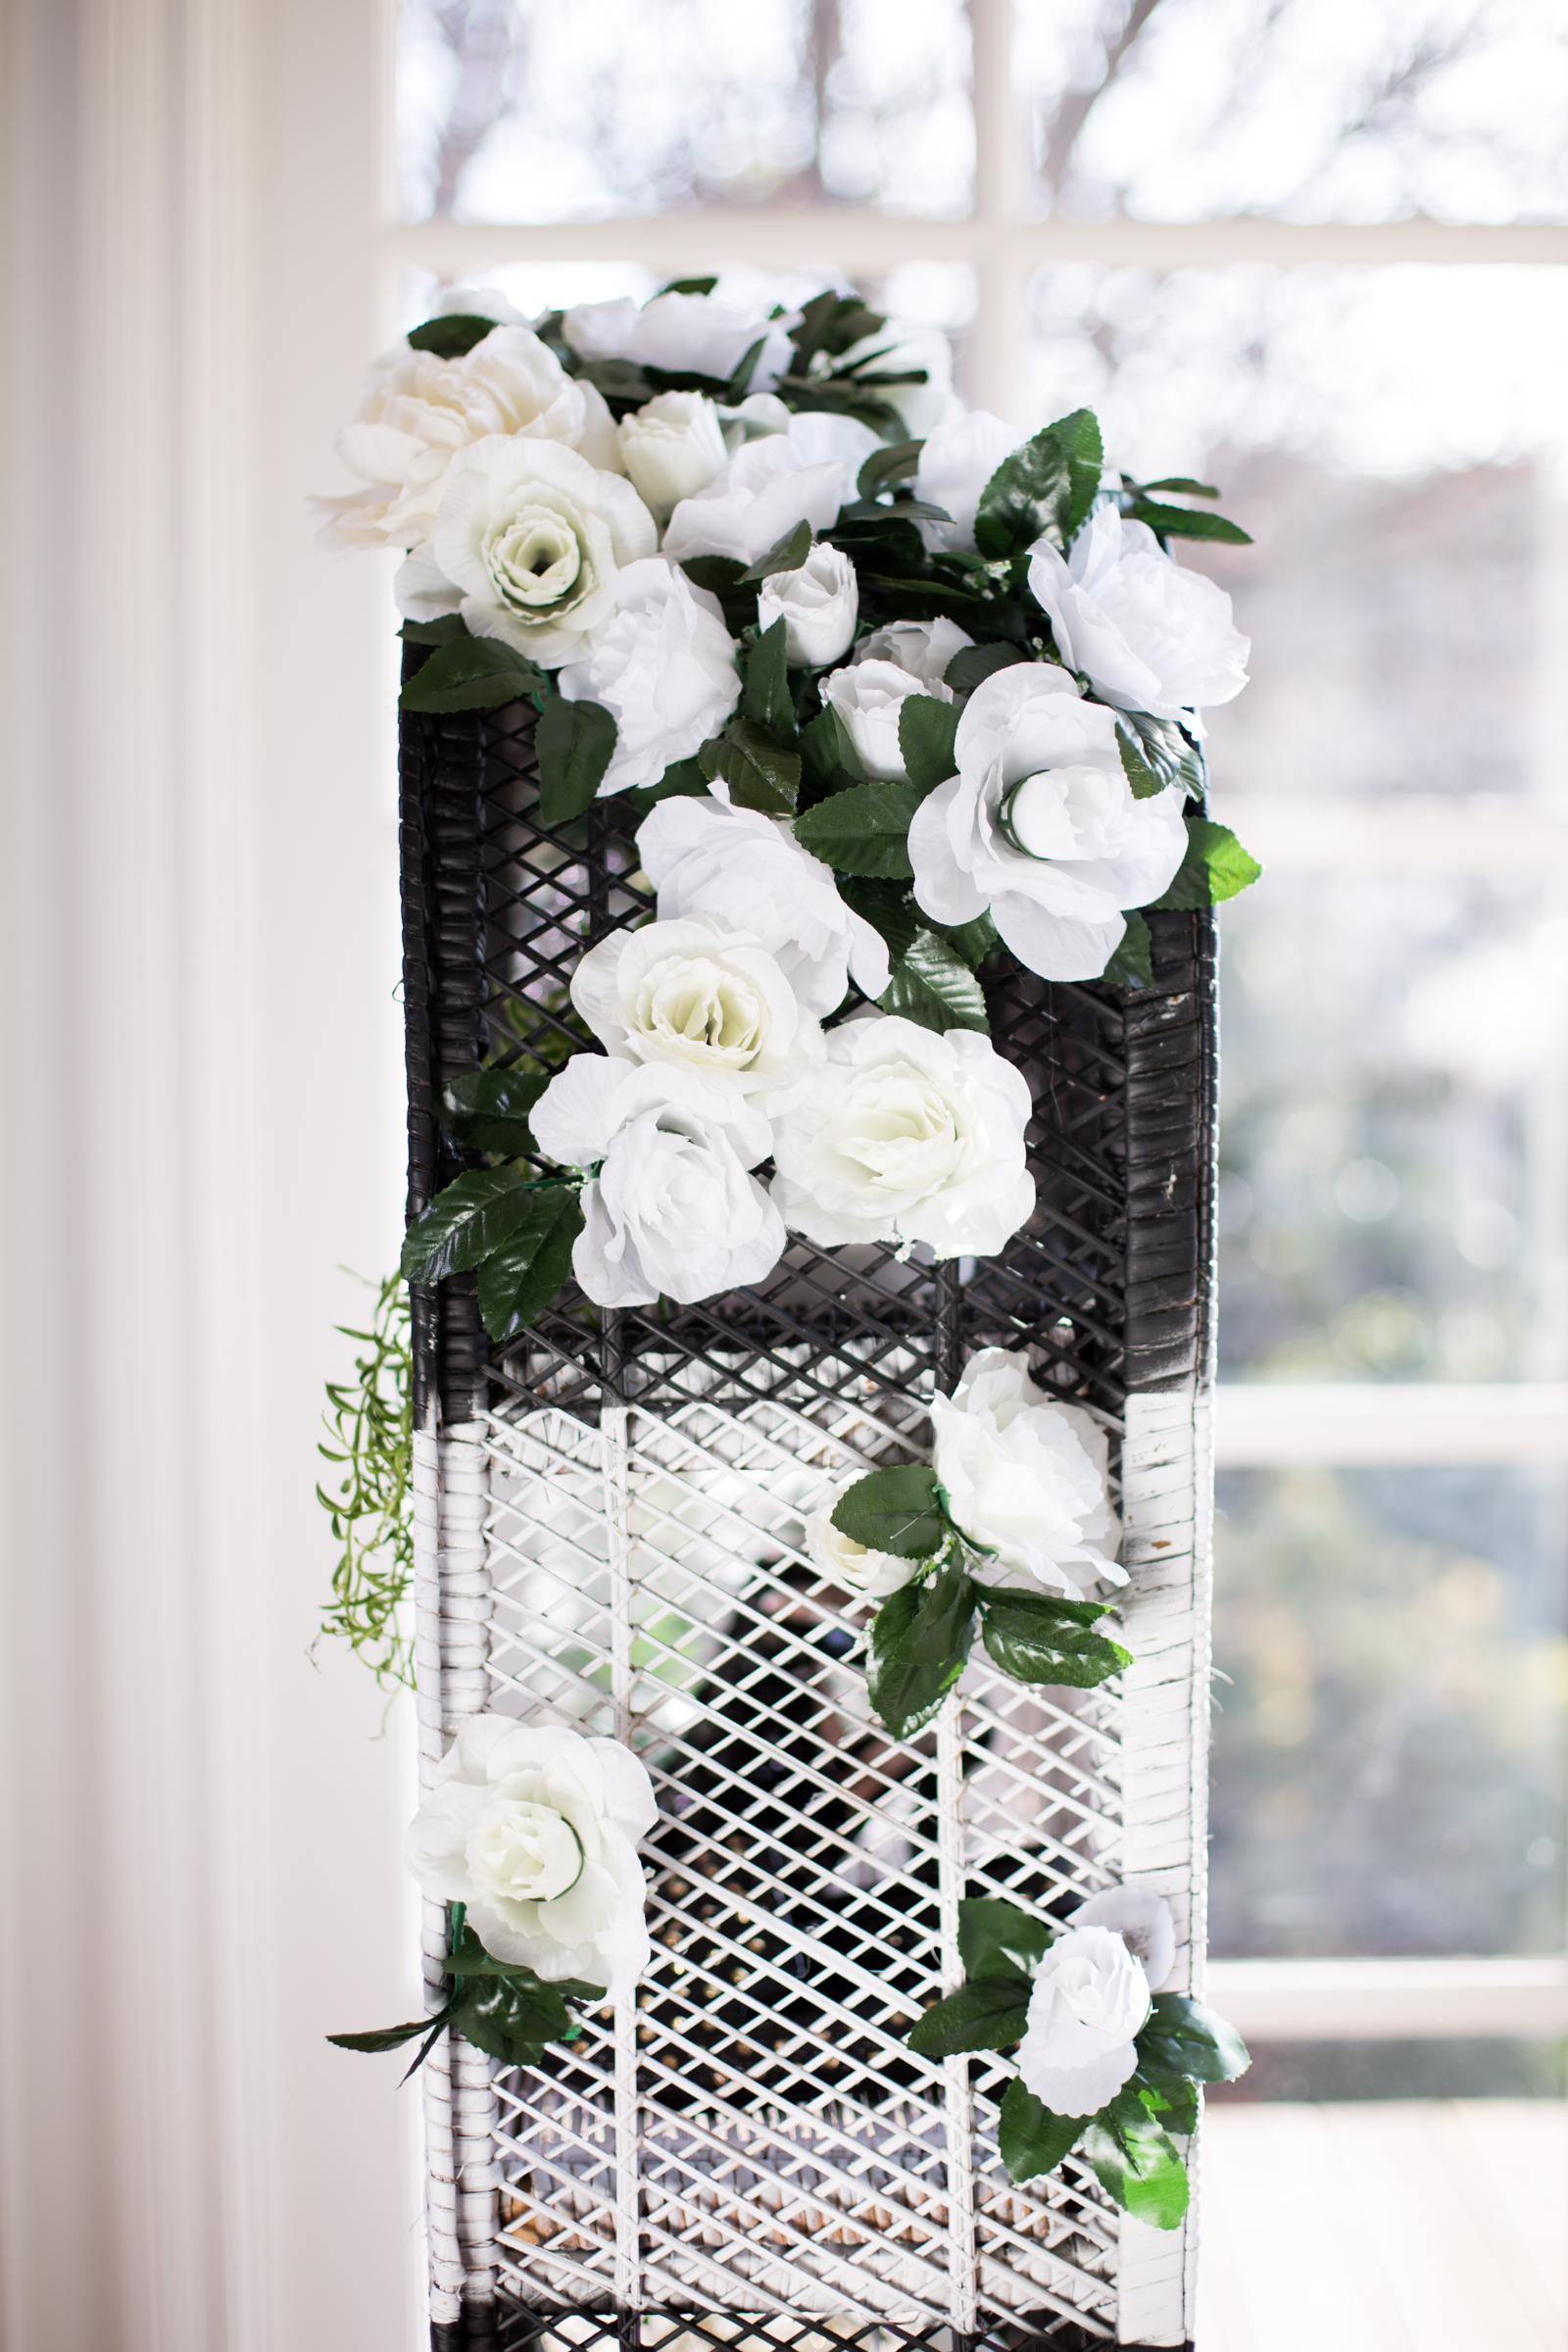
- Gather white faux flowers, either in bunches, or as individuals. Cut the stems off the flowers and start grouping them on top of the bookshelf, imagining how you’d like them to be placed.
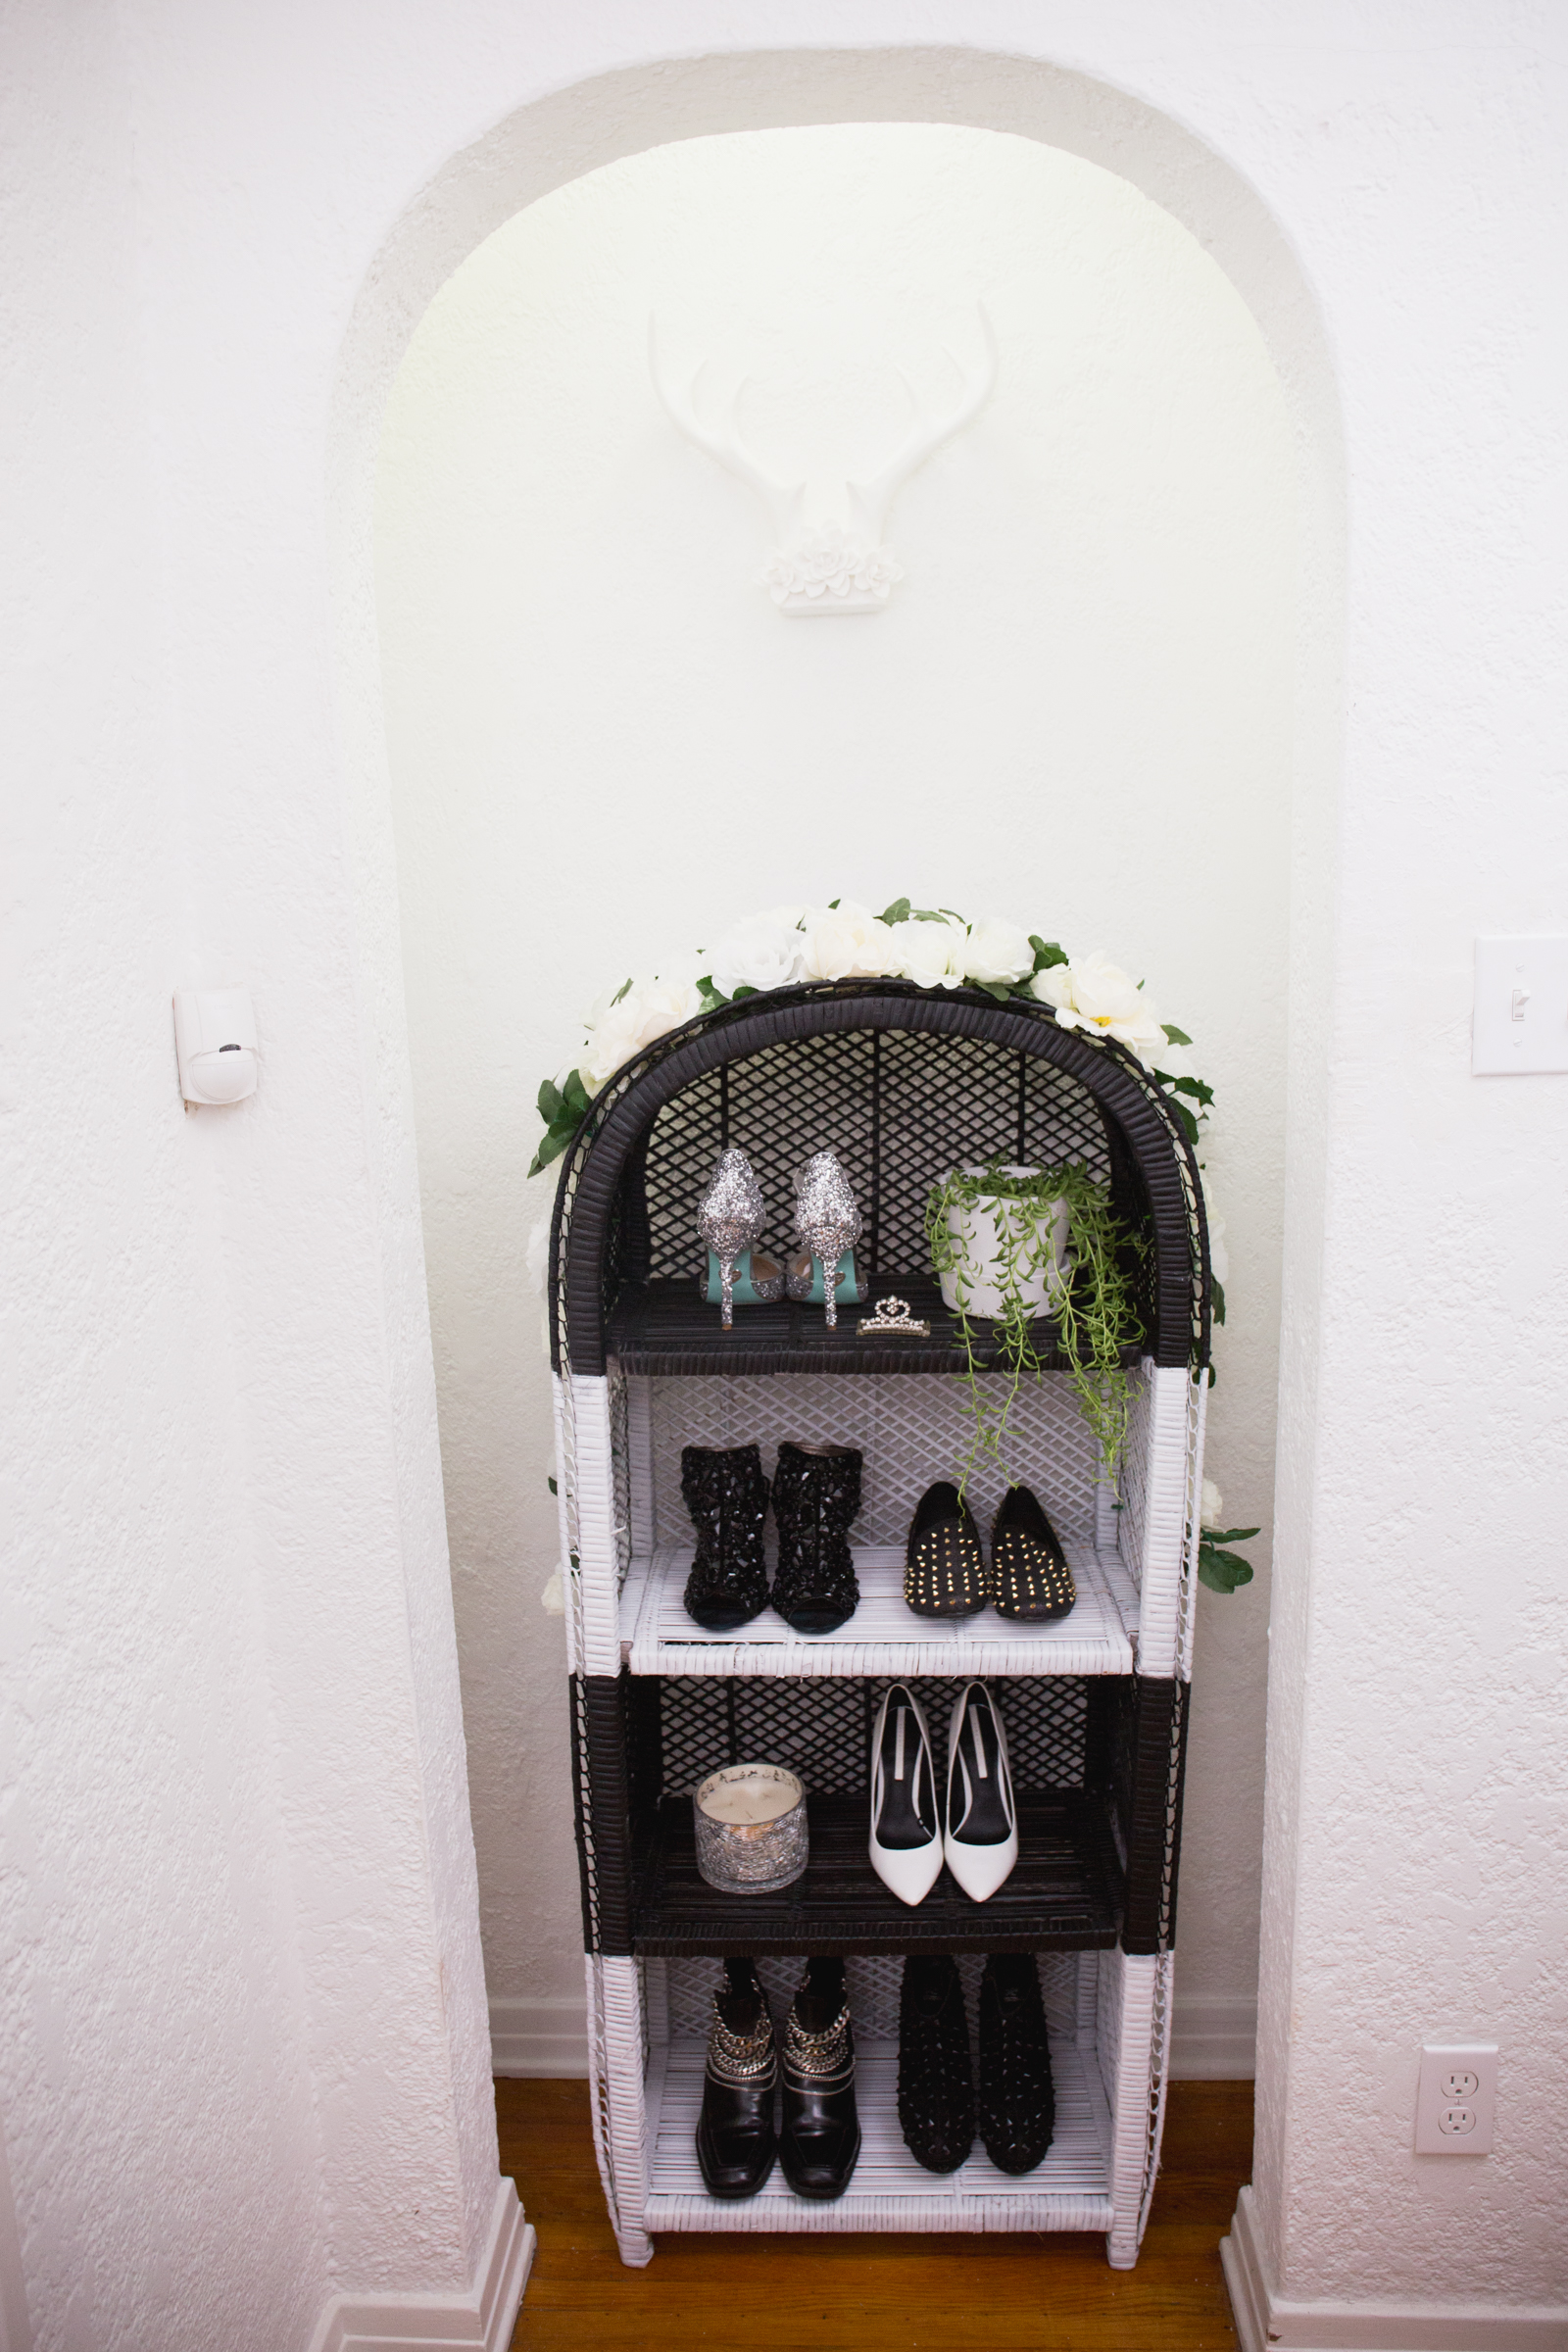
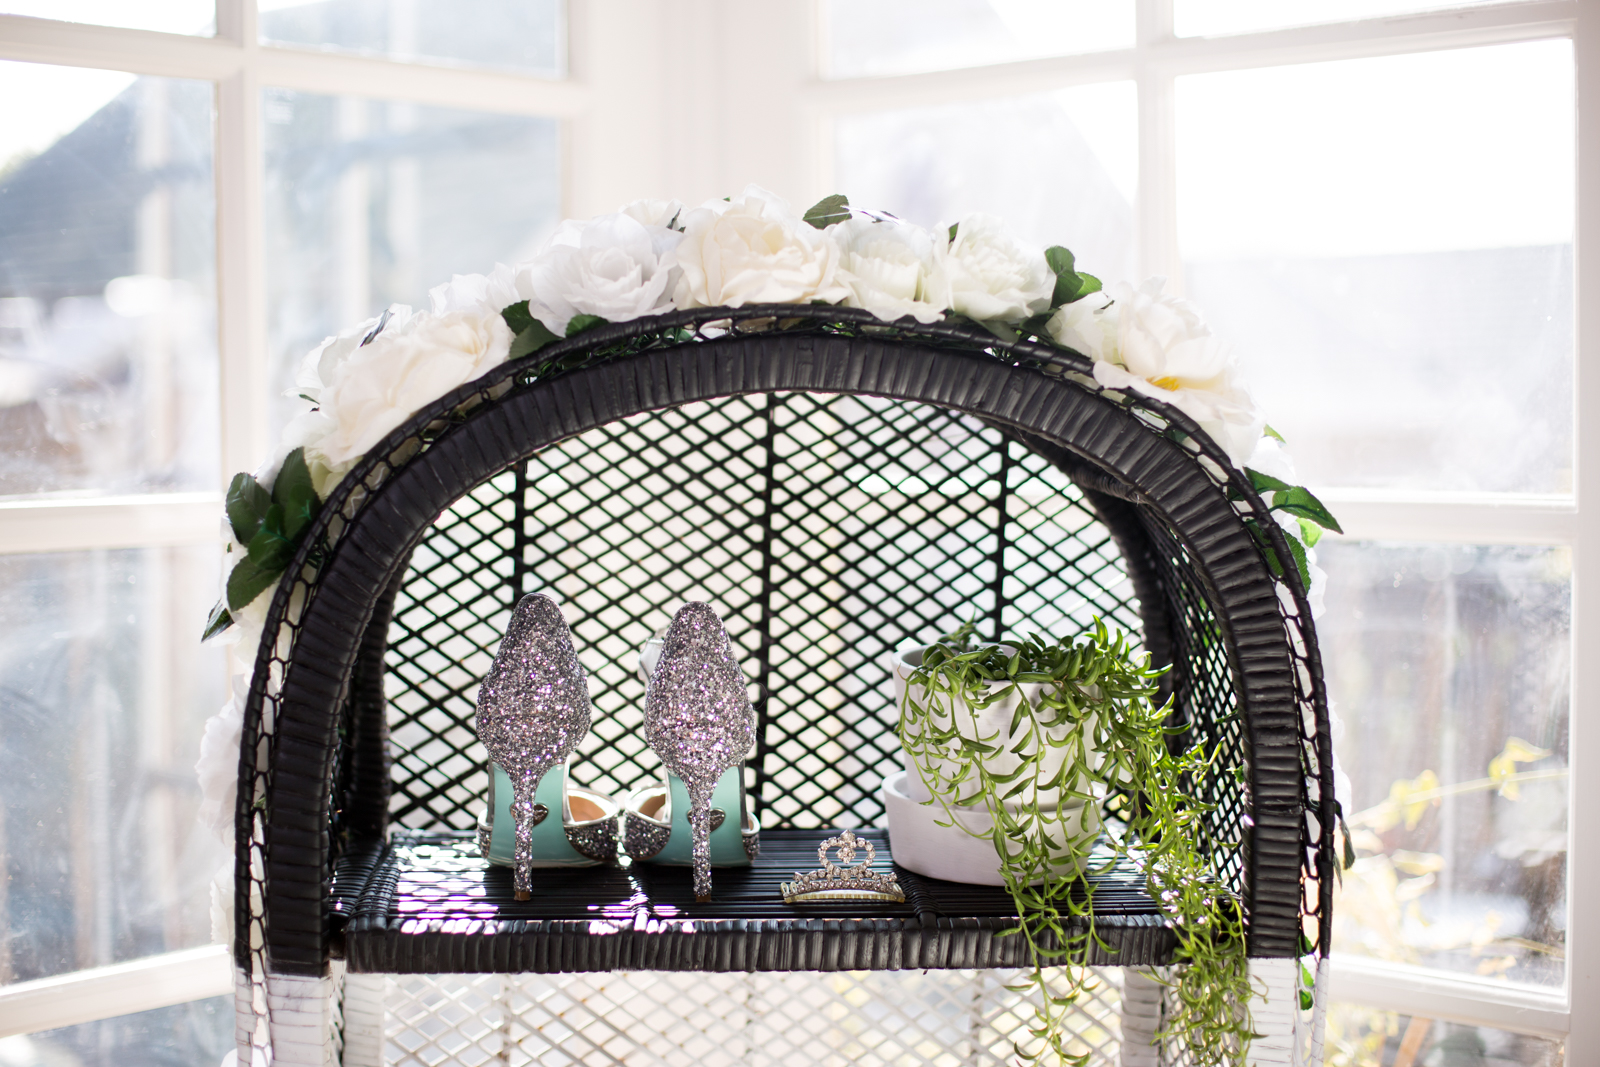
- Once you have an idea in mind, plug in that hot glue gun and get to work! I wanted my flowers to have a cascading effect, so I bundled the larger blooms on the top and had the smaller ones drip down the sides.
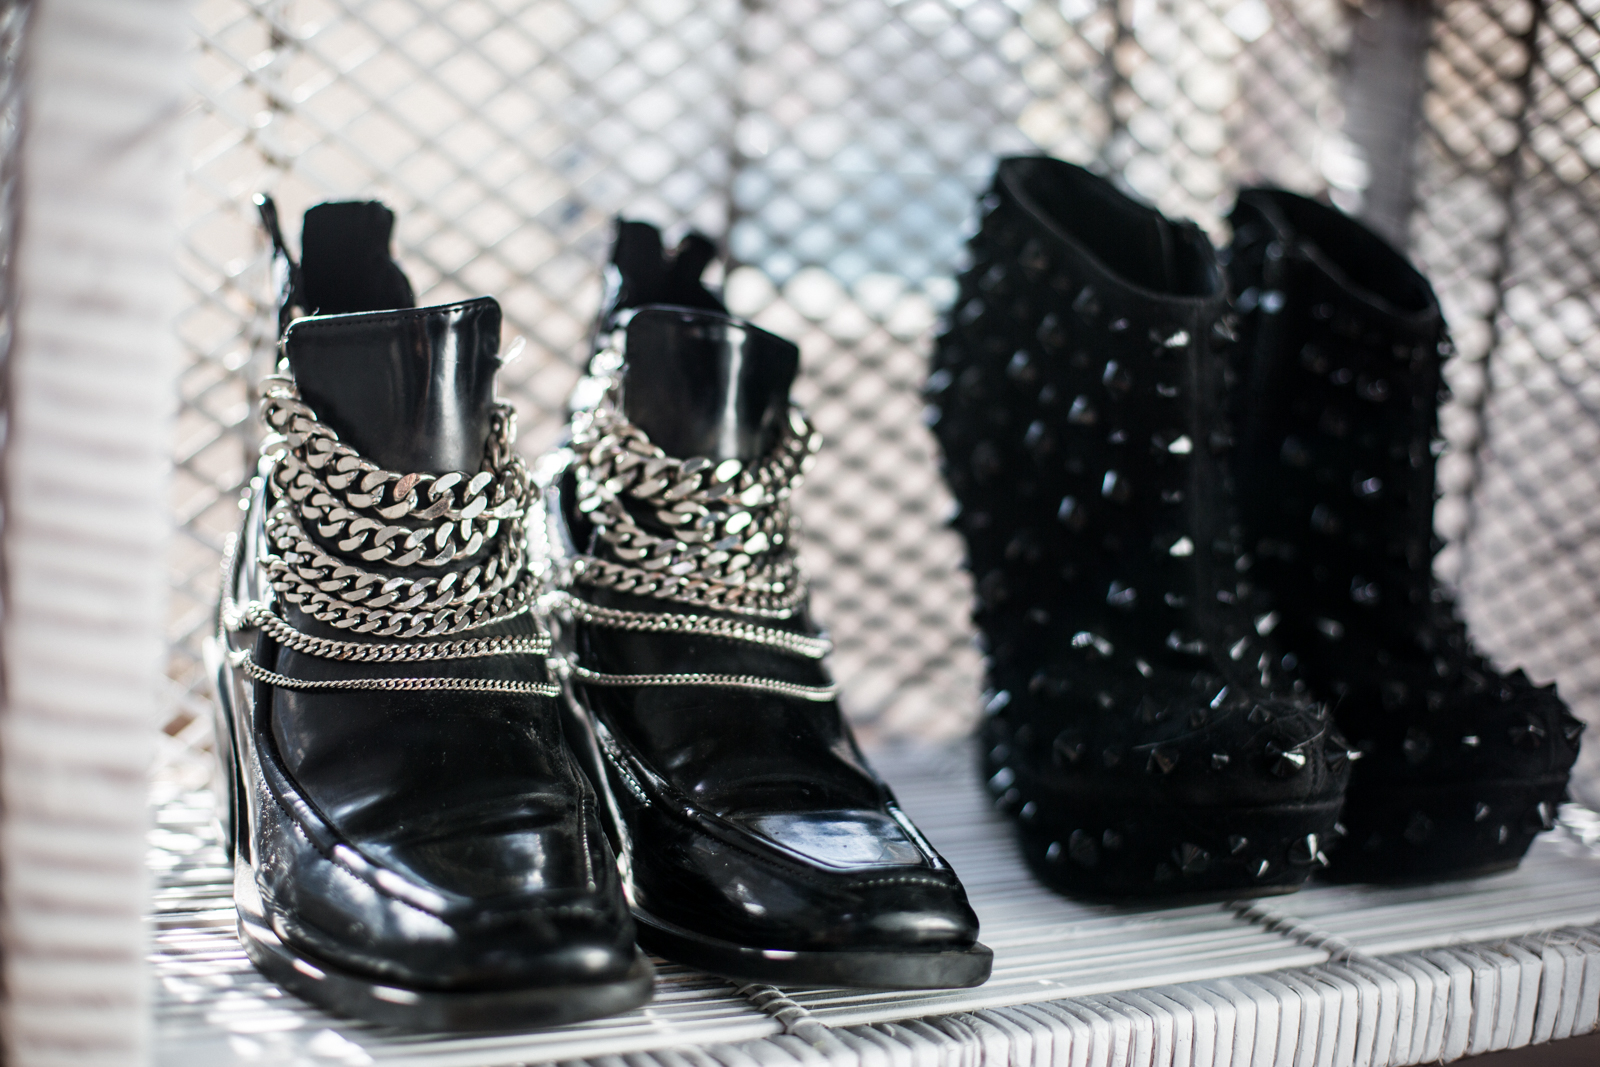
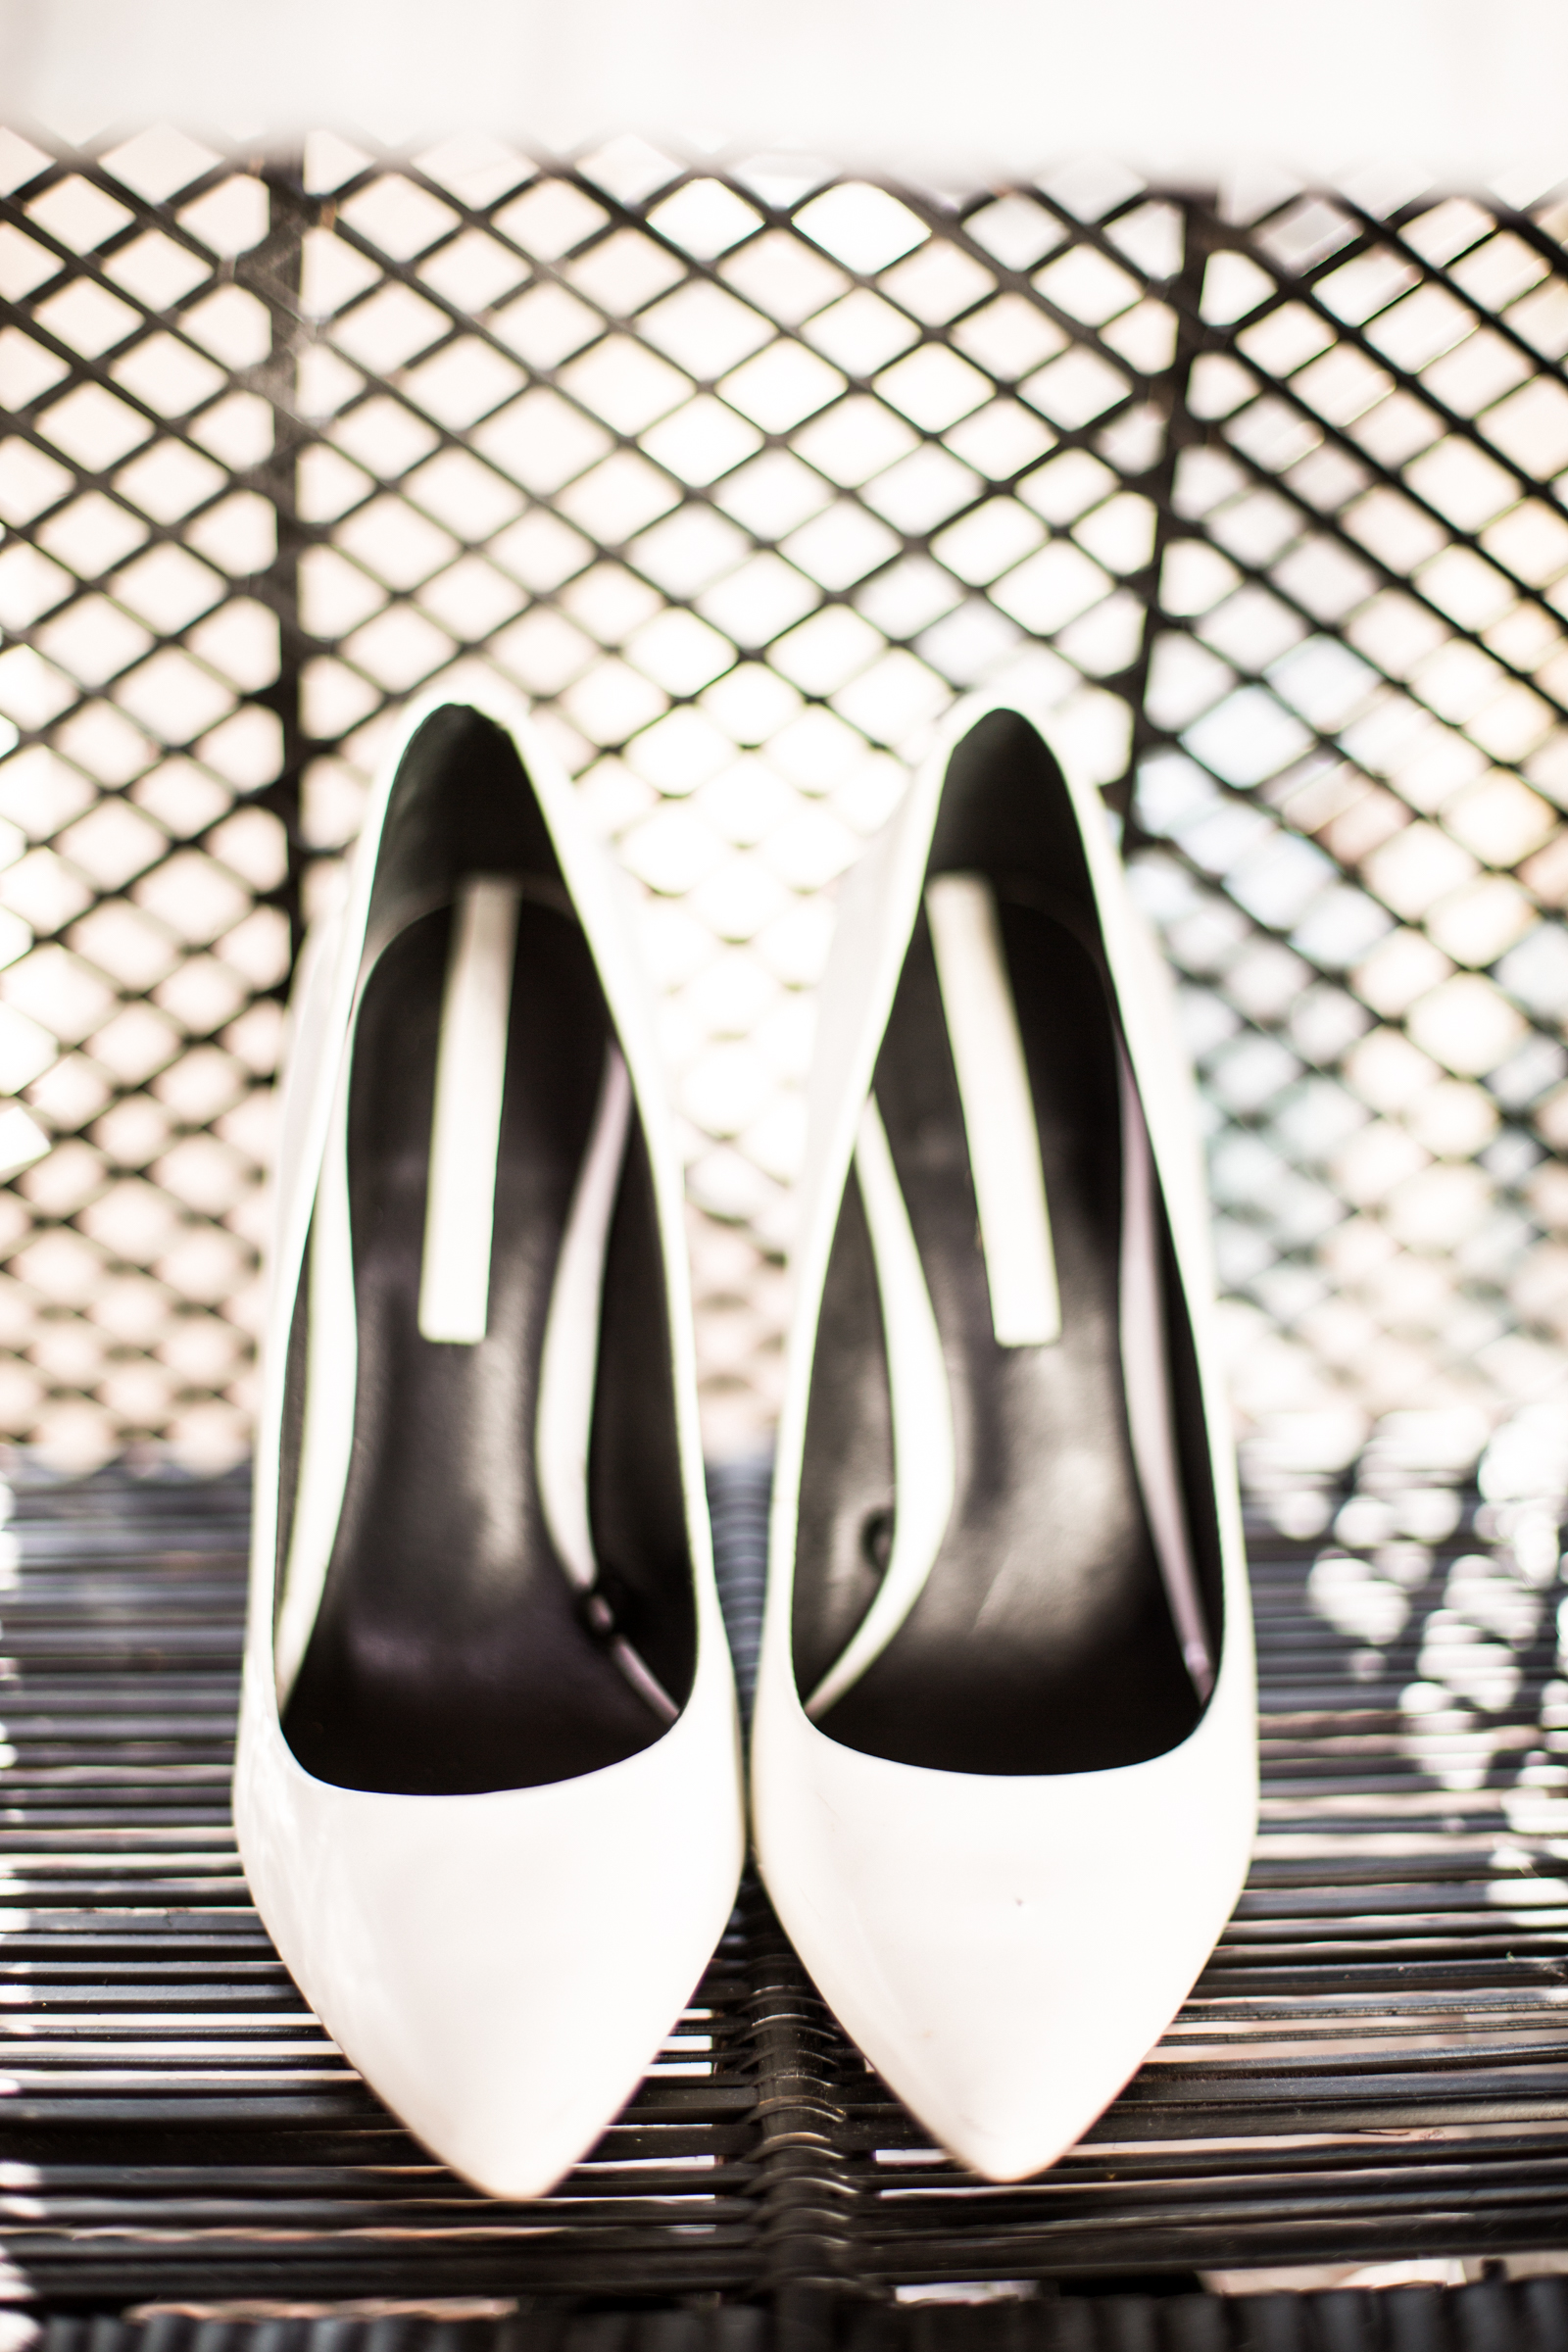
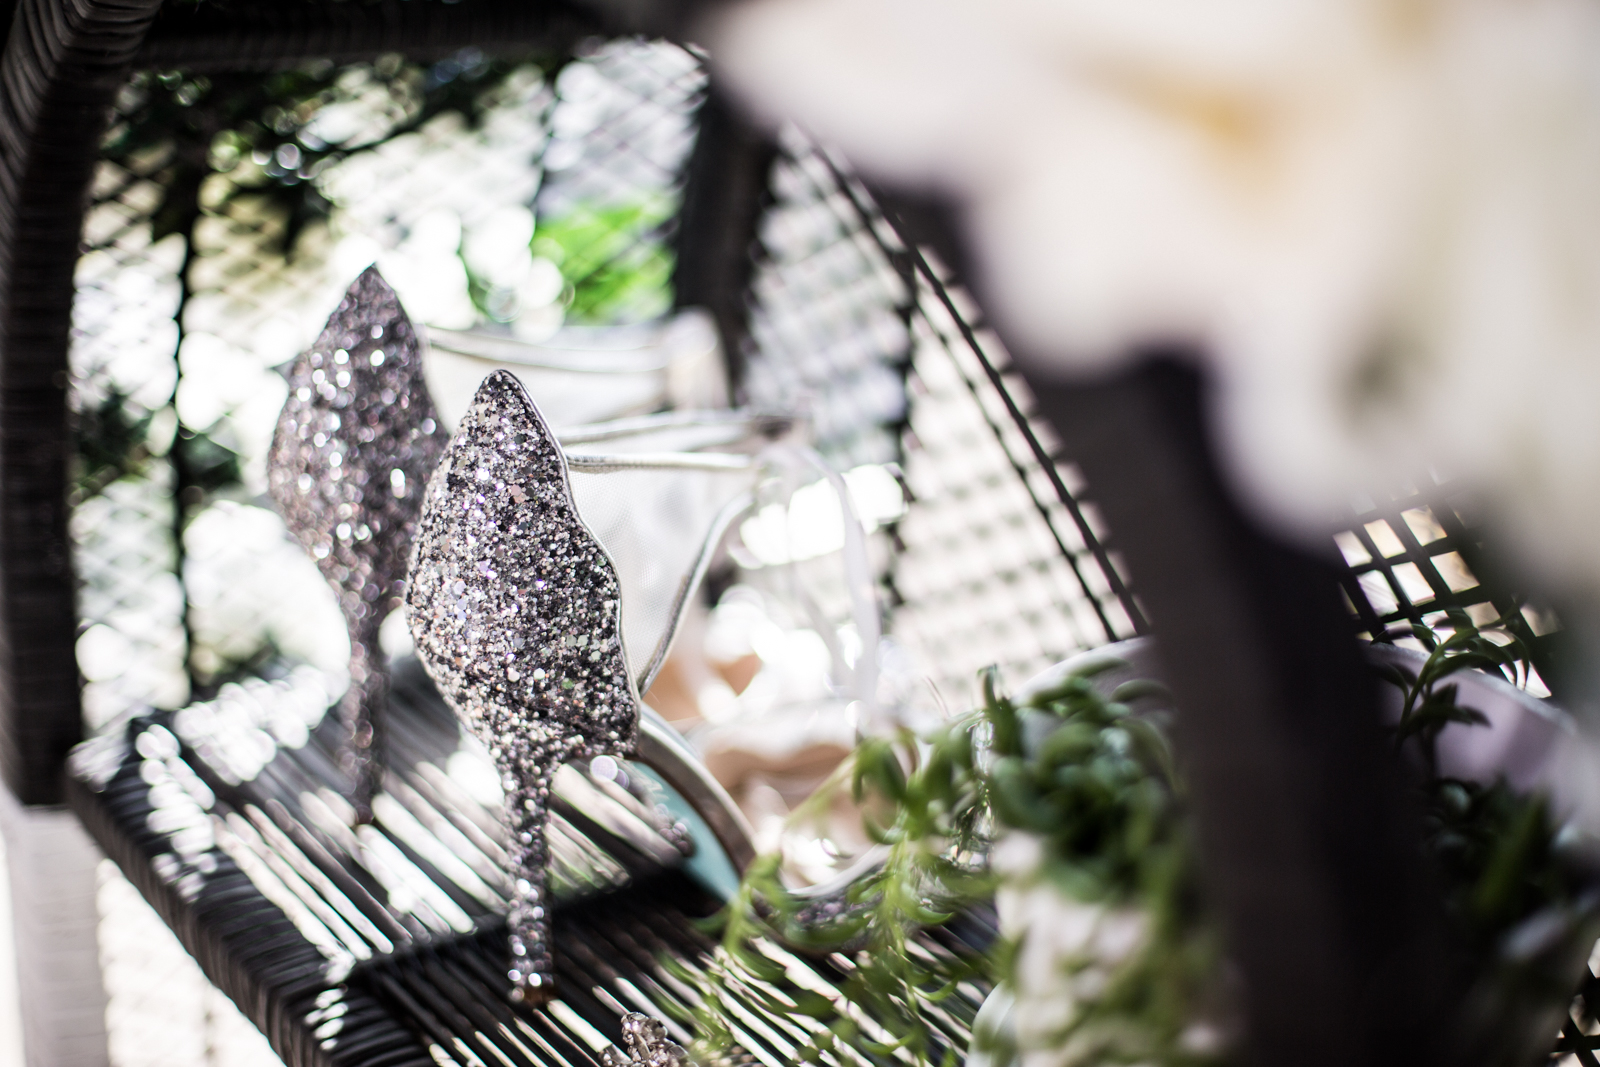
- And you’re done! Fill it up with shoes, books, or any stylish object you’d like to put on display.