What happens when a YouTube beauty guru comes to Mr. Kate studios for a day of DIY fun?
No, not a trick question, or even a riddle! That situation quite literally happened when the lovely and entertaining Eman came to the office recently to help me make a DIY that's perfect for a vanity or desk that needs some storage but doesn't want to sacrifice the flair.
You already know I'm a big fan of copper pipes for DIYs (see this Magazine Ladder, for example) so now you can stock up on them and get to DIYing pretty projects big and small! Watch the video above for some Eman & Me magic and check out the full how-to below!


Prep It:
Copper Pipes in multiple different diameters Pipe cutter Large tile Sticky furniture pads Hot glue gun & glue Goop glue


Do It!:
- Create the base of your makeup brush display by adding adhesive furniture pads to the bottom of your tile, just like in this DIY Marble Tray Coaster tutorial.
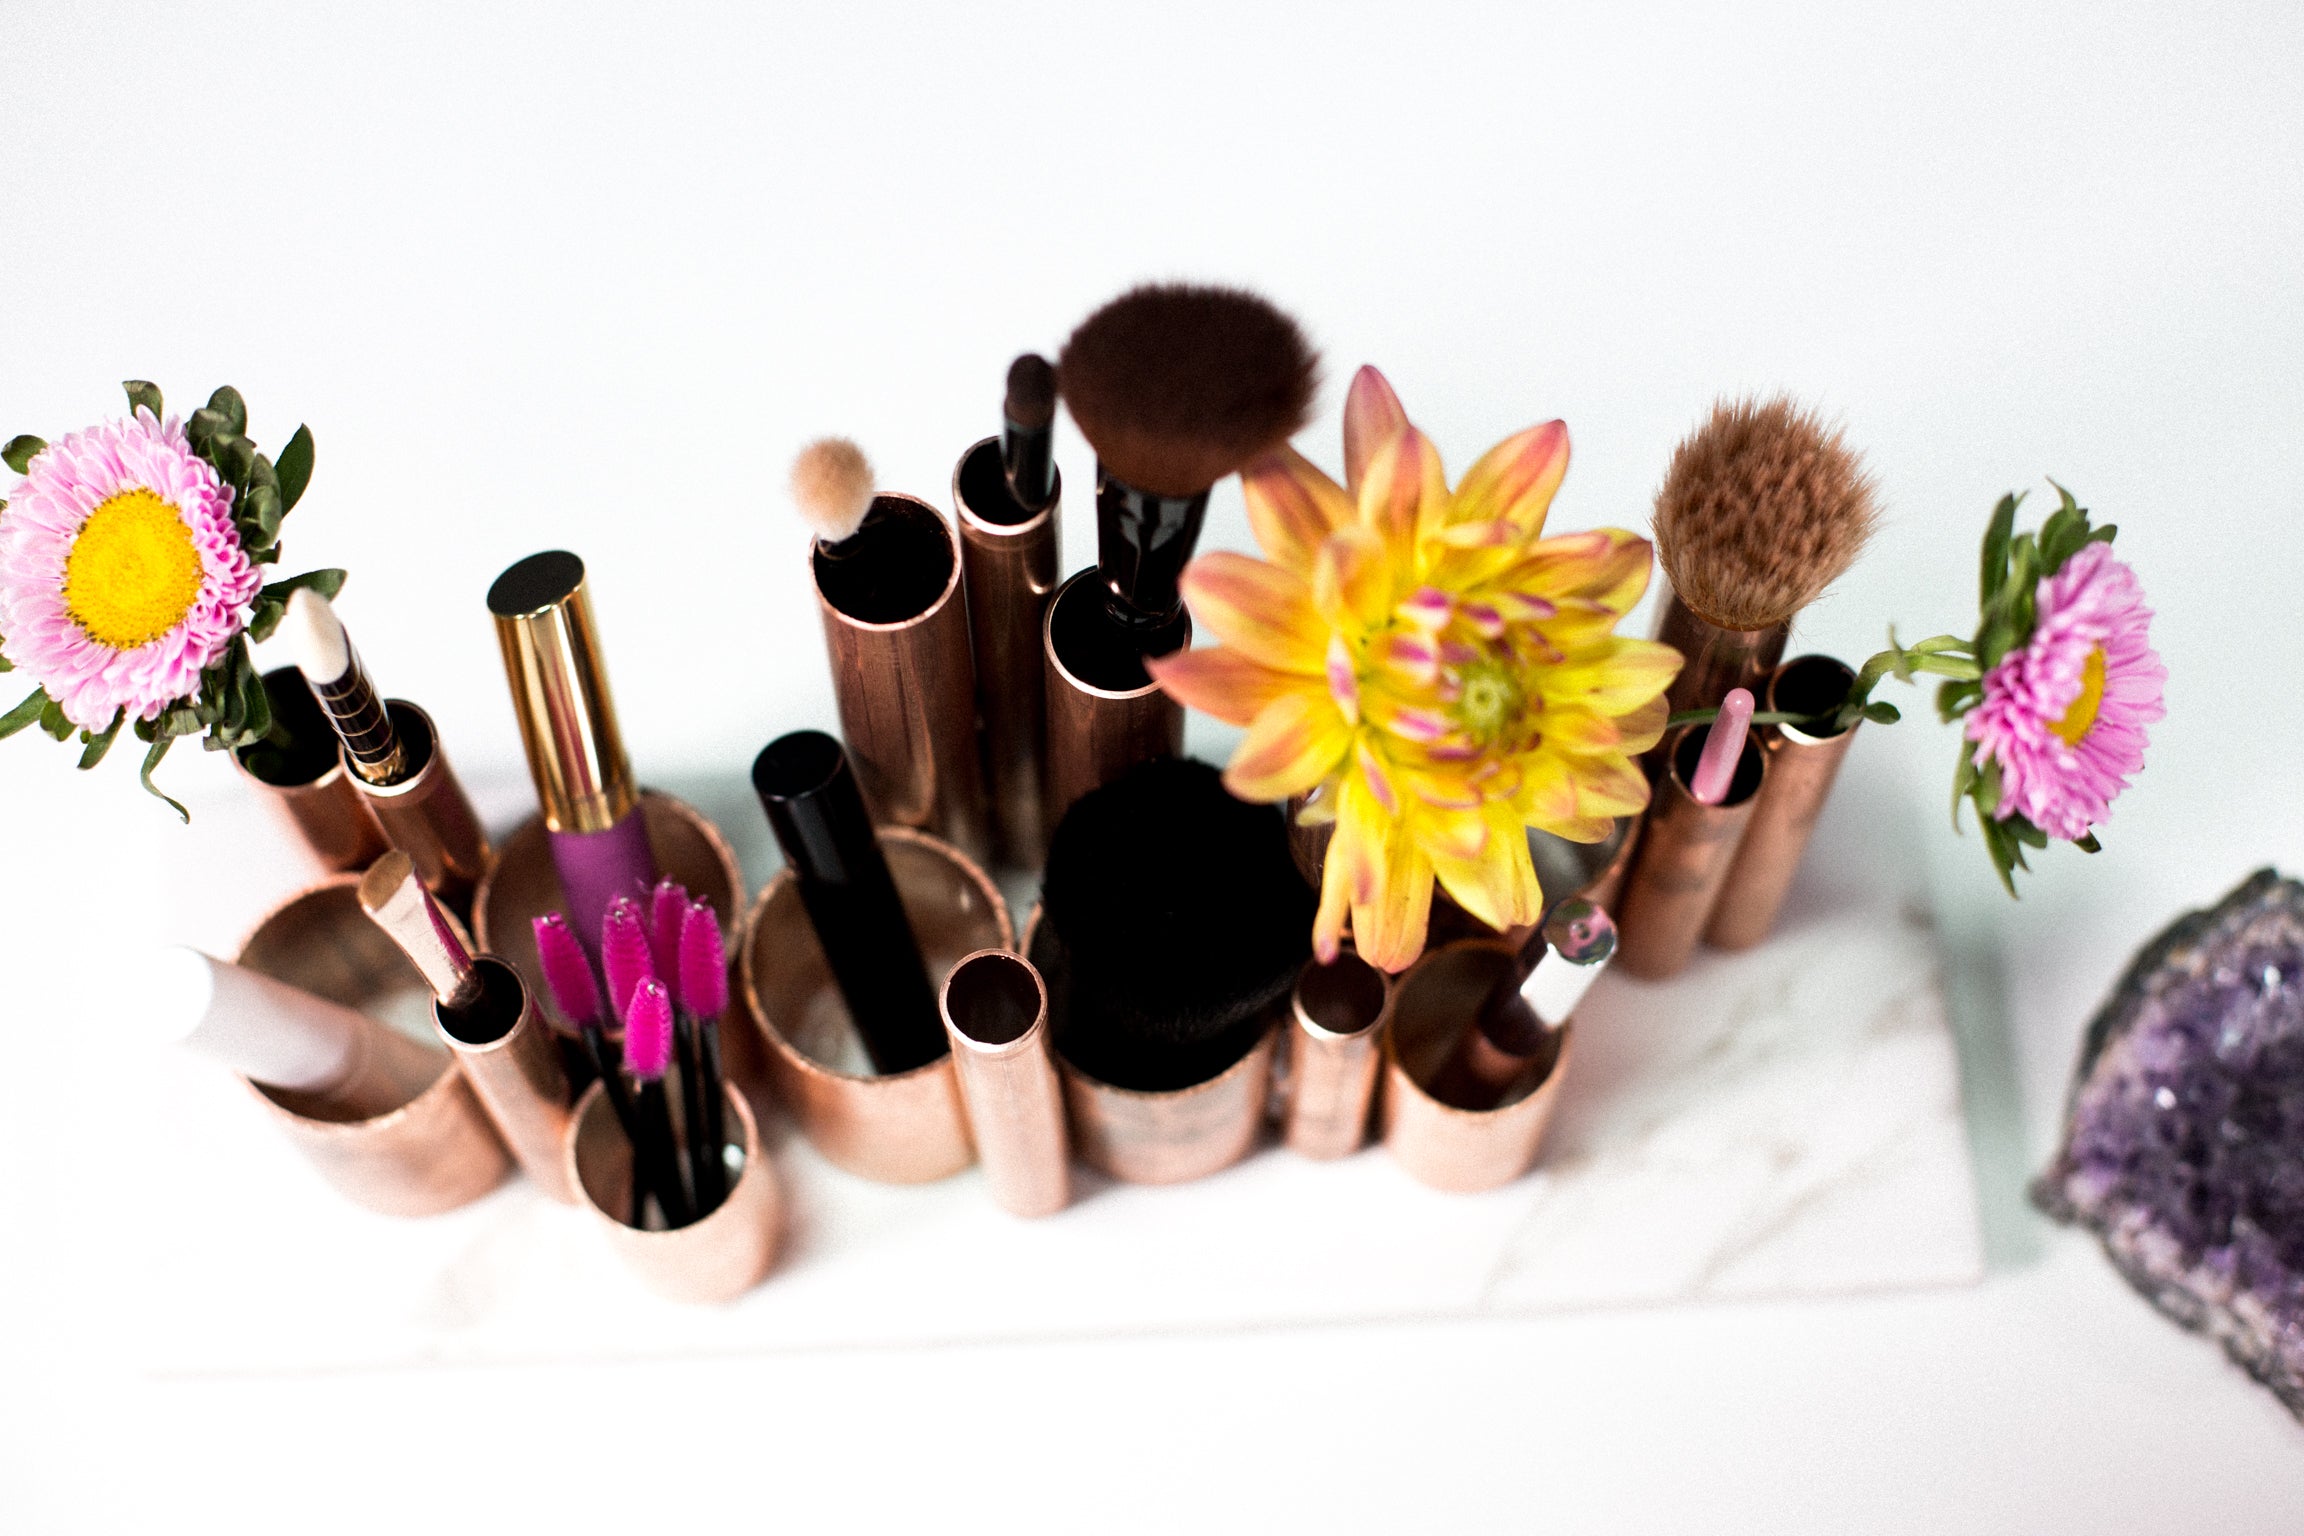
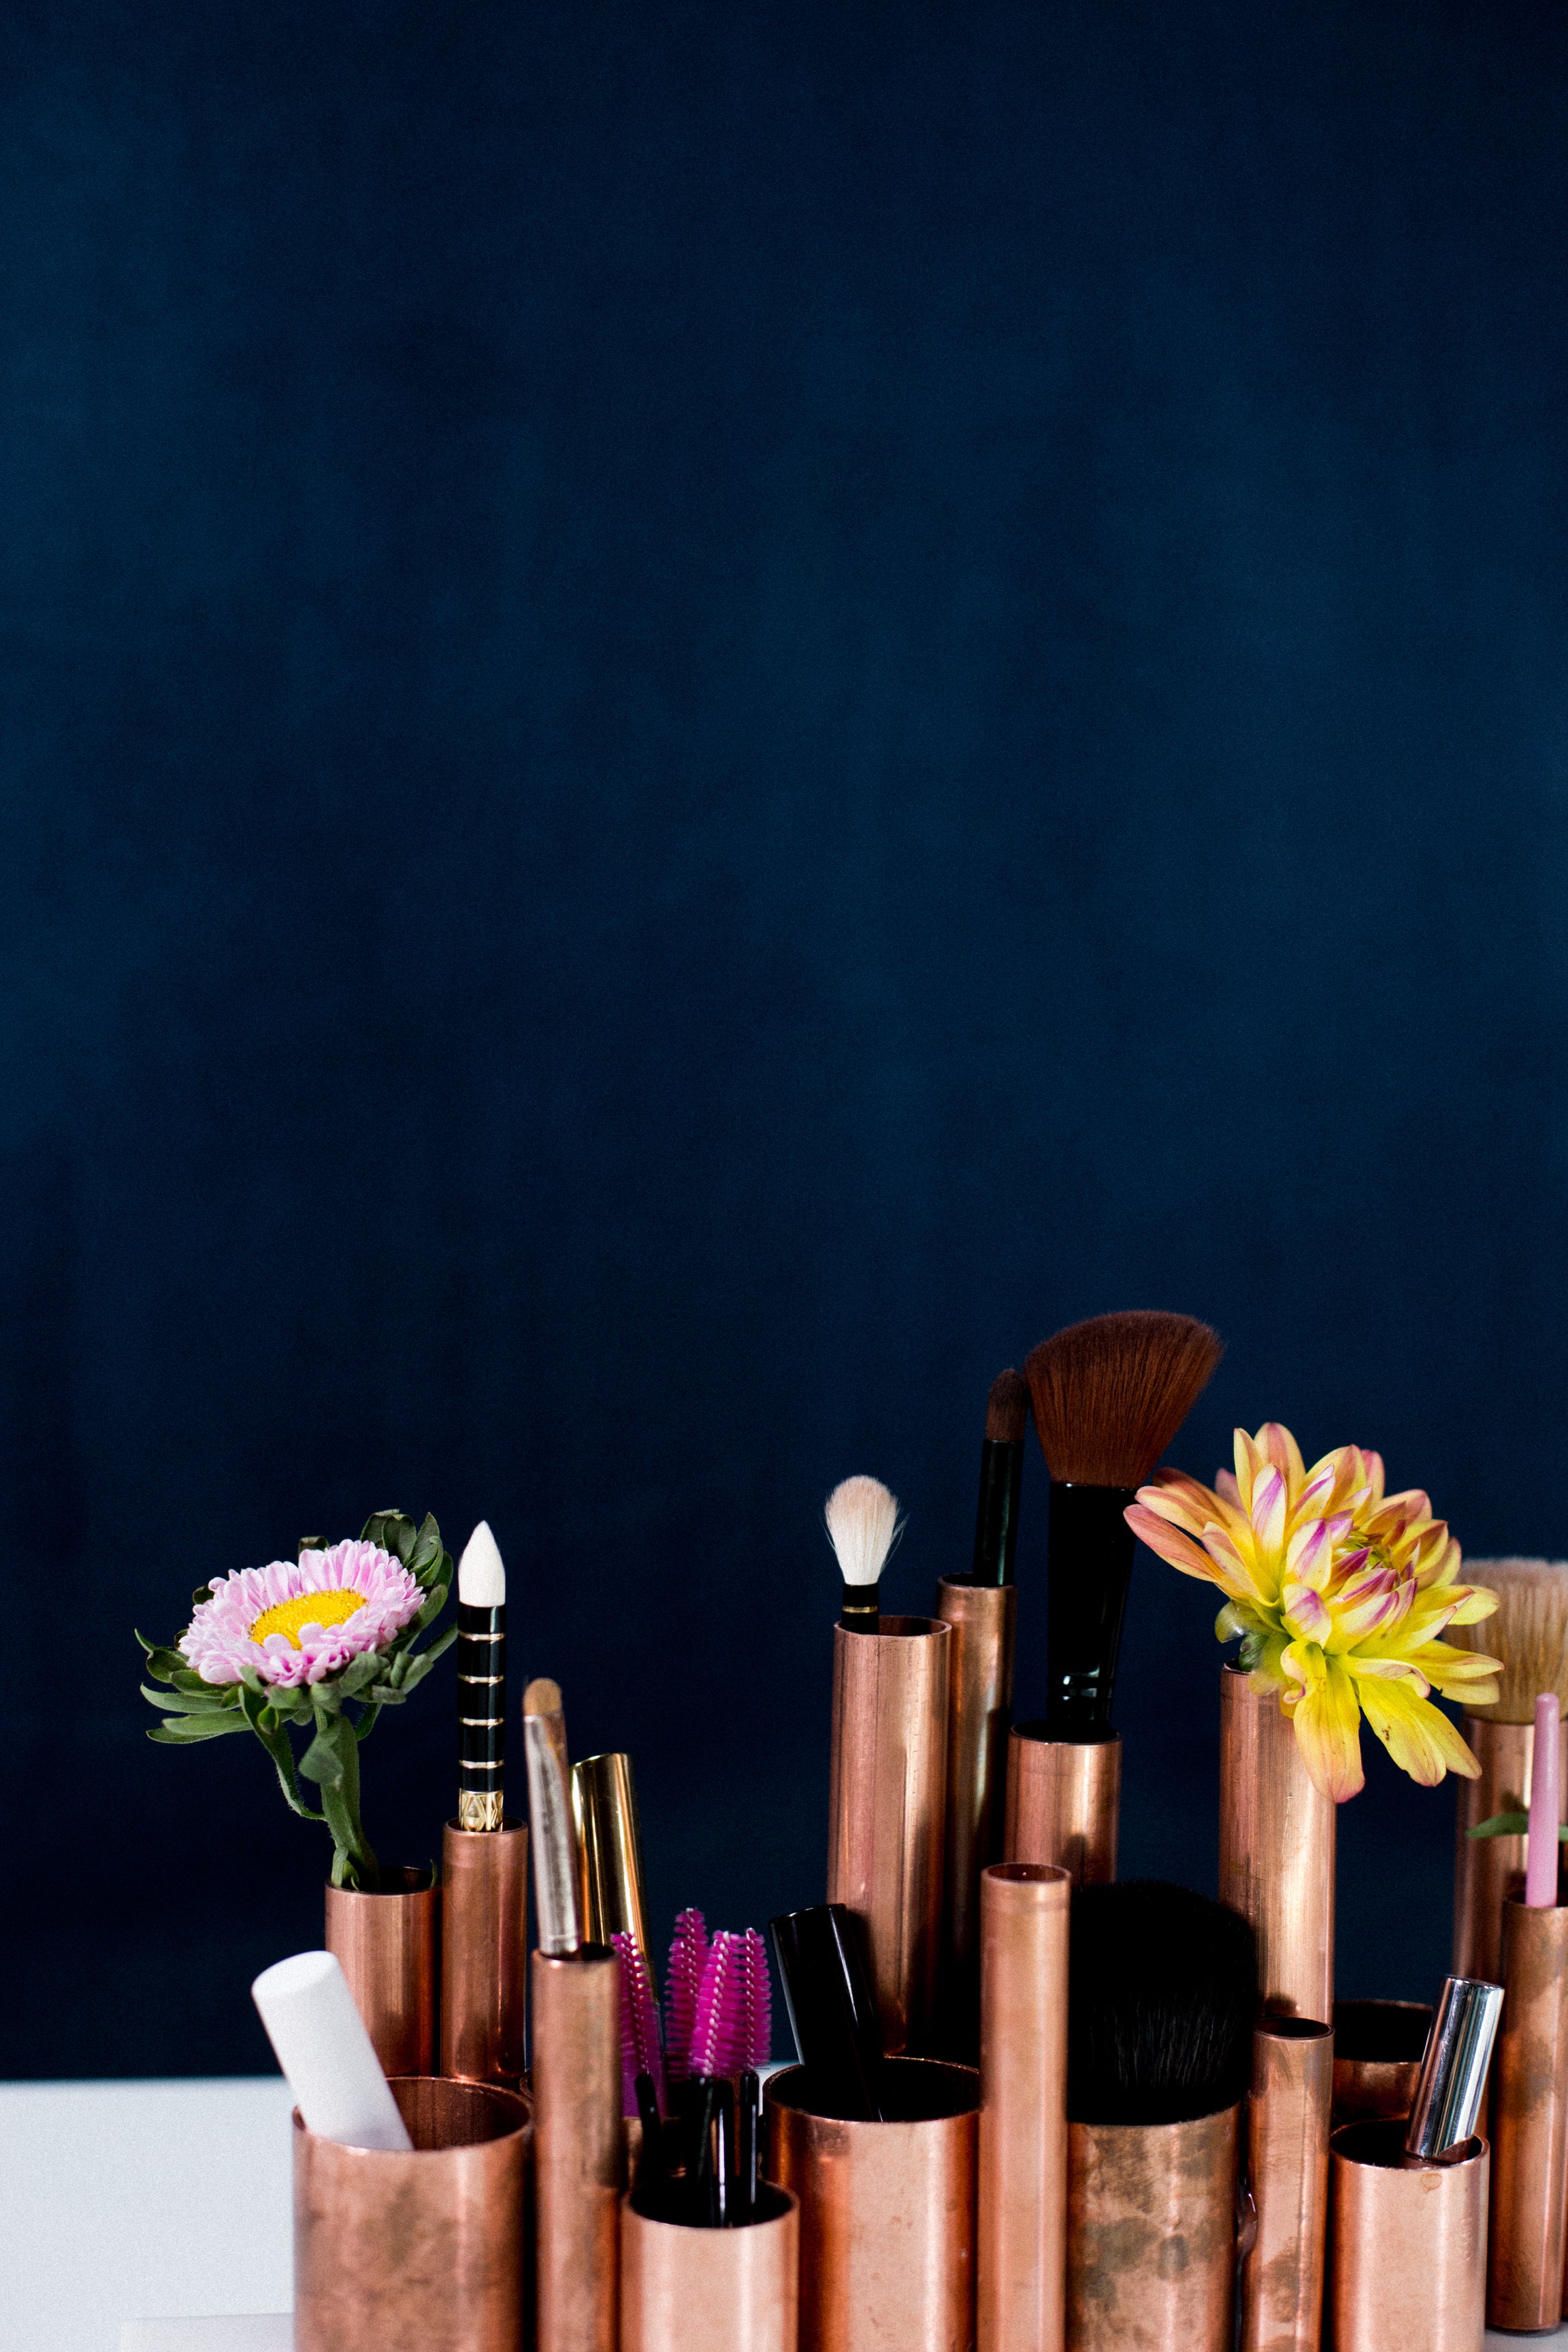
- Start cutting your pipes at varying heights. You could make them have a cascading effect from tall to short or arrange them randomly, like Eman and I did! I like that they have lots of different heights to accommodate different brushes, and it kind of looks like a little cityscape!
- Once you've put together the arrangement you like, start using the hot glue gun to glue the sides together with a glue line along the sides of the pipes that are touching. Tip: Make sure to level them on the bottom before you glue them together. We made three glued together clusters in the same formation we arranged on the tile. It's easiest to glue them to each other first before you glue them down onto the tile.
- Now arrange the three glued together clusters on the tile in the same way you had them in the test arrangement. Use hot glue inside some pipes to stick to the tile and Goop glue inside others which will provide a more permanent bond.
- Let your glue dry and start filling the display up with makeup brushes! You could also fill it with office supplies like pens, scissors, letter opener, etc. or even flowers!