I wish every collection we create at Mr. Kate got its own release party, but as it is, usually the reward is a cup of tea and a good night's sleep knowing that everything got out on time. But something about the Party Animals, a collection of rings based on a DIY from A Hot Glue Gun Mess, that we released last week, merited a bigger celebration. I mean, they are Party Animals, after all.
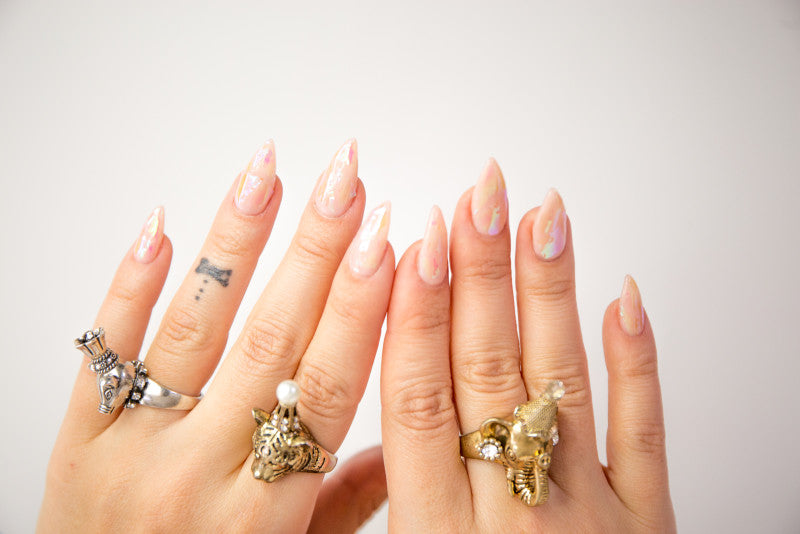
I thought the perfect way to celebrate them was with a spectacular, sparking DIY nail art tutorial. Enter the glass nails. This shattered and shimmery effect has been incredibly popular as of late, but without the nail stickers that it originated with, seemed a little impossible to recreate. Not so! With some iridescent cellophane from the craft store and the above tutorial, you can rock some shattered glass nails like the best of them!
And of course, the best thing about this nail art is how well it compliments the Party Animals (or any statement rings for that matter!) So grab an animal or two, or make them from the book, and complete your ferocious fingers Mr. Kate style with some DIY shimmery tips!

Prep It:
Base coat (color of your choice!) Iridescent cellophane Nail scissors Orange stick Top coat Optional: an at-home gel kit like the Sensationail kit and a gel topcoat

Do It!:
- Start by painting a base coat on your nails. It can be any color you'd like! Darker colors like black will bring out the different iridescent shades more, but I chose a nude, so it would look like my nails were actually coated in glass!
- Snip small pieces of cellophane in angular pieces. It's important to get as sharp and straight lines as possible to really create that shattered effect. Make some pieces bigger and some smaller, planning for how they will lay out on your nails.
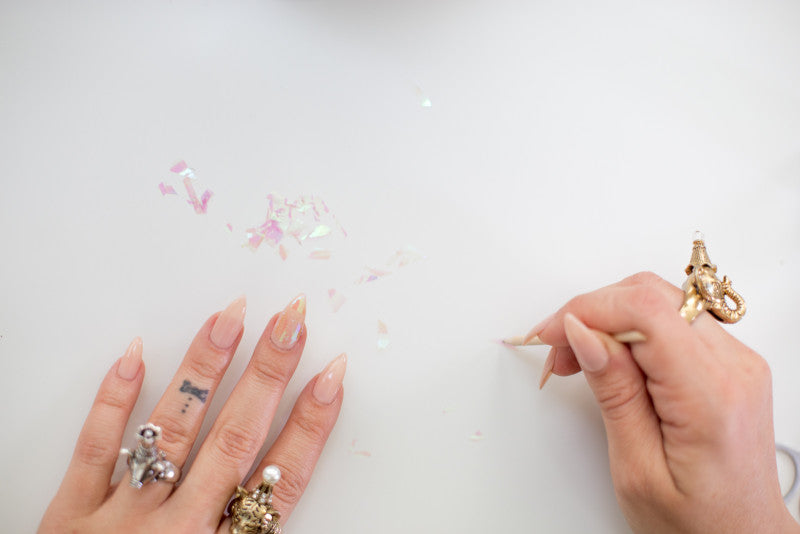
- After your base coat is dry, paint a layer of top coat to create the sticky surface you will put your cellophane pieces on. Dab the tip of the orange stick into some top coat to get it just a little bit sticky to help pick up cellophane shards.
- Using the orange stick, one by one place the pieces onto your nail, making sure to press down lightly and rub gently to remove any air bubbles using the pads of your fingertips.
- Piece them together in a mosaic pattern, seal with another layer of top coat or two (a gel finish is recommended for longevity!) and let dry. Then, accessorize with the party-ready pieces of your choice and you're ready to go!