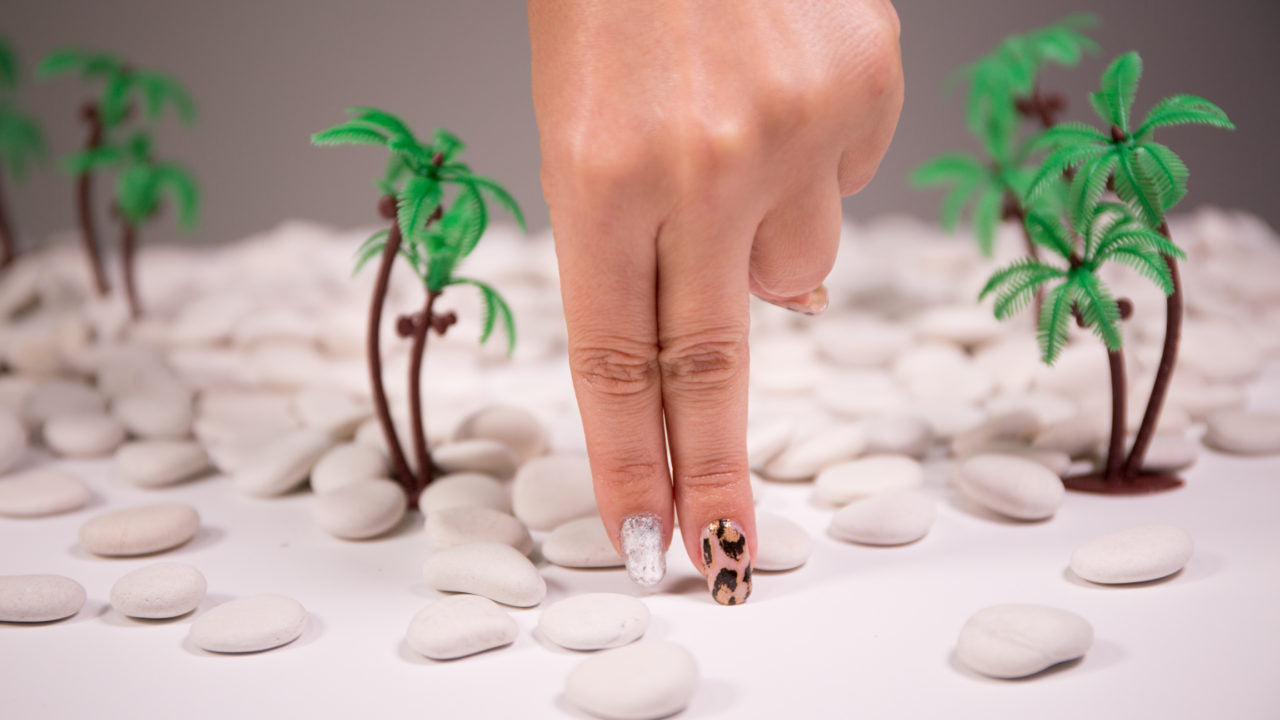
It was Jenna Lyons who said "as far as I'm concerned, leopard is a neutral," and now I'm here to make a slight amendment to her wave-making statement. As far as I'm concerned, leopard and silver are both neutrals. I feel in my natural habitat in an exotic animal print, and we all know how I feel about all things shiny!
So while this nail foil manicure may feel bold to some, I urge you to try it out and see how many outfits and styles it complements perfectly! Plus, the use of nail foil means your skill level has to be at "can apply temporary tattoos" (like BeautyMarks?!) to achieve this look!
Check out the tutorial above, and the full how-to below!

Prep It:
Leopard-printed nail foil Silver nail foil Craft glue or Foil Glue Top coat Nail brush Q-tips


Do It!:
- There is formal nail foil glue that can be used for techniques like this, but for the sake of DIY-ing I used some craft glue instead! If you have craft glue that dries clear at home (like Elmer's or something similar), try using that instead before ordering nail foil glue! But word to the wise - I tried Mod Podge and it did *not* work!!
- Start the manicure by applying a coat of the glue to your nail with a brush. Paint it on like you would a normal nail polish — make sure the entire surface of your nail is covered.
- Let the glue dry until it is at its tackiest state (about 30-60 seconds of drying, in my experience), and then cover the entire nail with the patterned foil. Use a Q-tip (or your finger — whatever works for you!) to press the design onto your nail. Use gentle pressure and make sure to rub the entire area!! Peel the foil off and admire your new nail design!
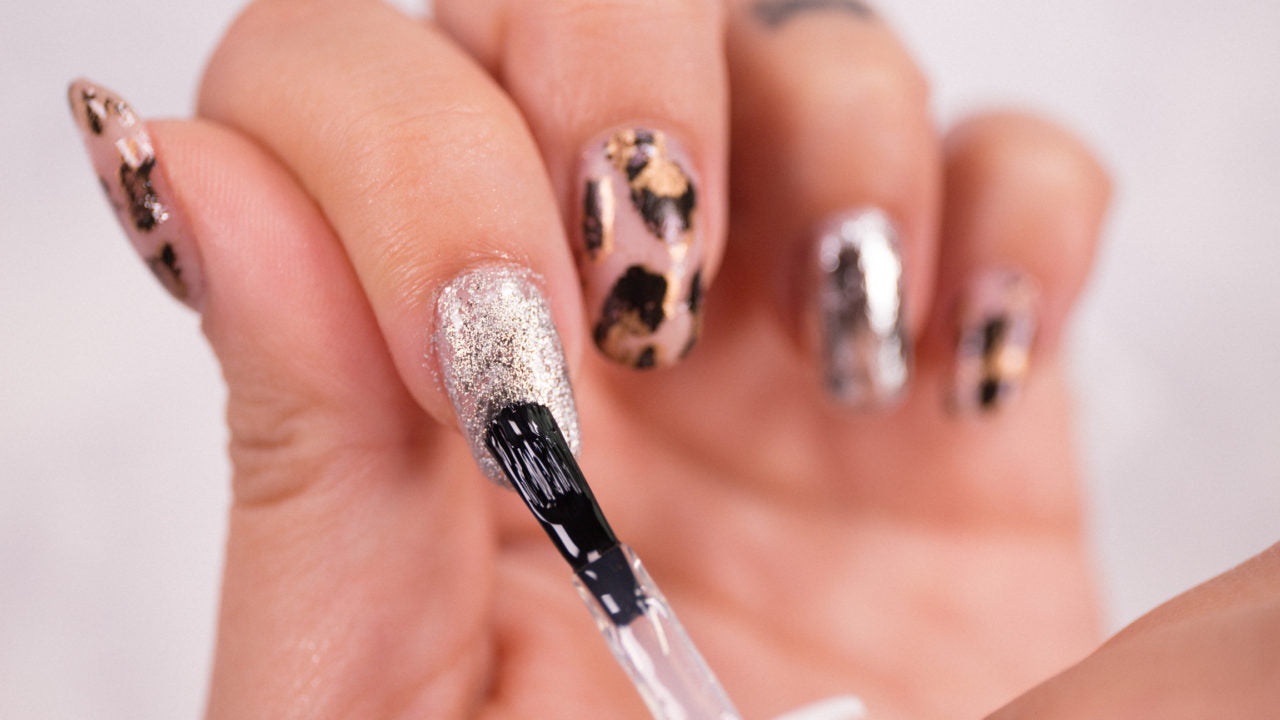
- If the foil didn't cover your nail fully, repeat steps 2 and 3 over the bare areas! With the leopard print it may be less evident if there are gaps, but for the silver sparkle, you'll really want the whole nail covered!
- Seal the foil with a clear top coat. If you're worried about the foil streaking, apply dollops of top coat, let them self-level, and then use the polish brush to smooth the top coat over the whole nail!
- Once your top coat has dried, you're ready to conquer the jungle with your fierce fingers!