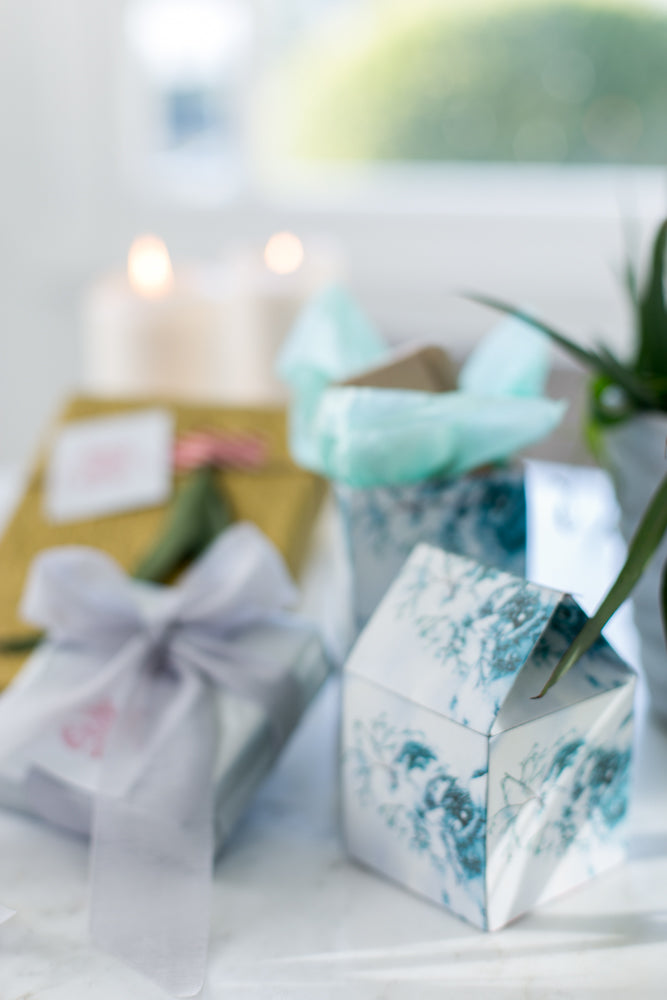
If you think about it, gift wrapping is just like putting together a super cool outfit. What someone is getting (whether a thoughtful gift, or the gift of your company) remains the same, but the way you dress it up shows how much you care about it and that it makes an exciting impression.
So, just as there are DIYs to help bring some bling or an unexpected twist to your OOTD, there are DIYs to make your holiday wrapping the candy-coated apple of everyone's eye. It seems sometimes that the prettier the store-bought wrapping supplies are, the more expensive they are, but I'm breaking that mold with a trio of printable wrapping options that will work for any size or shape gift you need covered!
Check out the DIY above, and the step-by-step how-tos (with a printable bonus!) below!
Printable Gift Box

Prep It:
Downloadable box template (above) Card stock printer paper Scissors Hot glue gun and hot glue


Do It!:
- Download the box template and layer your chosen picture or pattern over it (super simple in Photoshop or another image editing program!)
- Print that baby out! Cut along the pink lines and fold along the black ones, starting to form the box. Glue where indicated and finished assembling the box.
- Fill it with tissue paper and a small gift. You can either close the box and wrap ribbon around it, or leave it open and play with pretty tissue paper arrangements!


DIY Coloring Book Wrapping Paper

Prep It:
Black and white digital pattern Markers Decorative ribbon Embroidery thread Needle Assorted pom poms Scissors

Do It!:
- If you have a image editing program, lay out a repetitive pattern using the black and white image you found. (If you want to get really creative, you could design your own!!) Bring to a copy store and have them print large scale, getting your own wrapping paper!
- Wrap up your gift in that pretty paper. You can start to color in some of the pattern, color in all of it, or leave it blank and give the markers with the package to encourage the recipient to make it their own!
- Tie a ribbon around it, then create a pom pom garland for garnish by threading a needle and sewing through assorted pom poms, leaving about an inch or two of space between each. Wrap your gift in the pom pom garland and the most playful packaging you've ever seen is finished!
DIY Sticker-Embellished Wrapping
Prep It:
Printable sticker sheet Metallic wrapping paper Twine Ribbon Patterned washi tape Natural accents
Do It!:
- Pick a simple graphic, or design a "to" and "from" for the stickers (keeping in mind the size of the stickers and how they line up on the printer sheet.) Print them out and put aside for later.
- Wrap your gift in a metallic paper, adding a twine or simple ribbon accent as you like! A washi taped sprig of leaves or tiny branch of a holiday tree are sweet touches!
- Now, time to add those stickers! You can use them to help keep the ribbon or twine in place, or just find a nice spot for them to shine.


