For as long as Mr. Kate has been my business and a major part of my life, I've had the same hair. Up, down, with hair chalk, or DIY accessories, it's been the same head of highlighted blonde curls that have brought me this far.
So, upon meeting 2017 with a #positivityseeking outlook and the desire for some change, I decided to take the plunge, head to the salon, and go platinum!! (I also cut my long tresses into a bob, so that was a pretty major shakeup too.)
With this vlog and this post, I aim to give you nothing but the truth (and the whole truth!) about the process of bleaching, toning, and maintaining silvery blonde hair. The path to platinum, if you will! Watch the video above and check out the steps and some tips for maintenance below!
Part 1: The process of going platinum

So there's pretty much only one way to get your hair ultra blonde: with some ultra bleach! But since my hair had been color-treated before (with highlights on the top layers,) I went through a different process than some with untreated hair might!
- If you're cutting your hair on the same day that you bleach it, do that first! Less hair on your head = less bleach that has to be used!
- Since my hair had been highlighted, we bleached it in 2 steps. The first step was bleaching just the length of my hair, but leaving my roots untouched. Since my hair had been color-treated, it was going to absorb the bleach quicker than the roots, and in going platinum, evenness is key!
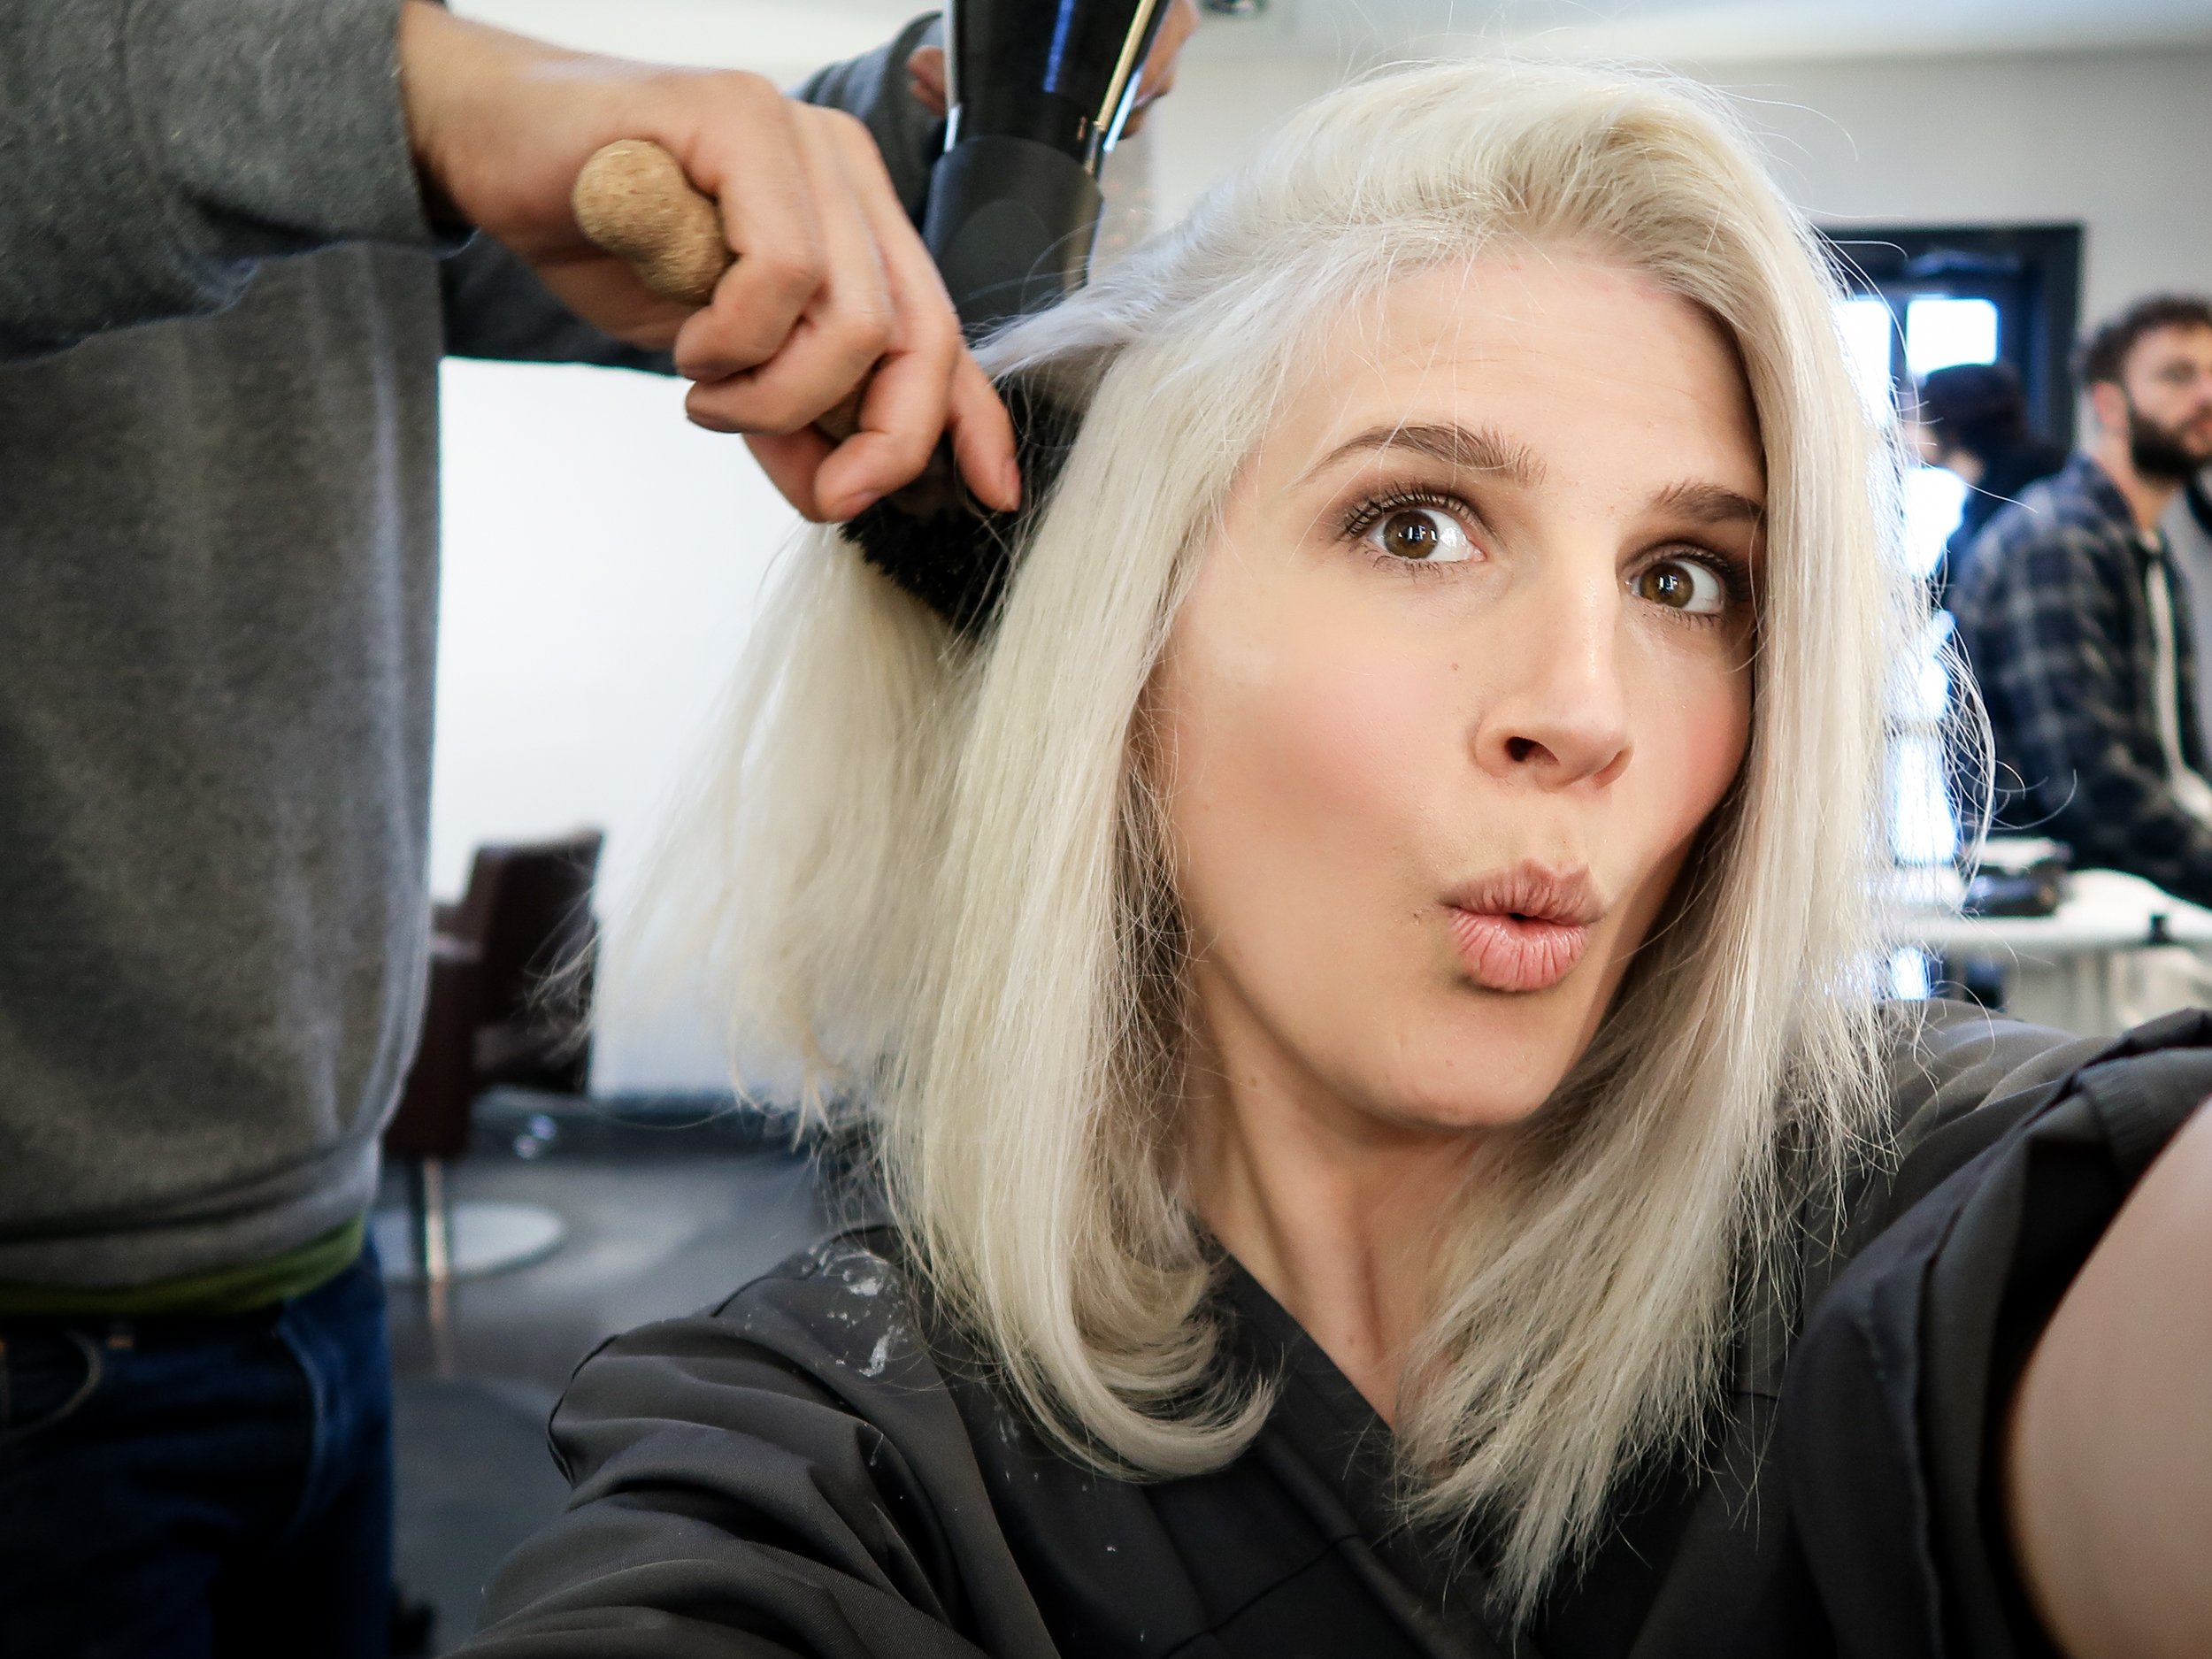
- After the first round of bleach, it was time to get my roots to match! Feeling a tingling on your scalp is completely normal and to be expected! You'll likely have to also sit under a heater to activate the bleach, so prepare for all sorts of unusual sensations on your noggin! As you can see, my first round hair was a pastel orangey yellow — that's because our hair all has a reddish tone naturally, so stripping away color just leaves brassy yellow or orange, depending on how dark you are naturally.


- 4. Once my roots were on platinum par with the rest of my hair, we went in for a second round of bleach — this time coating all the hair!
- 5. Depending on your natural hair color (I'm a light brown ash naturally), and how it responds to the bleach, you may need to go for a third round of bleach to get as light as you want! I only needed two rounds, but each person's hair is different.
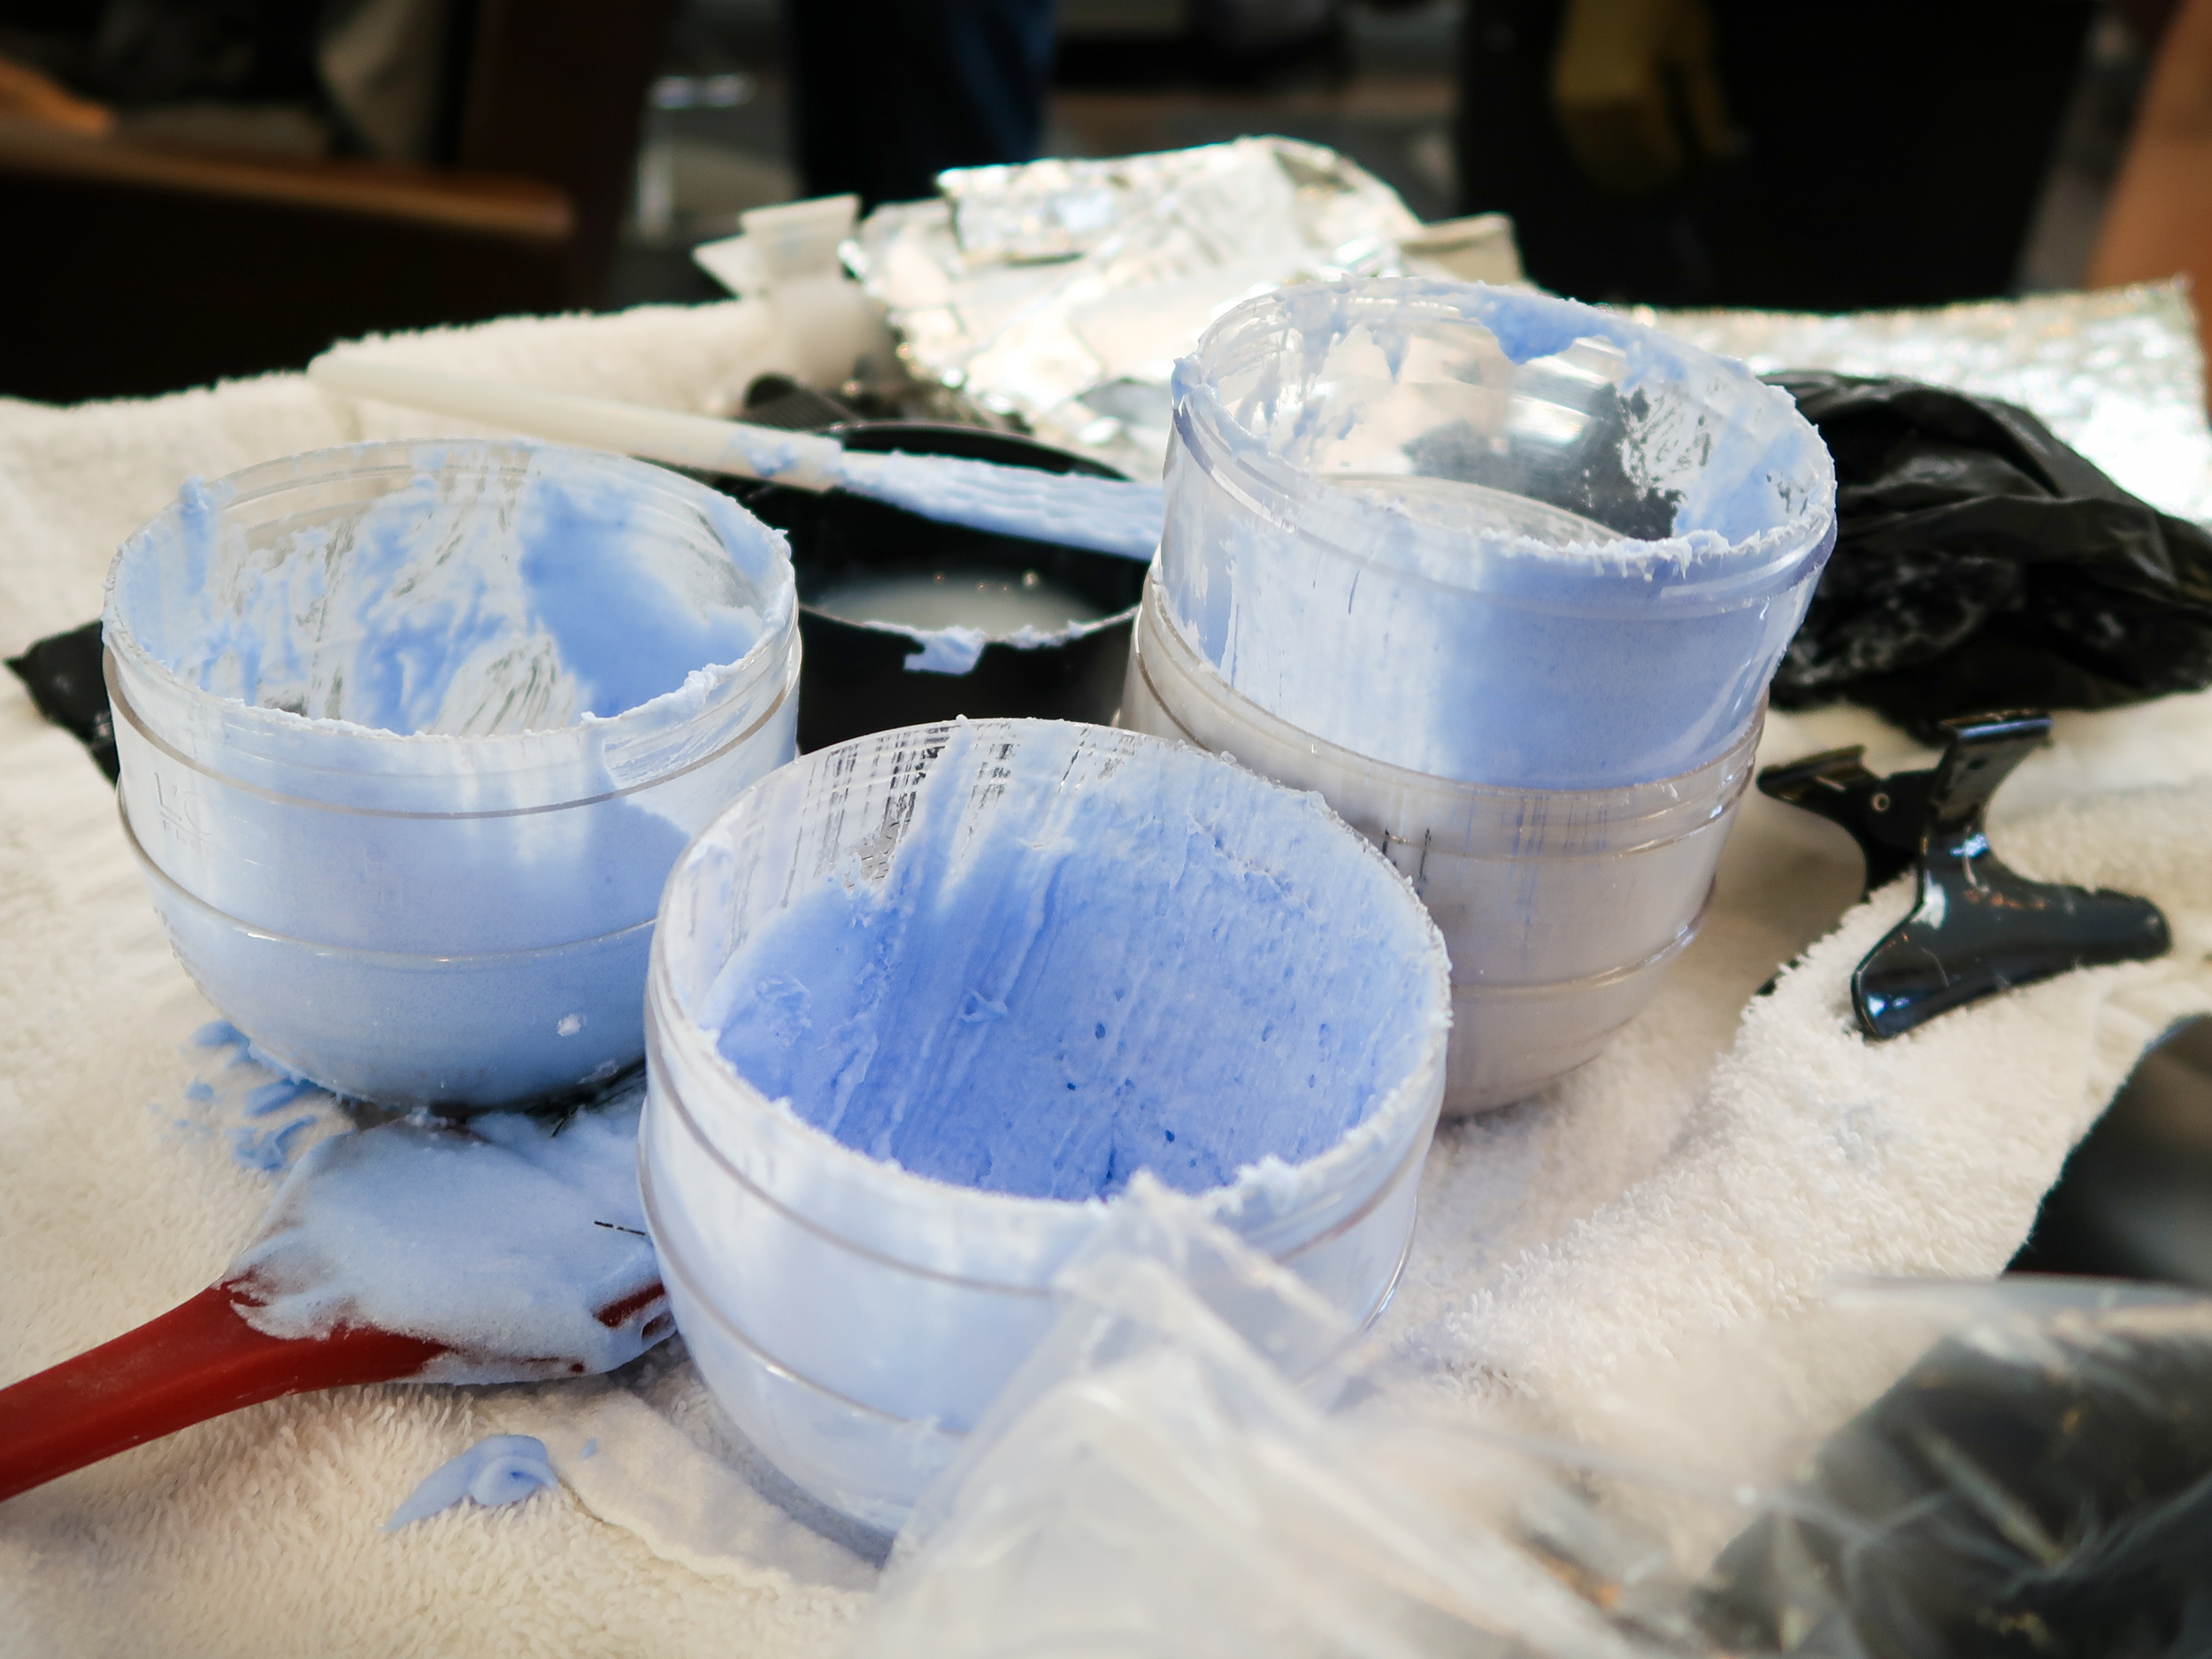
- 6. Now it's time to tone! Toner, which has gray and purple tones, counteracts the yellow to get the platinum to that cool, silvery finish.
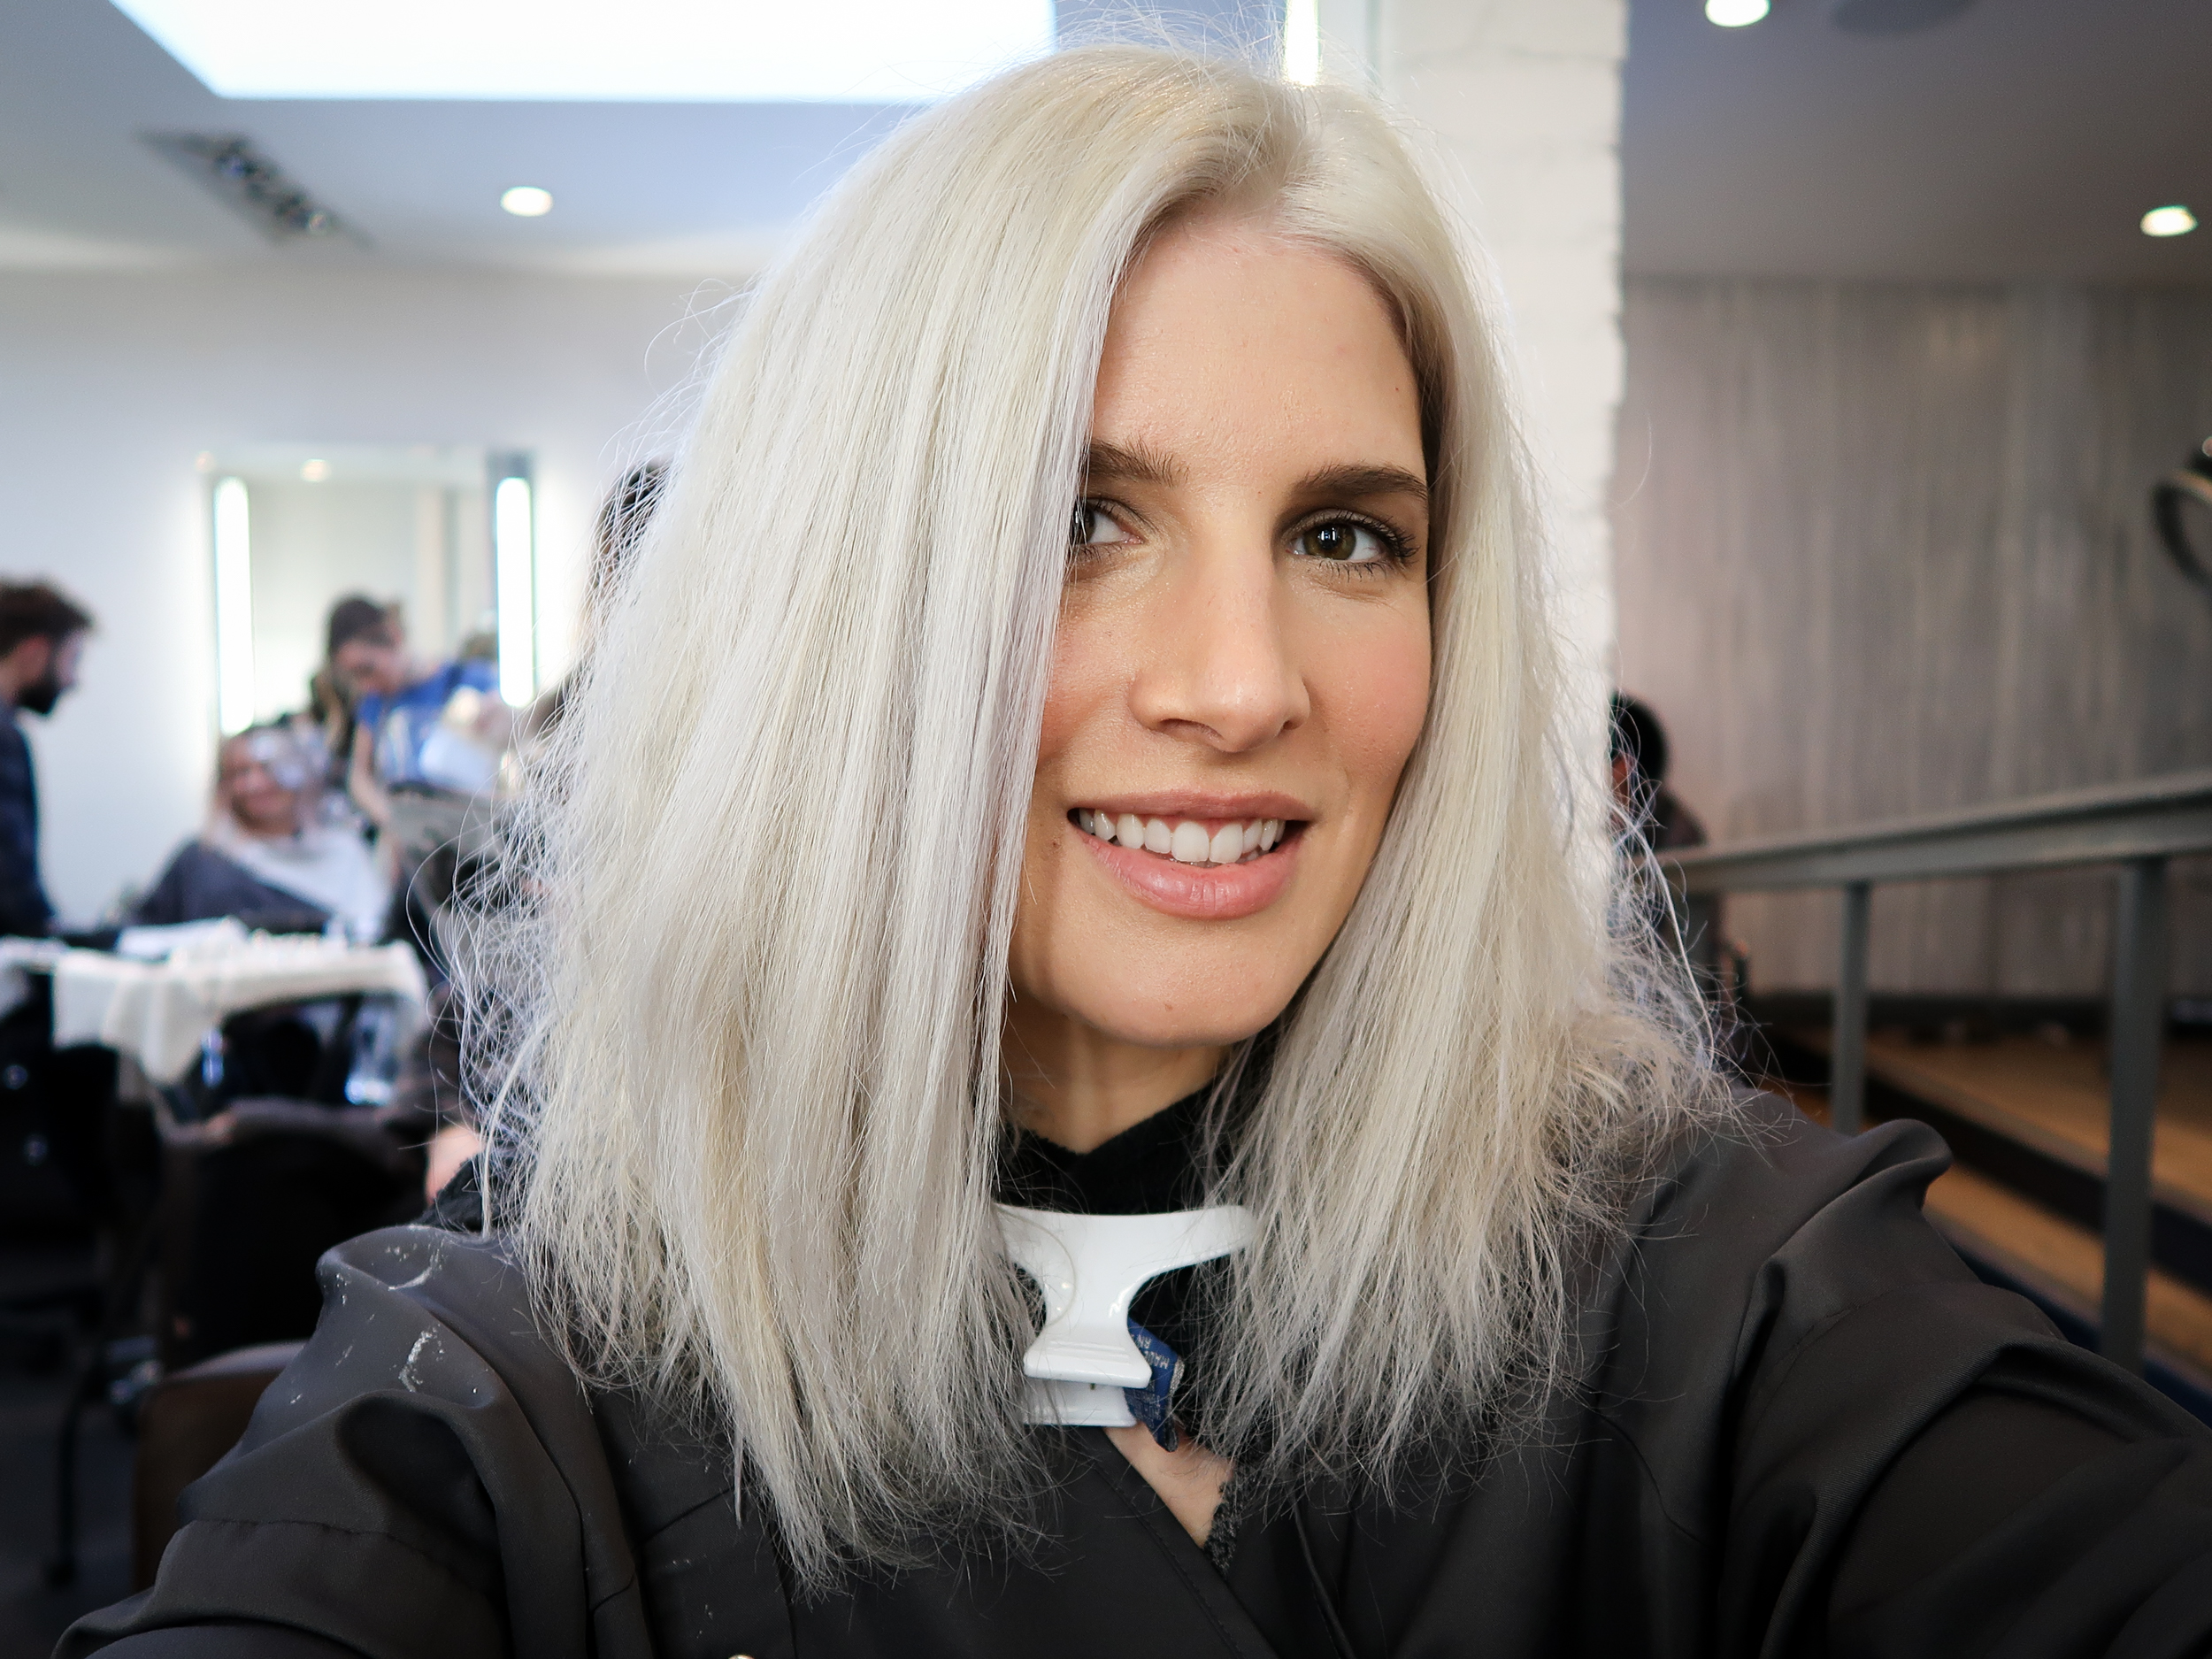
- 7. Since my hair had already been color treated, it picked up the purple in the toner a little too much and was a smidge lavender! That was corrected with a little bit of bleach mixed with conditioner! Dani also does a "drop" which is toner mixed with the tiniest bit of black hair dye to totally cancel out the yellow.
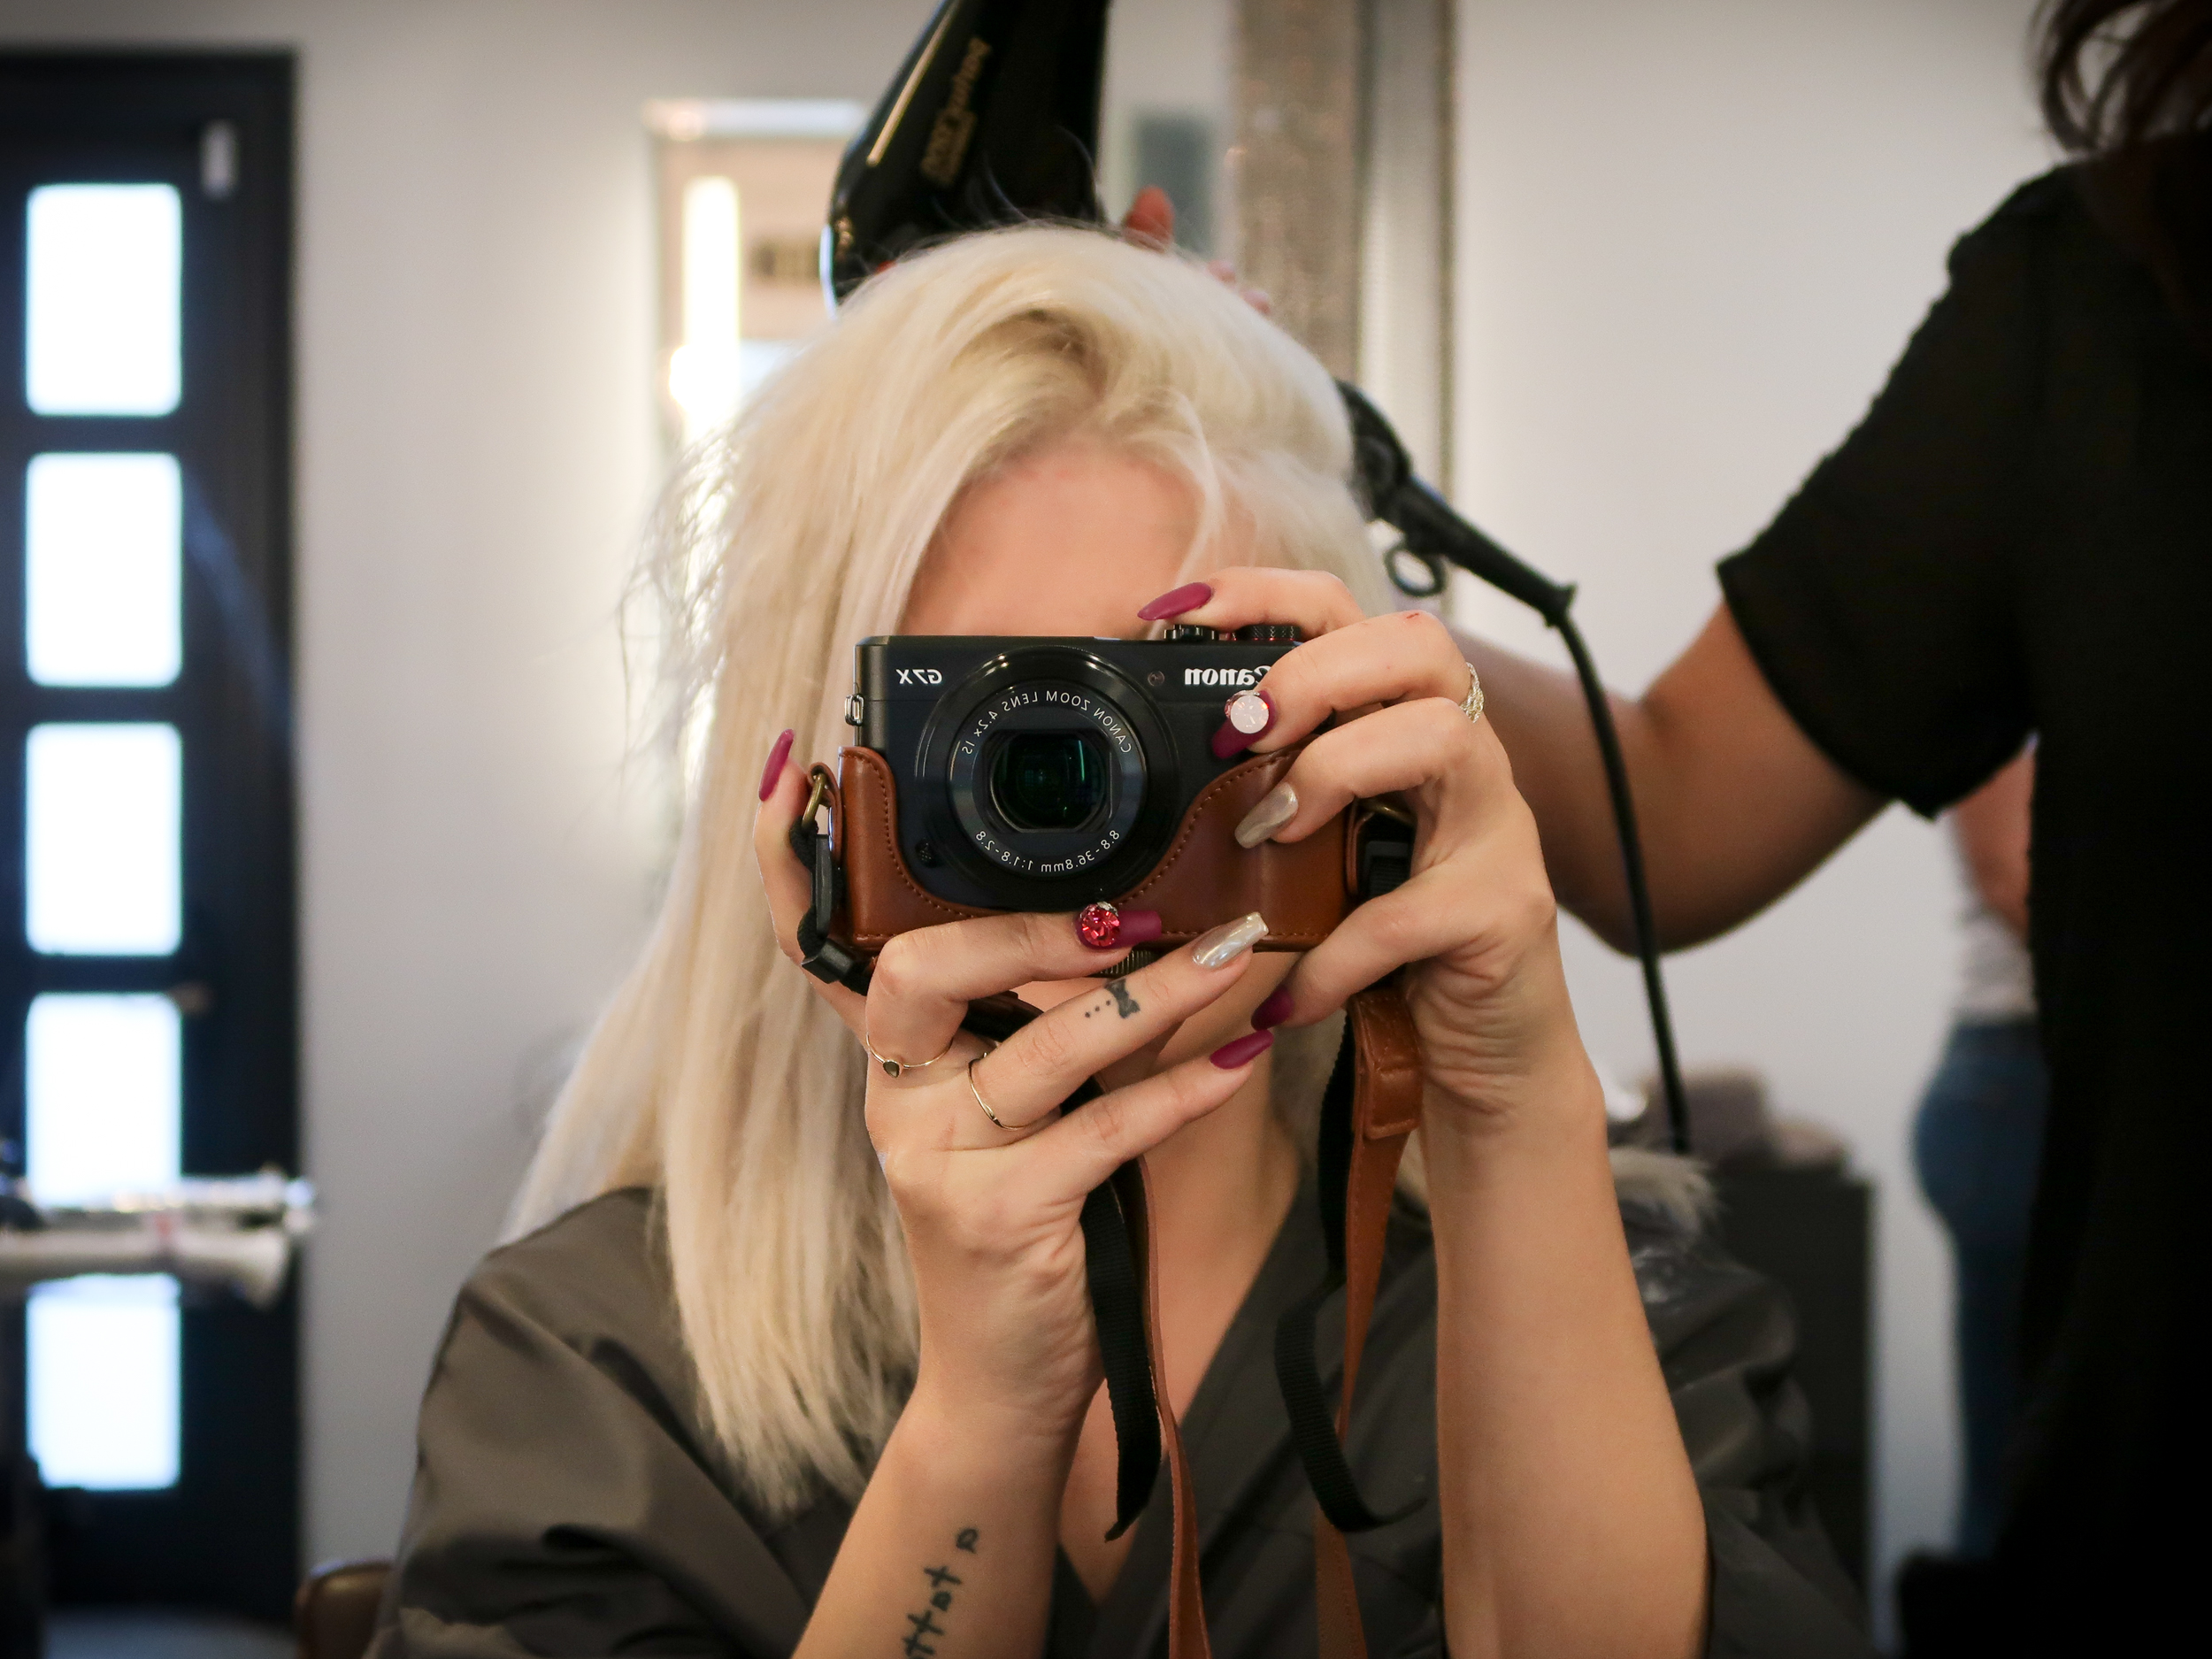
- 8. Then, with a blowout and some light waving with a curling iron, I was ready to hit the streets to show the world my new platinum tresses! I'll be back in 4 weeks, though! Maintenance is important with such light hair because you don't want 'banding' which are uneven stripes of color if you let your roots go too long between (no more than 6 weeks). Dani said the heat from your scalp activates the bleach more so if your roots are too long, the hair closest to your scalp will look lighter and thus result in banding.
Part 2: Maintaining your mane

After all the time (mine took 6 hours!) and effort you put into getting that platinum hue, make sure to follow the correct steps to prolong it as long as possible, and keep your hair healthy!
- Bleach is very drying your your hair, so make sure to keep heat styling to a minimum (check out this tutorial I have for sleep braids instead!) and replenish your hair with oils as needed.
- For a major moisturizing treatment, invest in a hair mask to lather your locks in every few weeks. It's definitely worth it!
- A lot of advice says to use purple shampoo (which tones your hair, maintaining the cool tone and preventing yellowing) every week, but this process can also be drying, so I recommend using it every other week!

And I can still wear it curly!