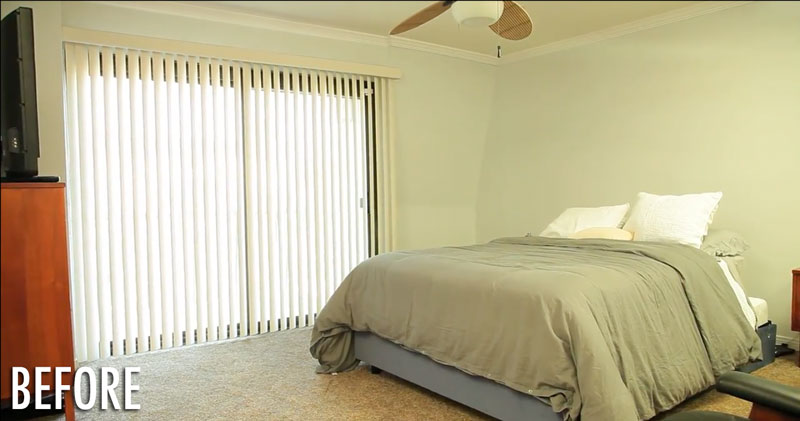
You saw the tour in part 1 of Two Couples In A Condo, so now let's get down to designing! First up, the master bedroom where Natalie and Ben are in desperate need of some color and cohesiveness. The biggest opportunity for adding design and pattern is on the bed, in the curtains and an area rug put at the base of the bed. We also re-arranged the furniture, mounted the TV and brought up a lower profile sideboard from downstairs to go under the TV.
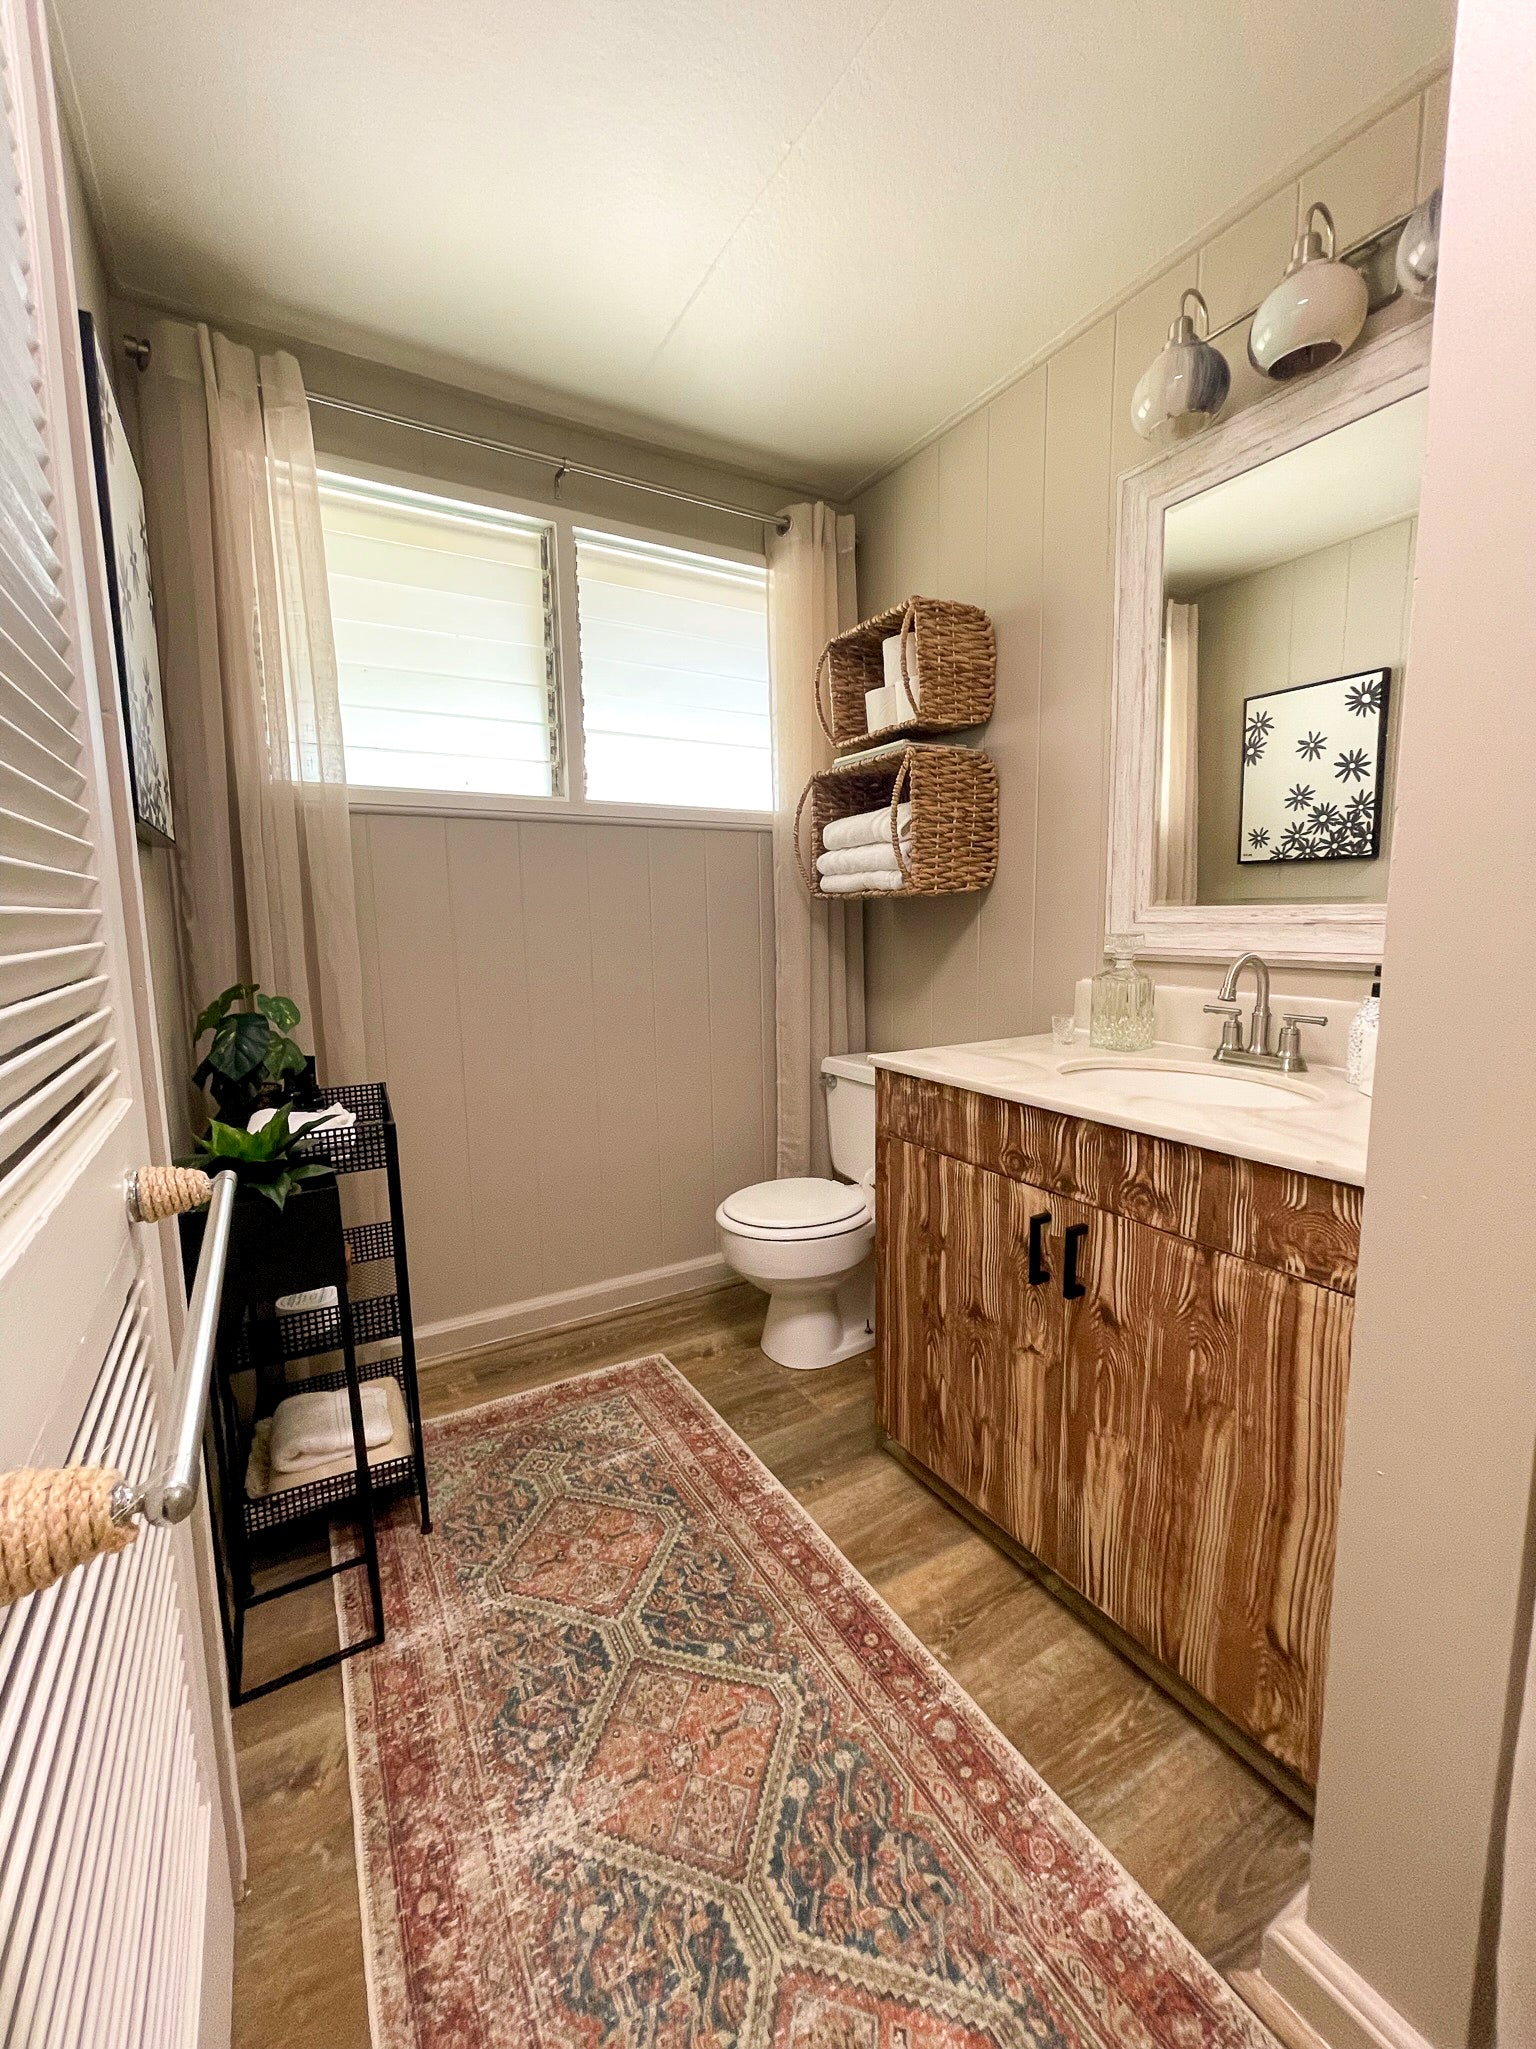
We ditched the ceiling fan, vertical blindes, painted over the icky green paint in the bathroom and made a DIY upholstered bench (how to below) to pull the whole room together. I love how it looks! Let us know what you think below in the comments!
If you missed episode 1, check it out here: 'Two Couples In A Condo! Episode 1: Condo Tour'


Decorating items we used in Natalie and Ben's Bedroom:
- headboard
- curtains
- curtain rod
- striped hand towels for bathroom
- solid wash cloths for bathroom
- rug - similar style here
- bathroom paint color: Olympic Black Flame
- faux fur throw
- mercury glass lamp

DIY Upholstered Bench
Prep It:
- piece of 1" x 16" x 40"wood (for bench seat)
- (2) 2x4's (for bench frame)
- 2x2 (for bench legs)
- spray paint
- saw
- staple gun
- 1/2" staples
- drill
- wood screws
- L brackets
- glue gun
- scissors
- batting
- foam
- fabric for bench - with enough yards to wrap around and staple underneath. I used 1.5 yards of a wide bolt.


Do It!:
Wood Frame:
- Cut the 2"x2" into four 17" pieces, set aside.
- Cut the 2x4's into two 36" pieces and four 8" pieces.
- Drill the 36" pieces to two of the 8" pieces to build the base of the frame.
- Drill your 17" legs, on the inside of the base.
- Use the remaining 8" 2x4's to reinforce the legs by drilling them into the back of them.
- Spray paint the entire frame and let dry.
- Cut your foam to the size of the 1"x16"x40" piece of wood.
- Hot glue the foam to the wood.
- Place the foam side face down onto the batting and wrap the batting around to the underside of the wood and staple in place. Staple the center of opposite sides first to ensure a snug and even fit. Take extra time to fold the batting in neat creases around the corners for an even and not clumpy look.
- Staple the fabric over the batting in the same manner that you did the batting (starting in the center of the opposite sides and taking care to fold even pleats at the corner for a clean finish. Trim the excess of the fabric underneath.
- Drill the underside of your upholstered seat of the bench to the base with your L brackets and you are finished! Take a seat!


What's your favorite part of the transformation? We'd love to hear from you in the comments! xo


