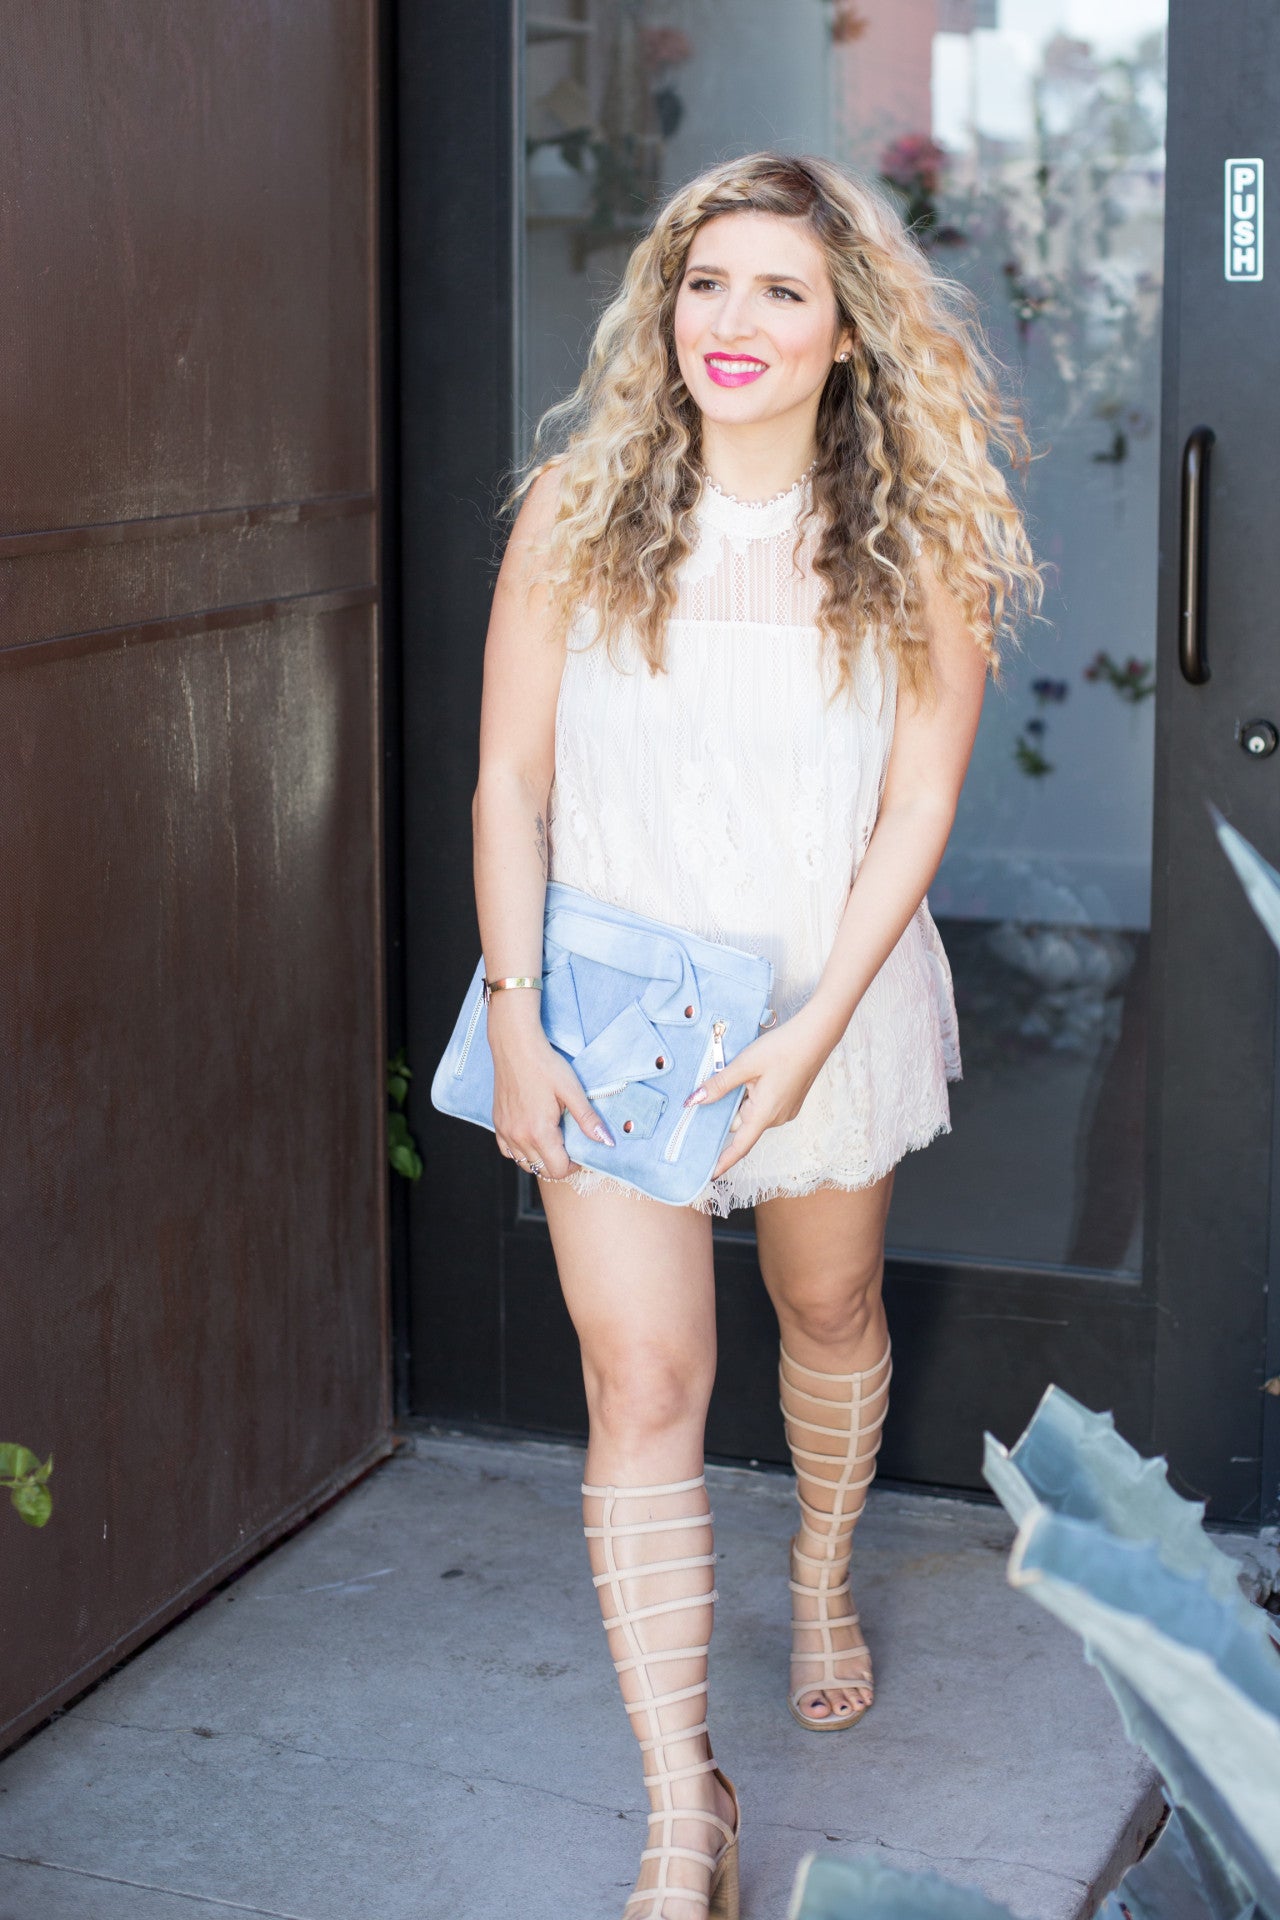
Curly hair gets a bad reputation for being high maintenance. Vicious gossip, I tell you. Just because it's got a lot of height and drama (and is so full of secrets), doesn't mean you have to spend hours coaxing it into cooperation. With the summer months and all their many fun events right around the corner, it's important to get a hairstyle on lockdown that will look fly on the fly.
So, without further ado, I introduce to you: the sleep braids! I've snapchatted (follow me MRKATE) about this no-heat technique and have gotten a lot of response requesting a tutorial, so here one is! But wait, there's more! Not only do I show you my how to do this signature technique, I'll demonstrate two ways to style the resulting waves for a full 24 hours of fabulous, free-spirited hair. Click play above to get the 411, and check out step-by-step instructions below!


Look 1: No-heat Sleep Braids

Prep It:
Volumizing mousse Hair ties Purple lipstick - optional if you're going out
Do It!:
- Starting with hair that is towel-dried, but still pretty wet, work in volumizing mousse, making sure to get it throughout all the layers of your hair - the mousse will help hold the curls together without being too crunchy.
- Decide how you want to part your hair for the braids. I like a center part, as I usually wear my hair center parted when dry, but tend to keep it a little uneven for the braiding so the resulting waves have a little more of a natural flow to them.
- Time to braid! Start at the top on one of the sides and french braid your hair up and back. I like to use a dutch braid, which means you pull the strands of hair under each other, instead of over - basically invert the way you usually braid if you braid back and down, the dutch braids are up and over (this photo shows a good side by side comparison of dutch vs. french braids). This creates waves that fall away from your face, creating a natural face-framing effect and also raised the braid up off your head so it looks more intricate.
- Try to pull in an equal amount of hair for each piece you braid, so the plait will remain even until the very bottom of your hair. You really want to braid as far down as possible, so the waves get through to the ends!
- When you're finished, tie each braid with an elastic.
- If you want to wear this look out, put on a nice purple lipstick for a fresh edge! Otherwise, it's off to bed for you!


Look 2: Loose, Beachy Waves

Prep It:
Frizz-defying mist Bronzer Highlighter
Do It!:
- Once your wet hair has been plaited into the sleep braids, wear them overnight or until your hair is completely dry. These are supposed to be 'no-heat' braids but if you're in a rush and they're still damp, you can use a blow dryer with a diffuser attachment to dry the braid before unraveling.
- When it's time to take the braids out, gently unwind the waves using your fingers. To loosen them up, use your fingers to shake them out but don't comb through because they will get too separated and look frizzy. I also like to massage the roots of my hair so they don't lay too limp. Do this by massaging at the crown of your head or anywhere you want some lift.
- To give your waves a flattering, face-framing shape, take the pieces above your ears (your sideburns, so-to-speak) and pull them forward!
- Set the waves with a frizz-defying mist or serum to keep them sleek and help them retain their shape throughout the day.
- To complete the look, blend some bronzer around your hairline and top your cheekbones with a little highlighter for that fresh-from-the-beach glow.


Look 3: Fancy Front Braid

Prep It:
Bobby pins Finishing mist Berry lipstick
Do It!:
- Working with your big, bold waves from the braids, reposition your hair to a slightly offset side part. Depending on the drama you want to create with this look, you can position your side part as far over as you'd like!
- Using the same dutch braid technique that you used to make the original sleep braids (over under instead of back and up, start plaiting the hair across the top of your hairline, keeping it as forward as possible (which gives it that lovely vintage look.)
- Unlike the sleep braids, don't work down to the ends. Braid until just about your ear or slightly on top of it and secure with two bobby pins in an X shape.
- To get that beautiful bohemian edge, use your fingers to loosely pull the braid out. Gently tousle the roots of the hair around the braid, rejuvenating the waves and encouraging them to fall over the braid in a natural way.
- Set the look with a finishing mist, which has a slightly stronger hold than the frizz-defying mist you used in the previous look!
- Finishing touches! Top the look off with a berry lipstick and you're ready to hit the town!


