Back before Father's Day, we embroidered a tie intended as a personalized present for the #1 hombre in your life. Thus started our infatuation with embroidery and its immediately unique and thoughtful effect on even the most ordinary of clothes. We just wanted to stitch up a storm!
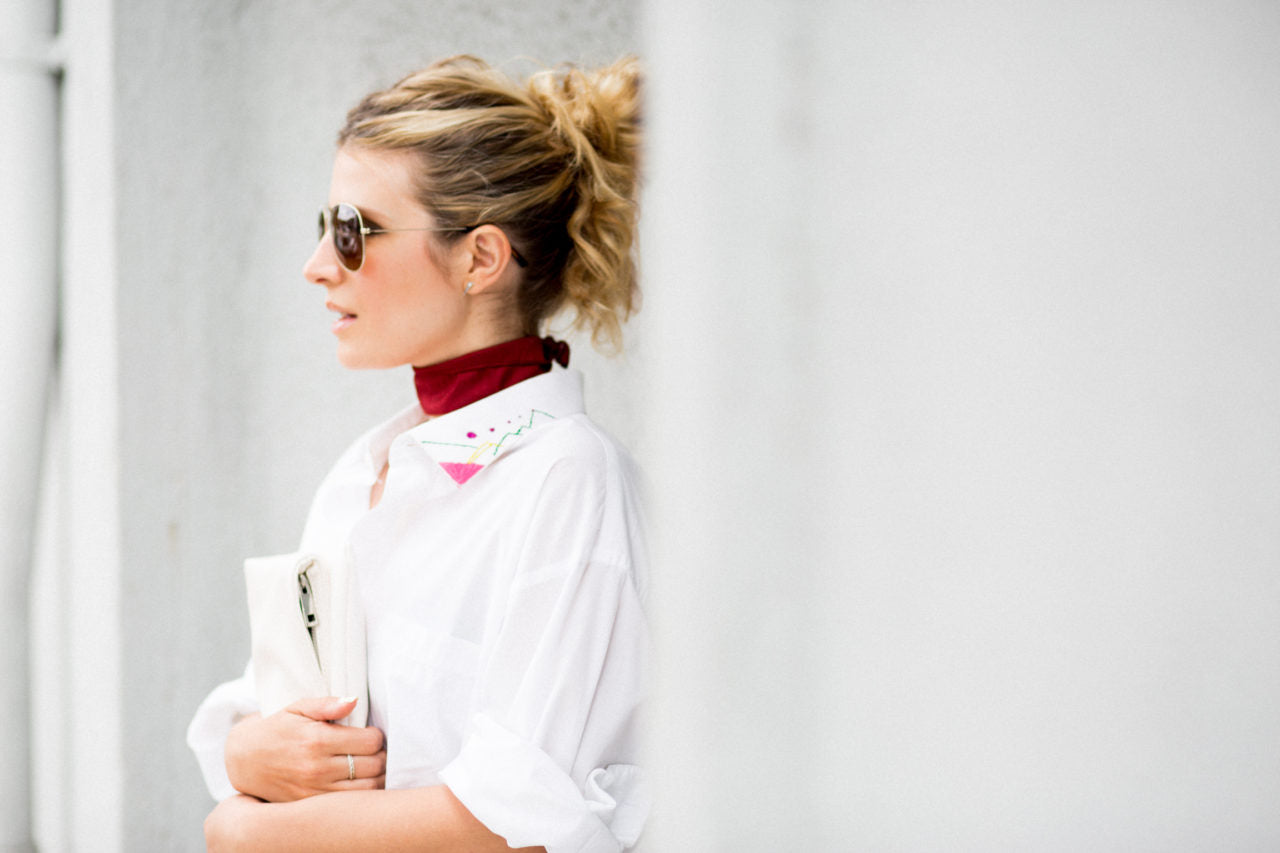
Turning the embroidered menswear trend (that we may have decided is a thing) on its head, we gave a basic mens button-down shirt a multicolored makeover with some oh-so-cute collar stitching, then wore it out on the town as a dress because #whynot?!
The key to this DIY is to keep it small. Just a pop of neon art deco embroidery took this shirt style from "walk of shame" to "where'd she get that!!" Head-turning in all the right ways.
Check out the how-to below!


Prep It:
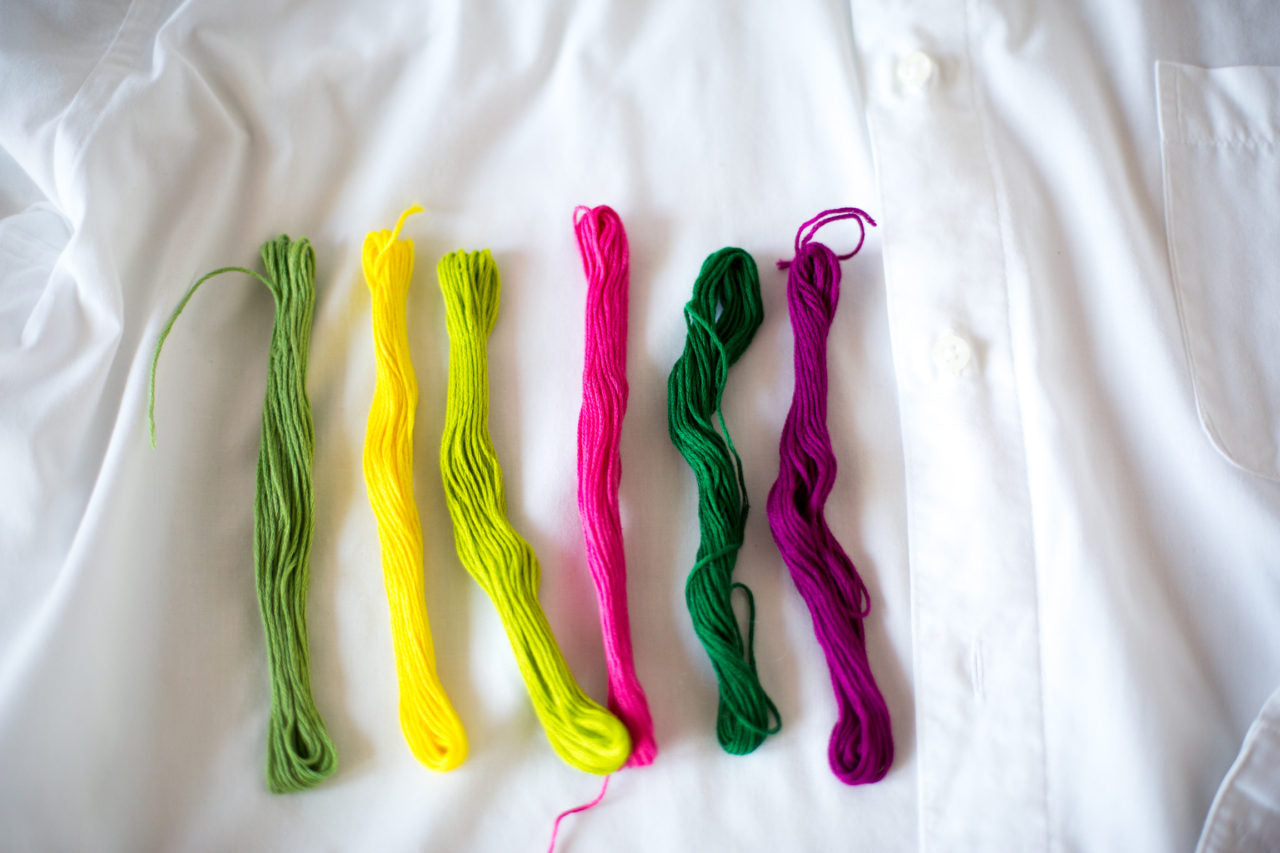
Mens button-down shirt Embroidery thread Needle Pen Scissors


Do It!:
- Use a pen with washable ink to sketch out the design you'd like to embroider on the collar of your shirt. We went with geometric shapes, but you could do stripes, cursive text, a cactus, anything!
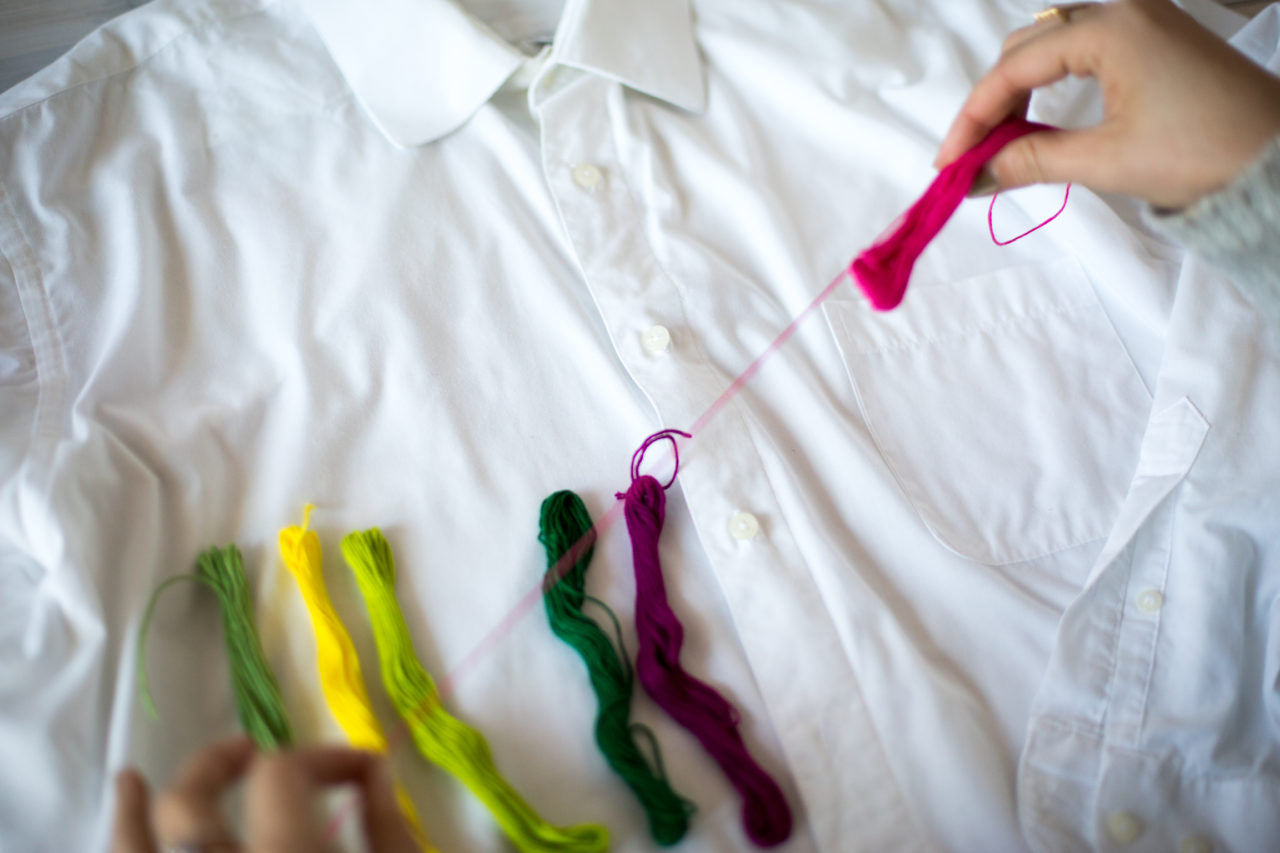
- Thread your needle with 2 strands of embroidery thread. It comes as 6 strands all bundled together, but separate into 2! Knot the end of your thread and push the needle up from the bottom of the collar, so the knot is hidden on the underside.
- Tips for embroidering: if you're filling out a shape like a triangle, like we have in the corner of the collar, make one corner your key point, then sew down and out from there, but always return to that point. It should look like a ray of sunshine shooting out of that one point.
- If you're embroidering a circle: Apply the same method as for the triangle, but make the your key point the center of the circle!
- Embroidering a line: I detailed this method in the DIY Father's Day Embroidered Tie!
- When you're done with your design, make sure all of the ends of the threads are knotted off and secure. If you're unsure, dab a little clear nail polish on the ends of the threads!
- Wash the shirt to get any hiding pen marks off, then throw it on with cut-off shorts, over a bikini, or as a dress, and enjoy all the stares!