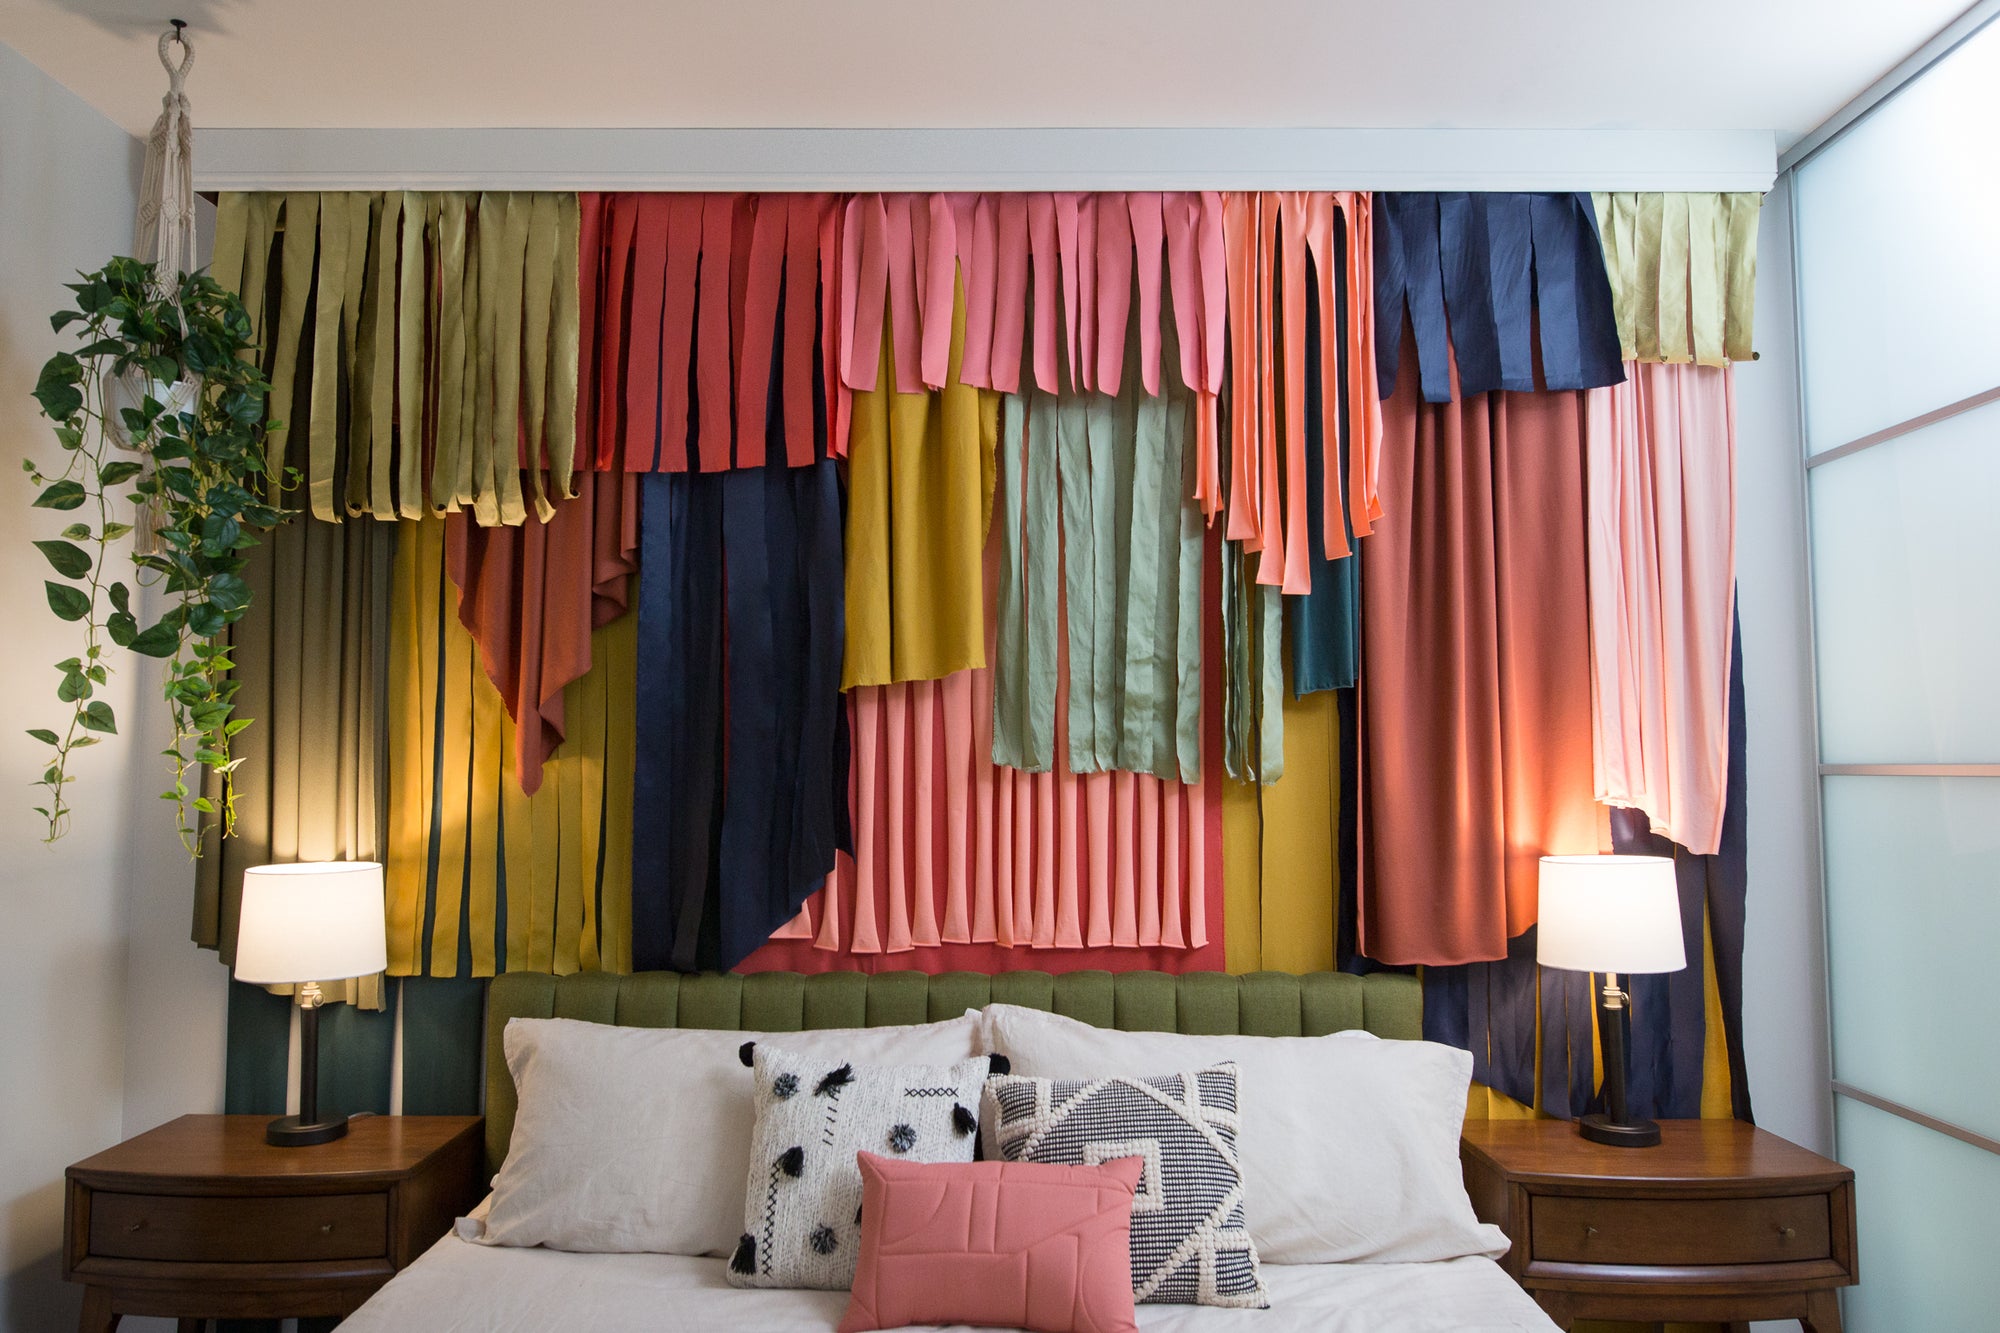
We all love headboards, we all love gallery walls ... so #whynot have a headboard that is a combination of the two?
Instead of creating a traditional behind-the-bed headboard, for this DIY (as seen in the DIY Budget-Friendly Headboards for Every Design Style), I decided to deconstruct the concept and create three individually framed pillows instead! With vintage or flea market-found frames, and an assortment of fabrics, the resulting headboard was perfect for a vintage eclectic touch!

Prep It:
Assorted vintage frames (one large) Pillow (sized to fit inside the largest frame) Pillow stuffing Fabric Staple gun


Do It!:
- Decide the placement of the frames on the wall over your bed. Mark where you want them to hang, which you will use as guides for your pillow creation/ placement!
- Use the insides of the frames as a general guide for how much fabric to cut, keeping in mind that you will need to lead slack for the stuffed insides!
- For the largest framed pillow, hold the pillow up against the wall and cover with the fabric. Working from the bottom up, staple the fabric around the pillow, which will keep it in place like a pocket! Trim the excess fabric and hang your frame over the pillow!
- For the smaller framed pillows, staple the fabric directly to the wall around the bottom and two sides, then add stuffing from the top opening to create a pillow! When it is adequately filled, staple across the top and close the pillow. Trim off any excess fabric and hang the frame over it!


