My precious little sister
Tess 
moved to New York last year to go to NYU and she just moved into a new apartment in NYC's alphabet city and requested my help with a little
on-the-cheap interior decorating. She, and her 2 roommates, started out with some great pieces and instincts and I helped organize and made some thrifty but beauteous finishing touches.... here are the
BEFORE and
AFTER pics:
the entry
BEFORE...

The entry
AFTER... I put the coat rack by the front door to free up space so you're not staring at a pile of coats as soon as you walk in the door. Then I put up some corkboards that they already had and placed three Ikea storage boxes (that my Granny had laying around) for the 3 roommates' inboxes for mail so that no misc. clutter is allowed to accumulate on the surface of the hutch, only IN their respective boxes! -
cost $0

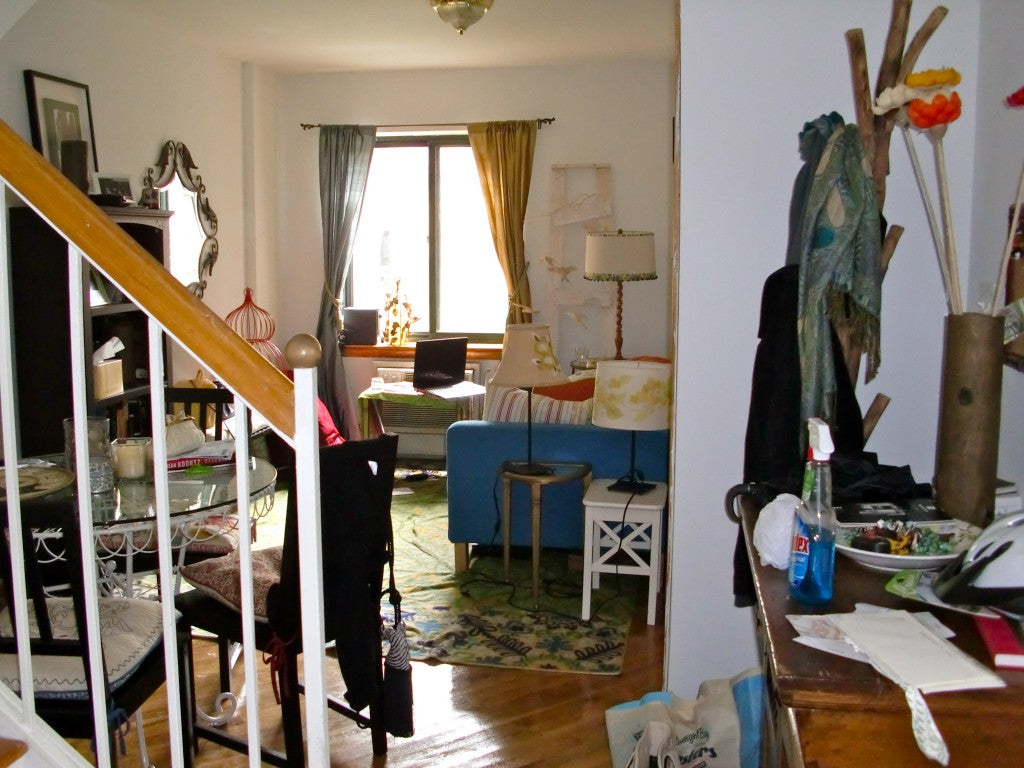
the living room and dining area
BEFORE...

Living and Dining area
AFTER... I rearranged the coffee table and connected the small end table to the rectangle coffee table to make it a funky and rounded corner shape (since it's a small space and you bump into it). Then I moved the standing lamp from upstairs in Tess' room and traded it for the table lamp to add height and hung up the birdcage in the corner for more
elevated eye interest, so there are different horizon lines throughout the room.
cost - $2 for picture wire to hang birdcage....hopefully it stays!


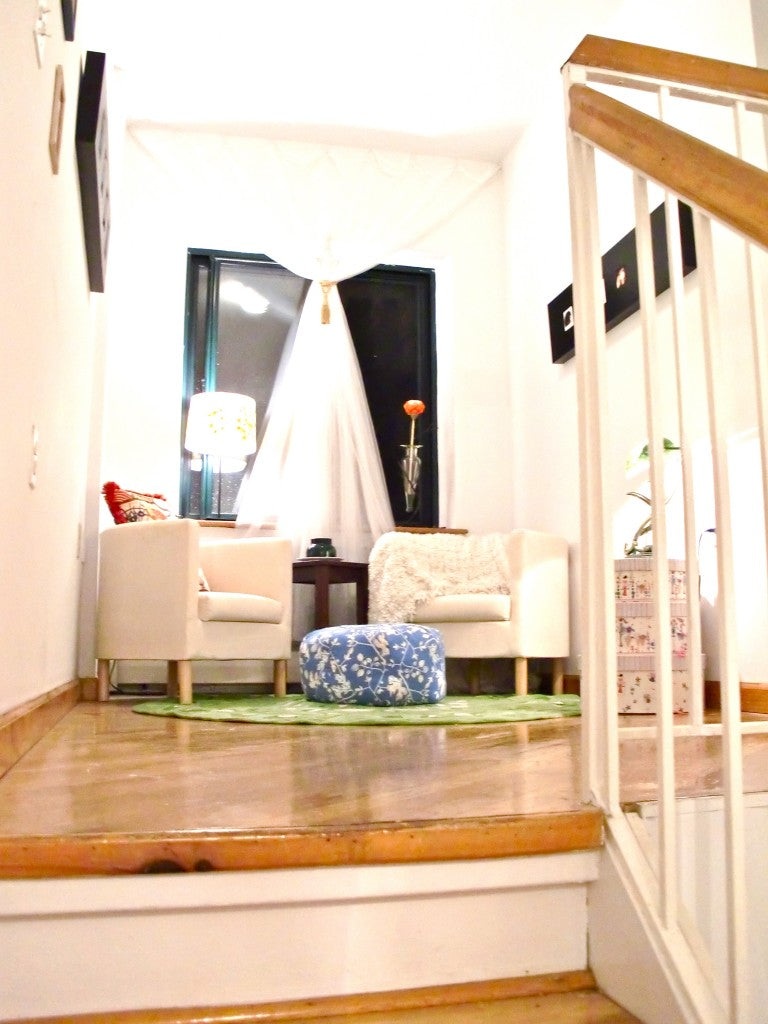
plain staircase and upstairs landing area
BEFORE...


Staircase and Landing nook
AFTER... The staircase had such
huge blank white walls but they were really high and we needed large scale pieces for no money! Thankfully Tess has Lara (her tall roommate), so we hung a modern colorful painting (from Lara's dad) and I took a panel off of an old (cheap) asian screen, that my Granny had in her storage closet, and
covered it with an old curtain panel that Tess had from her dorm room... then I hung the panal horizontally over the stairs...
upcycled into art! The 80's brass pendant light got some funk with the oversized
Zebra head tassel that I bought at the flea market last week.
The landing was fun. I hung old frames from Granny with pics that I printed out from online, but we had more wall space to fill up and not enough frames... so I took these two black floating wall shelves (that Tess had from Ikea but couldn't hang because of the drywall) and
rigged them as picture backings (hung flat) and hot-glued some of the printed pics in a row of four, and hung them with picture wire. The window gauze was from my pack-rat Granny with an extra tassel in the middle, light can still come in but it adds height to the window...then lamps that they had, hat boxes from Granny, all arranged just so, complete the look!
cost $13 (zebra tassel, glue, printer ink, nails and picture wire)

Tess' bedroom
BEFORE...


Tess' bedroom
AFTER... I'm very proud of the
statement headboard that I made that cost nothing!! I took the rest of the Asian screen (I removed one panel and hung it as the art in the staircase) the remaining 3 panels were the perfect width for the headboard and I knew the height would make the small space seem bigger, but the screen was an asian theme with rice paper etc. which would totally clash with the boho vibe.
Thus, I covered it with yet another spare curtain panel, that Tess had, and my trusty hot glue gun. The result is grand and functional.... and obviously inviting because Tess passed out in her new cozy bed as I was snapping pictures. I also took the wire dresser that they had out on the landing before, took out the cardboard drawers, and made it a much-needed shelving unit next to Tess' desk. We covered her stool with the left-over curtain fabric for her vanity/desk, then the rest was just hanging pictures and organizing.
cost $2 (glue, nails)
TOTAL COST for entire makeover $17 and about 4 hours of labor.
Then we went to dinner at
Morandi (love!) in the West Village with our dad and got a little wino buzzed...


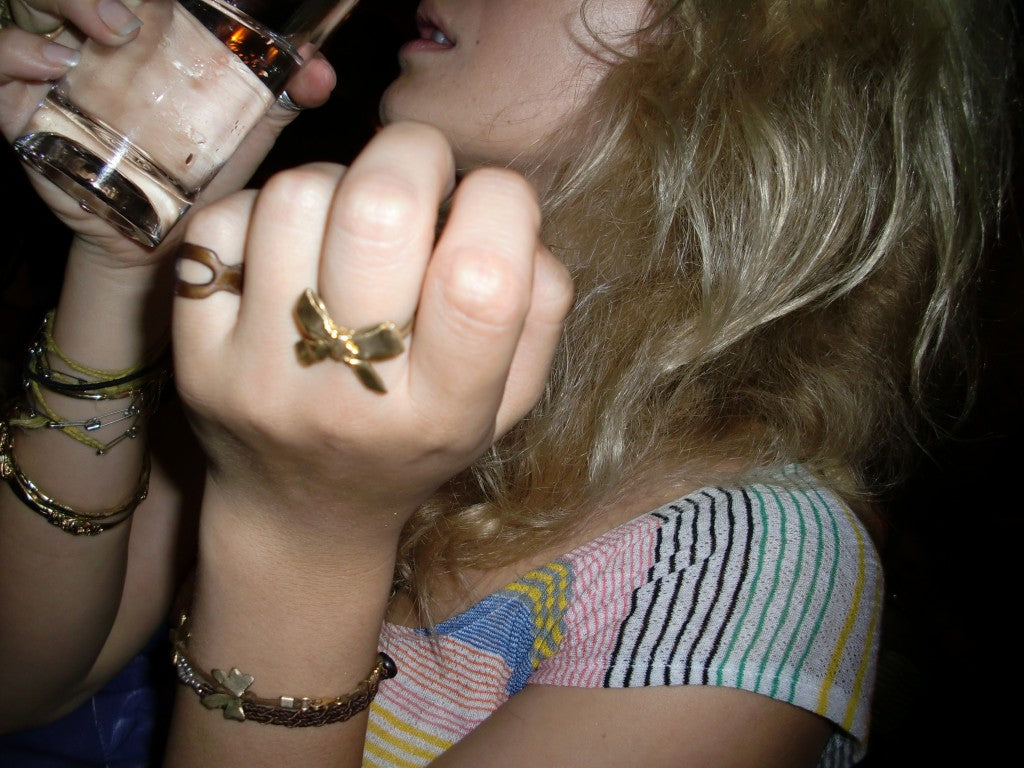
my
bow ring and new crop top from the flea market.
 My precious little sister Tess
  moved to New York last year to go to NYU and she just moved into a new apartment in NYC's alphabet city and requested my help with a little on-the-cheap interior decorating. She, and her 2 roommates, started out with some great pieces and instincts and I helped organize and made some thrifty but beauteous finishing touches.... here are the BEFORE and AFTER pics:
the entry BEFORE...
 The entry AFTER... I put the coat rack by the front door to free up space so you're not staring at a pile of coats as soon as you walk in the door. Then I put up some corkboards that they already had and placed three Ikea storage boxes (that my Granny had laying around) for the 3 roommates' inboxes for mail so that no misc. clutter is allowed to accumulate on the surface of the hutch, only IN their respective boxes! - cost $0
 the living room and dining area BEFORE...
 Living and Dining area AFTER... I rearranged the coffee table and connected the small end table to the rectangle coffee table to make it a funky and rounded corner shape (since it's a small space and you bump into it). Then I moved the standing lamp from upstairs in Tess' room and traded it for the table lamp to add height and hung up the birdcage in the corner for more elevated eye interest, so there are different horizon lines throughout the room. cost - $2 for picture wire to hang birdcage....hopefully it stays!

 plain staircase and upstairs landing area BEFORE...

 Staircase and Landing nook AFTER... The staircase had such huge blank white walls but they were really high and we needed large scale pieces for no money! Thankfully Tess has Lara (her tall roommate), so we hung a modern colorful painting (from Lara's dad) and I took a panel off of an old (cheap) asian screen, that my Granny had in her storage closet, and covered it with an old curtain panel that Tess had from her dorm room... then I hung the panal horizontally over the stairs... upcycled into art! The 80's brass pendant light got some funk with the oversized Zebra head tassel that I bought at the flea market last week.
The landing was fun. I hung old frames from Granny with pics that I printed out from online, but we had more wall space to fill up and not enough frames... so I took these two black floating wall shelves (that Tess had from Ikea but couldn't hang because of the drywall) and rigged them as picture backings (hung flat) and hot-glued some of the printed pics in a row of four, and hung them with picture wire. The window gauze was from my pack-rat Granny with an extra tassel in the middle, light can still come in but it adds height to the window...then lamps that they had, hat boxes from Granny, all arranged just so, complete the look! cost $13 (zebra tassel, glue, printer ink, nails and picture wire)
 Tess' bedroom BEFORE...


 Tess' bedroom AFTER... I'm very proud of the statement headboard that I made that cost nothing!! I took the rest of the Asian screen (I removed one panel and hung it as the art in the staircase) the remaining 3 panels were the perfect width for the headboard and I knew the height would make the small space seem bigger, but the screen was an asian theme with rice paper etc. which would totally clash with the boho vibe. Thus, I covered it with yet another spare curtain panel, that Tess had, and my trusty hot glue gun. The result is grand and functional.... and obviously inviting because Tess passed out in her new cozy bed as I was snapping pictures. I also took the wire dresser that they had out on the landing before, took out the cardboard drawers, and made it a much-needed shelving unit next to Tess' desk. We covered her stool with the left-over curtain fabric for her vanity/desk, then the rest was just hanging pictures and organizing. cost $2 (glue, nails)
TOTAL COST for entire makeover $17 and about 4 hours of labor.
Then we went to dinner at Morandi (love!) in the West Village with our dad and got a little wino buzzed...

 my bow ring and new crop top from the flea market.


