Danielle Kaplowitz and Ramsey Mellette are two of our close friends who needed a little design guidance to complete their master bedroom and upcycle two bedside tables. Watch the video above to see the full transformation!
The bedside tables used to belong to Danielle's grandma but she had been storing them in the garage in hopes to update their look before making them part of her interior decor. As a spraypaint virgin, I helped Danielle spray her hesitation away to create two bedside tables with a custom DIY stencil design that are now worthy of their lovely master bedroom...


 Prep It:
- piece(s) of furniture that needs a makeover
- plastic drop cloth to protect ground
- mask
- spray paint primer
- spray paint in your color of choice, we used Heirloom White by Rustoleum in a satin finish. We ended up using 3 cans total to do 2 coats.
- metallic spray paint for hardware
- screwdriver to remove hardware
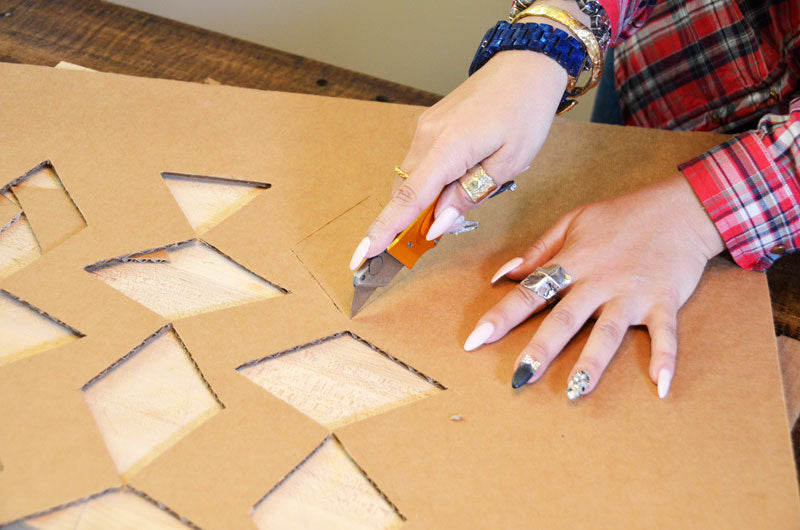
- materials for DIY stencil: flat cardboard, utility knife, pencil, scissors, ruler, cutting board
- painters tape


 DO IT!:
- Use the screwdriver to remove the hardware (drawer pull, etc.)
- If you're furniture is already painted with a similar finish paint then you don't have to use primer. If it is too glossy or you just want to prime for safety, do a quick coat of spray paint primer and let dry for 15 to 30 minutes.
- Spray your spraypaint color using even strokes so you don't get any drips. Let dry and repeat with a second coat if necessary for even coverage.
- Spray your hardware with primer, let dry and then spray with your metallic color and let dry.
- Decide on your stencil design, measure the surface you're going to place the stencil (as this will effect the spread of your design) and use a ruler to draw it on your flat piece of cardboard. We just did a series of diamonds to get a funky and hip pattern.
- Cut out your stencil shape (carefully) using the utility knife backed by a cutting board.
- Make sure your furniture is fully dry before using painter's tape to tape down your stencil - we used another drop cloth to drape around the rest of the table for no over-spray.
- Spray your second color over your stencil and let dry a little before lifting the stencil away.
- Re-attach your hardware with the screwdriver.
- Style in your space!


We styled the room with their new bed frame from Pottery Bard, art on the walls, throw pillows to tie the color palette together, two acrylic lamps and of course, the newly updated bedside tables! I love the look... what do you think?


