To watch the video this DIY was featured in, check out Breaking Beige: The Perfect Vintage DIY Nursery
Prep It:
- Moulding of your choice from the hardware store
- Saw
- Mitre box - to cut 45 degree angles
- Nail gun - you can rent one from the hardware store.
- Level
- Measuring tape
- Pencil
- Painters tape
- Wood putty
- Light grit sandpaper
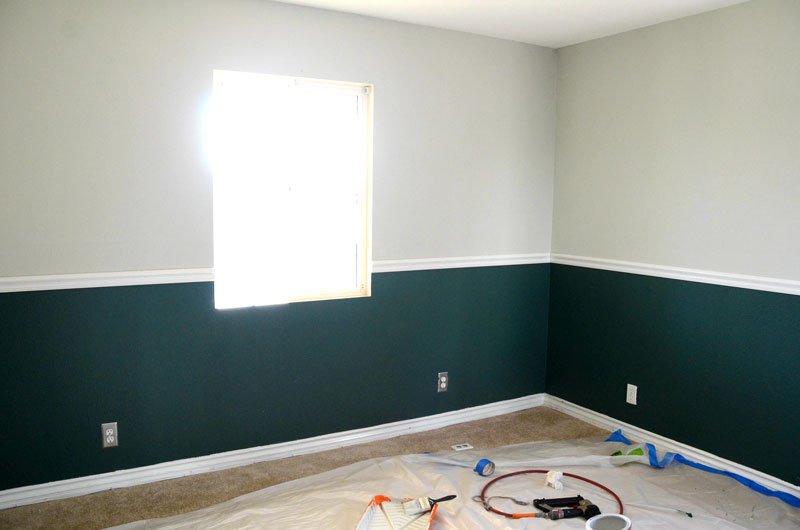
- Two colors of paint - we used BEHR Blue Fir (below the chair rail) and Light Year (above the chair rail) and paint for moulding

DO IT!:
- Pre paint your moulding outside and let dry.
- Measure and use a level and the pencil to draw a line where you want the chair rail installed. You can put a pice of tape over the line (as long as it's more narrow than the moulding or just paint up to the line with each color.
- Paint above and below the line with your colors of choice.
- Measure each side of the wall (around doors and windows) and cut your moulding pieces to match these measurements. NOTE: Use the mitre box to do 45 degree angle cuts on the ends that will meet in a corner (forming 90 degrees when two pieces meet). Square off and blunt ends, like around windows, by making a 45 degree angle cut (on one side) and a straight angle cut in an inch or so long piece to form a clean end cap.
- Nail up your moulding pieces using the nail gun every few inches.
- Fill in the little nail holes and conceal any seams in the moulding with wood putty applied with your finger. Let dry.
- Sand off any rough putty and patch with your moulding paint color.


