Once you get to that age where a pink fuzzy card saying "Daddy's Little Girl" just doesn't cut it anymore, a little bit of a conundrum occurs. What do you get the guy who has given you so much? Socks? Golf clubs? Tickets to a game?
When faced with this pickle, it's nice to give dad something handmade. Instead of picking out a tie from the well-organized platters in a department store, we thought a much better idea would be to pick one from a thrift store and monogram it with some custom designed embroidery.
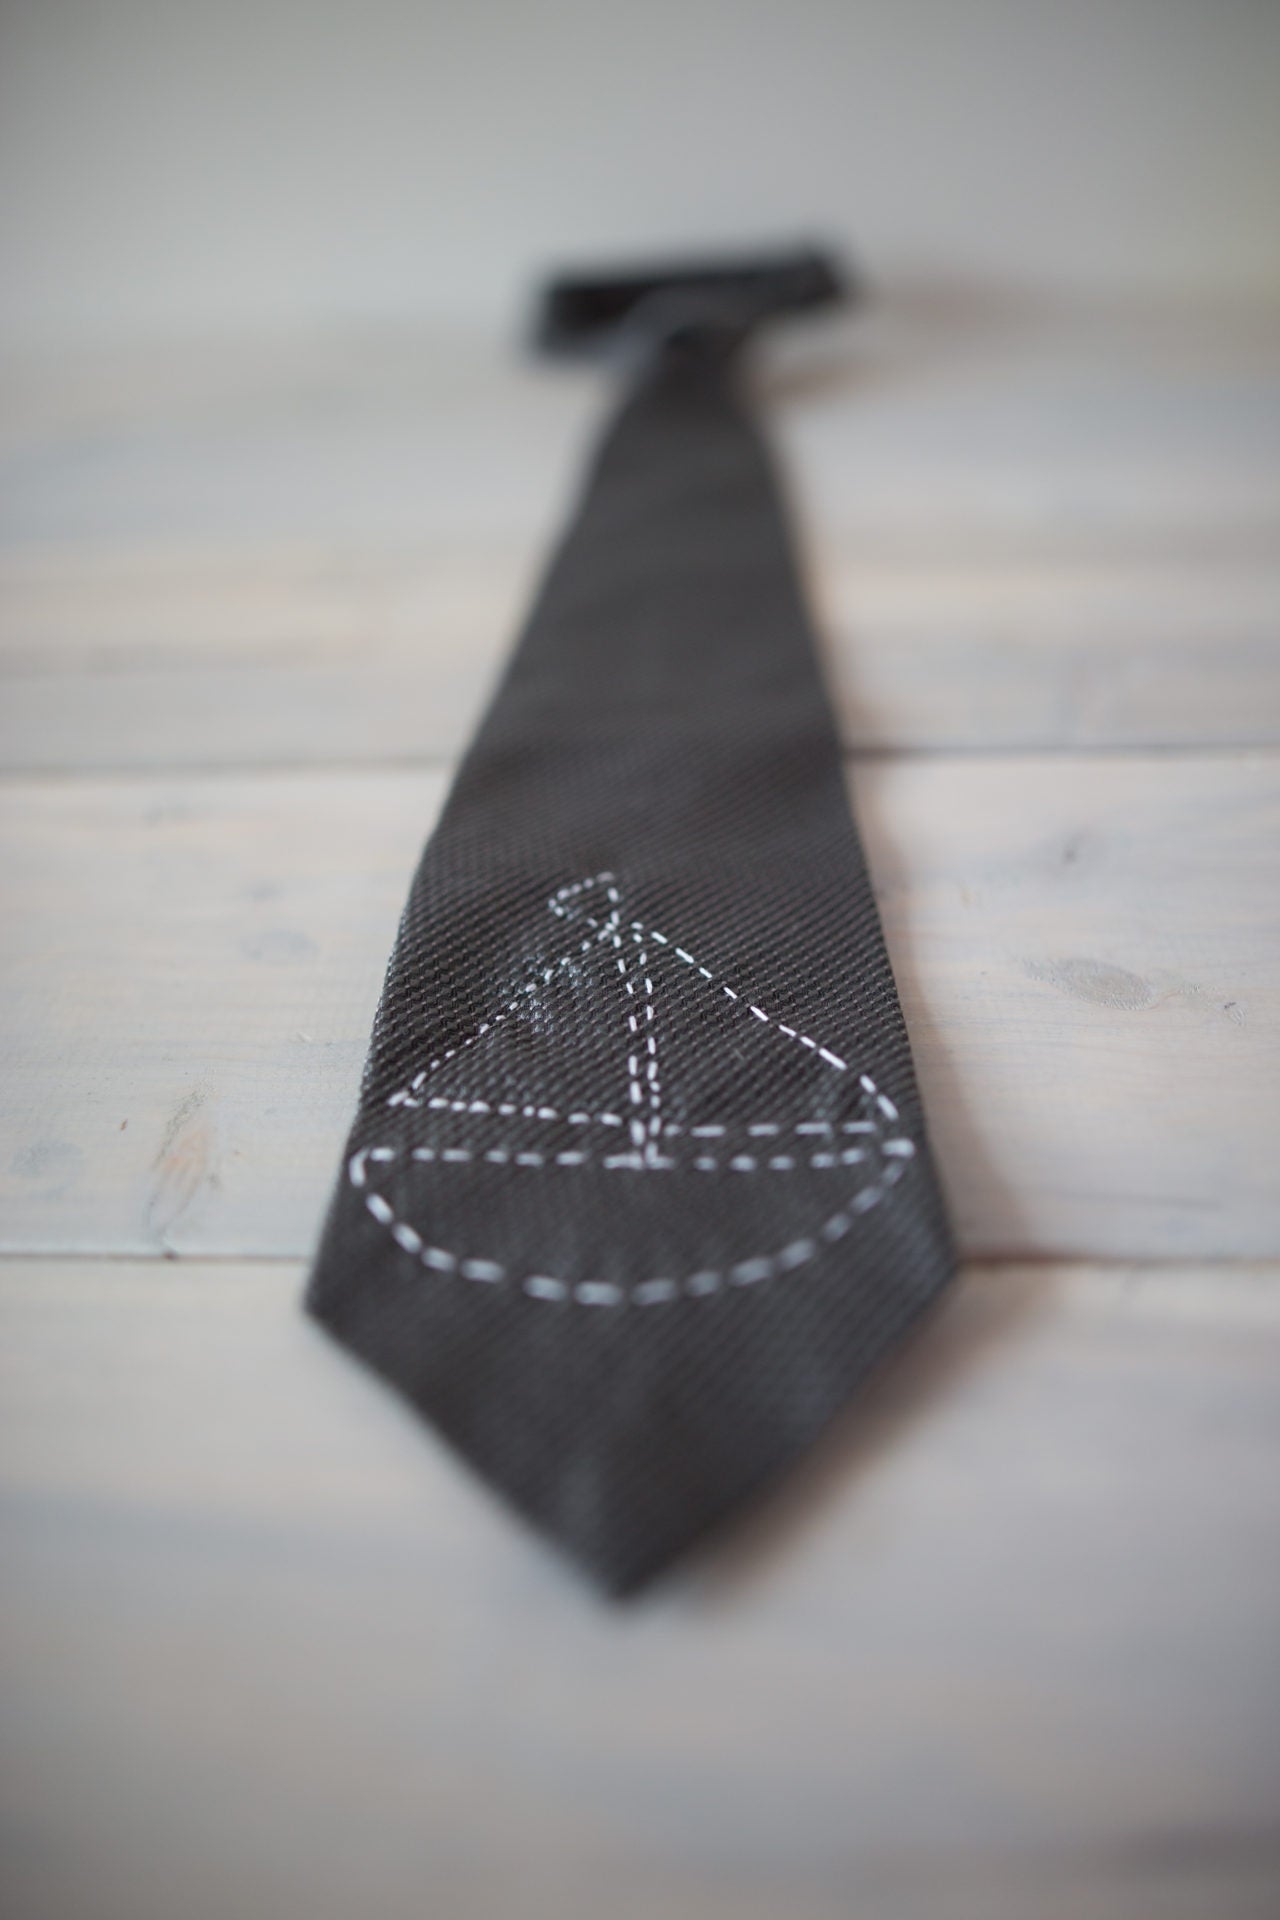
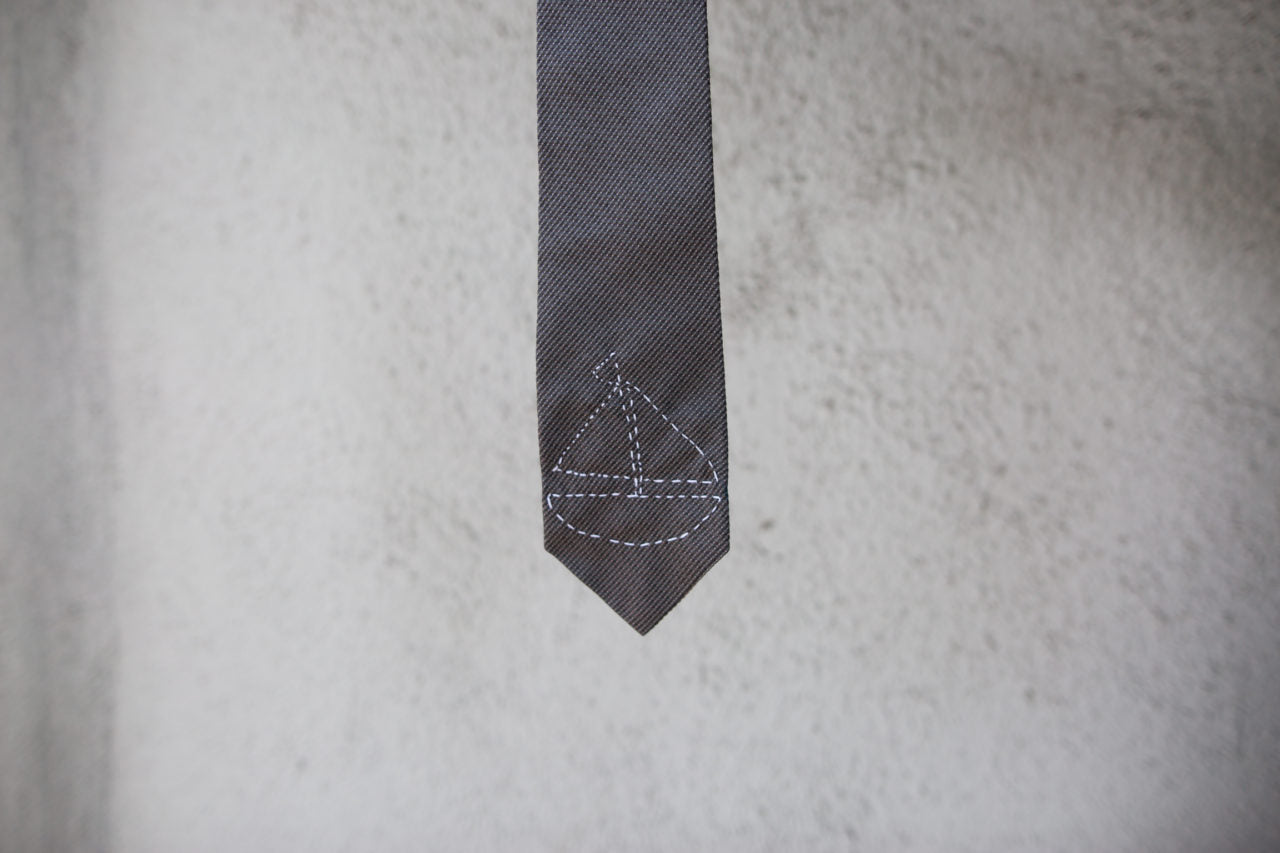
This ship is just one option for your fatherly flourish — you could sew initials, abstract patterns, or even go old school with it and write "Daddy's Little Girl!" (I would like to meet the man brave enough to wear that tie.)

Prep It:
One-color neck-tie Embroidery needle Embroidery thread Embroidery design (a doodle will suffice! Though if you want something more elaborate, check out Etsy!)


Do It!:
- Decide on what you want to embroider. You can get as creative and elaborate or as simple and straight forward as you like! This project is nice in that way, since it accommodates for every level of skill with sewing. If you're designing your own, like we did, sketch it out on a piece of paper, trying to keep in mind the stitches while you design.
- Cut a length of embroidery thread about 2 feet long. These threads come in a twist of 6 individual strands, and you'll want to use only two strands, so separate those and put the other 4 threads off to the side. Thread your needle — if you're new to sewing, make sure to make a knot at the end of the string!
- Start to embroider! Ties are very soft, so you can sew through from the back to the front with no problem. If you want a dashed look like we did, just follow the lines of the pattern, sewing over and under as per usual. If you'd like solid lines, when you push the thread back up from the bottom of the tie, sew it back up into the hole where it went down in the first stitch, then on the underneath of the tie bring it push it back through where you did originally (at the bottom of your new stitch) and follow this process!
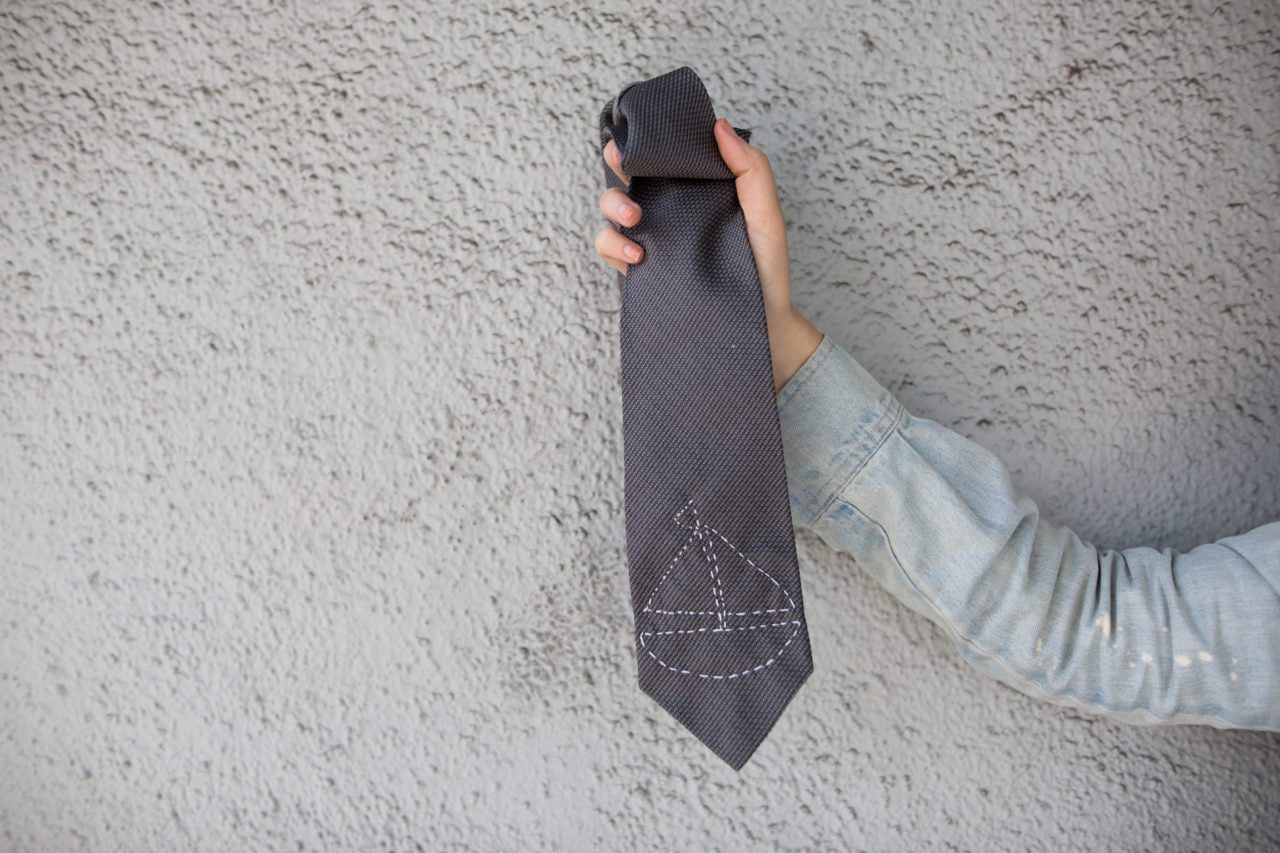
- When you're finished with your design, knot your thread in place, and cut any loose ends. Iron out any wrinkles your handiwork might have created in the tie, wrap it up, and voila!