

This has been my go-to hairdo this summer and transitions well into fall. I love that it disguises a dirty or bad hair day. The side part makes it look classier and more grown-up than center-part pigtails. This hairdo works great with straight or curly hair. Style it casually with some jeans and sunglasses or dress it up with a bold lip color.
For another hair DIY, check out DIY Letter Bead Braid.

Prep It:


 Do It!:
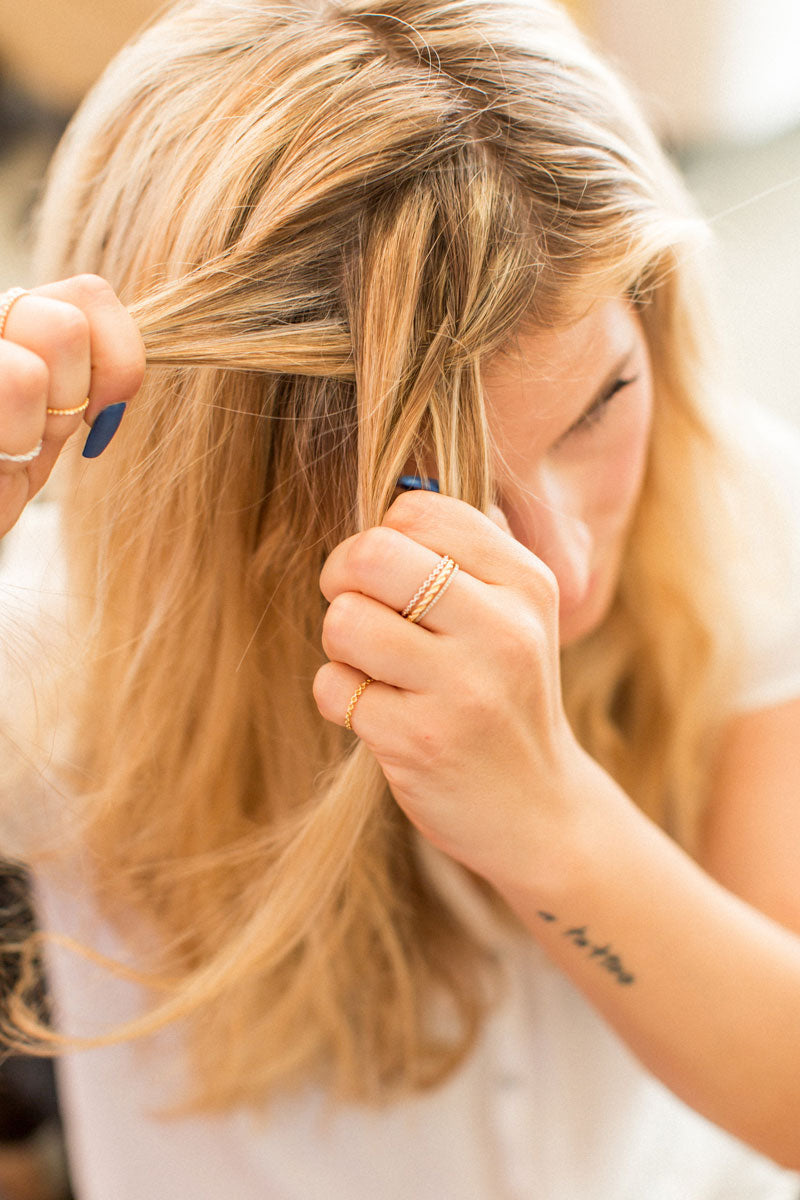
- Part your hair in the middle or off to one side using the pointy end of the teasing brush and continue the part down the back of your head, seperating your hair into two different groups on either side of your face.
- Starting with the larger clump of hair (if you've done a side part) pick up three locks of hair nearest your part and hairline and start a 3-strand braid.
- After you've overlapped all three pieces of hair in your first group one time, gather up more hair near your hairline and from the top of your head to add to two of the existing pieces. Keep doing this gather and add move after each overlap of the braid as you work your way down your hairline and around your ear. Think about it like this: every time a piece is used in the braid it gets hungry and needs a snack of some more hair so grab a nearby clump and the two pieces now become one fatter piece. This fat piece then waits its turn to be braided in to the main braid so it can snack from the other side. Try to gather just enough hair as you go to keep each one of your three locks in an even thickness with the other so the braid doesn't appear too lopsided. TIP: However, don't overthink the gathering process too much, as long as you're picking up hair and adding it to the main braid it will look good. You can always undo the braid a little to go back and pick up any missed strands. Move quickly and don't judge because usually a messy braid looks better anyway!
- Once you reach the top of your ear, direction the braid and gathering action (from step 3) back so you can braid down behind your ear, following your hairline.
- When you reach the end of your hairling at the nape of your neck, the french braid (gathering) ends naturally and it just becomes a normal three clump braid until you reach the end of your hair.
- Tie off with an elastic and repeat steps 2-5 on the other side. If you have a side part you'll just be starting a smaller braid at the part of your hair like in step 2. It will feel smaller but the moves are the same.


