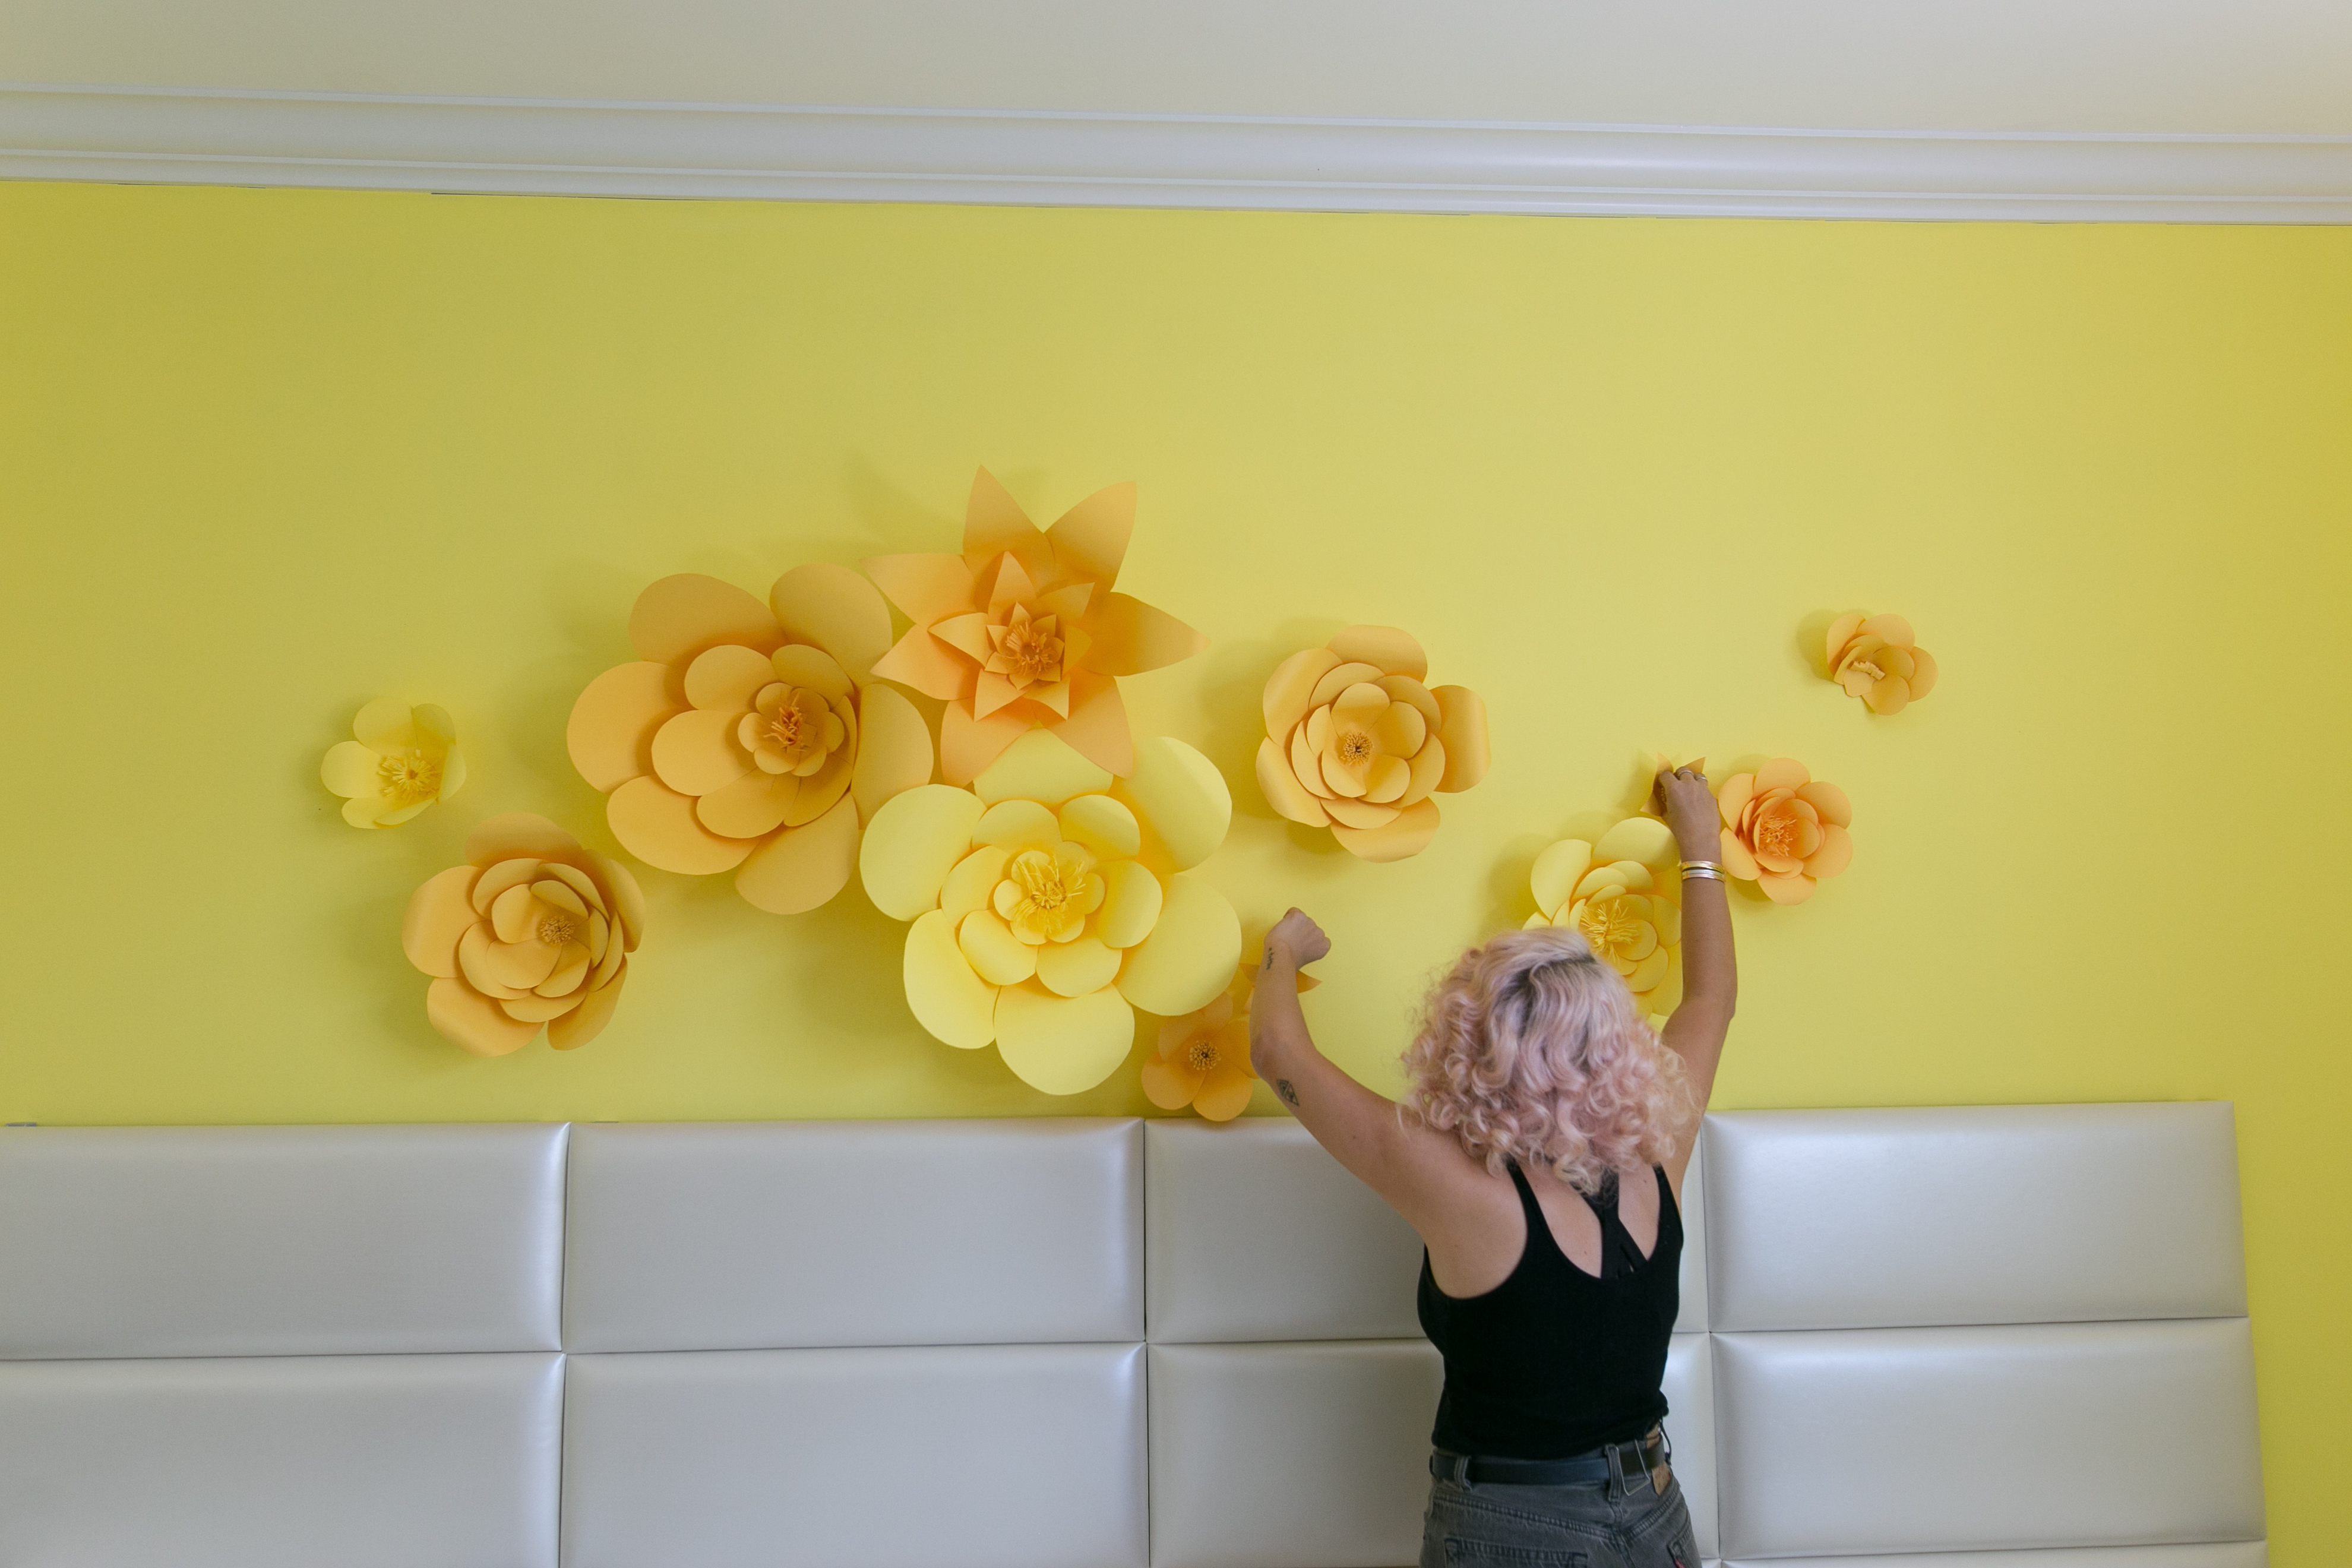
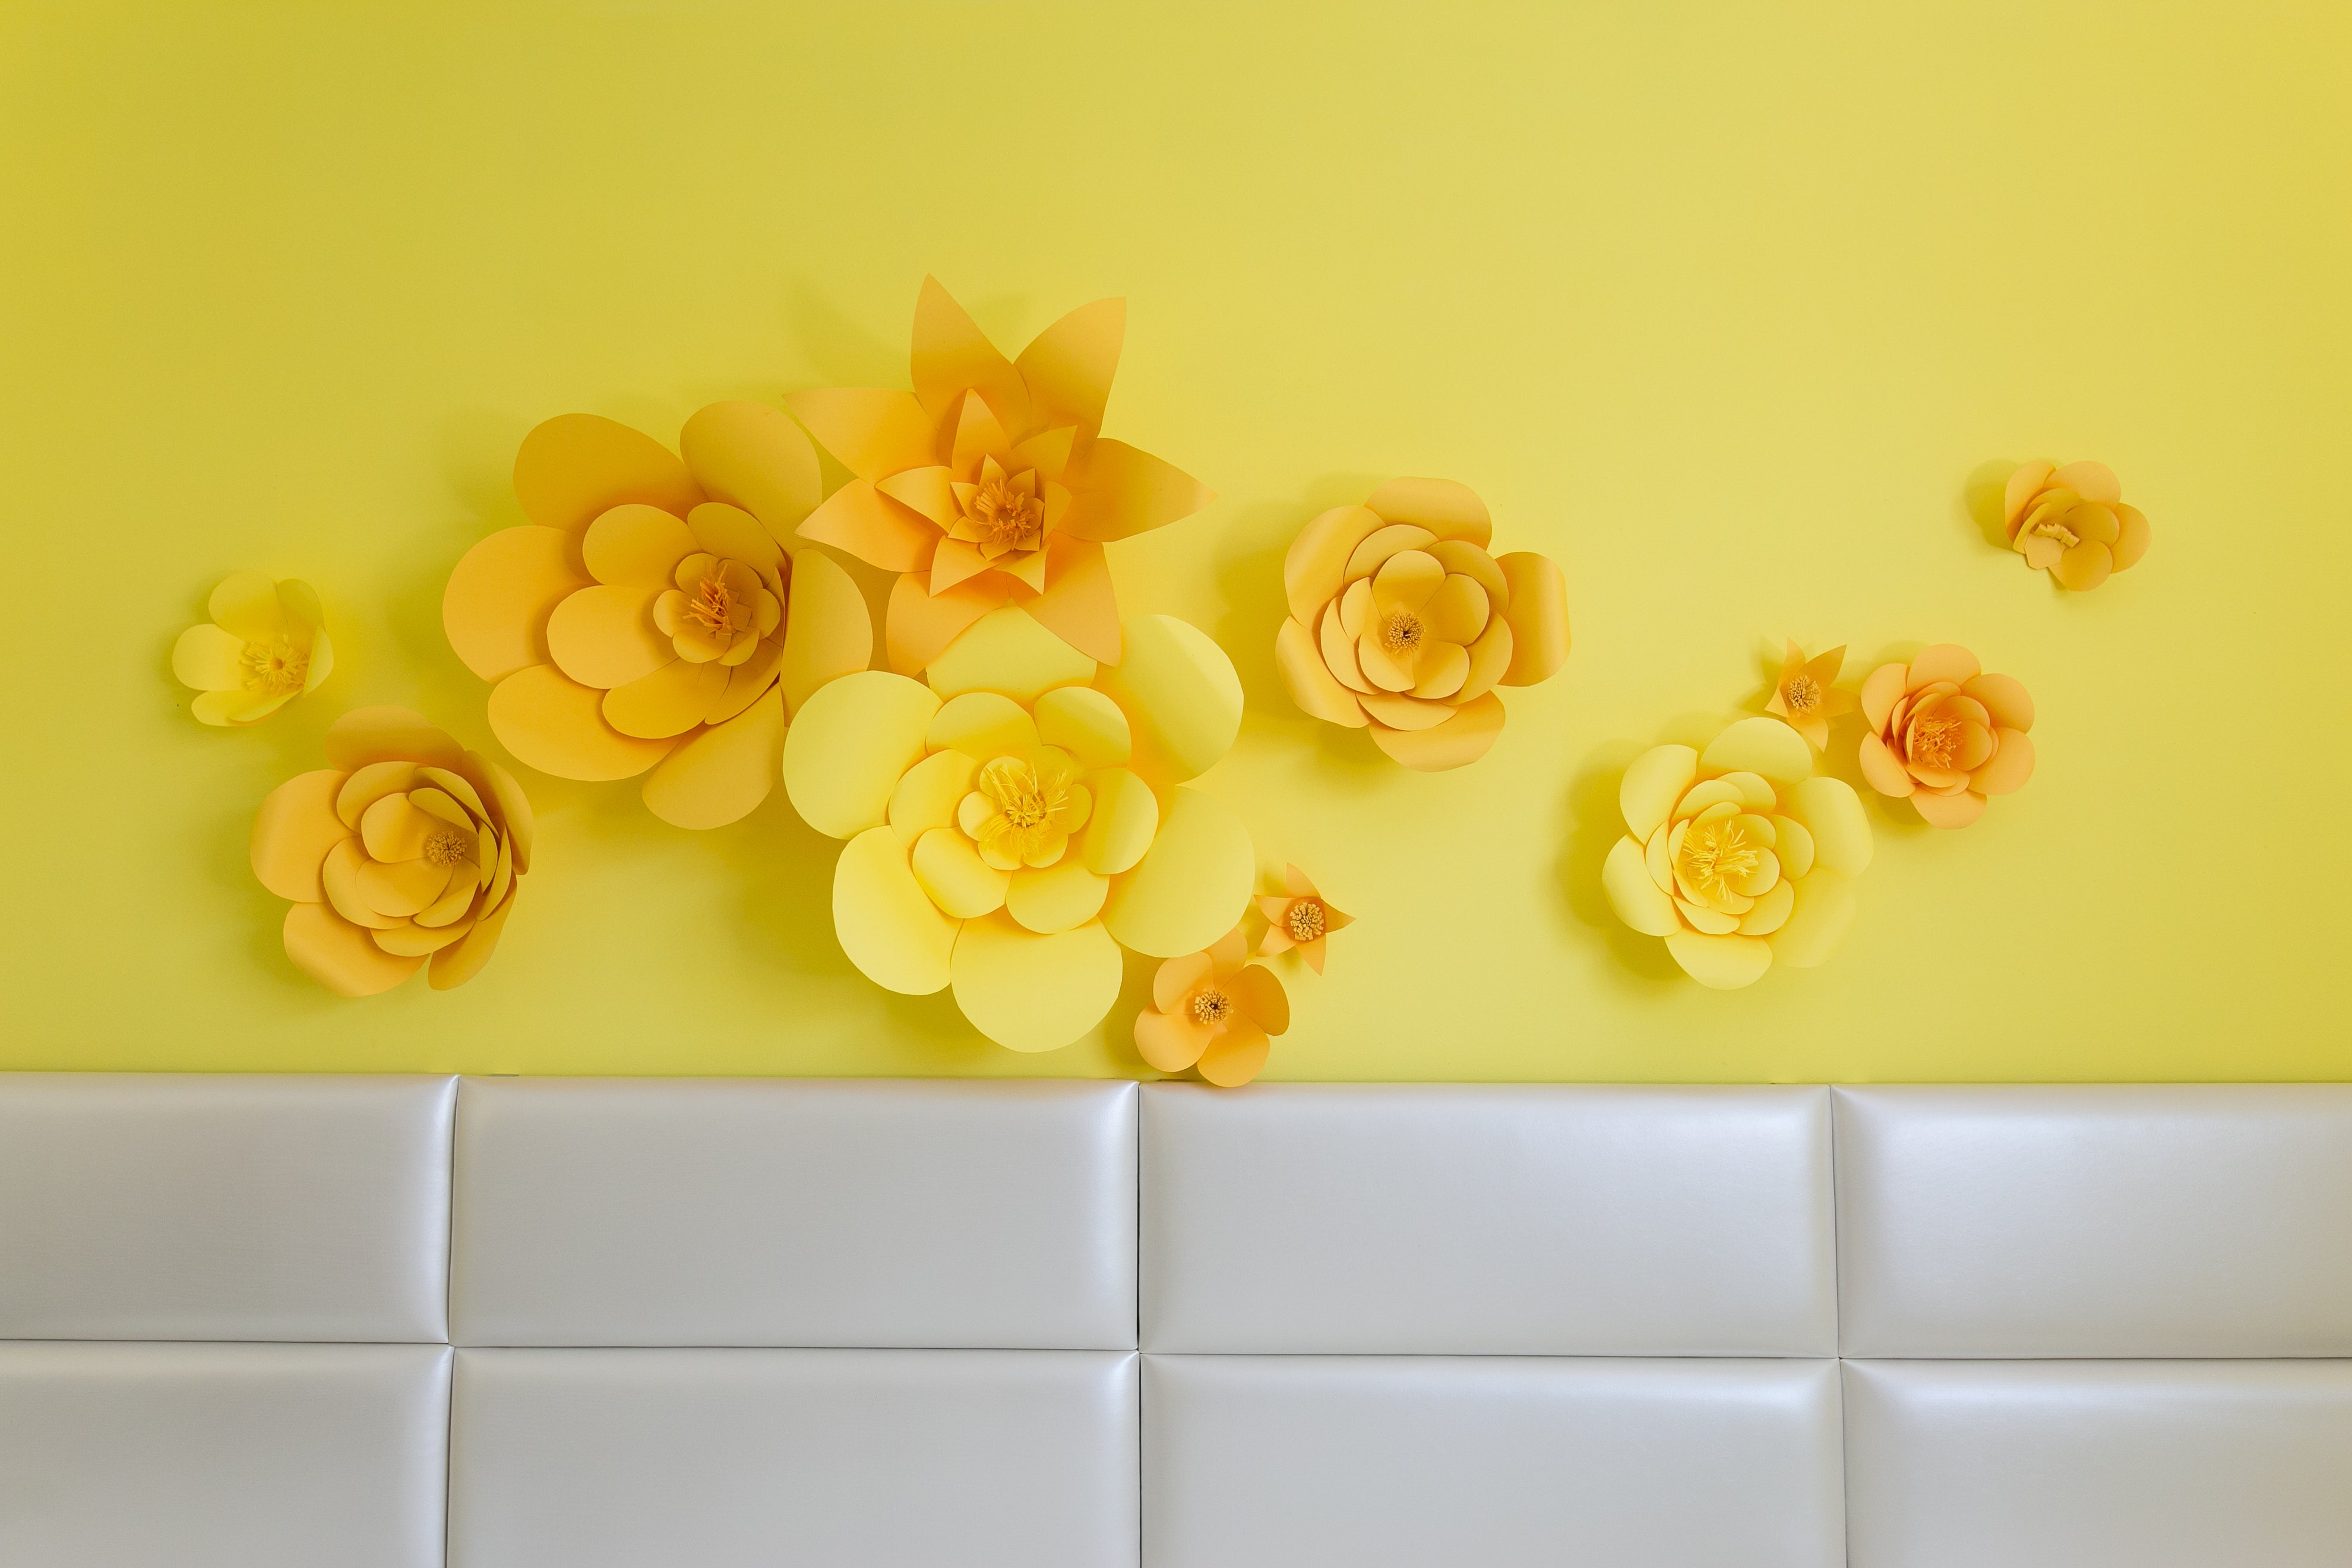
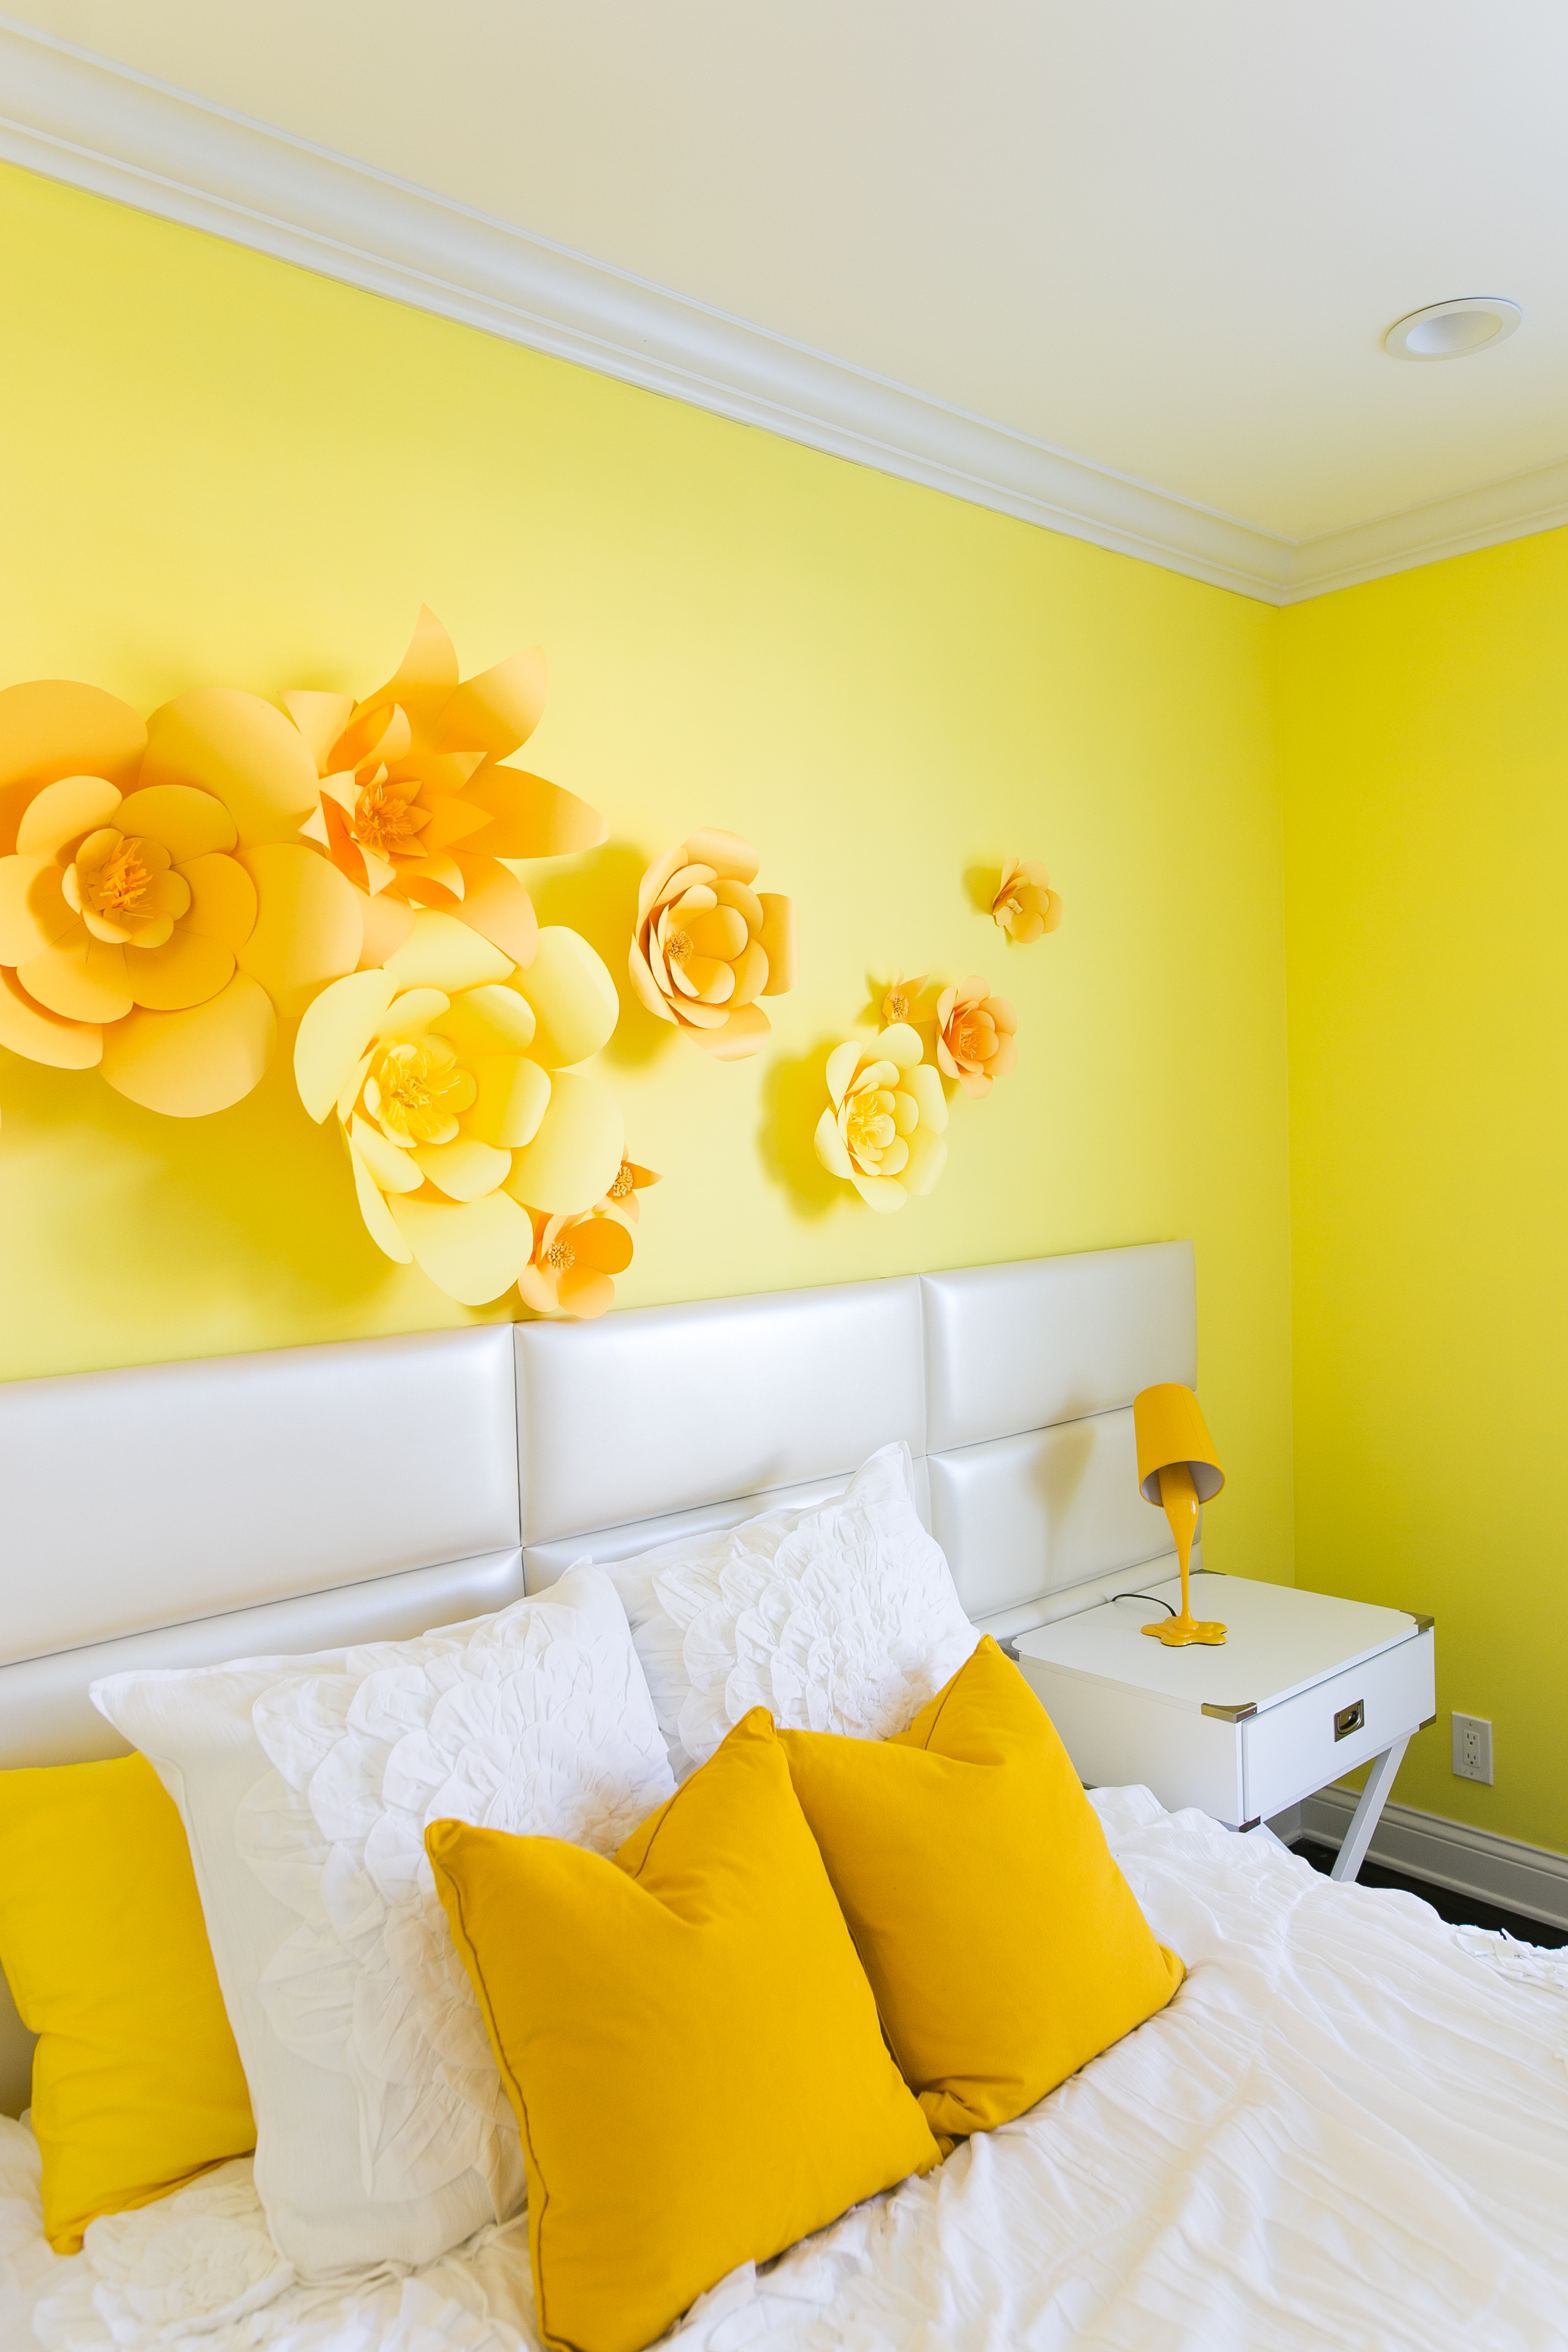
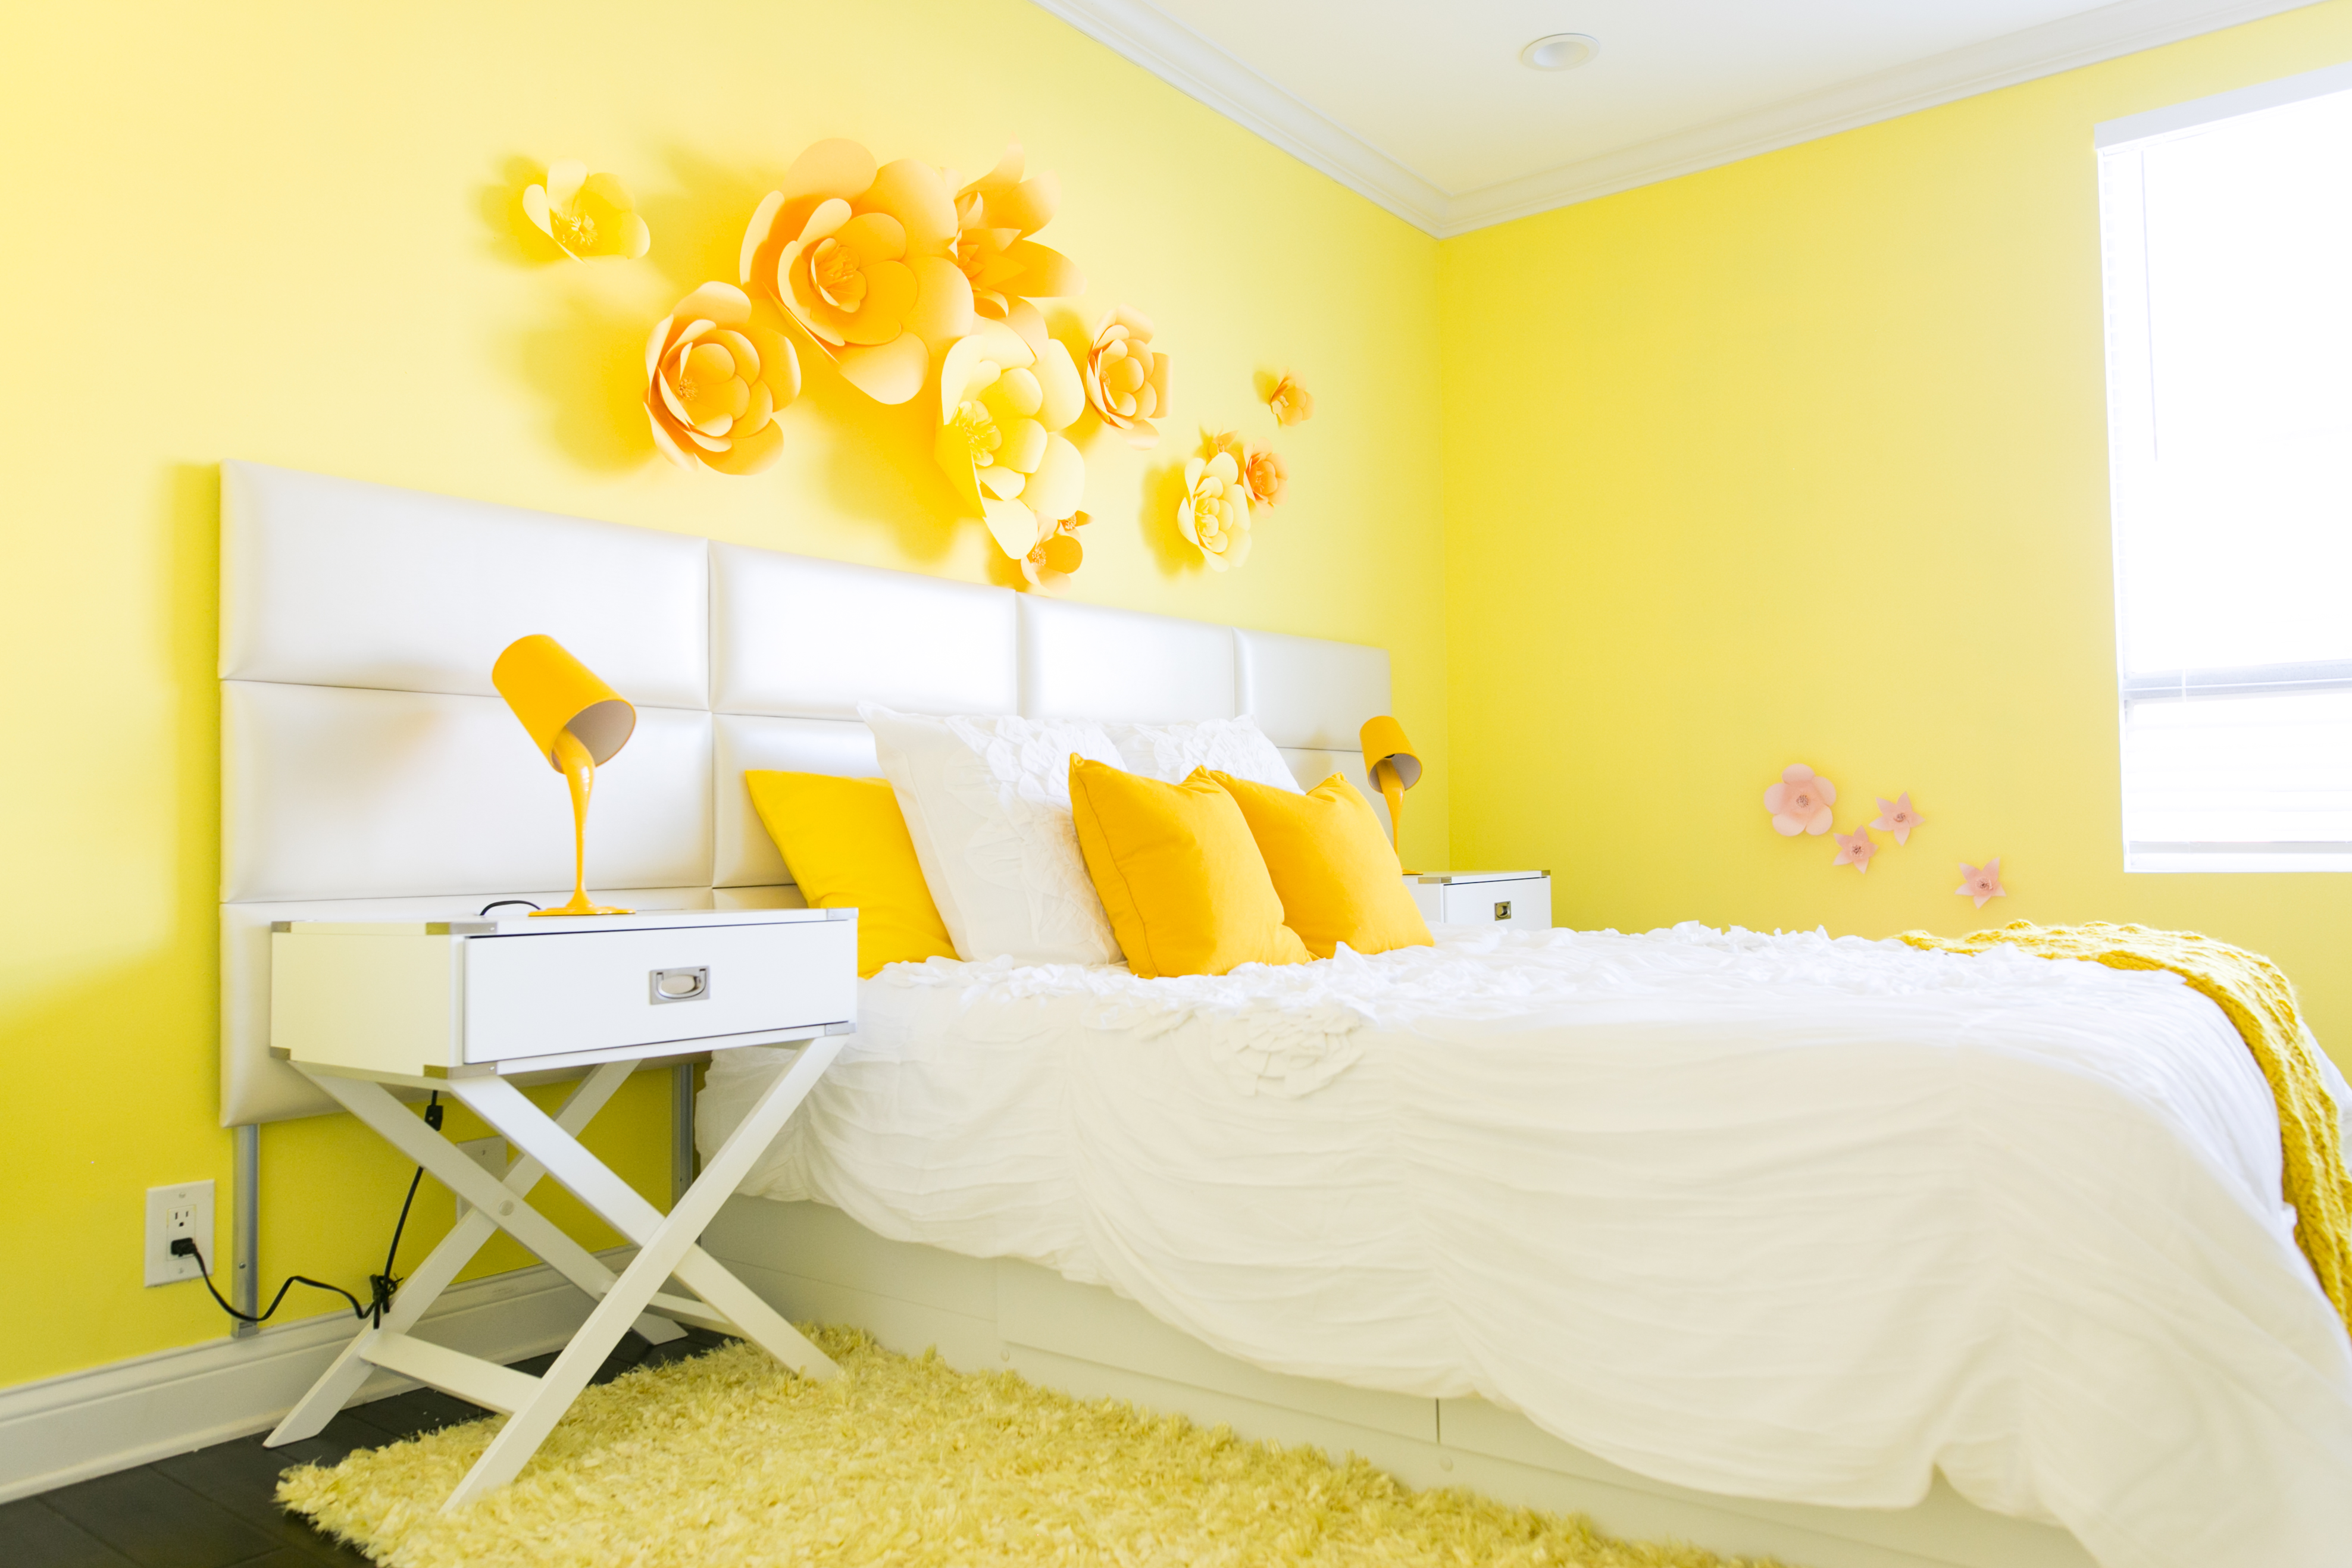
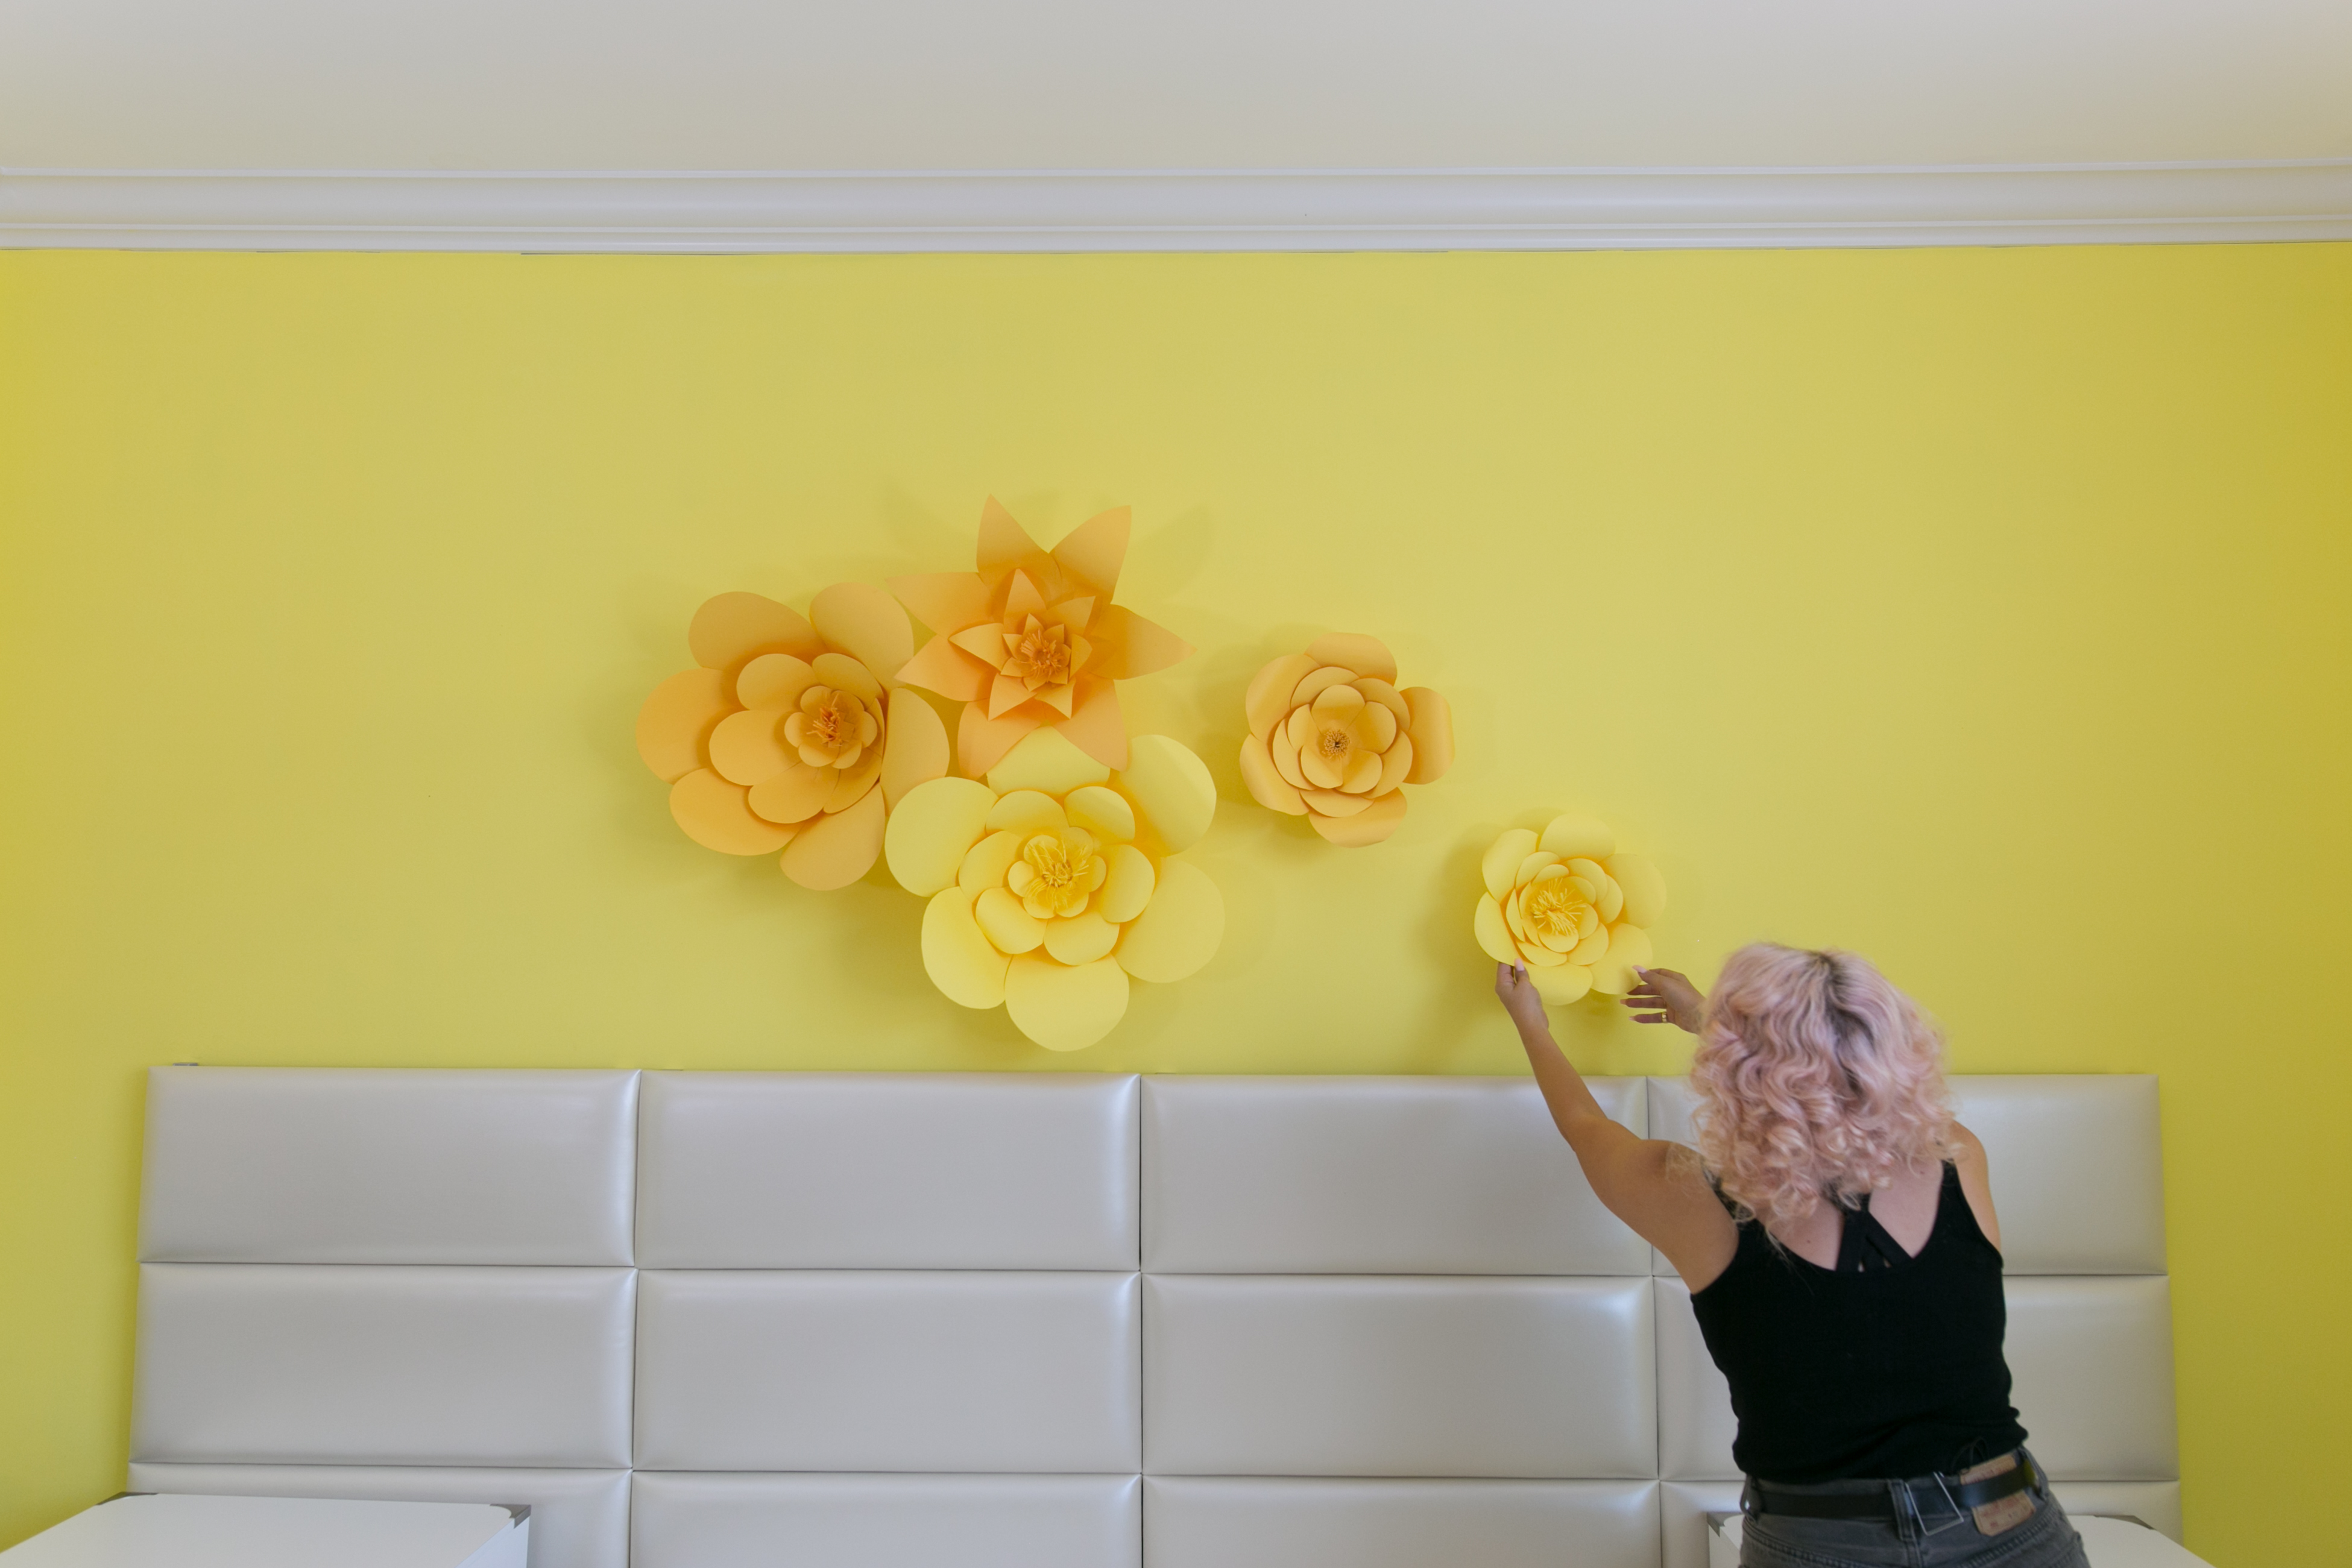
Flower power! Though it's nearing autumn in Los Angeles, the infectious happiness that some bright, fresh flowers bring to a room doesn't need to be limited by season. With a handy template (which you can download below), and some yellow paper (never wilts!), we created a flutter of large-scale flowers for Adelaine Morin's bedroom wall ... but you can also use this technique for something less permanent, like a photo booth at a wedding or party!
Basically, there's never a bad time for DIY paper flowers! Check out the how-to steps below!
Prep It:
Large sheets of colored paper Printed templates (click for free downloads below!) Pen or pencil Scissors Hot glue Tape Double-stick wall mount tape


Do It!:
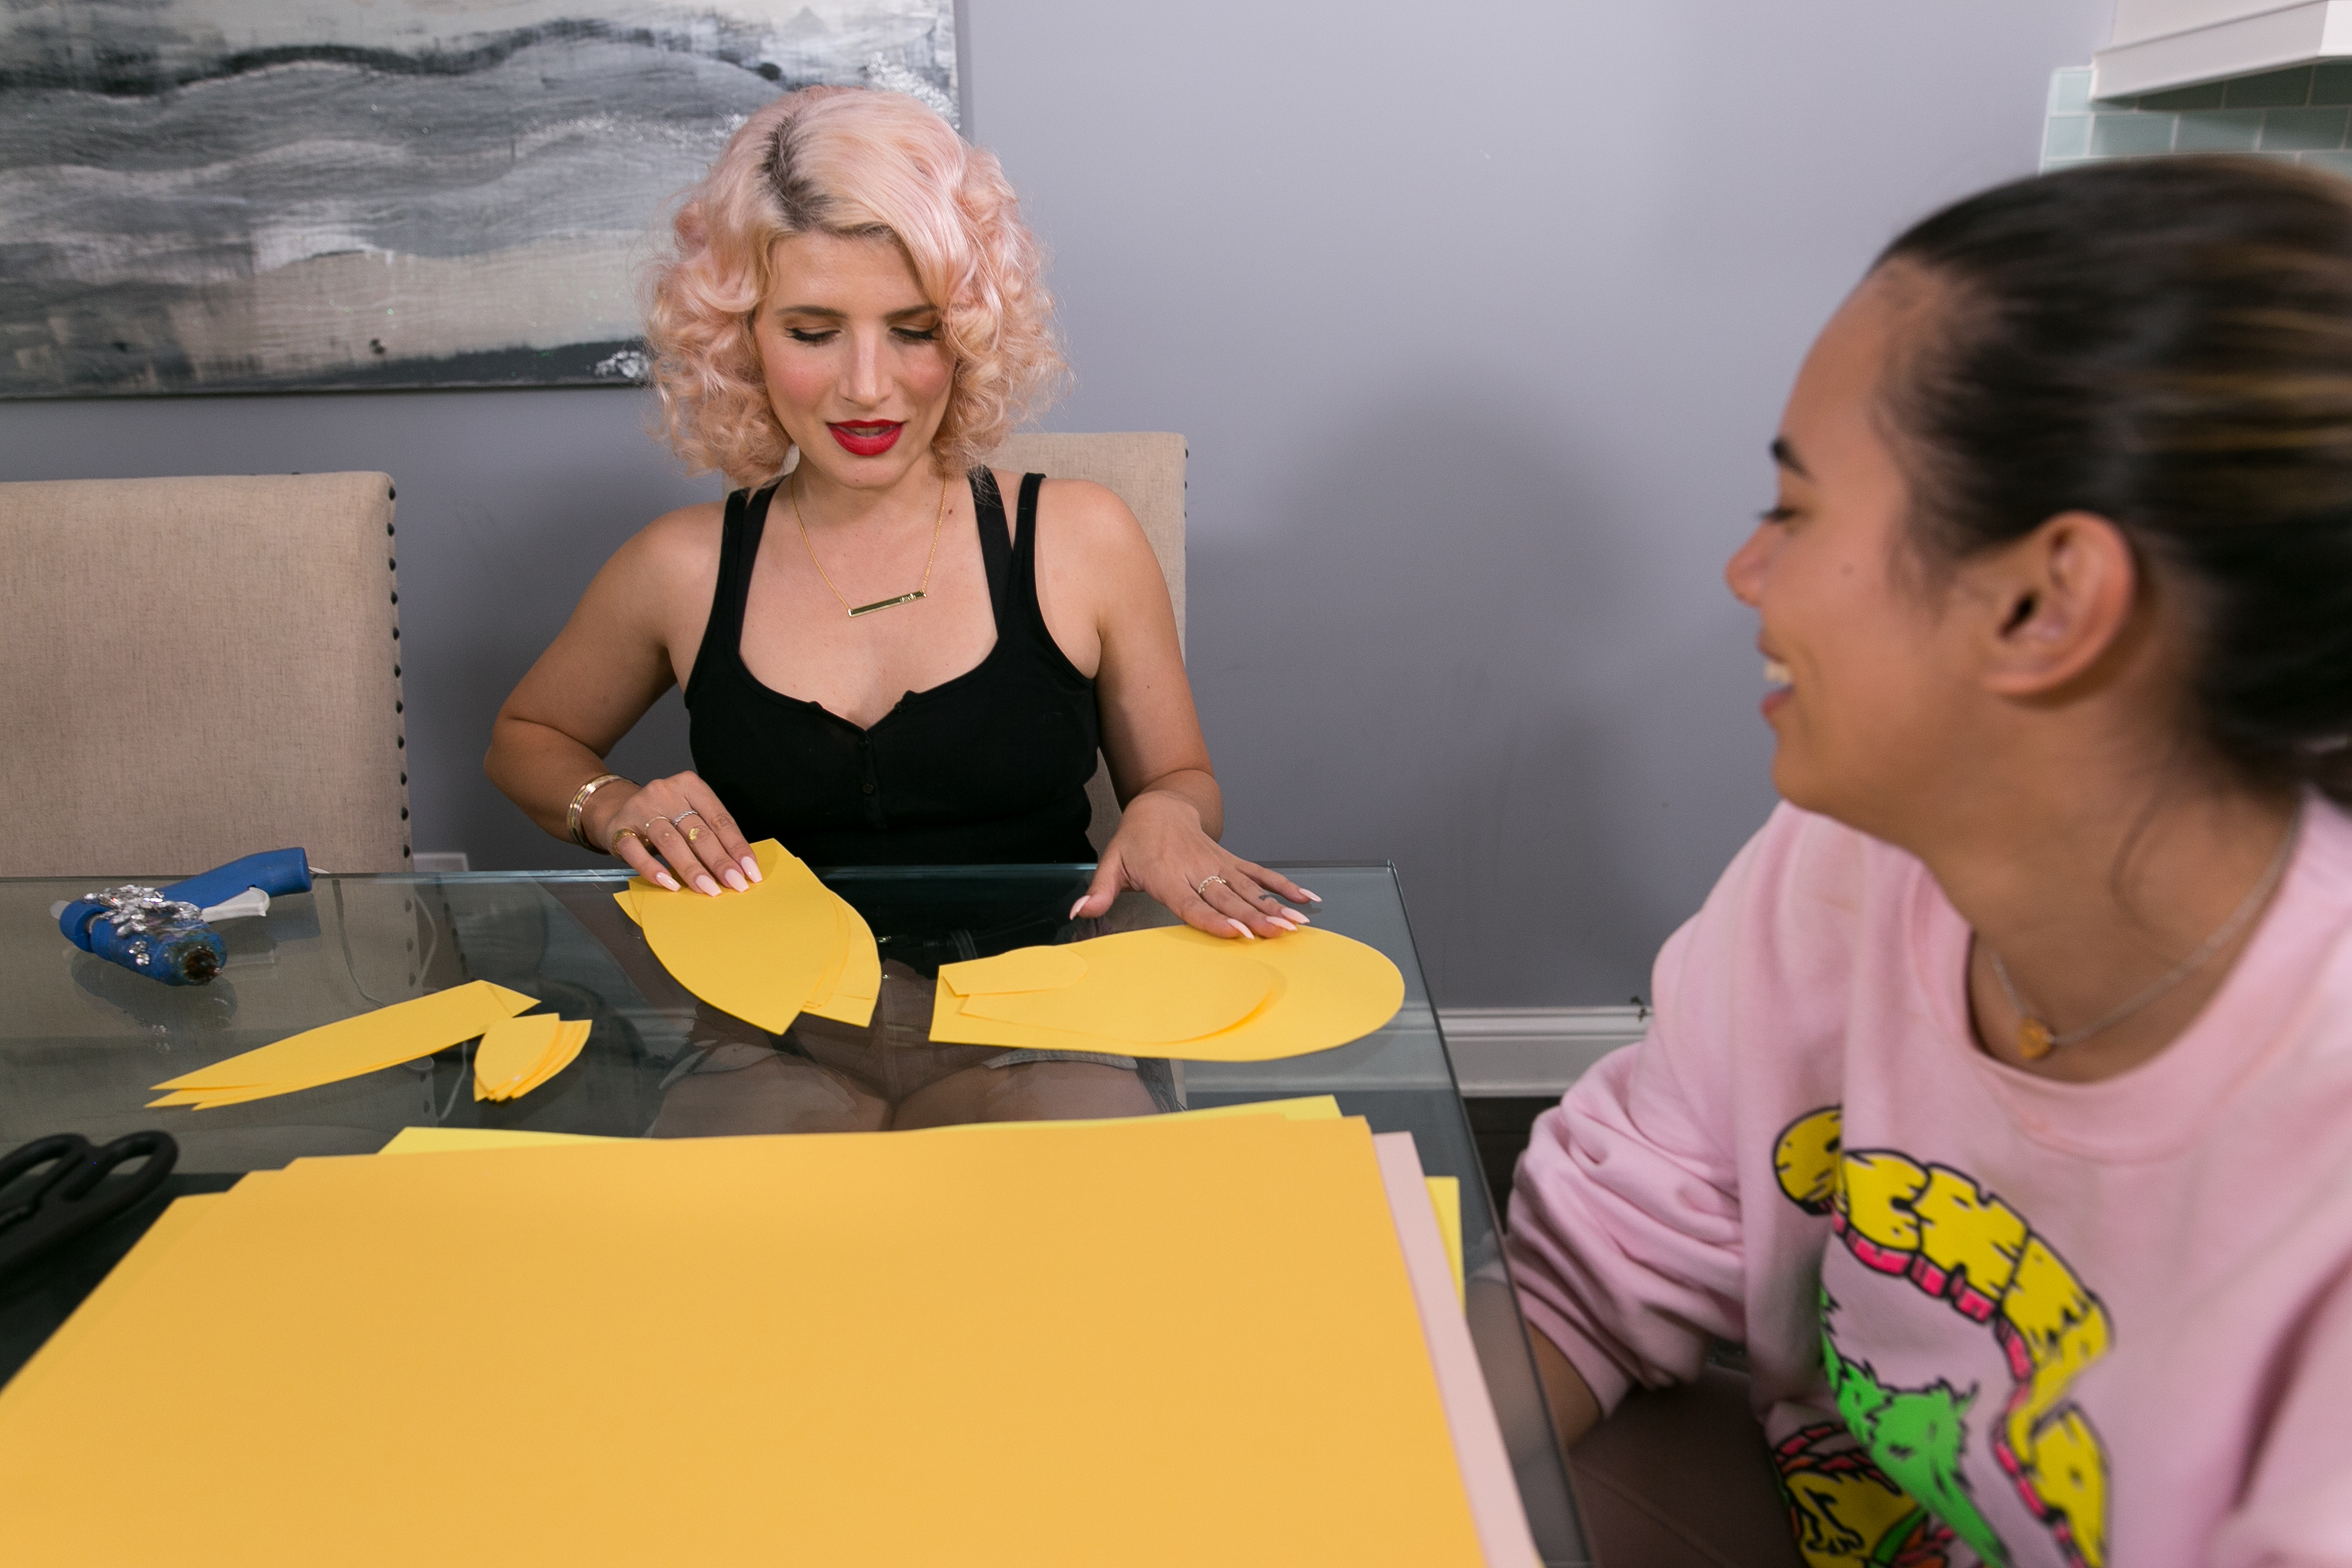
- Print out the downloadable templates for the flowers (round petals here and pointed petals here), and cut out the flower shapes in each size. Don't worry about the insides of the flower petal stencils having negative space, you'll only need the outside!
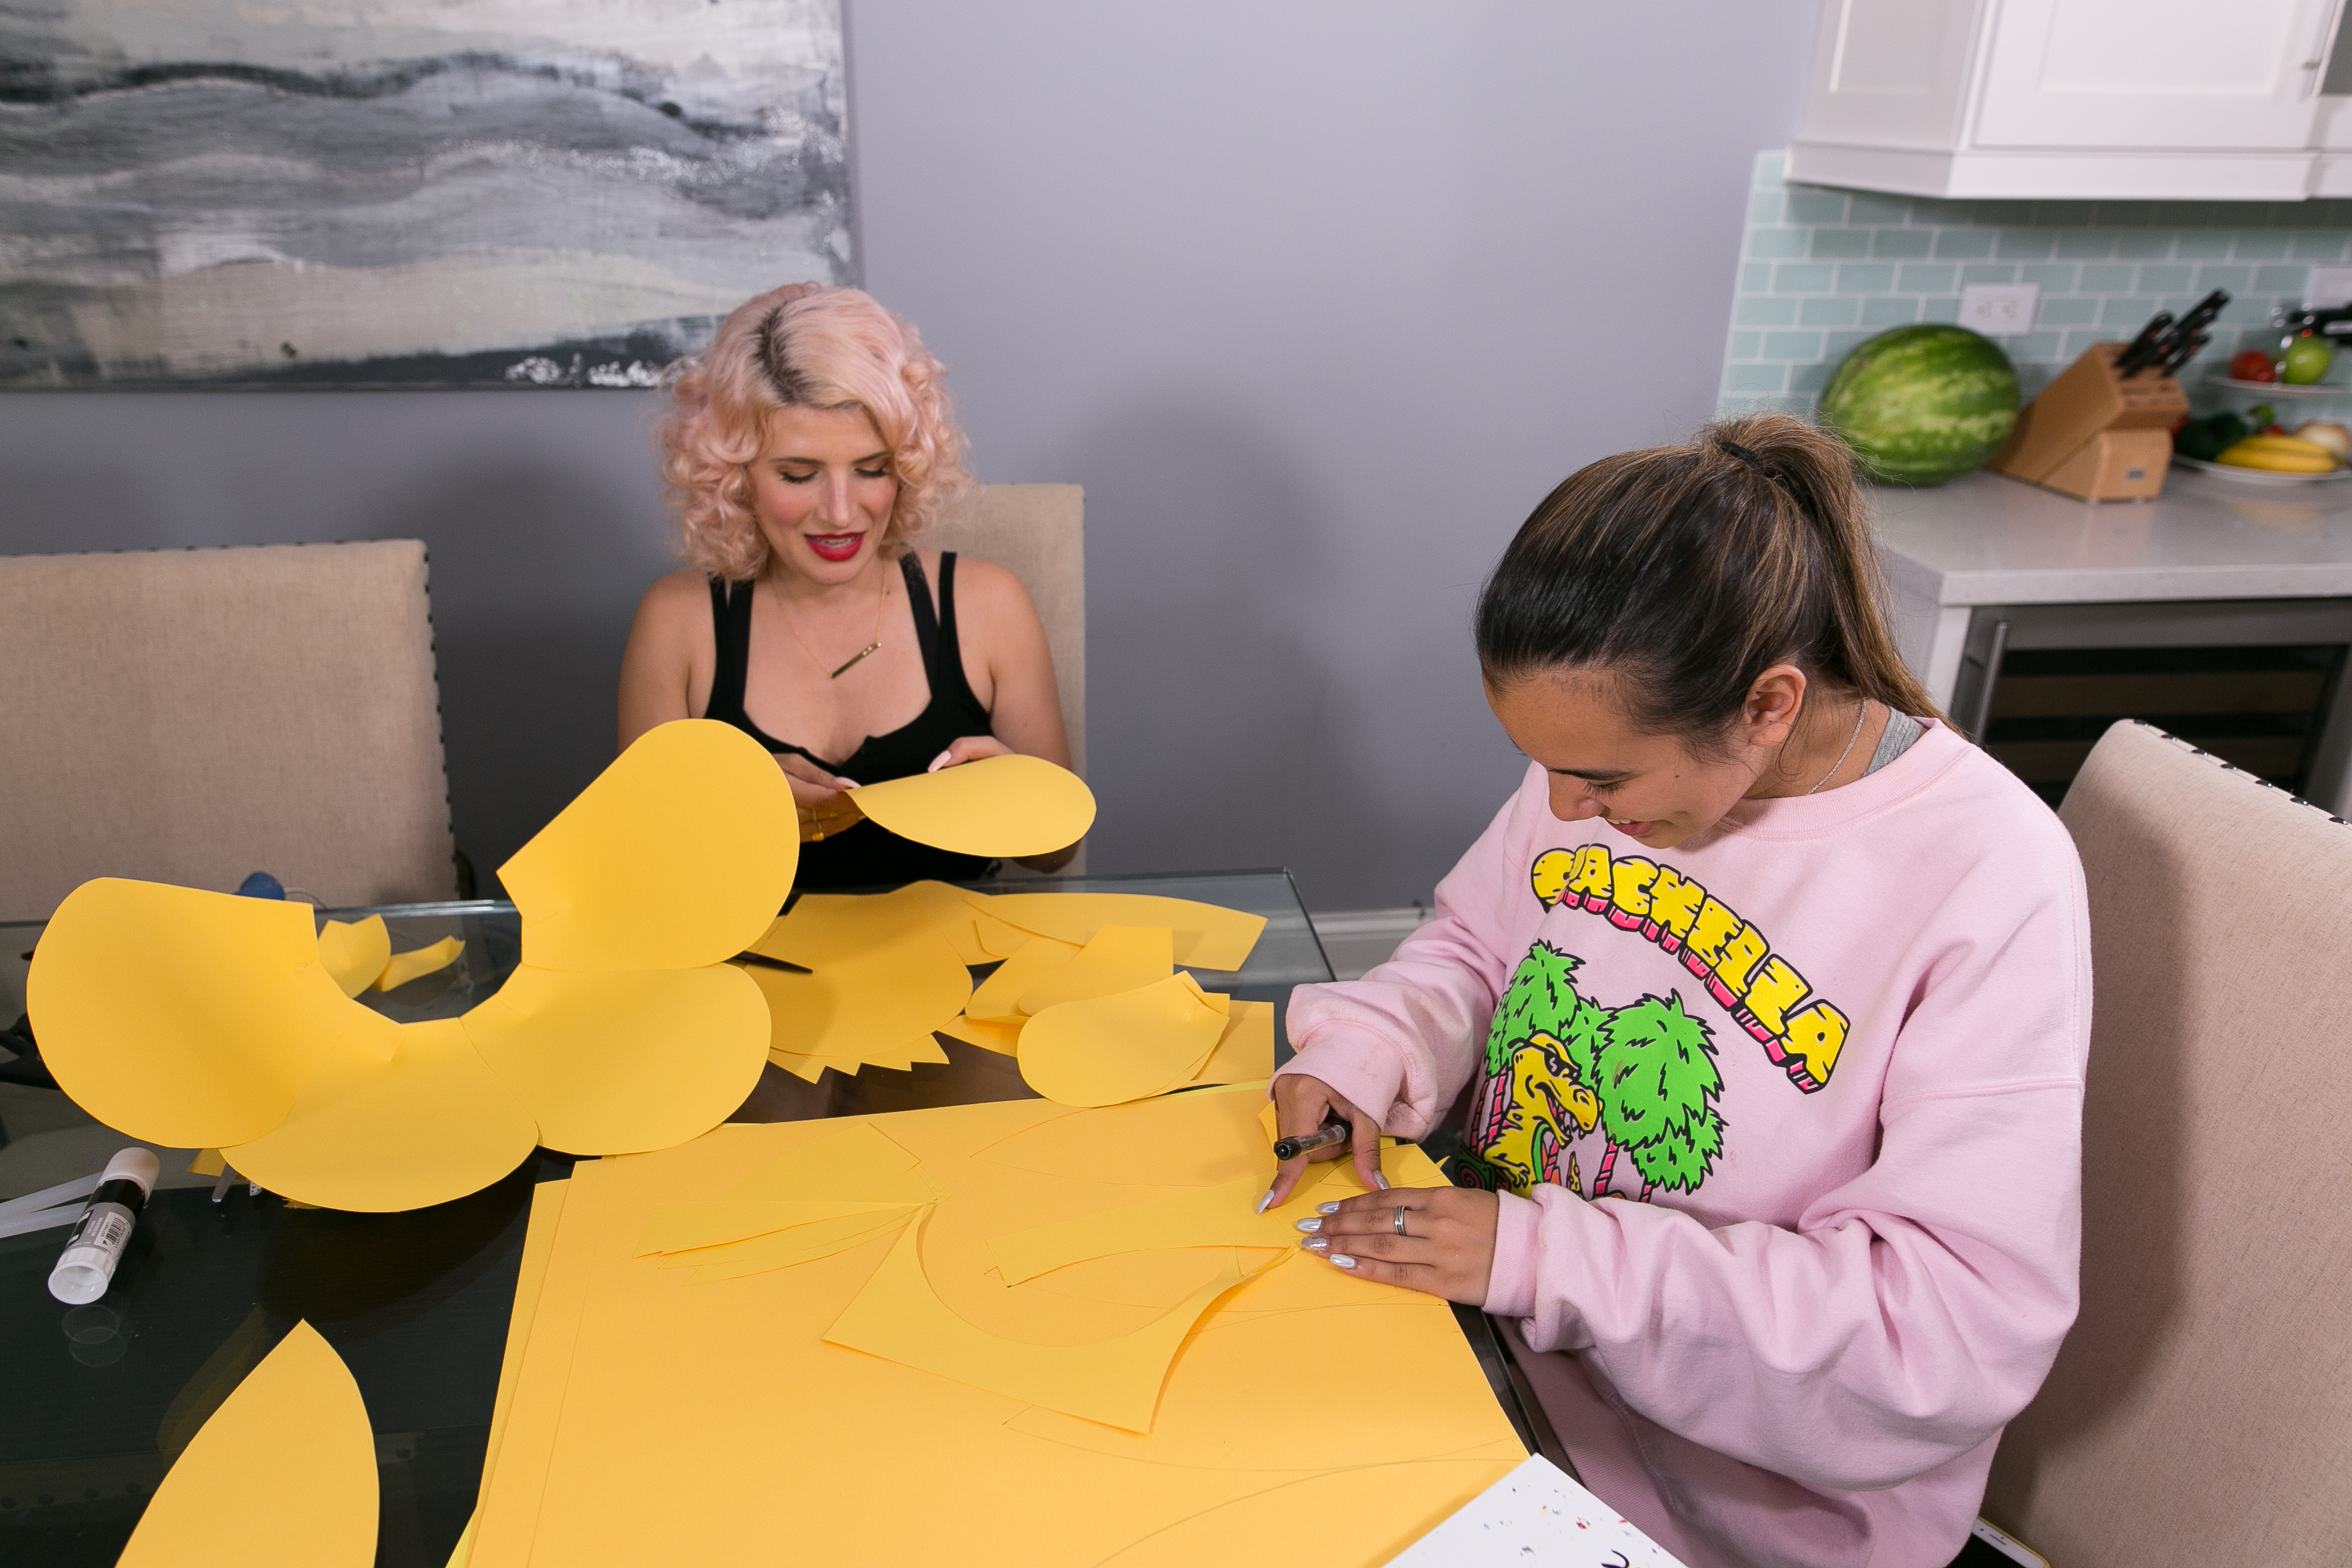
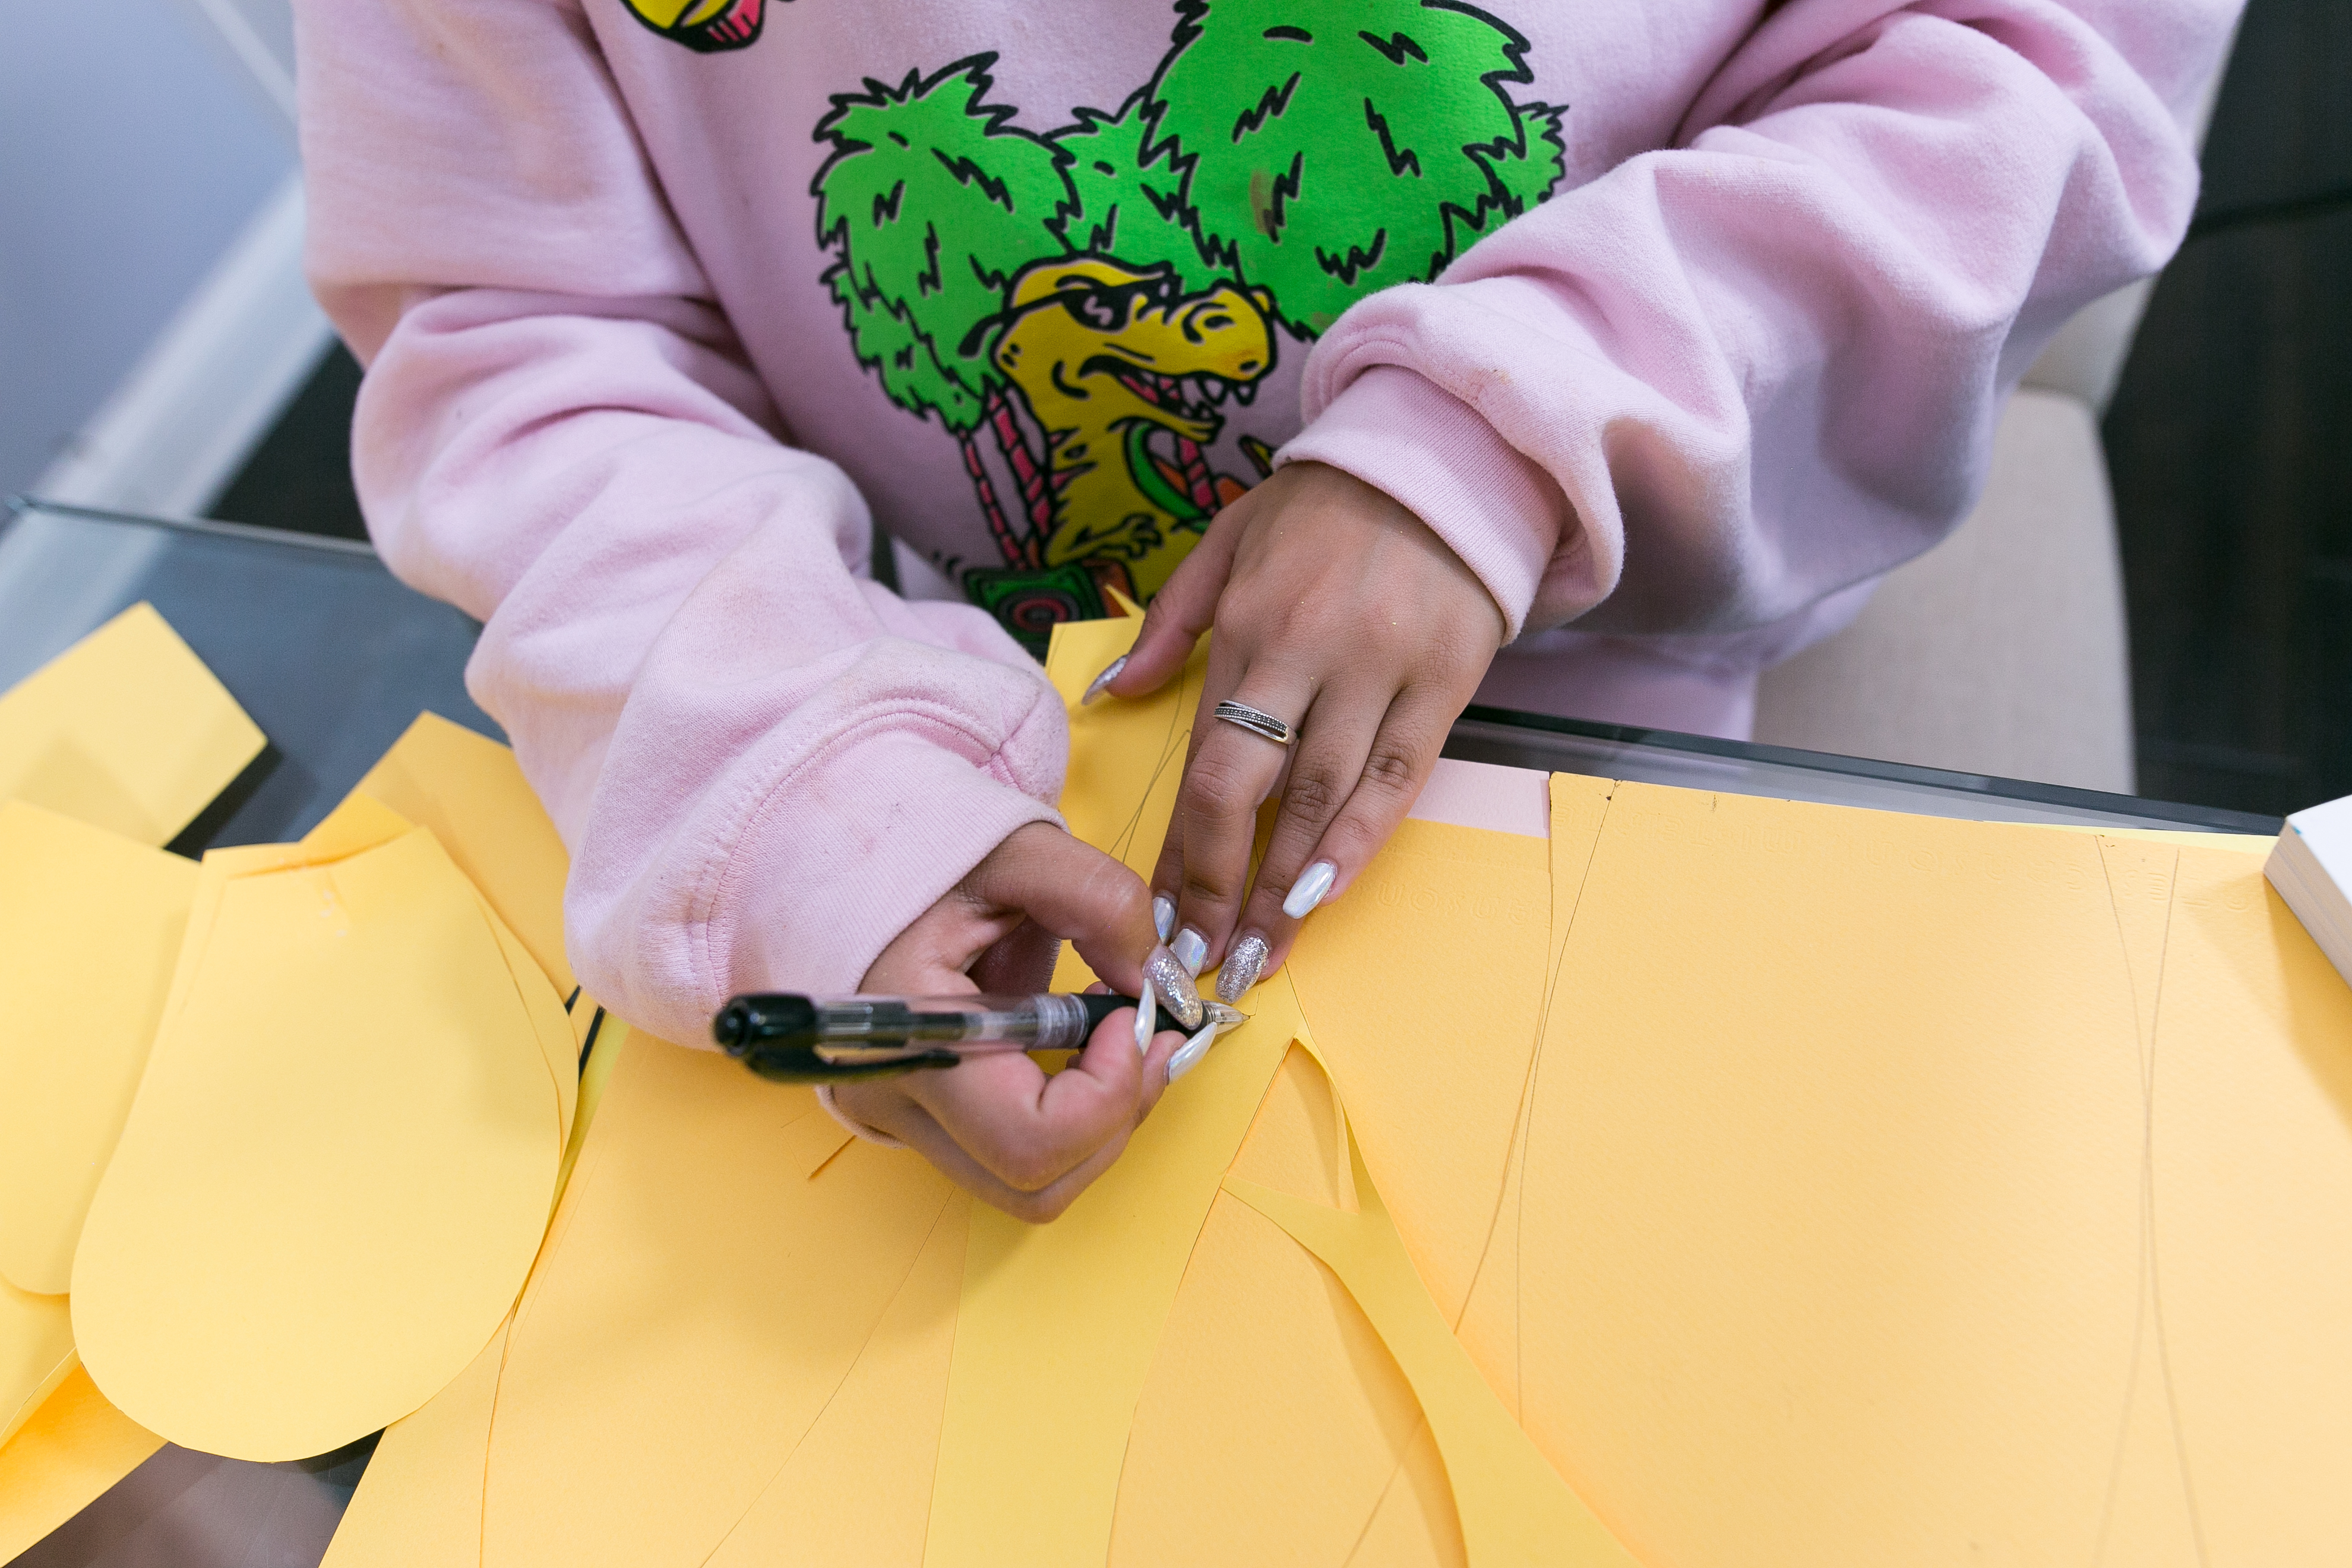
- Trace out 5-6 of each size petal onto colored paper. You can make the flowers with either 5 or 6 petals of each size! Cut a 1-3 inch vertical slice at the center of the bottom of each petal (1 inch for the smallest petals, 2 inches for the medium size, and 3 for the largest).
- Gently fold one flap of the bottom of each petal so that it is overlapping the other. This should give your petal a nice curve. Secure the flaps with glue!
- Once you have all your petals folded and finished, start assembling your flower by overlapping the largest petals slightly at the base so they form a circle. Secure with glue.
- Continue by layering in the medium sized petals in the shape of a circle within the larger flower format, securing with glue as you go. Finish the petal portion of the flower by adding in the smallest size petals.
- To create the stamen of the flower, cut a thinner strip of paper (maybe about 2 inches) and fringe it with your scissors. Roll this strip up, gluing as you go, to create the center for your paper flower. If one strip didn't create a large enough center, just keep going with a second one until you reach the size you need!
- Follow steps 2-6 to create more flowers! If you want to make smaller flowers, just forgo the largest petal, or for the smallest variety, just use the littlest petal stencil!
- To adhere your flowers to the wall, back each flower with some double-sided wall mounting tape, then stick it up! Have fun creating different patterns and layouts with your flowers ... see what kind of a garden you can make!