
World, I'd like to introduce you to my bullet journal. I decided a few months ago to organize my many thoughts into a notebook that, while including aesthetic elements, wouldn't become as rigorous of a project as the DIYs, jewelry design, and room designs that I have built my career on.
There are many bullet journal rules and tutorials out there, but I'm going to present to you my very own #creativeweirdo take, which is founded on the principle that you only need to be as strict with the guidelines as suits your lifestyle and sense of fun.
Follow along, shop my recommendations, and get inspired!

First things first — gather your supplies. Here's what you'll need: A notebook
I use the Plumb brand notebook, which can be found at Paper Source, which does not have any grids, which bullet journals sometimes adhere to. I like to create my own layouts, and staying inside the lines has never been my forte.
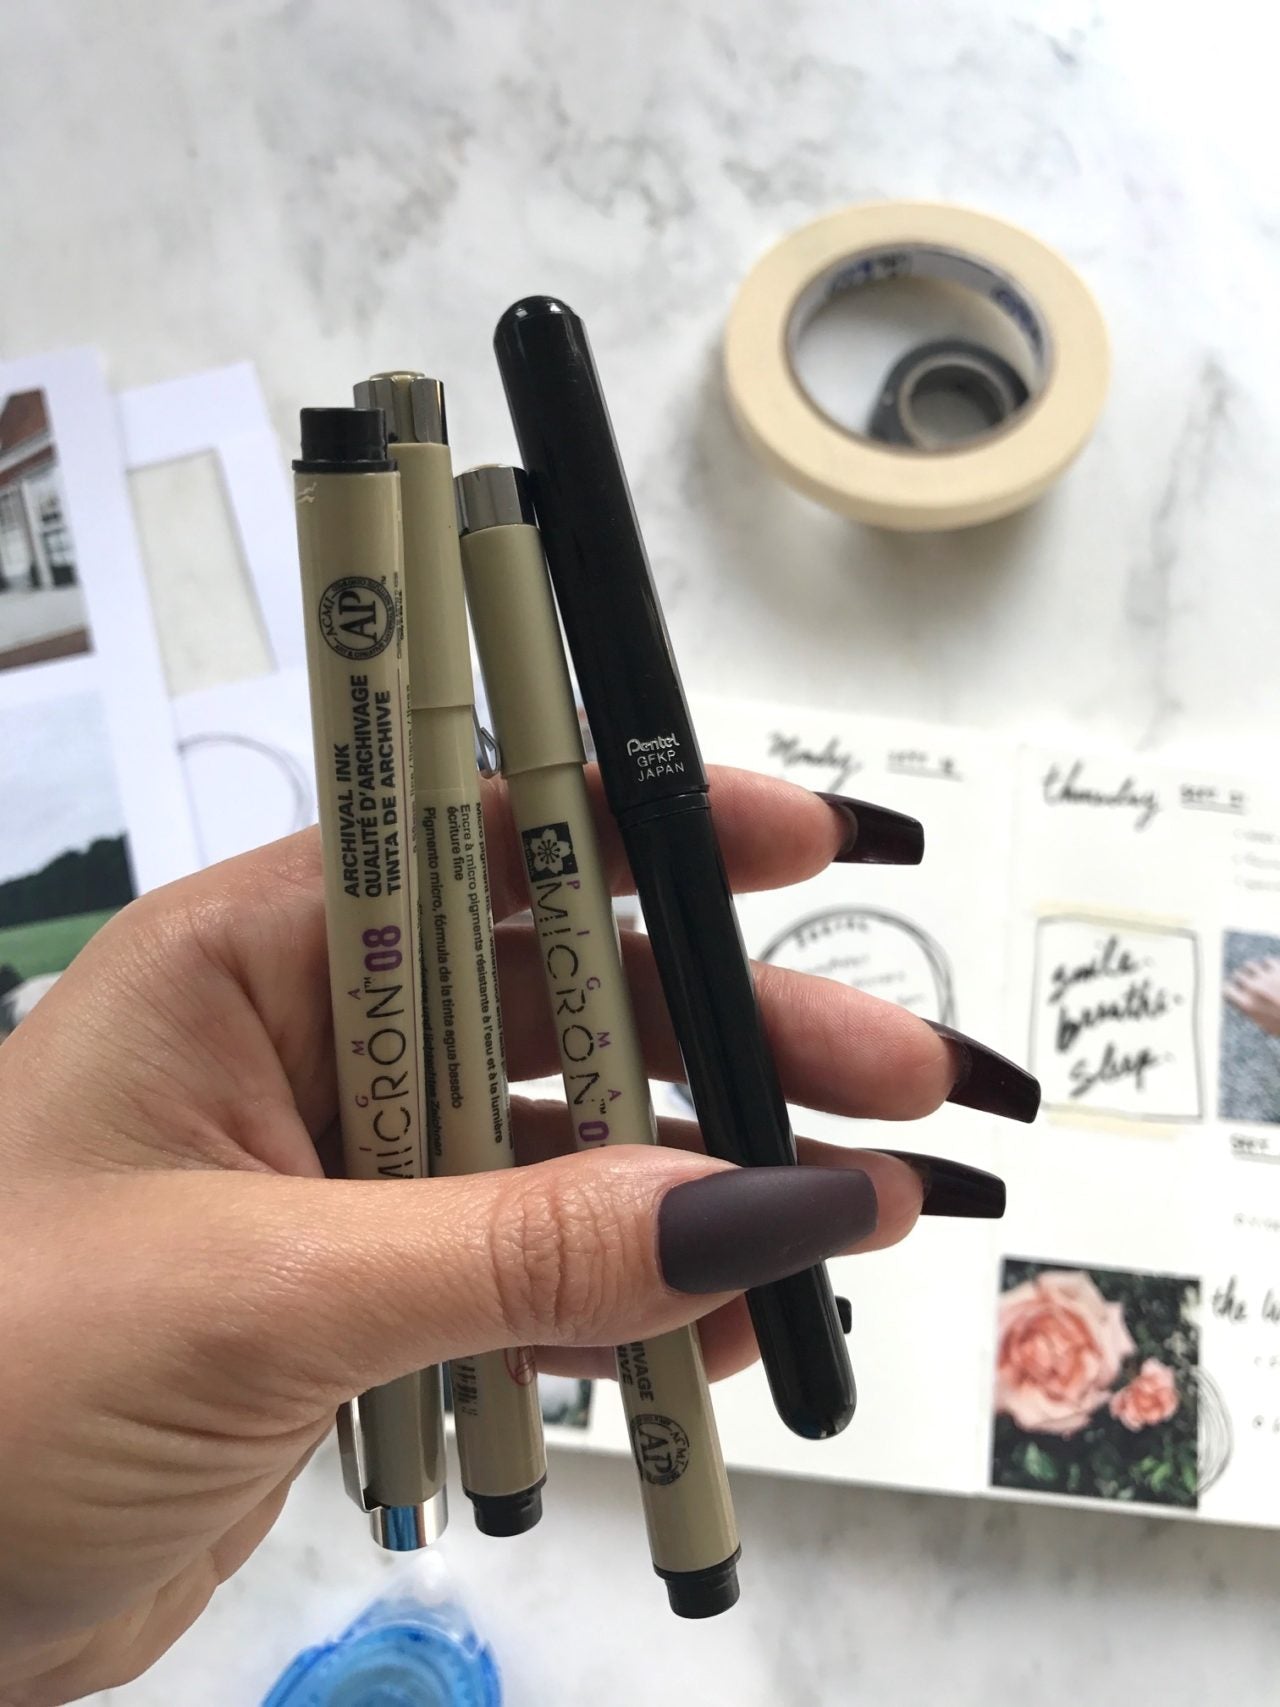
Also important: pens! Here are some of my favorites.

It wouldn't be a bullet journal without tape! These are my basic two options ...

... though it's also fun to get creative with different types of washi tape!
Shop some cute washi tapes!:

Since I take a very scrapbook/ collage-oriented approach to my bullet journal, I rely heavily on this crafter's tape, which I have found is much more convenient and less messy than glue sticks. 
Now to get into journaling! Regardless of how strictly or loosely you follow the bullet journal guidelines, the thing that makes a bullet journal a bullet journal is the key of symbols that helps you prioritize and organize tasks in a way that is less overbearing than just a lengthy list of to-dos.

Although optional, another popular feature of the bullet journal model is tracker grids that can help you monitor certain aspects of your lifestyle from water intake to sleep to moods!
Notebooks with gridded pages lend themselves easily to trackers, though I used a ruler to create my own freehand!
Here are other versions of trackers that are more freehand in style!
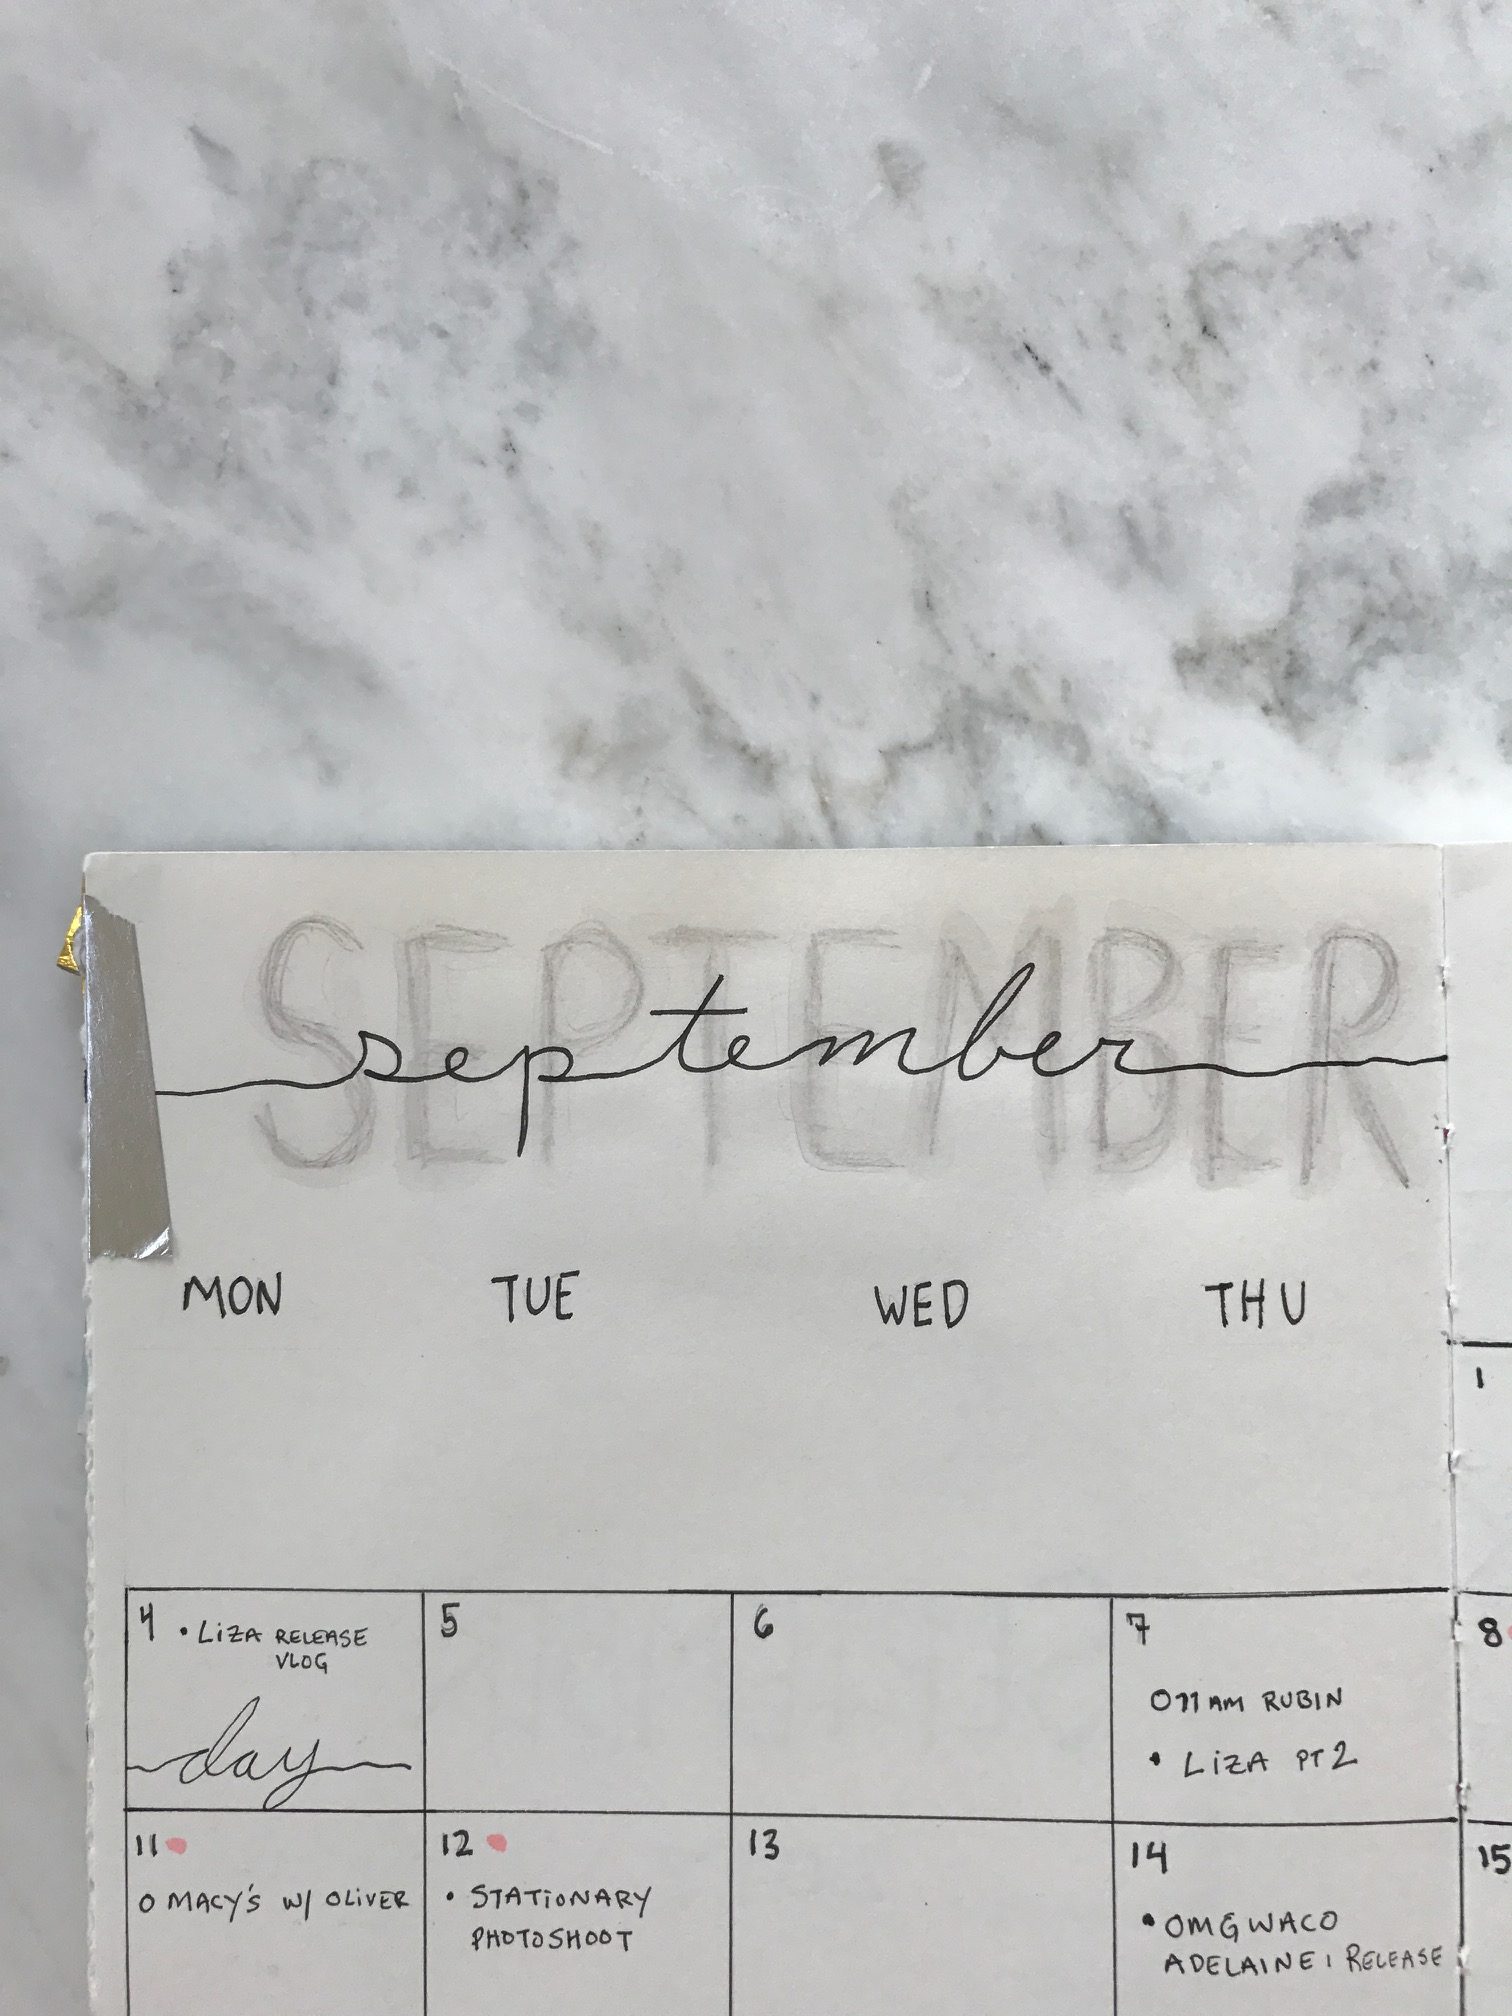
One of the things I like to do is have both a macro and a micro view of my month ahead. I start each month in the journal with a traditional calendar layout, in which I fill out known appointments, major releases, and life events. This helps me just get a sense of the pacing of the month, and can come in handy to know when things are quickly so I don't double-book myself.
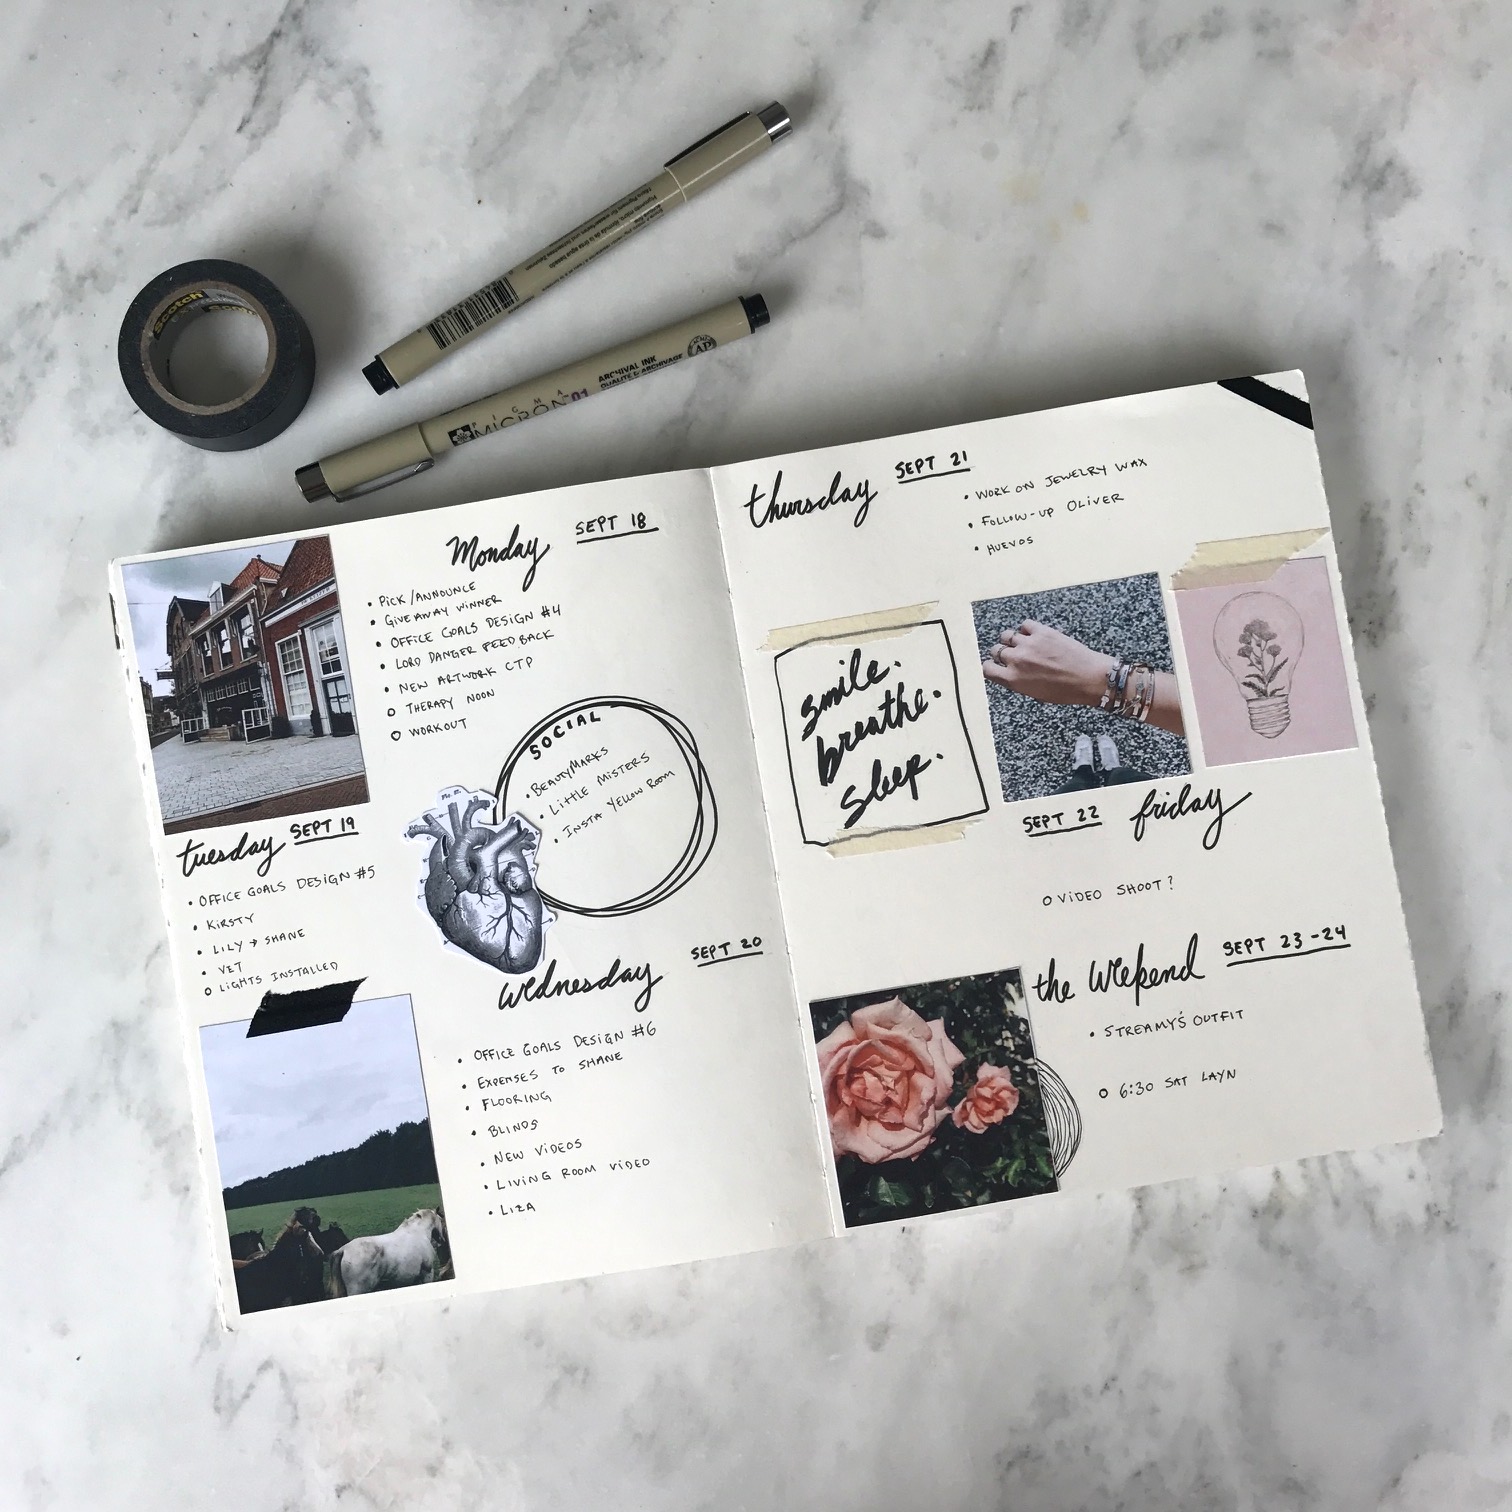
 I then create a two-page spread for each week of the month, where I fill out my daily tasks in a lot more detail and use the method of the key symbols to help me get things done.
 Instead of just filling the pages with ink, I incorporate inspiring images and other little doodles to make my bullet journal personal to me. I also find that taking the time to make your schedule look beautiful helps you have a more generous and enthusiastic attitude towards what needs to get done. It becomes less of an anxiety-inducing list and more of a charming reminder-to-self.
  I fill my journal with pictures I've taken, found online, or doodled myself. I compile them on a printer-sized layout on Photoshop, and print with my HP printer.
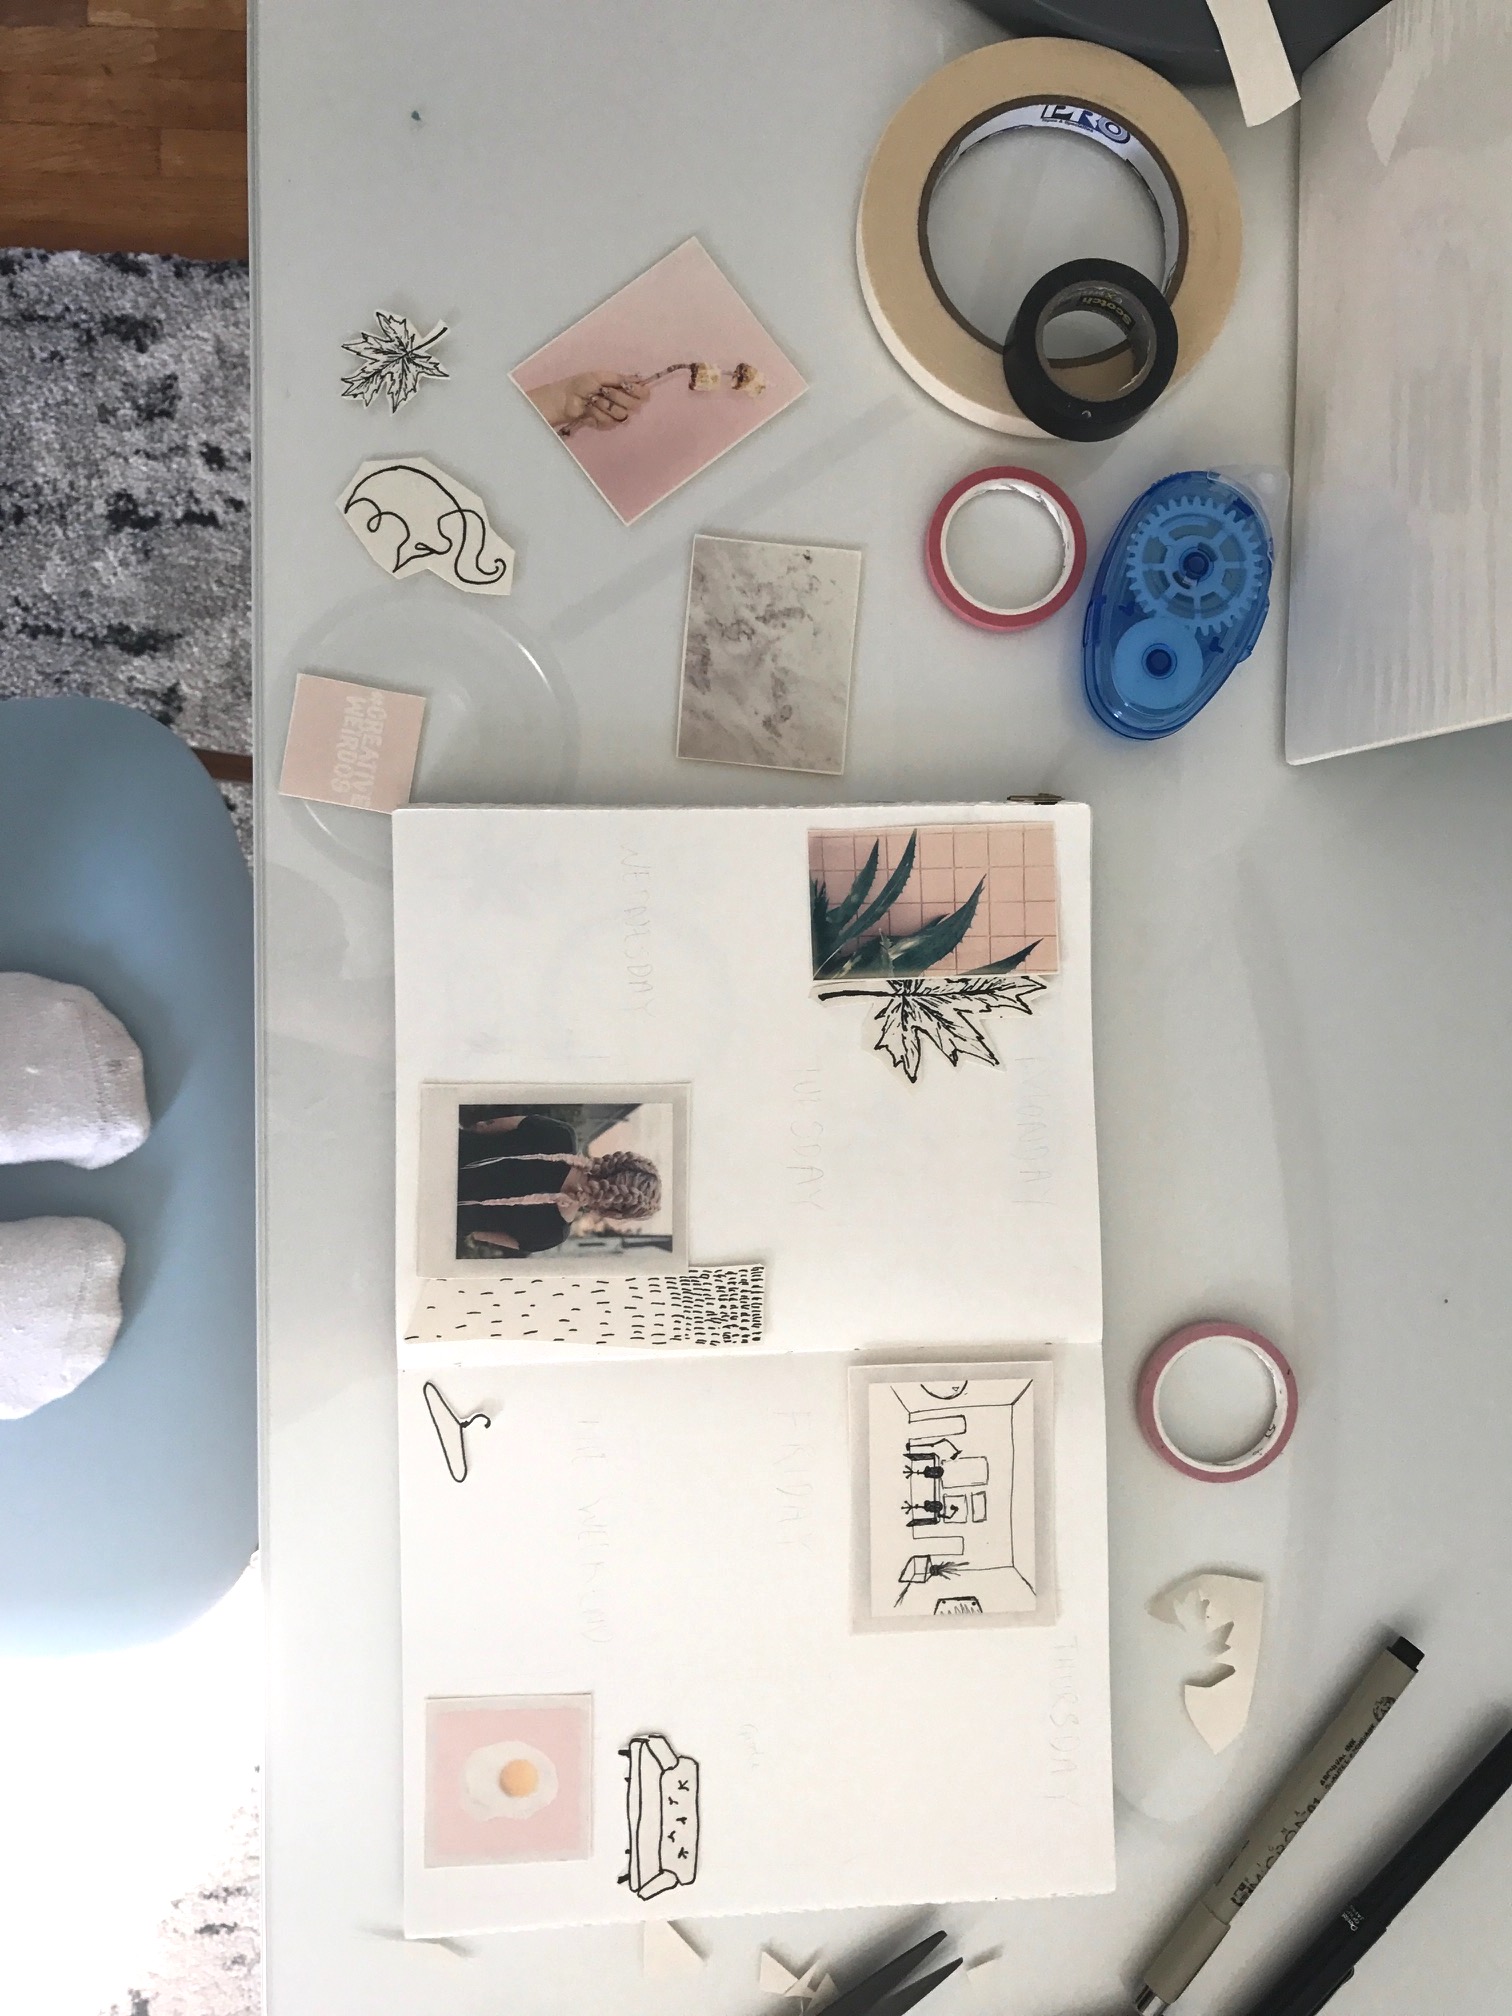
 I then cut out the pictures and start laying them out on the pages. You can see the faint pencil sketches I have of the weekly layout, so I can make sure my visual additions flow with the space I need to write out my schedule.
  All filled in! Below are some detail shots of my layouts and collaging.
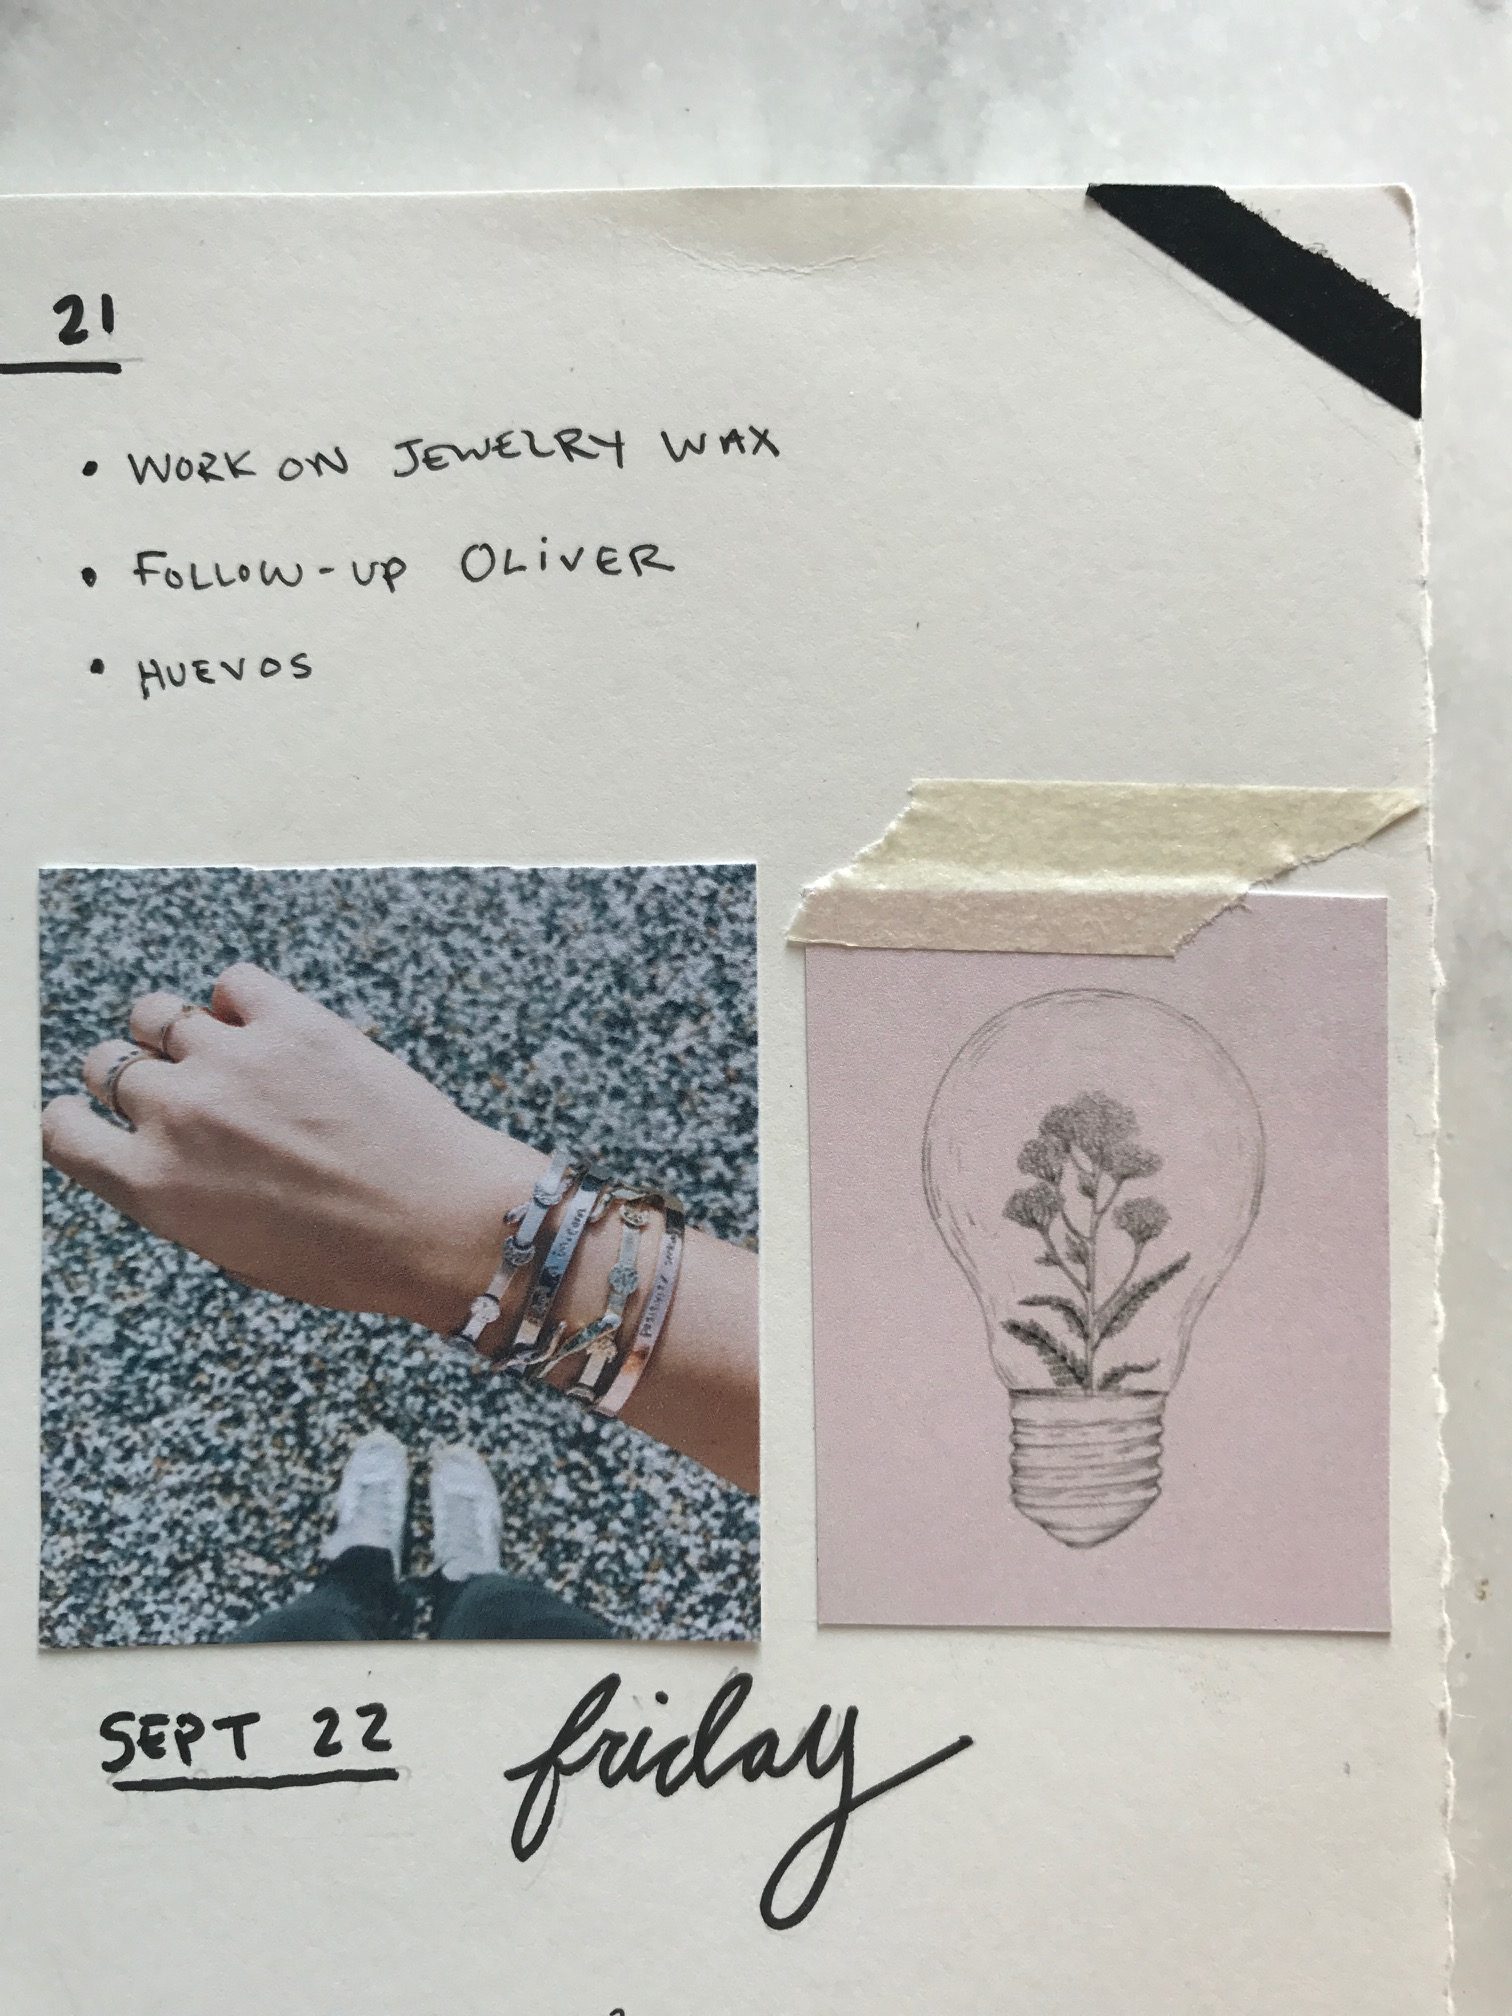


 In addition to the trackers and calendars, I create pages like this for myself, which are a break from organization and a chance to bask in something positive. Over time, I filled out the rest of the page with the sun with accomplishments I was proud of. My very own #positivityseeking page!
 I also use pages to just sketch and doodle and get creative! Recognize these from the Mr. Kate shop?!
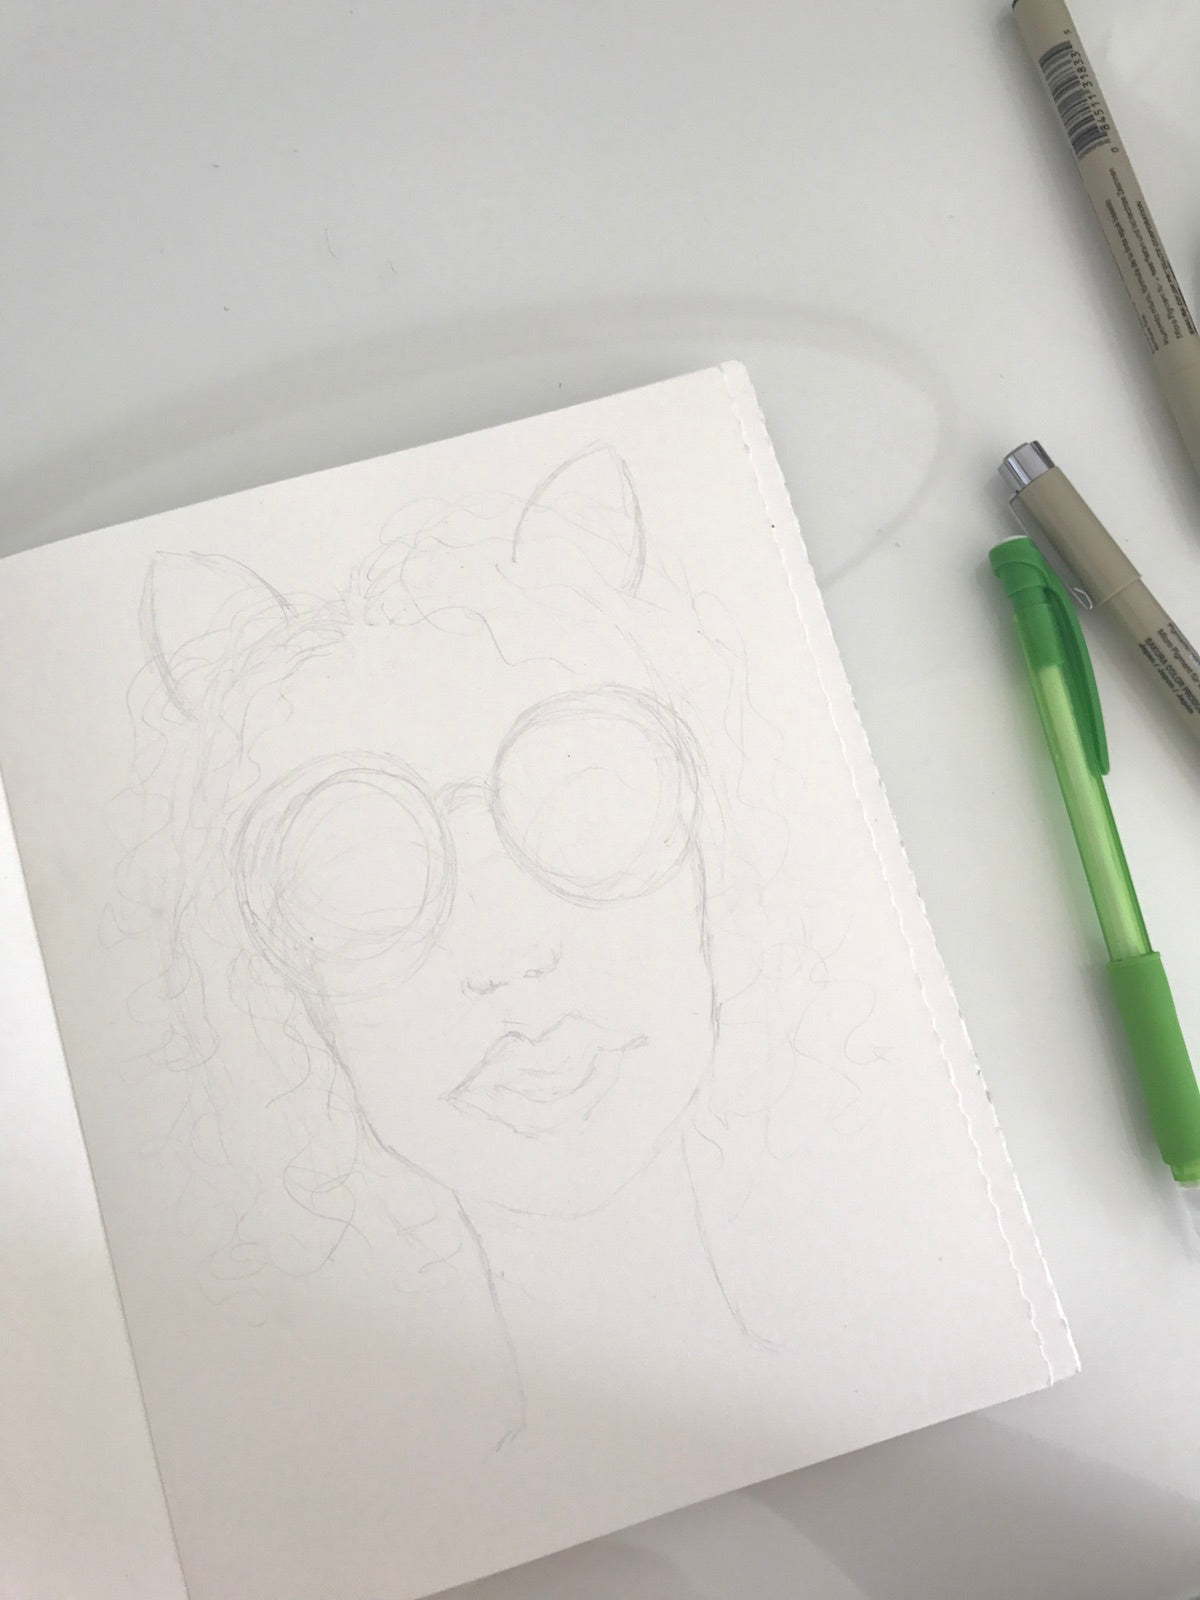
We're up to date! Here's a look at October's spreads so far, in which I'm taking a more black and white color scheme for some autumnal vibes.


