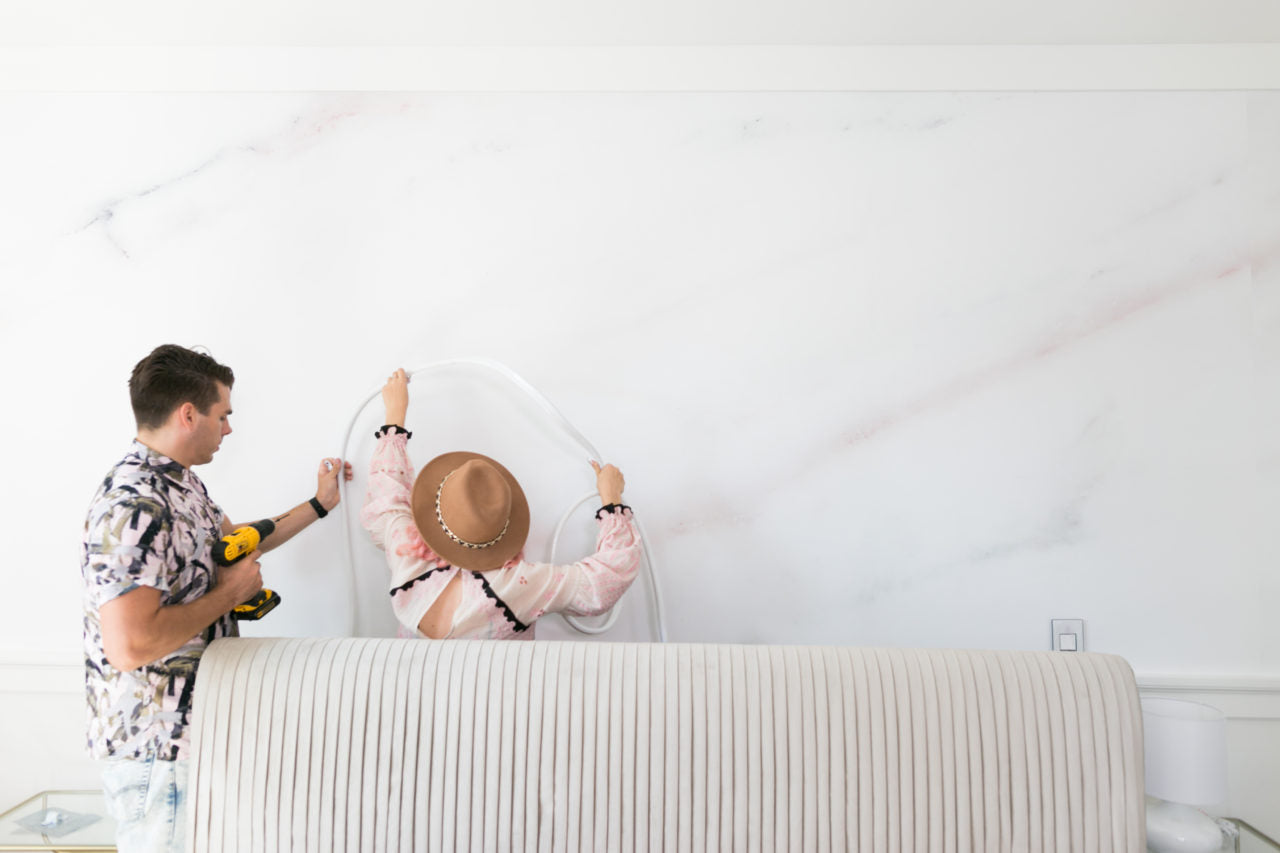
Neon signs ... they're current, they're cute, they're expensive!! Especially if you want a custom sign, there is a premium price and a couple week wait between you and your dream wall art. Well that was how it used to be, anyways. Now, I introduce to you: LED rope!
With a few standard DIY supplies, you can create your own 100% customizable sign that shines bright and shows off your creativity as the centerpiece of your room. Another benefit to LED lights, versus neon, is that they're a lot less fragile, so your sign will be there to stay!

Prep It:
LED Rope Scissors Hairdryer Tape measure Power drill Mounting clips (we used conduit wall straps spray-painted white)


Do It!:
- Plan your sign on a floor or flat surface so you can figure out how much LED rope to cut. There are lots of options depending on if you want one long length of rope, like we used, or connecting pieces, which you can install using connectors that will come with the rope (just follow the instructions that come with the rope for how to properly connect two pieces).
- Once you've decided how much rope you need, cut it with a pair of scissors (there's little marks every foot where you can cut) and cap it with a cap and silicone gel that comes with the rope. Then shrink wrap the cap to fit tightly onto the end of the rope with a hairdryer!
- When it comes to hanging your sign, plug it in to the outlet and start working it up the wall. I opted for an abstract wave across the top of Alisha's king bed. Every foot or so, or on curves, drill and screw in a mounting clasp (we used conduit straps that we spray-painted white) to the wall over the rope to keep it in place.
- Continue working your rope across the wall in your design. When you're finished, make sure the rope is fully in place with mounting clasps and enjoy!


