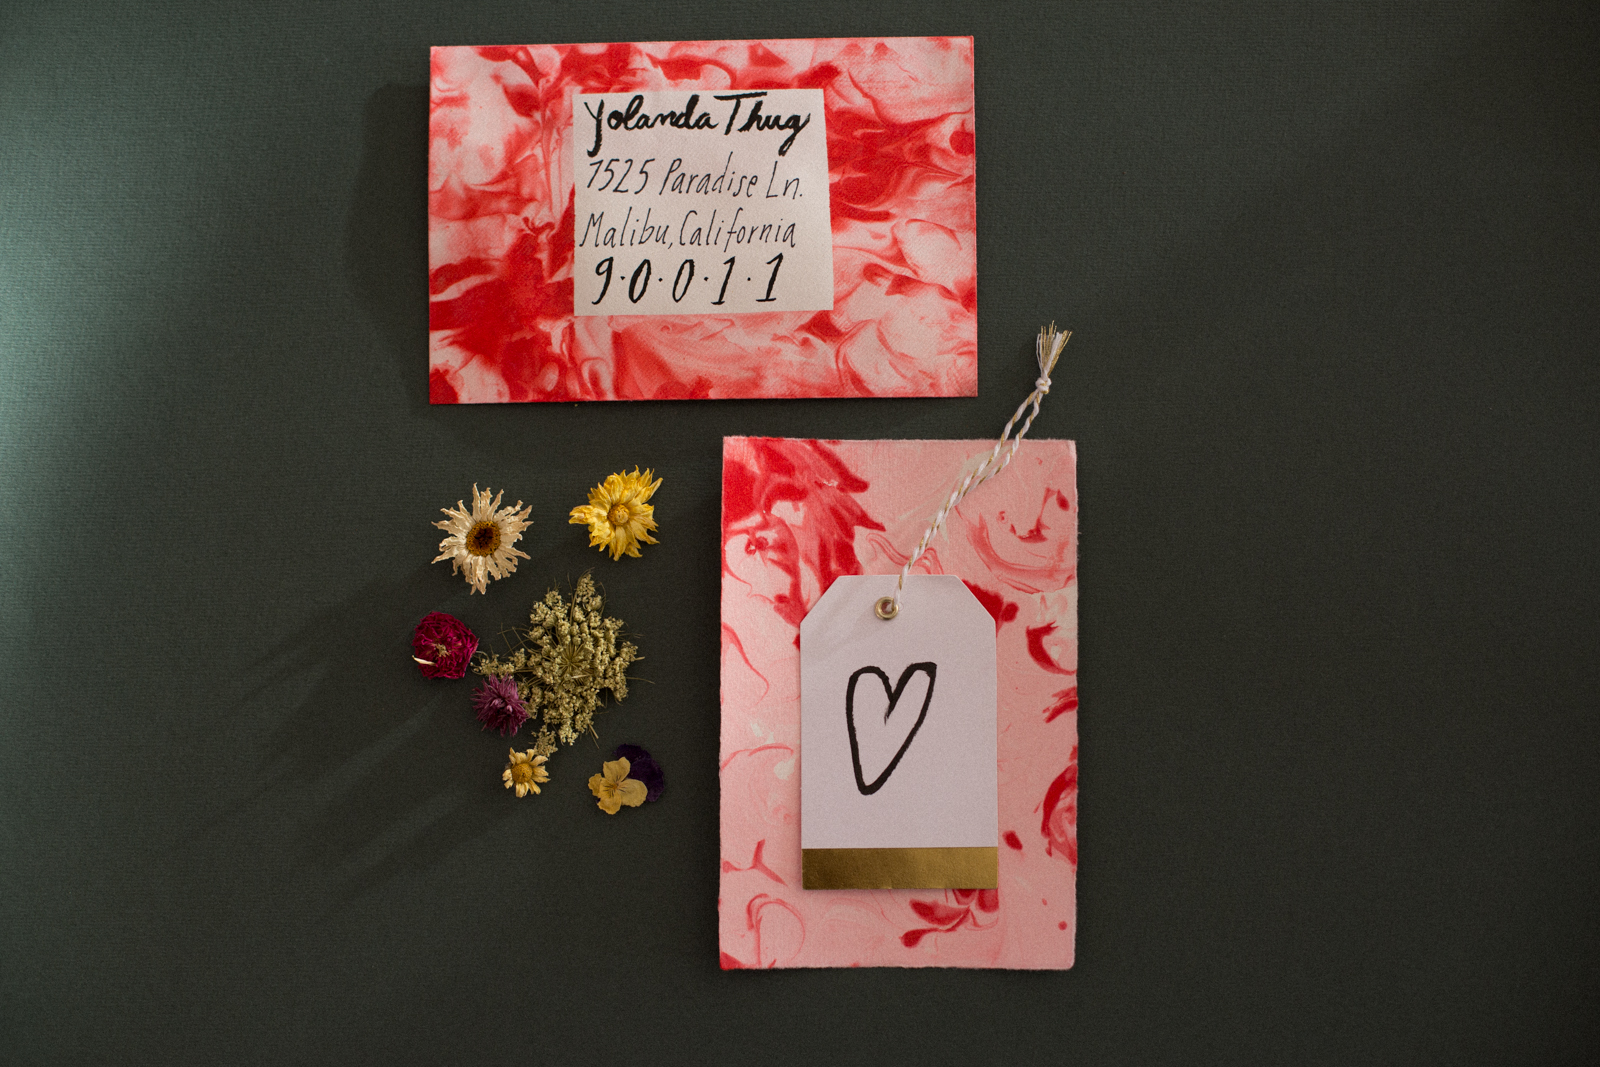
Who knew shaving cream could create such beauty!? This marbleization technique is such a simple and straightforward way to achieve a complex and customizable look. We stuck with colors in the red family, creating a melted candy cane effect, but you can experiment with lots of different hues, which can translate this marble stationary to be appropriate for any holiday!
So go cray cray, give your loved ones a handmade note, and show me your designs by posting them with #mrkate. Can't wait to see all the cool Christahanukkahkwazaasoltice things you make!
Prep It:
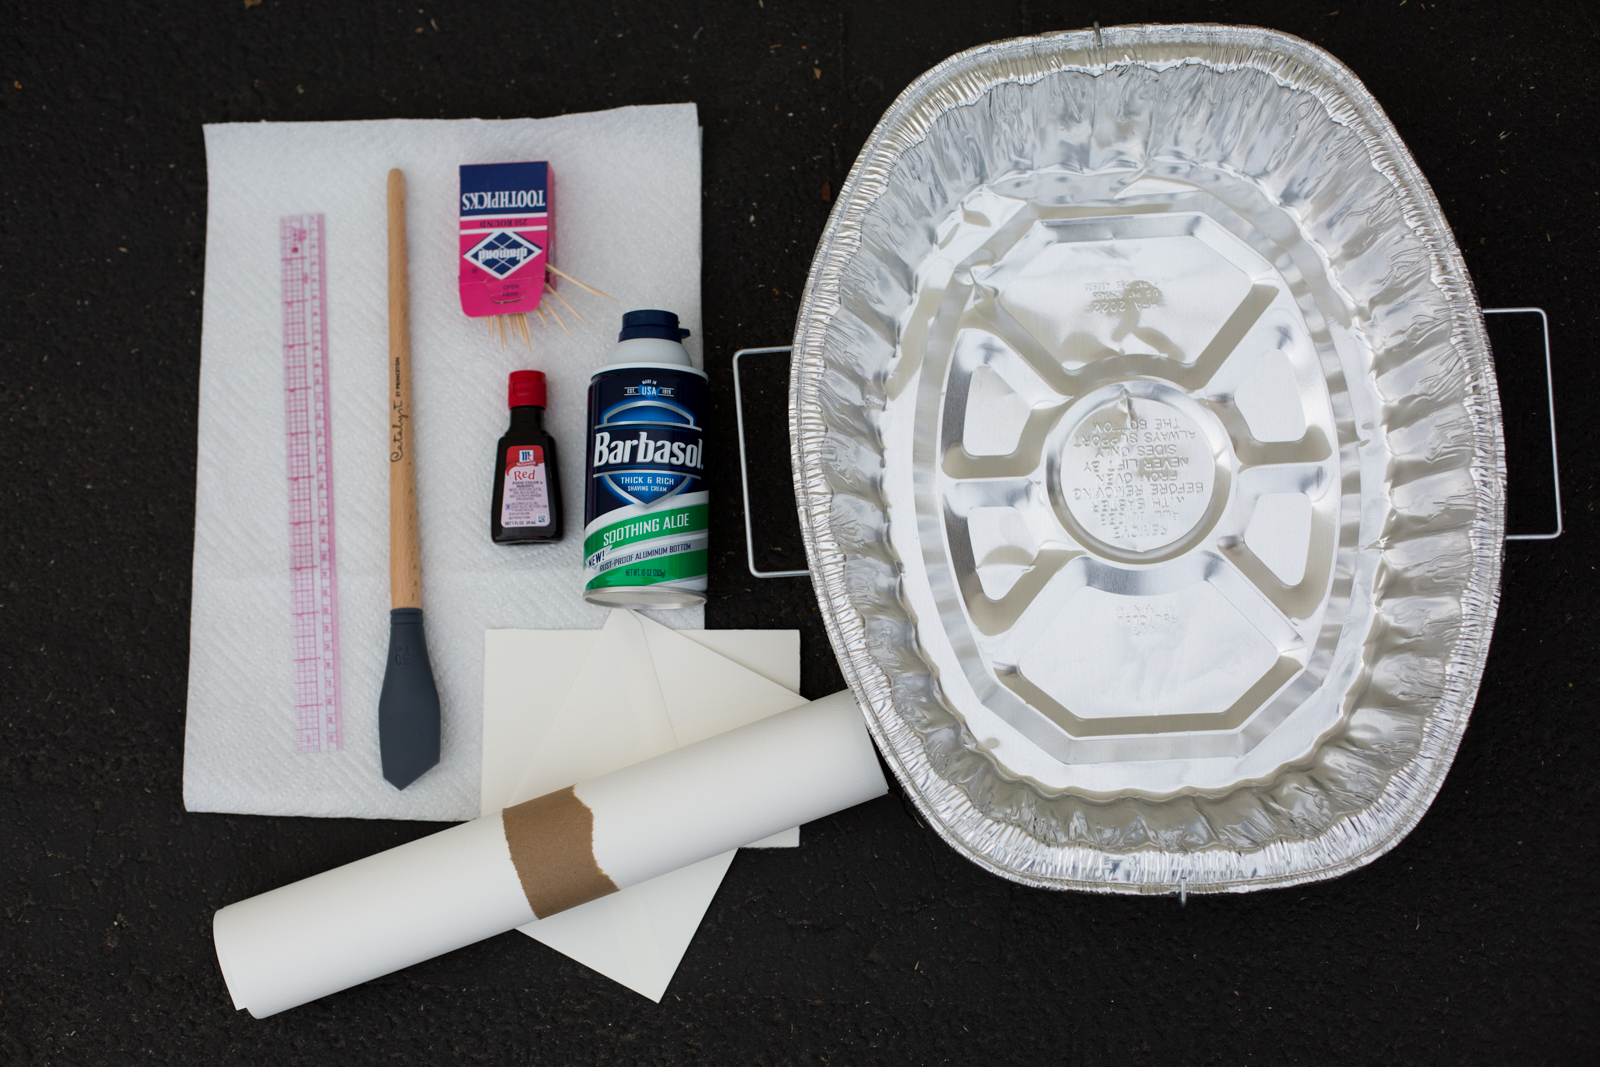
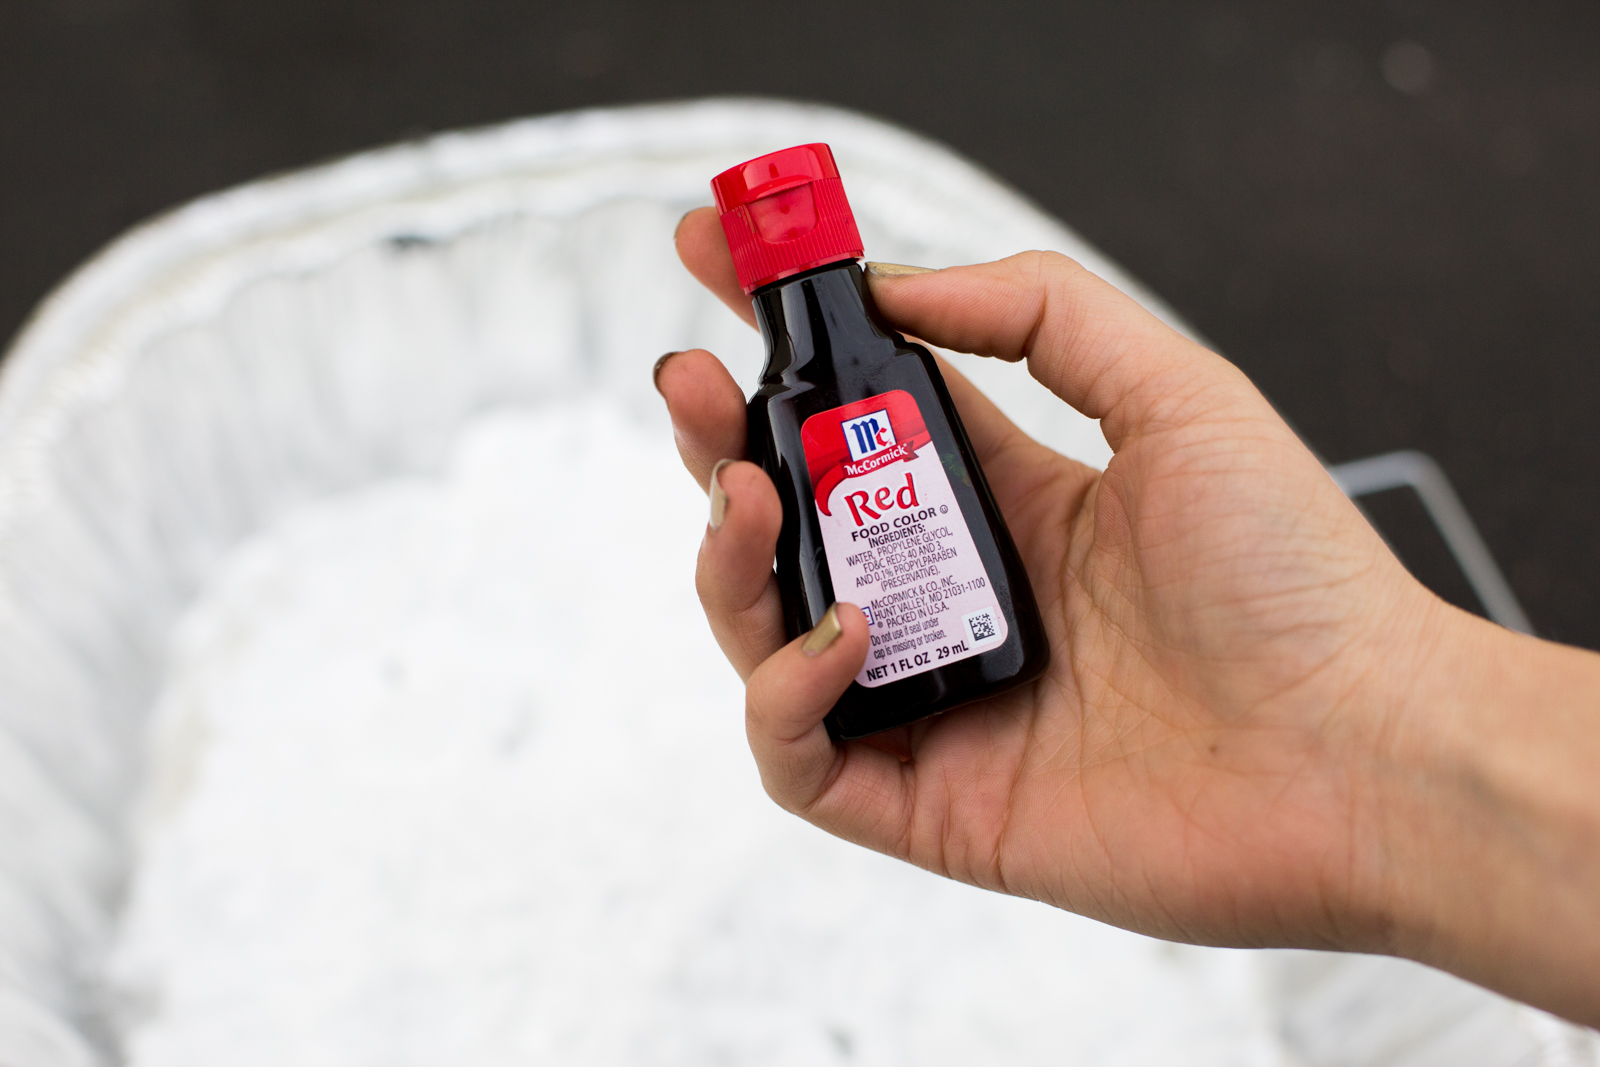
Unscented shaving cream Food dye (in a color of your choice) Large bin Toothpicks Spatula Ruler Paint tape Blank white cards (the sturdier paper, the better!) White envelopes (study is better here, too) Paper towels


Do It!:
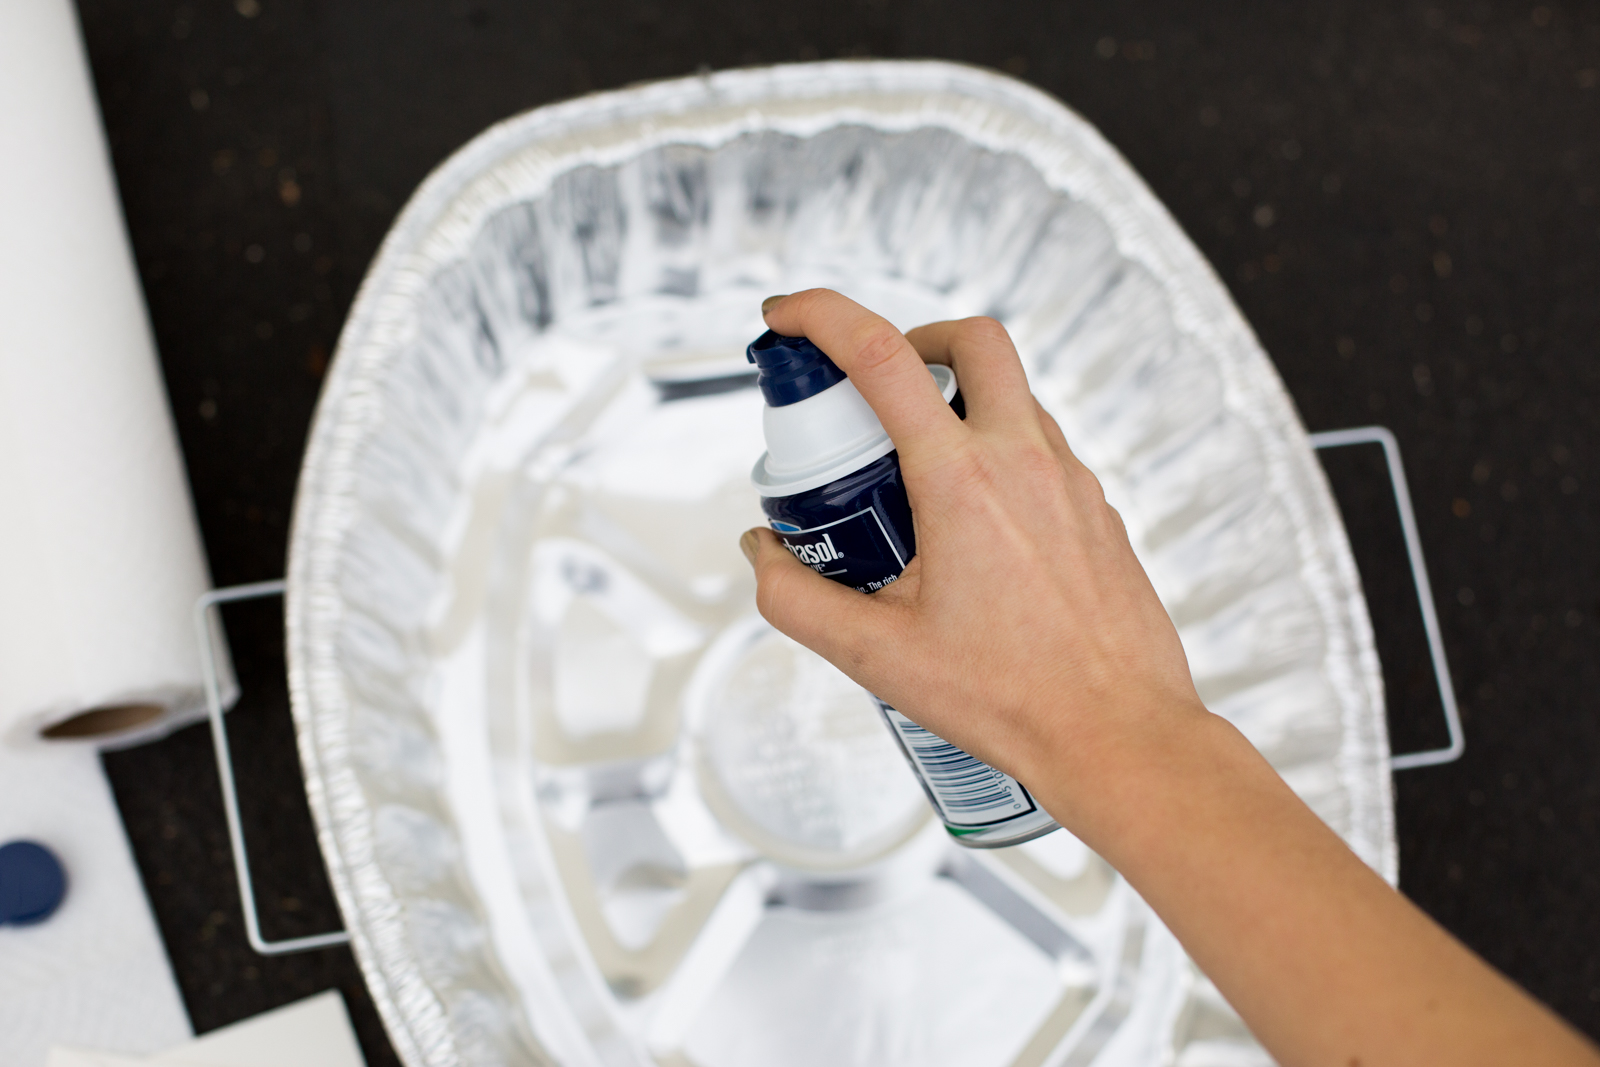
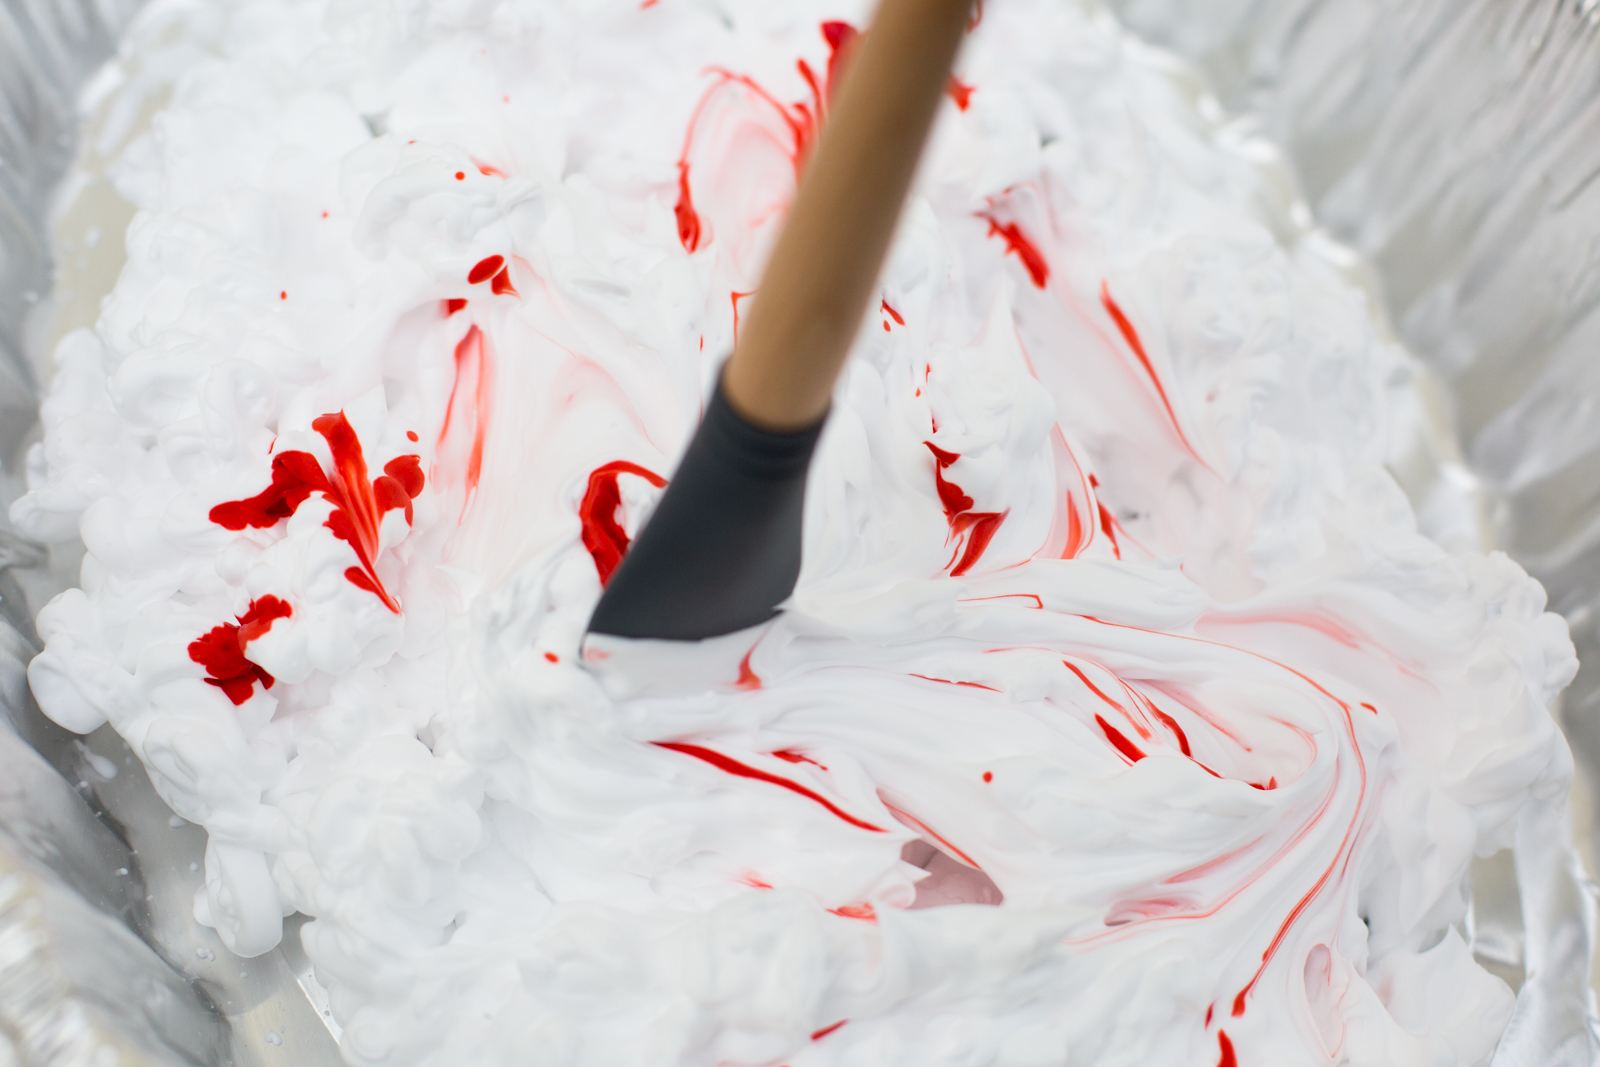
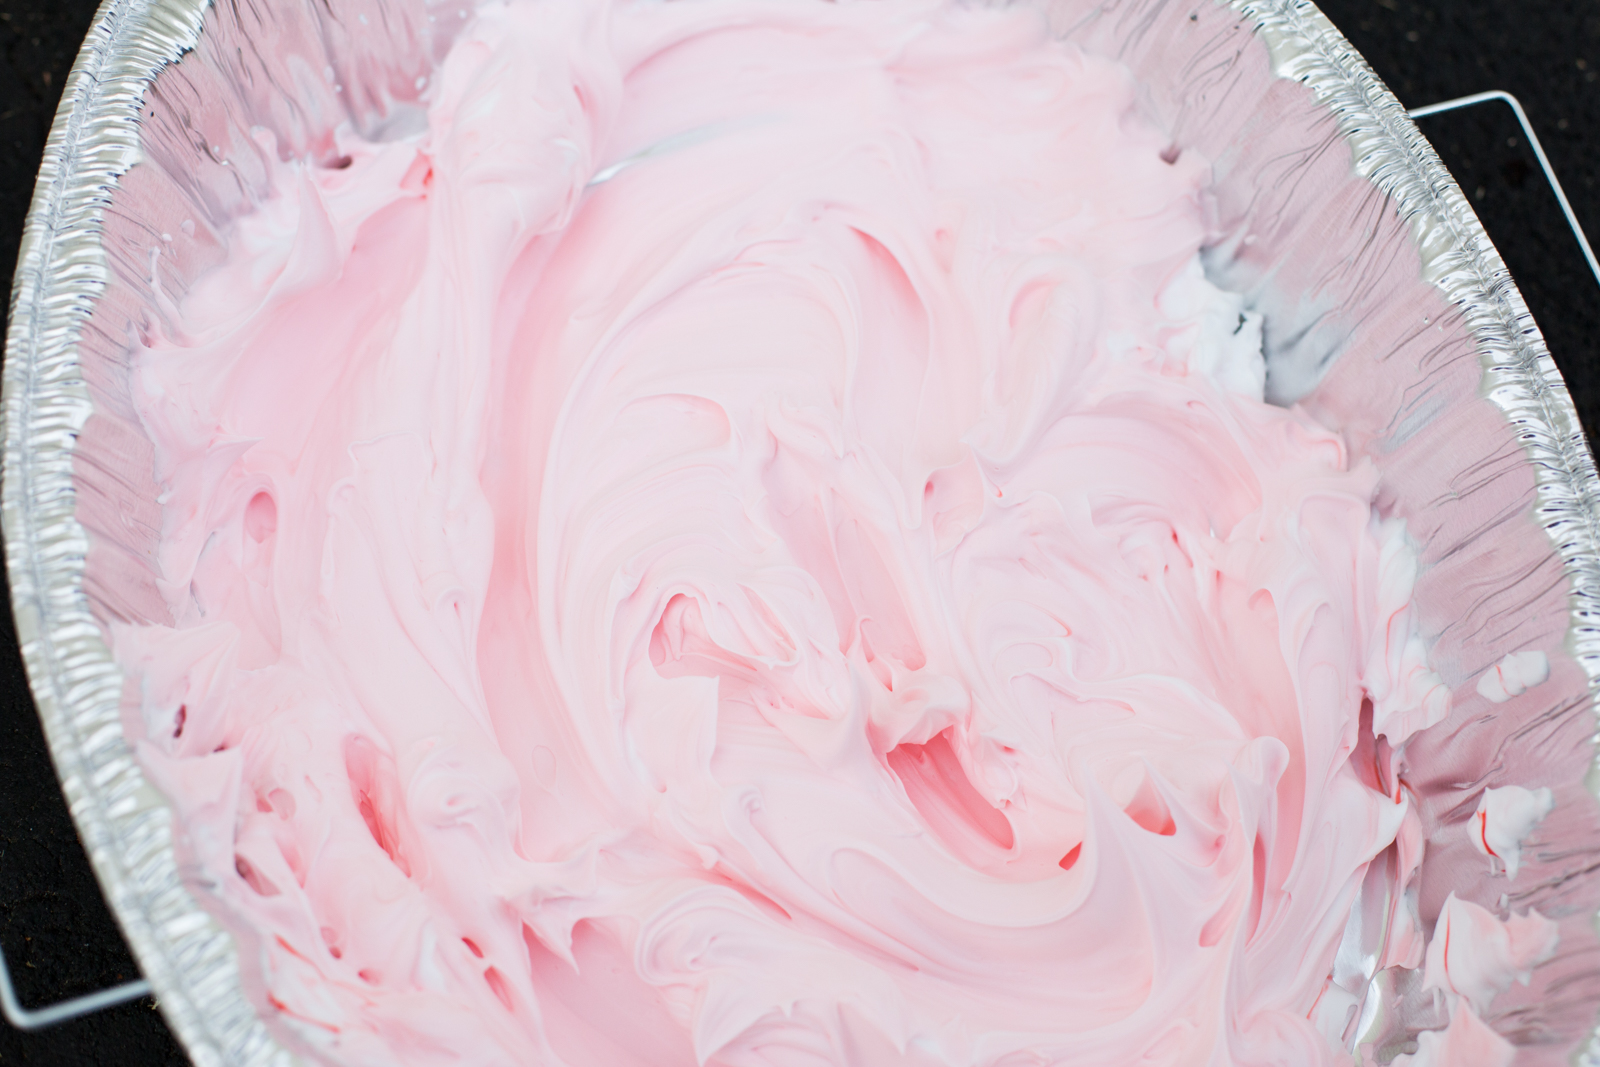
- Spray shaving cream into the bin until it is about half filled. Squeeze a few drops of food color into the foam and mix until blended with the spatula. This creates the base color for the marbleization. If you'd like a plain white base, skip that step!
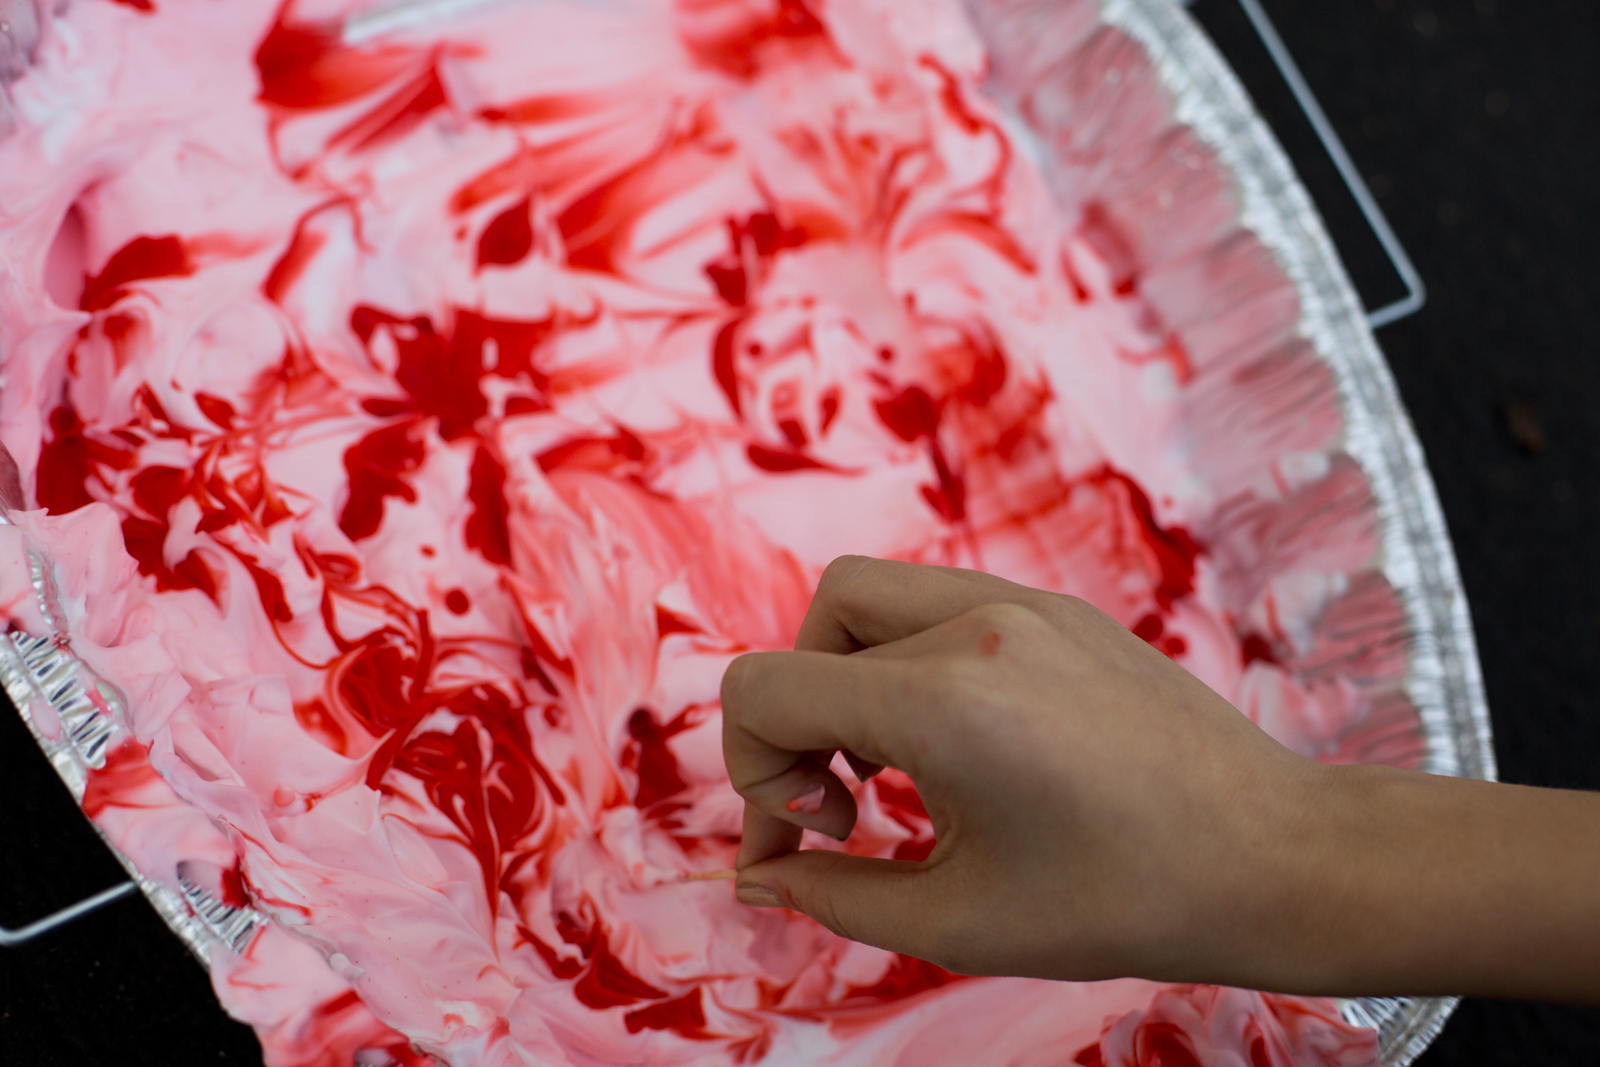
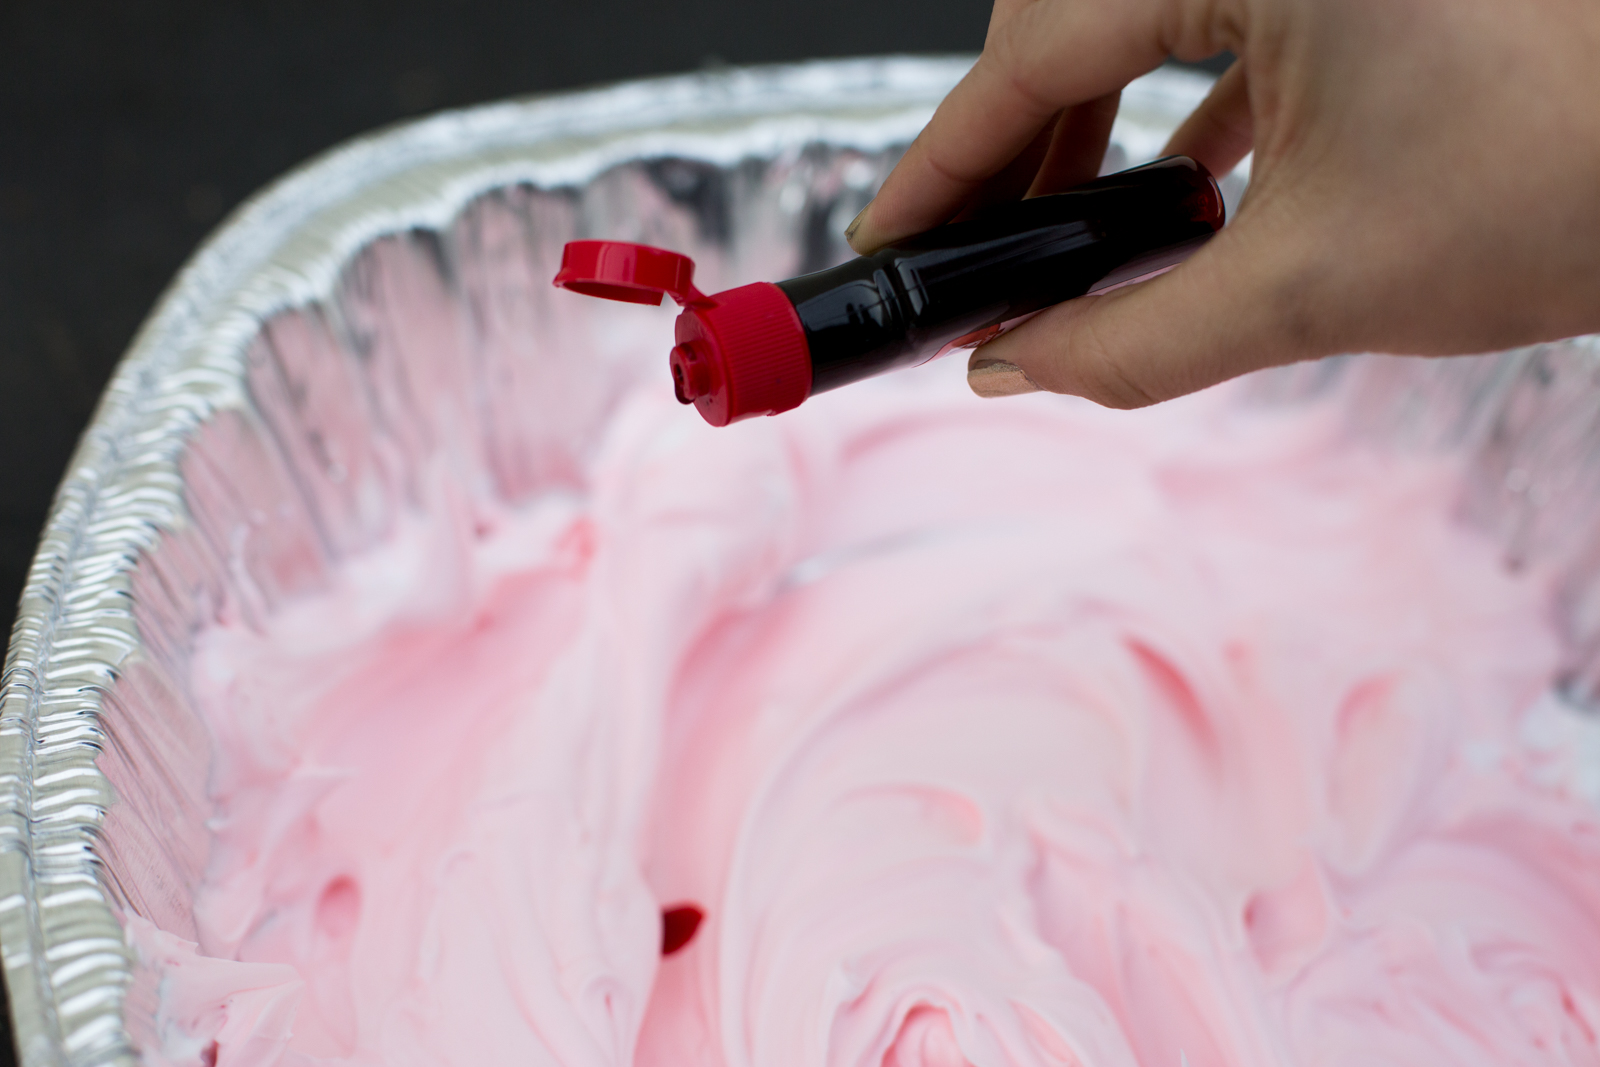
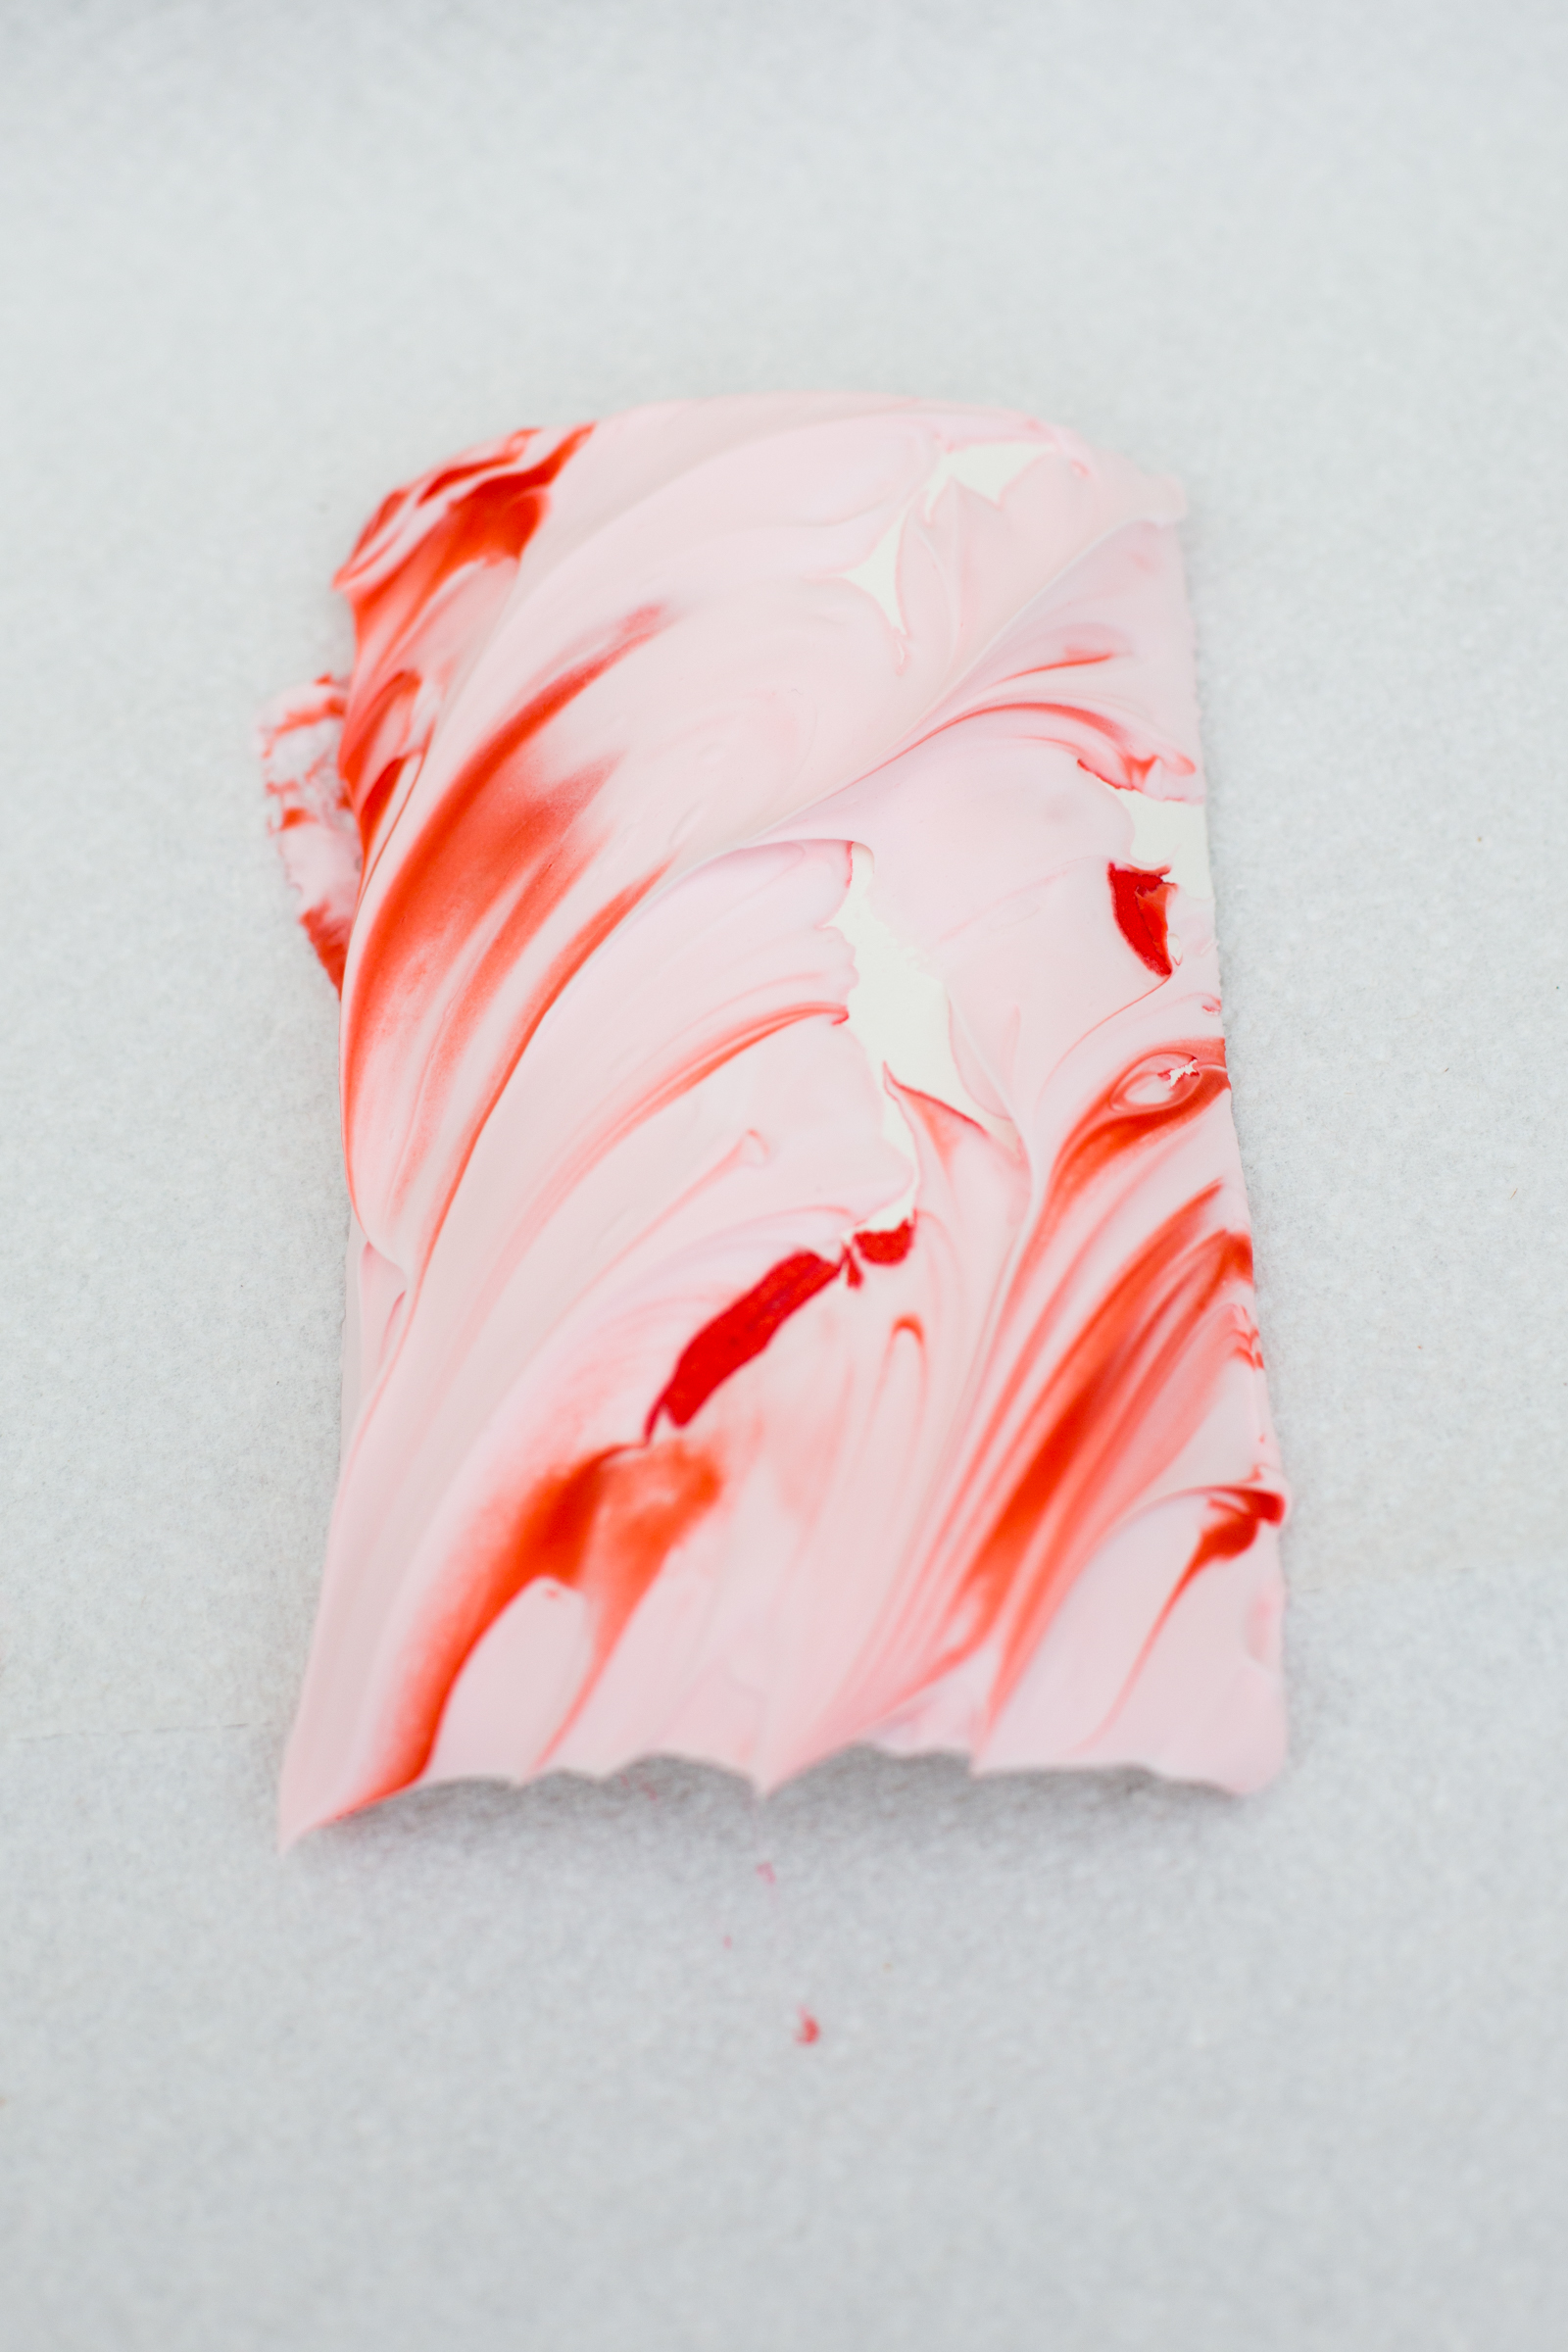
- Squeeze drops sporadically throughout the colored foam. Instead of blending them in, use a toothpick to drag and swirl the color, creating a marble-like pattern. In this step, it could be cool to experiment with different colors. I stuck to red dye, but some purple and blue swirls on a blue base could look mystical and magical, or even fuschia and teal together on a white base. The world is your coloring ... bin!
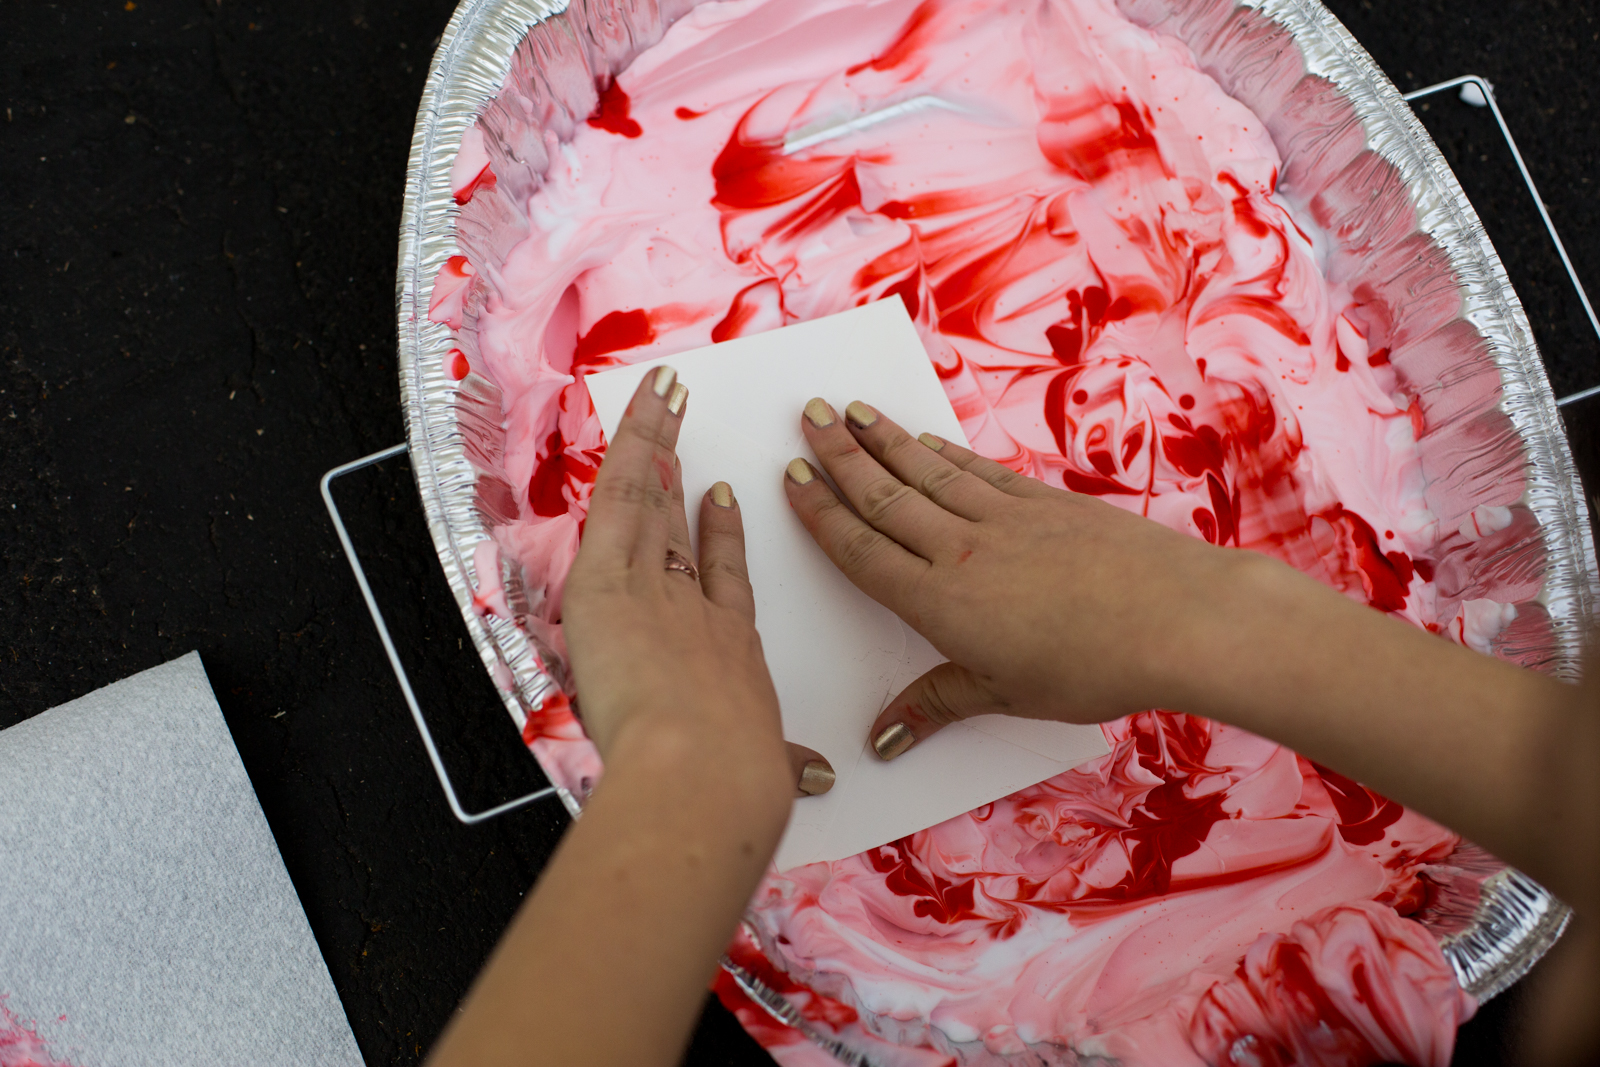
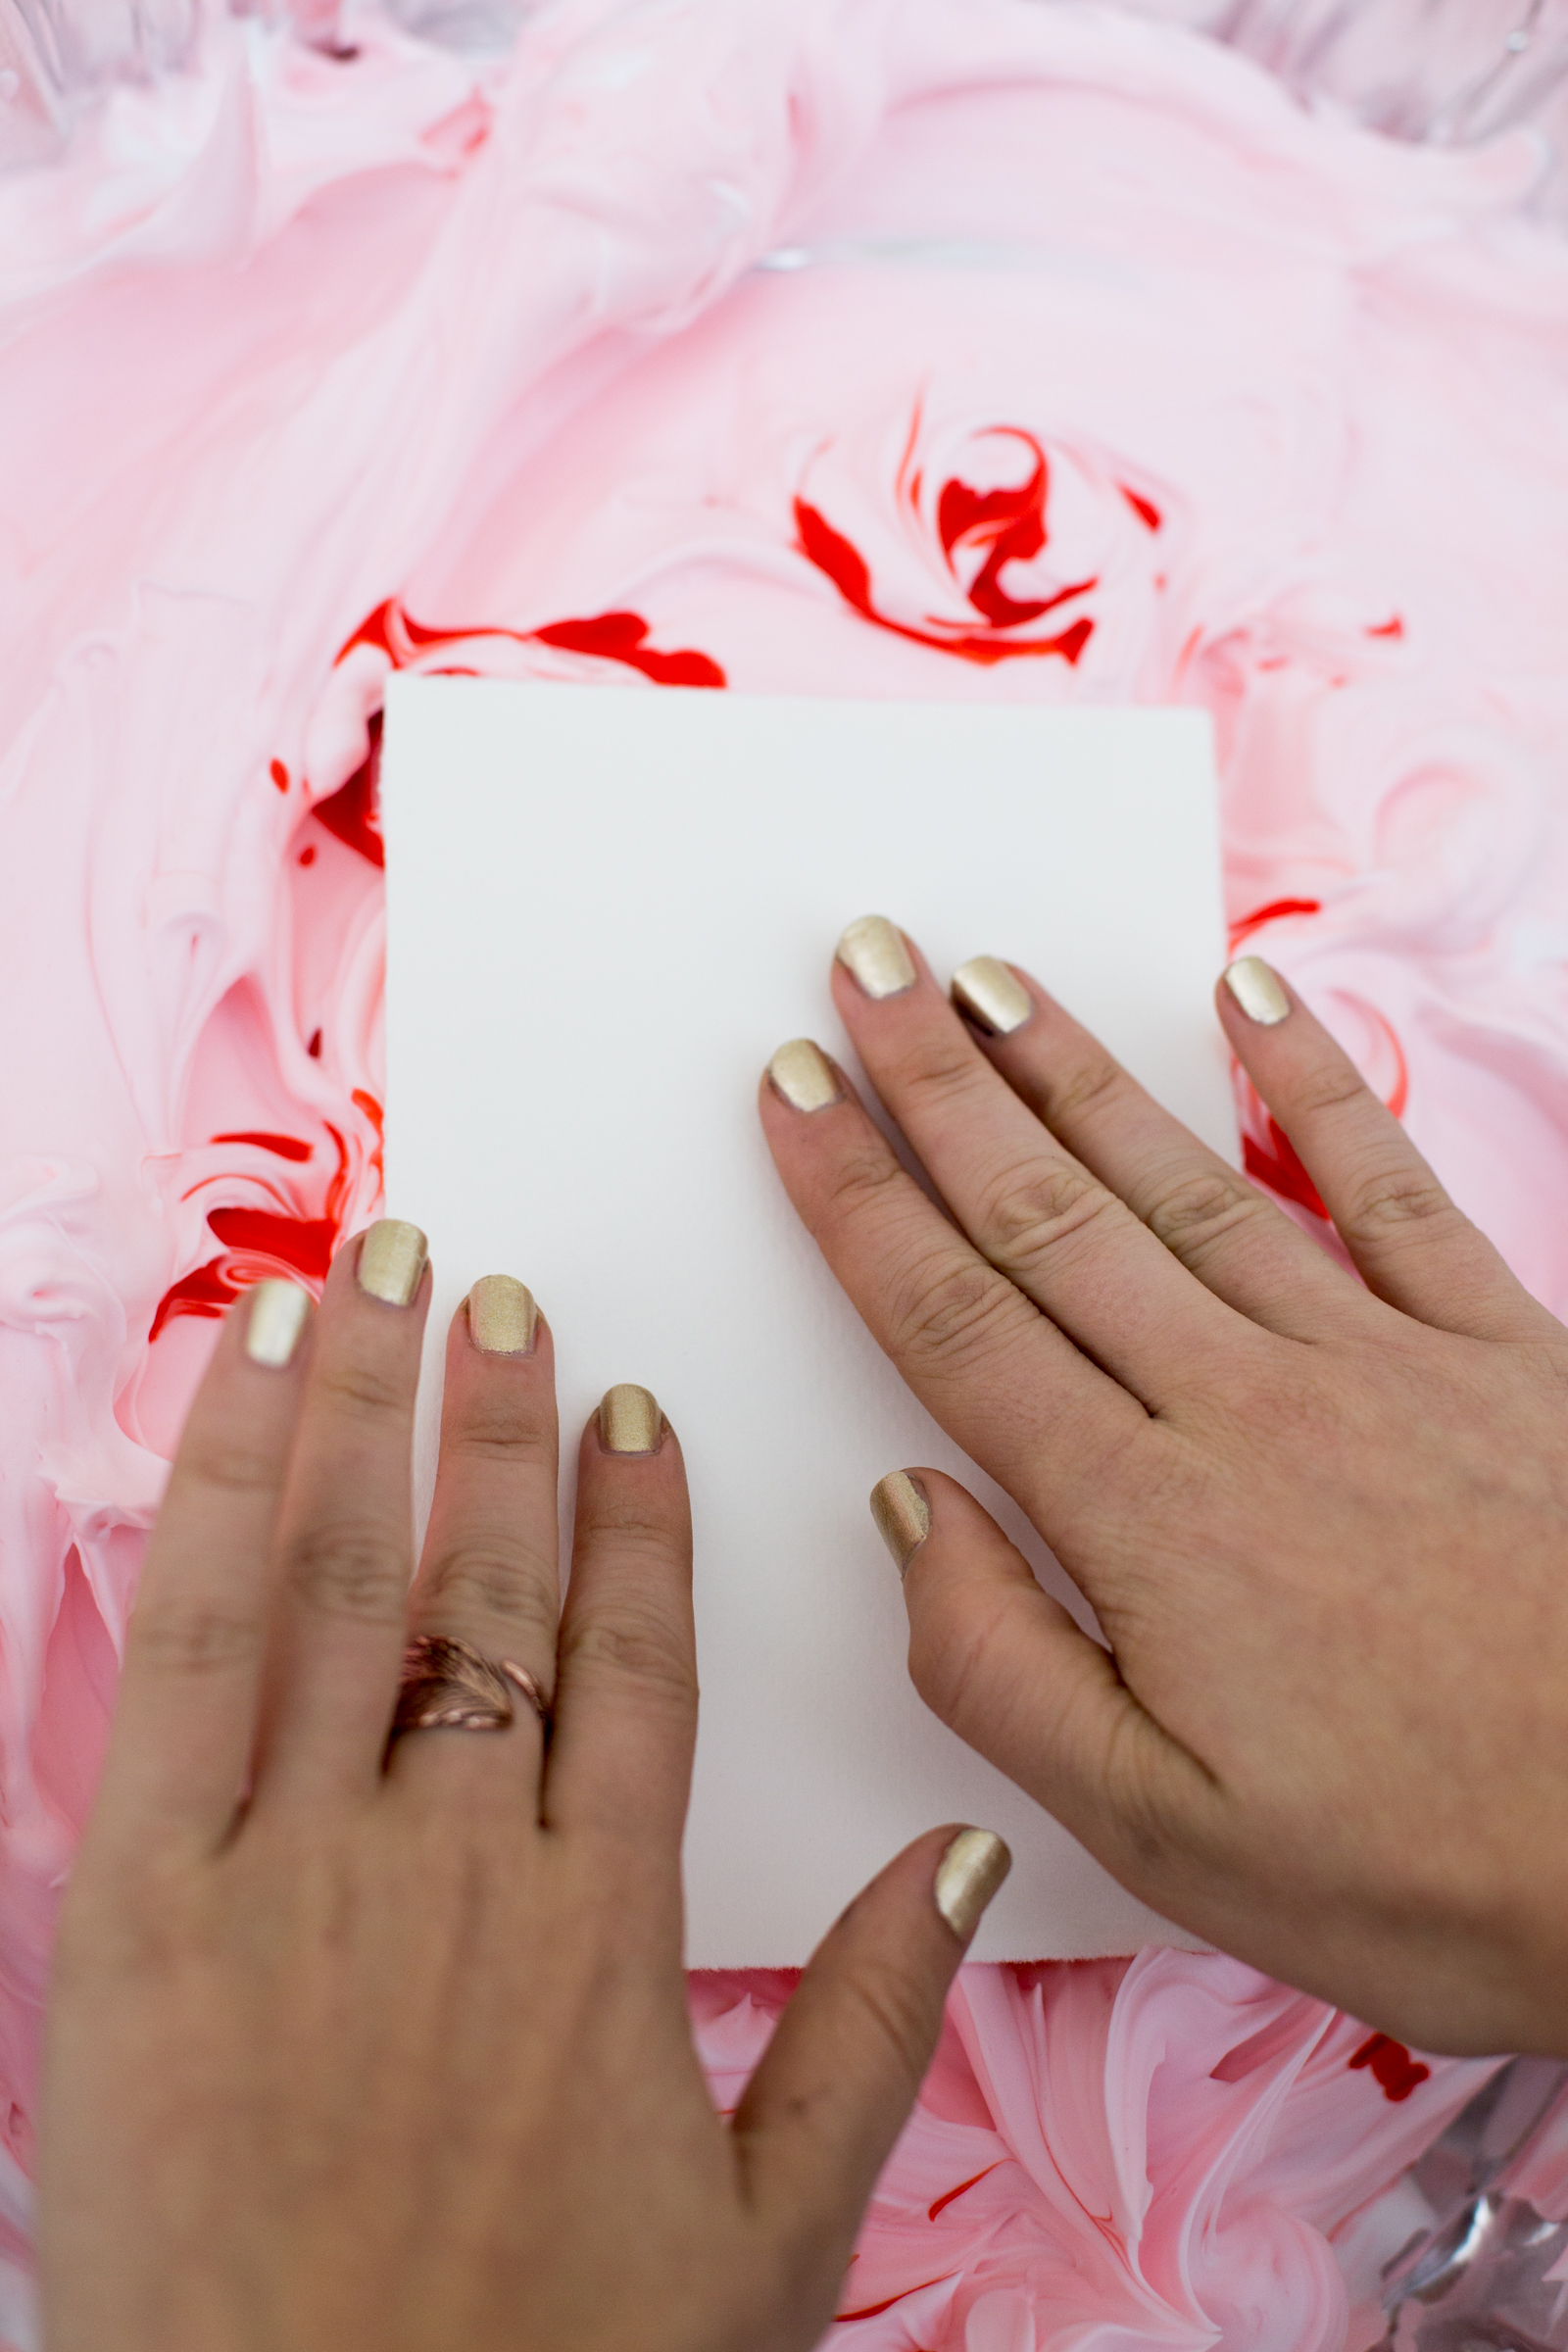
- When you have the marble pattern you like, take your card and lay down into the foam. Press down and make sure that the bottom is well submerged in the foam. There's no way to do this without getting a little messy, so I encourage you to embrace it! However, if you aren't keen on having technicolor hands for the next day or so, rubber gloves might be a good idea.
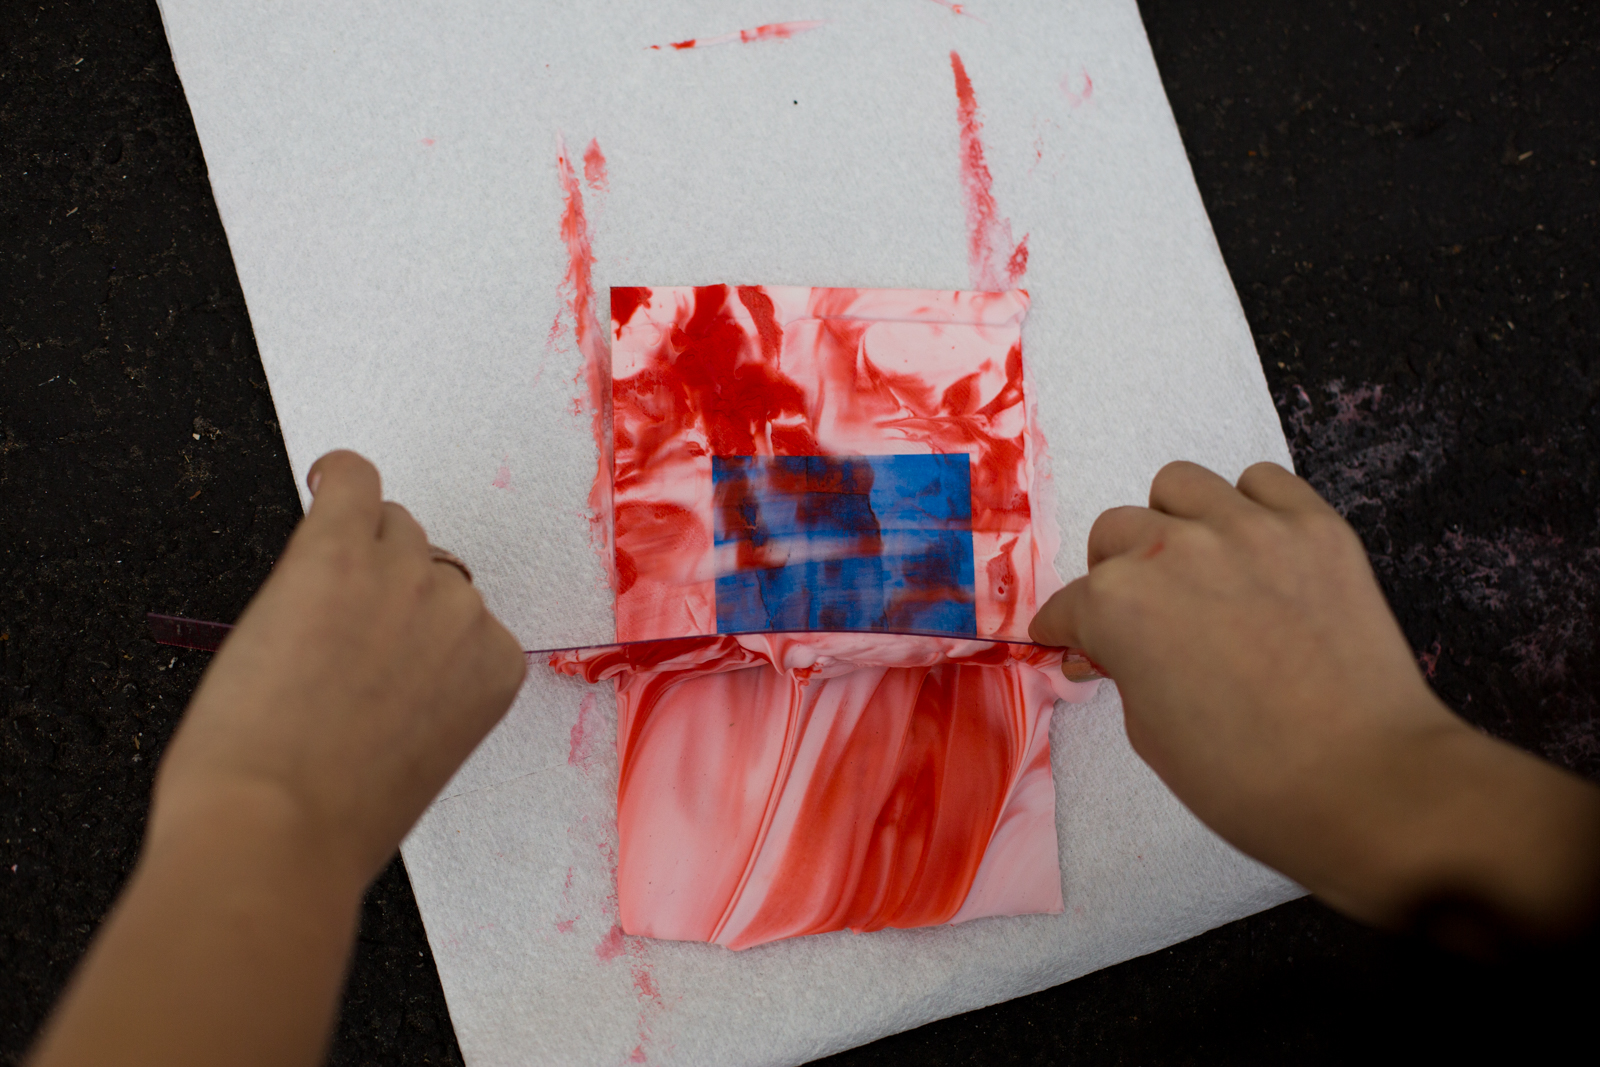
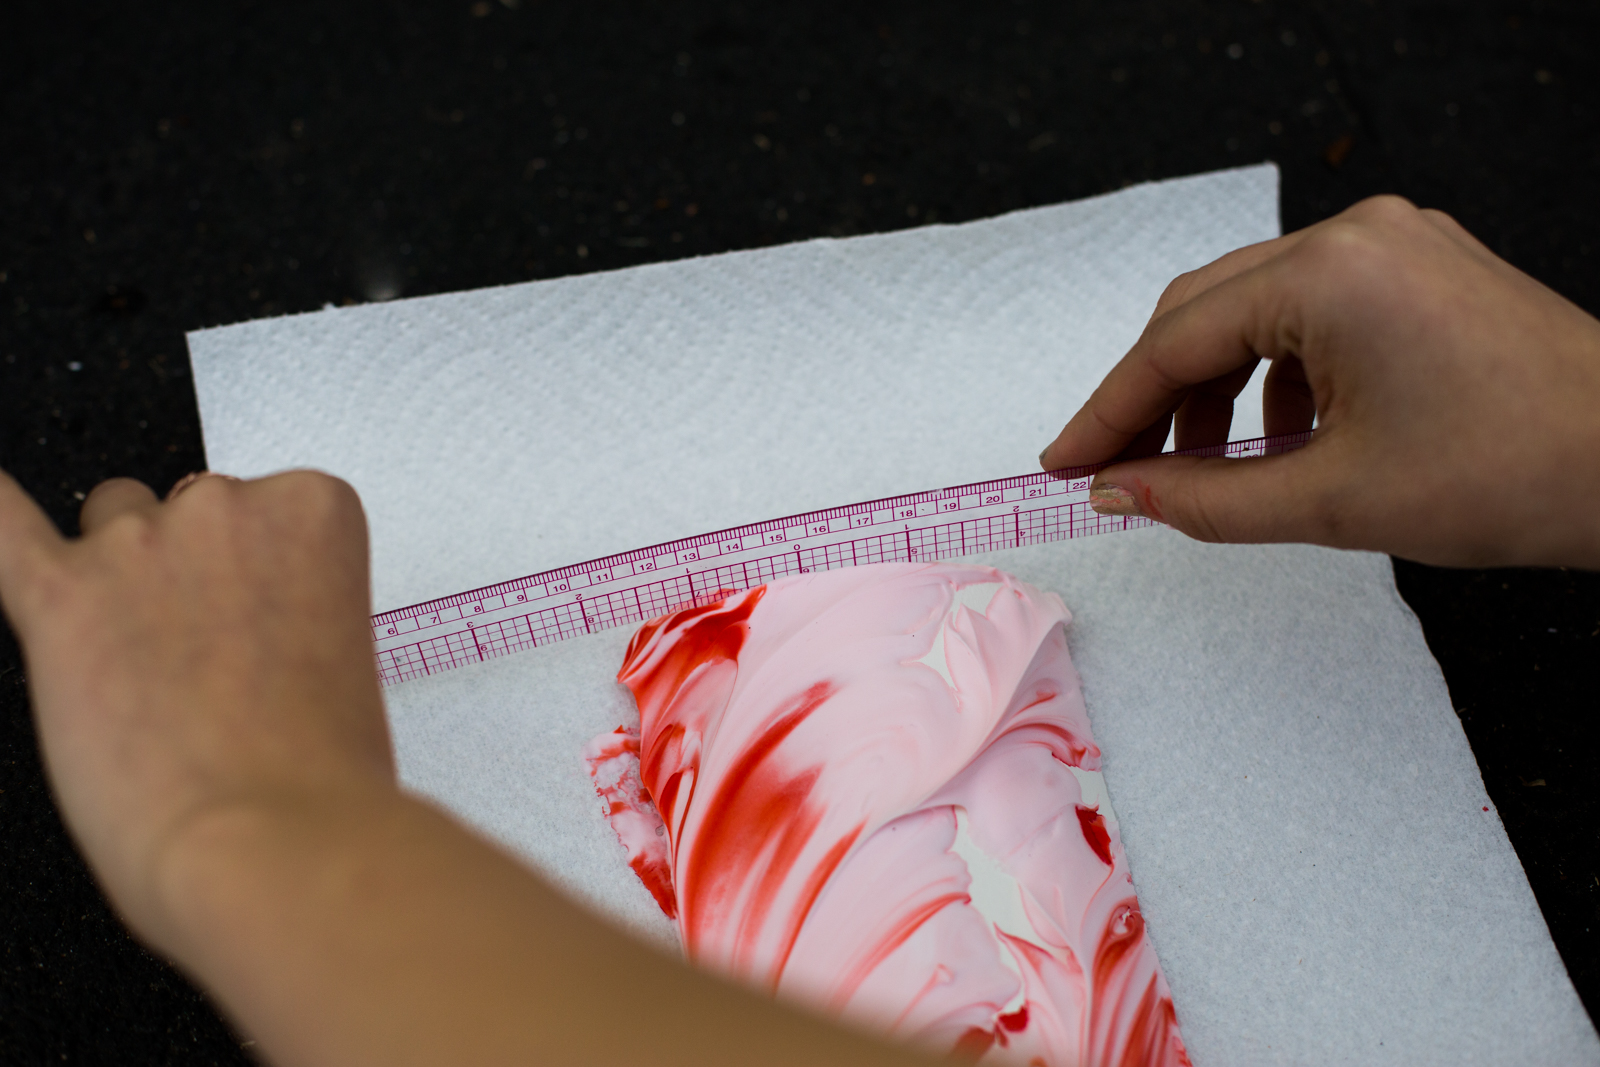
- For this next step, it's important to move quickly — pull the card up from the foam from a corner and lay down, foamy side up, on a paper towel. Working as quickly as you can, take a ruler and scrape the foam off of the card. It may take one or two swipes to get it all off! It's important to use the ruler and not, say, a paper towel, because pressured wiping can cause the dye to smudge.
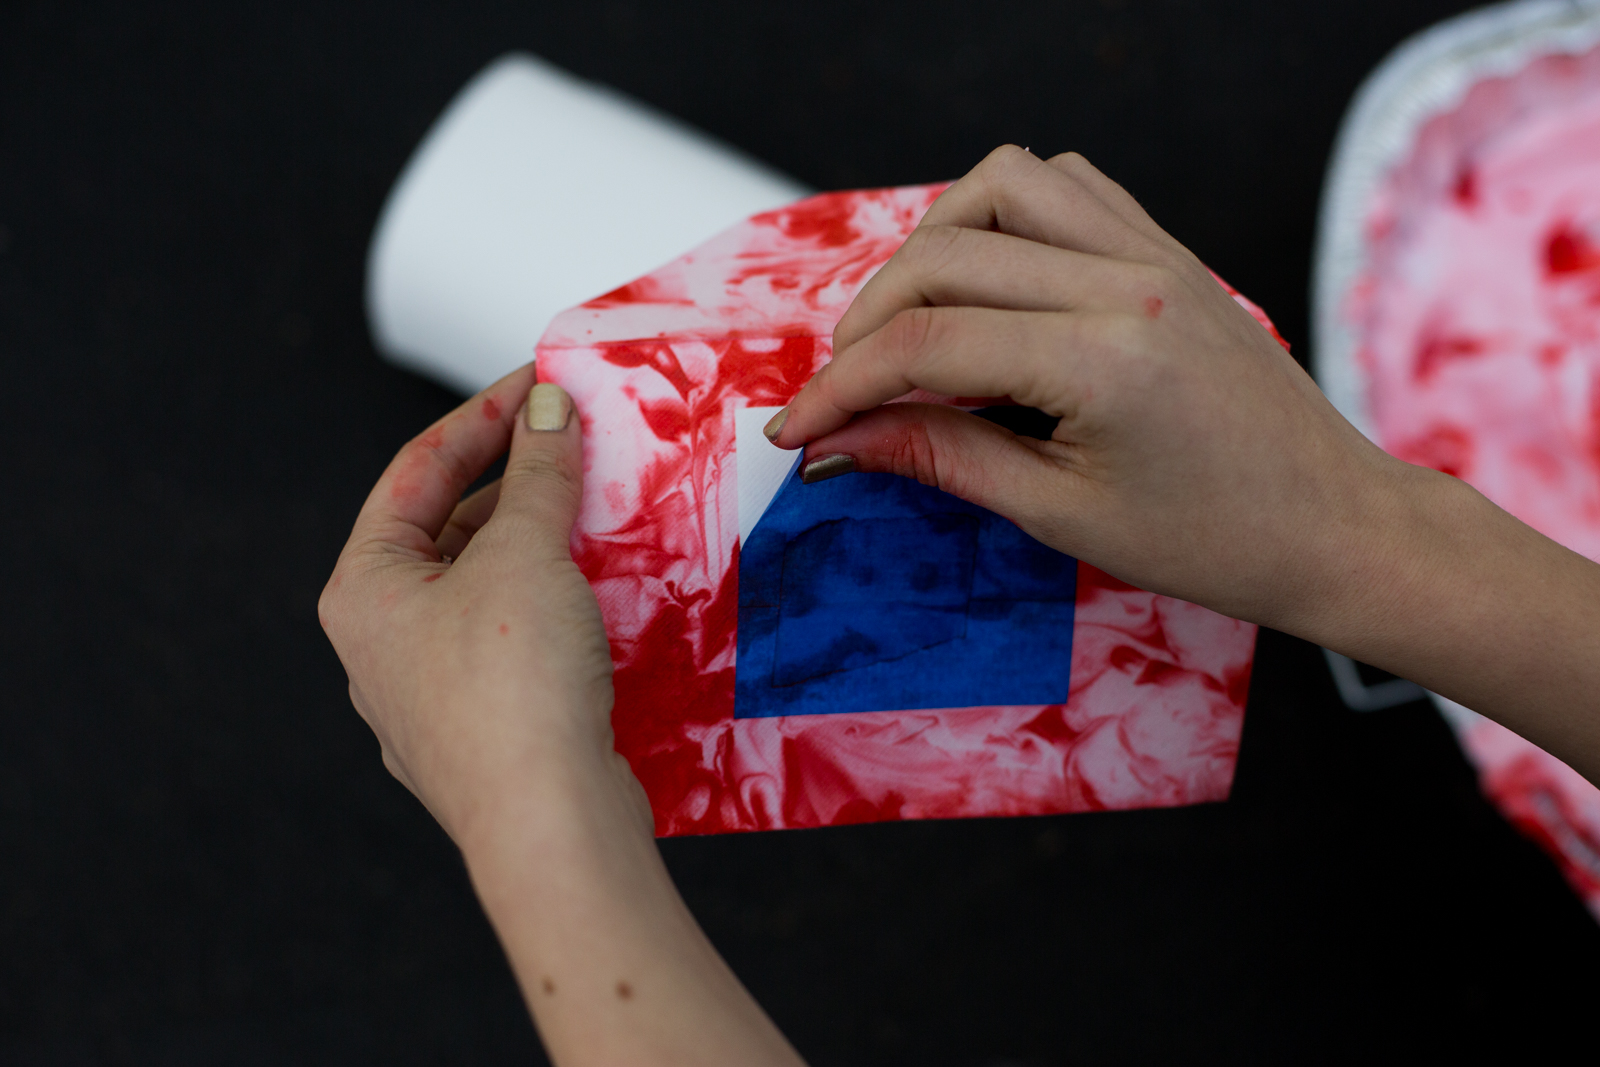
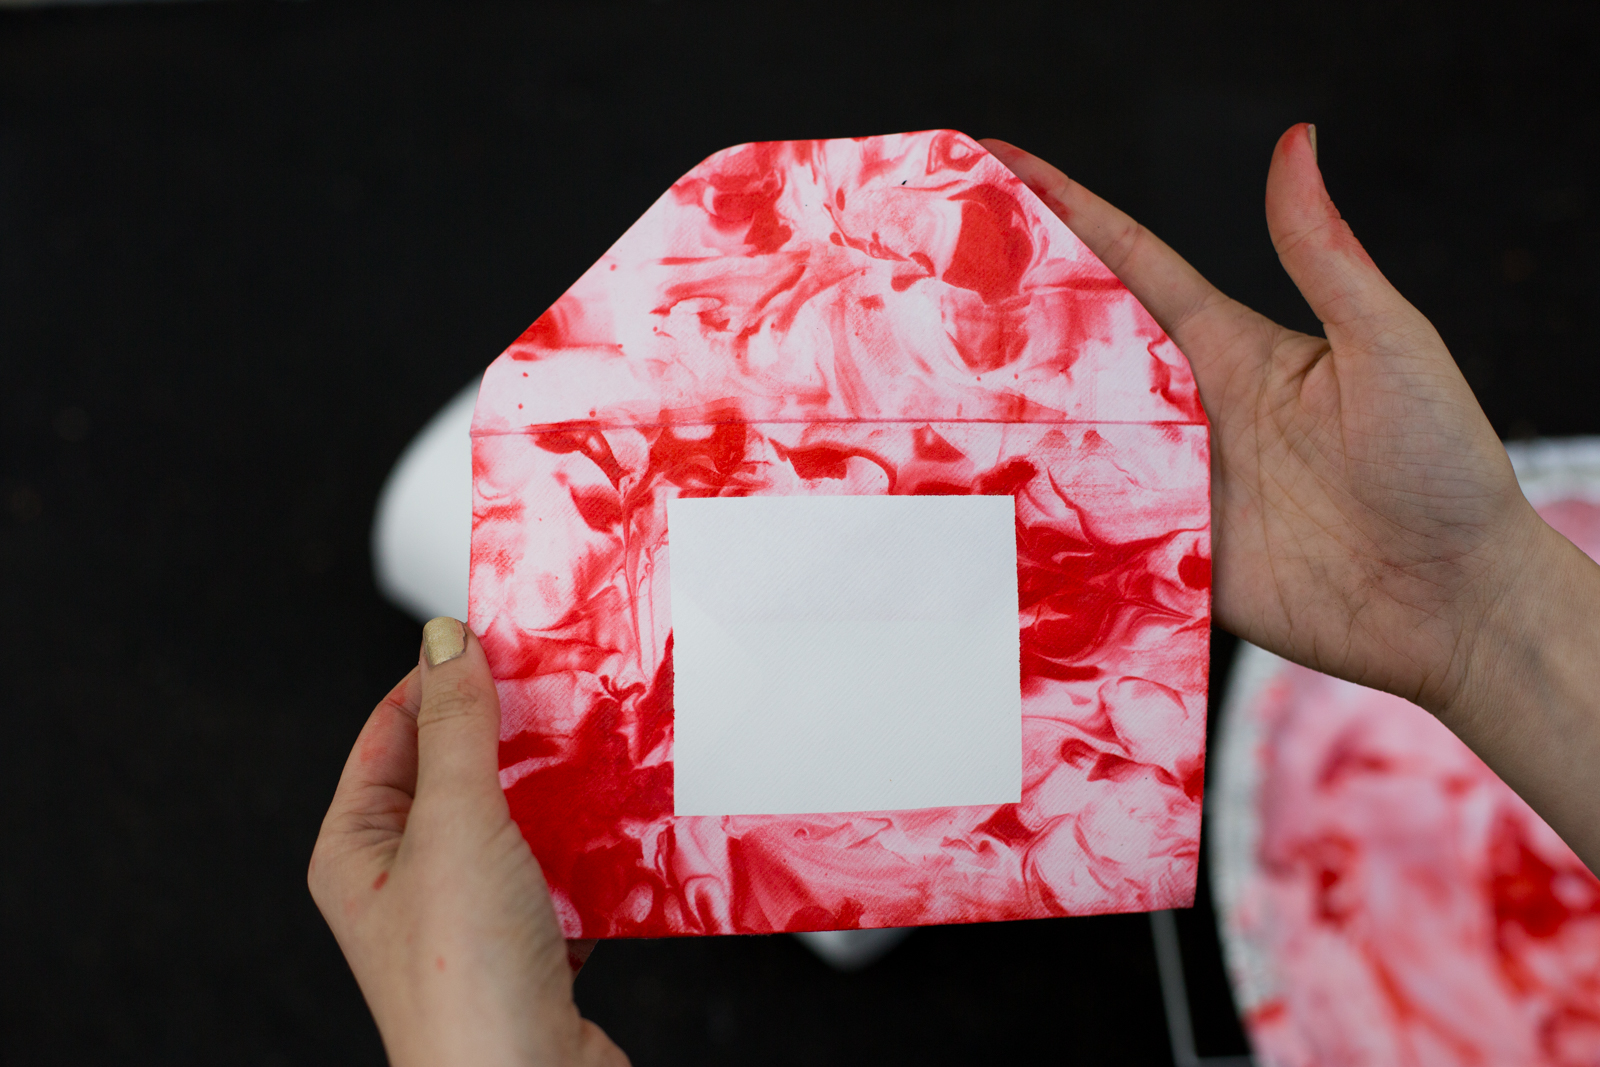
- Repeat steps 3 and 4 for the envelope! There's no need to add more drops and create a new marble pattern for each item, but after 2 or 3 you might want to! To create the white center on the envelope, use painter's tape to fully block off the area you don't want dyed. Then, after the foam has been scraped off, remove the tape!