i wanted to share a Quickie on my second DIY gel manicure with you. it is inspired by Spring colors! check out my first DIY gel manicure and full tutorial here.
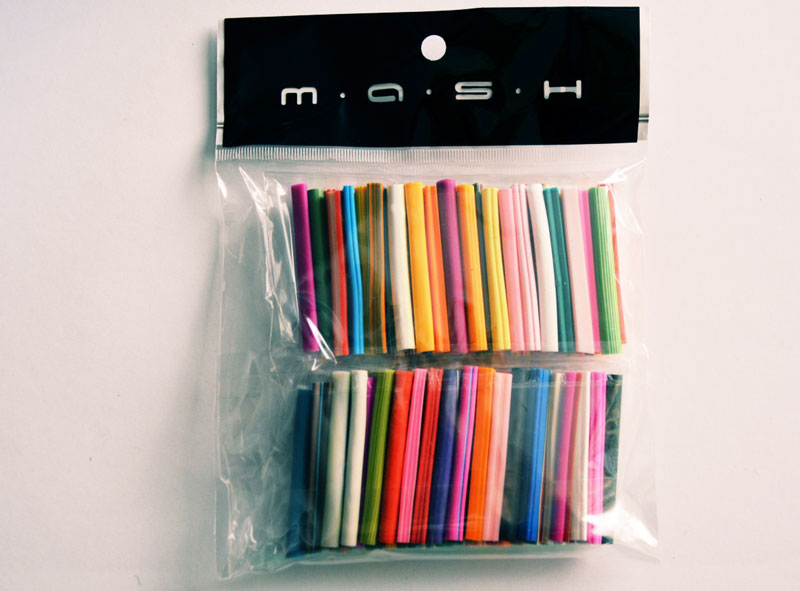
i experimented with the 3d decorative nail art rods/canes - which you can read more about here along with my other gel and nail art manicure supplies suggestions.
Prep It:
- clear gel polish
- LED light (with other gel basics: gel cleanser, lint free pad, gel primer)
- buffer
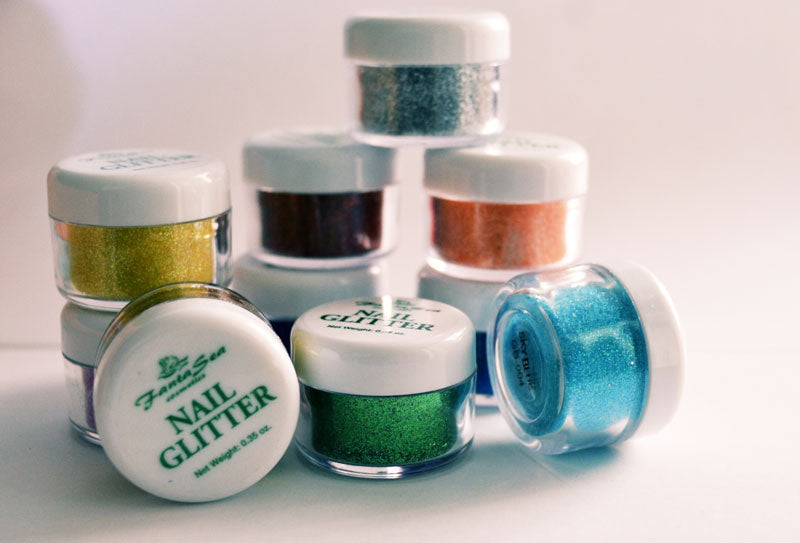
- loose glitter - mine are by Fanta Sea
- dry paint brush or fan brush
- decorative 3d nail art rod - mine are by M.A.S.H and i got them on Amazon
- exacto knife or razor blade
- prep your nails for a gel manicure using the buffer, gel cleanser and the gel primer - see the step by step here.
- paint a coat of clear gel polish and sprinkle with a layer of loose glitter - i used a different color for each nail.
- cure the clear/glitter coat under the LED light for 1 minute.
- repeat another coat of clear with another sprinkle of glitter and cure for another minute under the light.
- buff your nails with a light buffer to smooth any rough glitter patches
- paint with one more coat of clear gel to bring back the shine and seal - cure for one minute under the light.
- using your sharp exacto or razor, slice a thin slice off your decorative rod/cane for each finger you want to add 3D art. i used a daisy.
- stick your 3D art on your nail using a nice thick coat of clear gel (it may seem like it will slide but once you cure in the gel it will be stuck) - cure under the light for 1 minute.
- paint one last coat of clear gel over your 3d piece to really seal it on and cure one more minute.
- cleanse with the gel cleanser on a lint free wipe to remove any stickiness.


