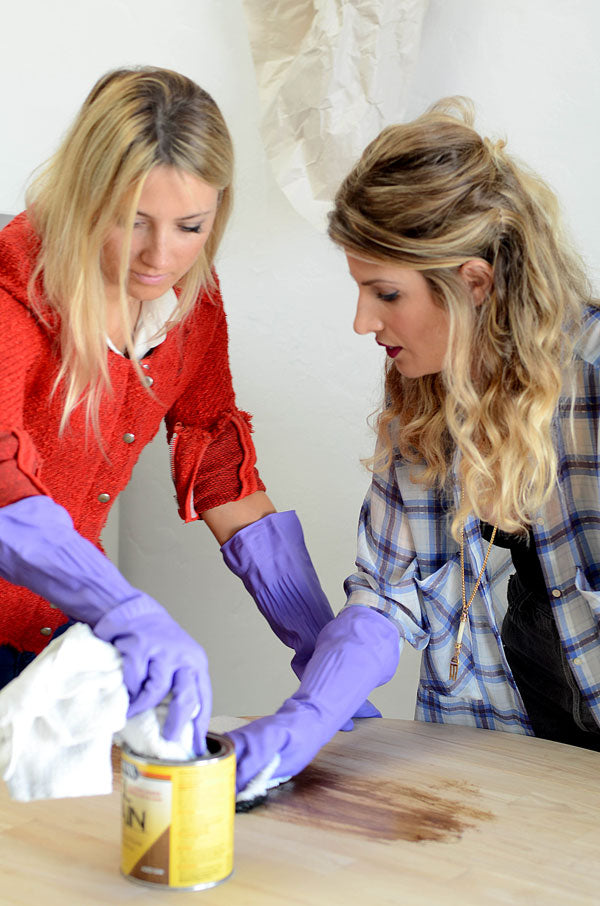
Reclaimed wood is extremely popular in decor right now. It's also pretty pricey. Here's a tutorial for the cheap and fun alternative! This DIY was featured in 'Mister Sister! Episode 5: Cozy Kitchen Cuties!' watch it for further instruction.

 DIY Reclaimed Wood - This is a great project to do on an unfinished wood piece of furniture to get that reclaimed wood look without the big price tag!
Prep It:
- unfinished wood (we did a table but you can apply this technique to any unfinished wood item)
- heavy chain
- sandpaper
- wood chisel
- screwdriver
- aged oak gel stain
- rag
- rubber gloves
- polycrylic protective finish
- paintbrush


 Do It!:
- Use the chain, screw driver and/or wood chisel to beat up your wood to give it some battle wounds and knicks in areas it may have been "used" over years. Use the sand paper to add scratch marks and wear down edges. These marks will give it character and make it look aged. Don't go too crazy or uniform with the marks or wear to keep it looking natural.
- Put on rubber gloves and dip the rag into the gel stain. Rub the stain evenly over your project until it is completely covered. Let dry.
- (Optional, but recommended if your project is a surface that will get a lot of wear like a table top) Paint the table top with the polycrylic finish to seal your project. Let dry and enjoy!


