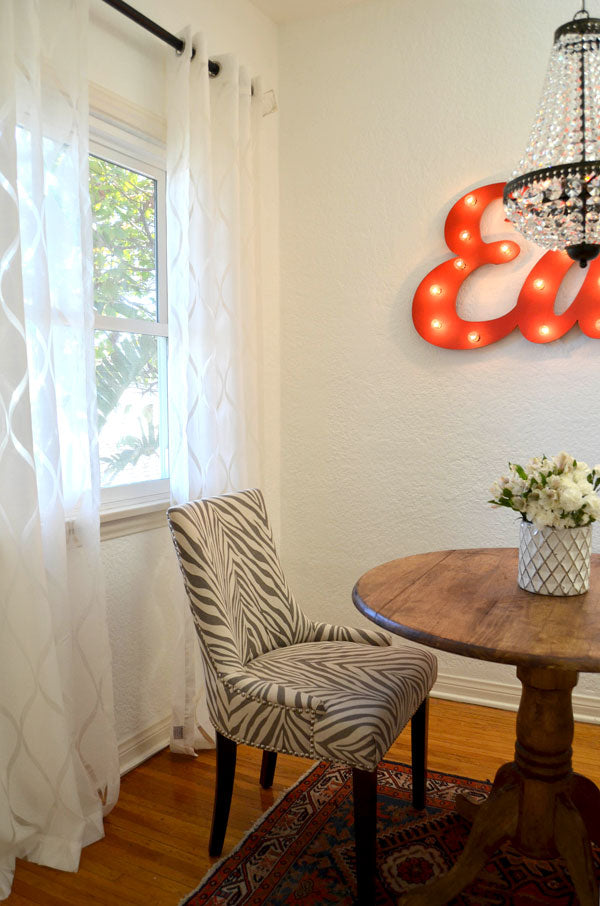
Tess' petite, apartment kitchen posed a few design challenges. One, it's small, two we didn't want to paint and three, the tile is a bold (and kind of loud) black and yellow. To remedy these issues I chose a petite table that we DIY distressed to make it look like reclaimed wood and soften the bold tile and paired it with two chairs to not eat up too much space. We also added visual interest around the galley kitchen including new light fixtures, basket storage above the fridge, a magazine rack as a pantry and a pot rack. Links to all the items we used are below.
Happy Birthday Tess! I hope you cook delicious meals and feel cozy in your cute kitchen! Please comment below and let us know what you think. xo


- unfinished table
- zebra print chairs
- EAT marquee sign
- curtains
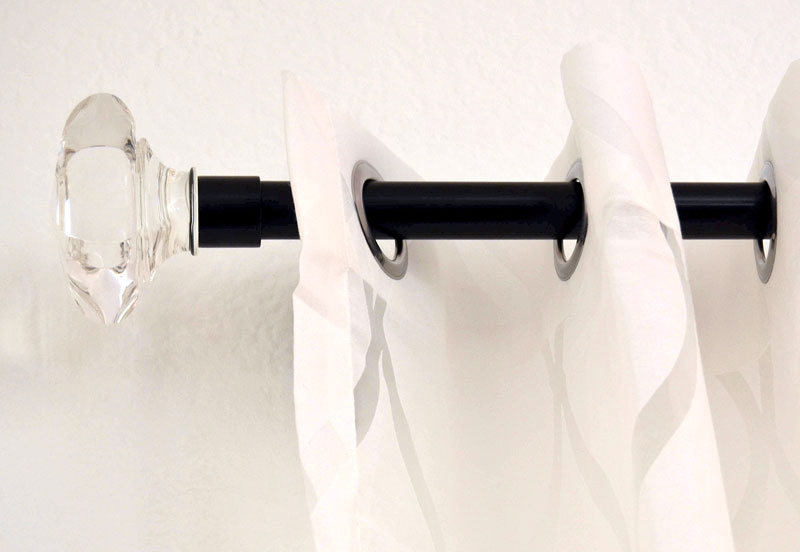
- finials
- nook rug (thrift store find, similar style here)
- crystal chandelier
- kitchen runner
- flush mount crystal chandelier
- pot rack
- magazine rack as a pantry
- framed chalkboard
- oversized baskets
- kitchen cart
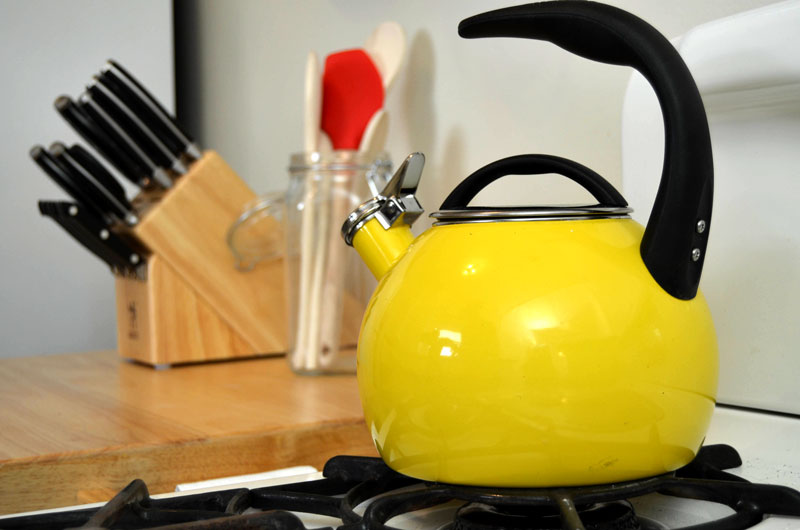
- yelllow tea pot


DIY Reclaimed Wood - This is a great project to do on an unfinished wood piece of furniture to get that reclaimed wood look without the big price tag!
Prep It:
- unfinished wood (we did a table but you can apply this technique to any unfinished wood item)
- heavy chain
- sandpaper
- wood chisel
- screwdriver
- aged oak gel stain
- rag
- rubber gloves
- polycrylic protective finish
- paintbrush


 Do It!:
- Use the chain, screw driver and/or wood chisel to beat up your wood to give it some battle wounds and knicks in areas it may have been "used" over years. Use the sand paper to add scratch marks and wear down edges. These marks will give it character and make it look aged. Don't go too crazy or uniform with the marks or wear to keep it looking natural.
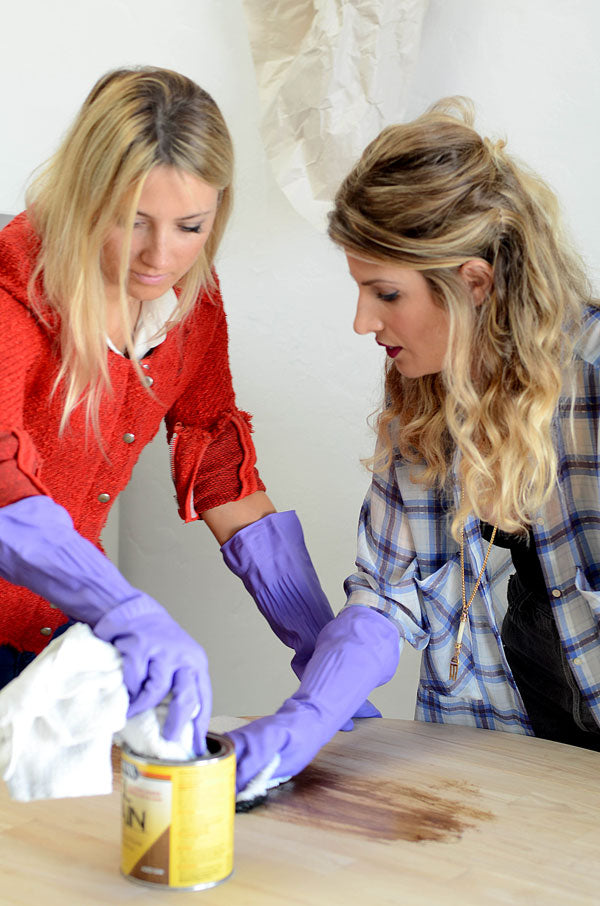
- Put on rubber gloves and dip the rag into the gel stain. Rub the stain evenly over your project until it is completely covered. Let dry.
- (Optional, but recommended if your project is a surface that will get a lot of wear like a table top) Paint the table top with the polycrylic finish to seal your project. Let dry and enjoy!


Hope you like the transformation! Comment and let us know what you think!


