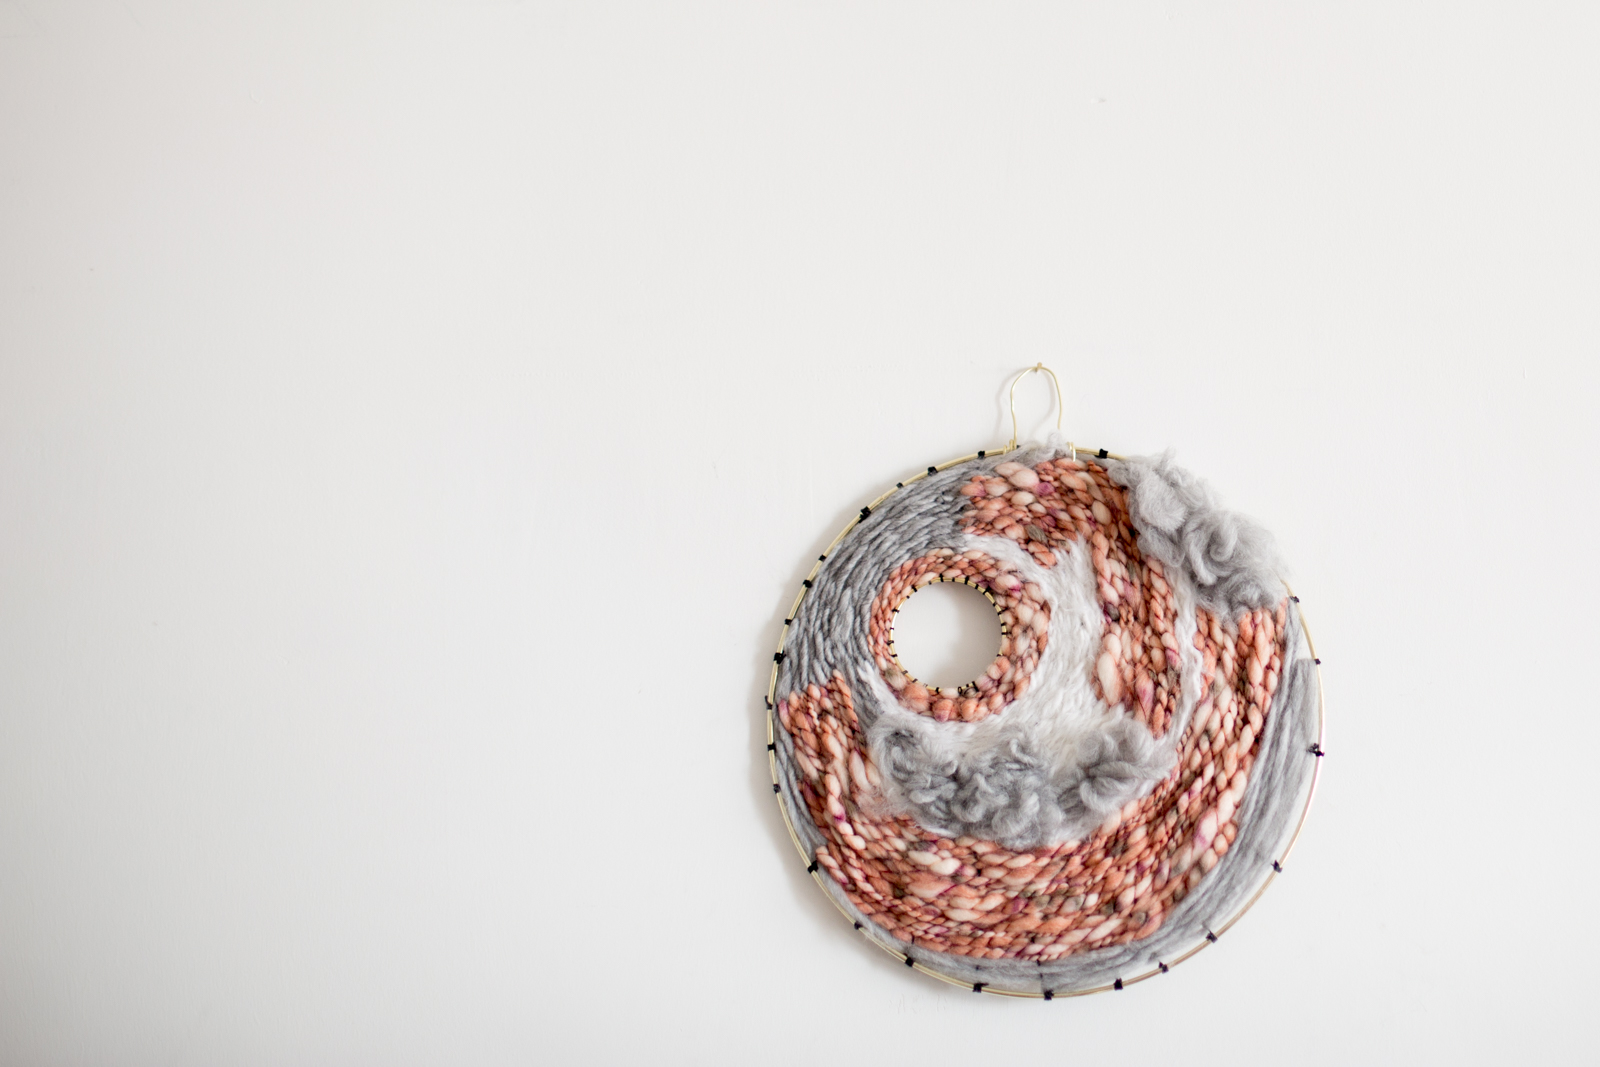
An important part of my 2016 Refresh, and an equally important part of life, is ridding your mind of anxiety and negative thoughts. I know, I know, so much easier said than done — which is why I am showing you this DIY Woven Dreamcatcher. Sometimes a girl (or guy! or kitty cat!) just needs a little help in the form of chic home decor.
The mythology behind a dreamcatcher is that the nightmares and bad thoughts will get caught in the woven web, leaving only the lovely, positive, and inspiring. Instead of a traditional dreamcatcher, this one utilizes tapestry-like weaving techniques, which lend it a rustic, textured vibe. I kept the colors muted, with grey, pastel pink, and white, but this DIY would look so cool in any combination of hues!
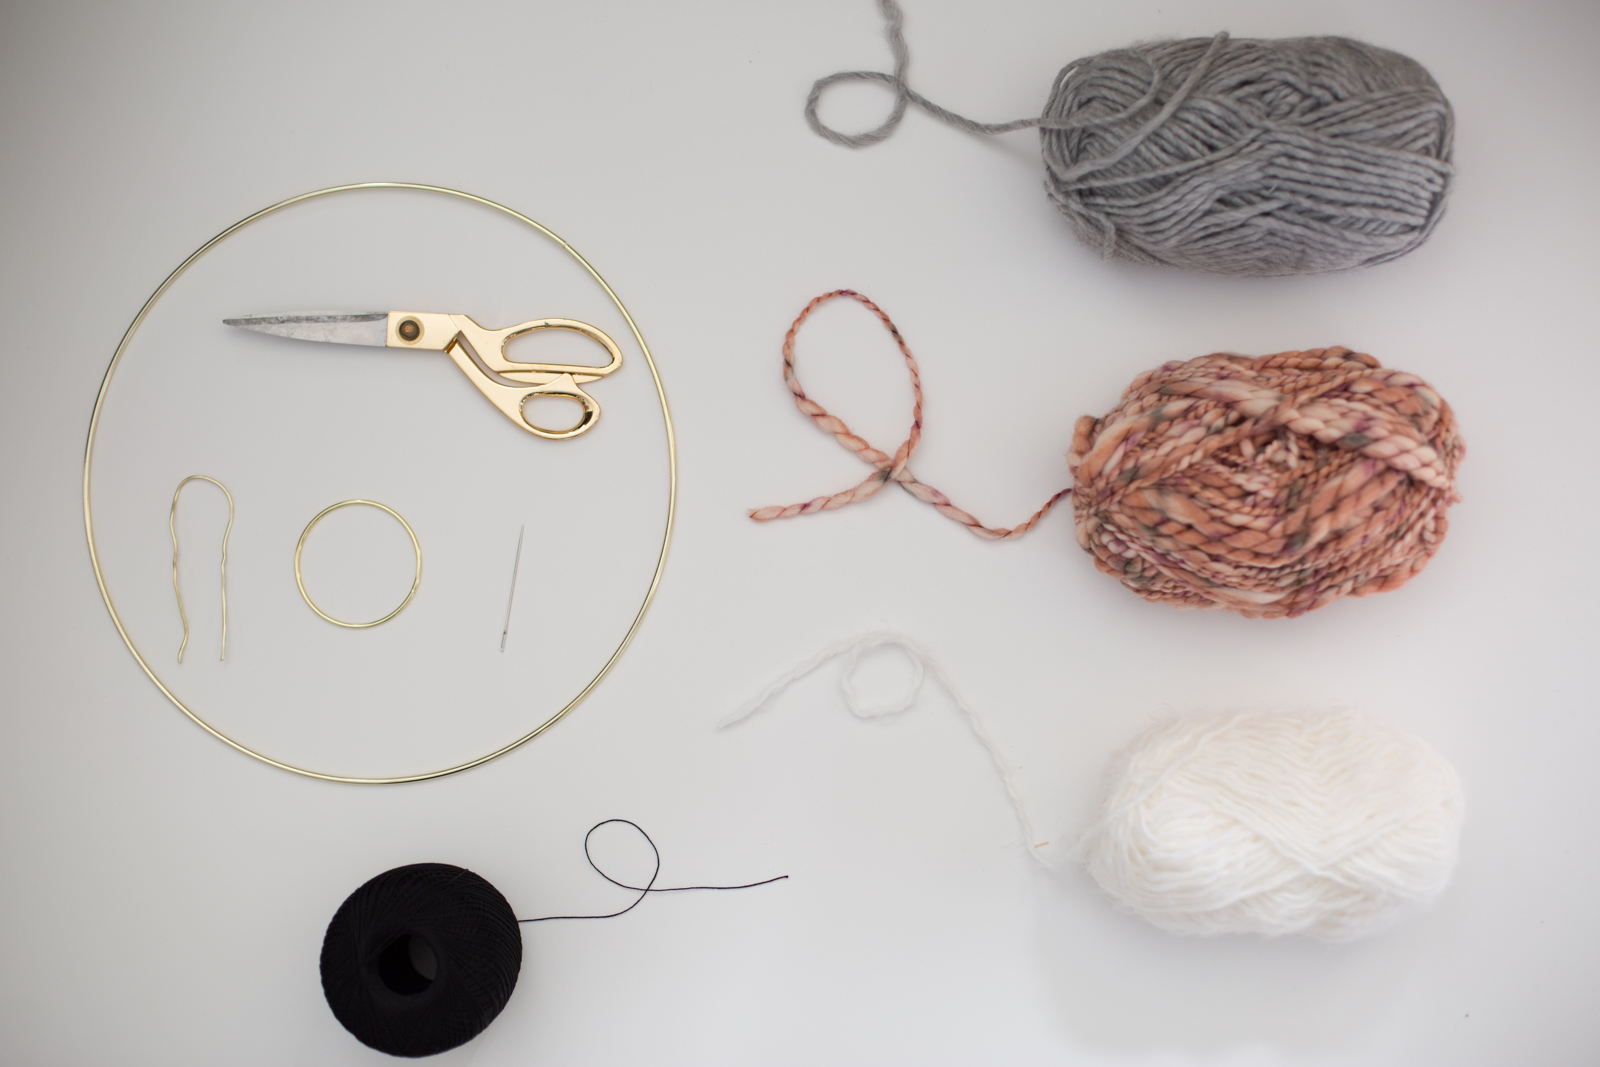
Prep It!:
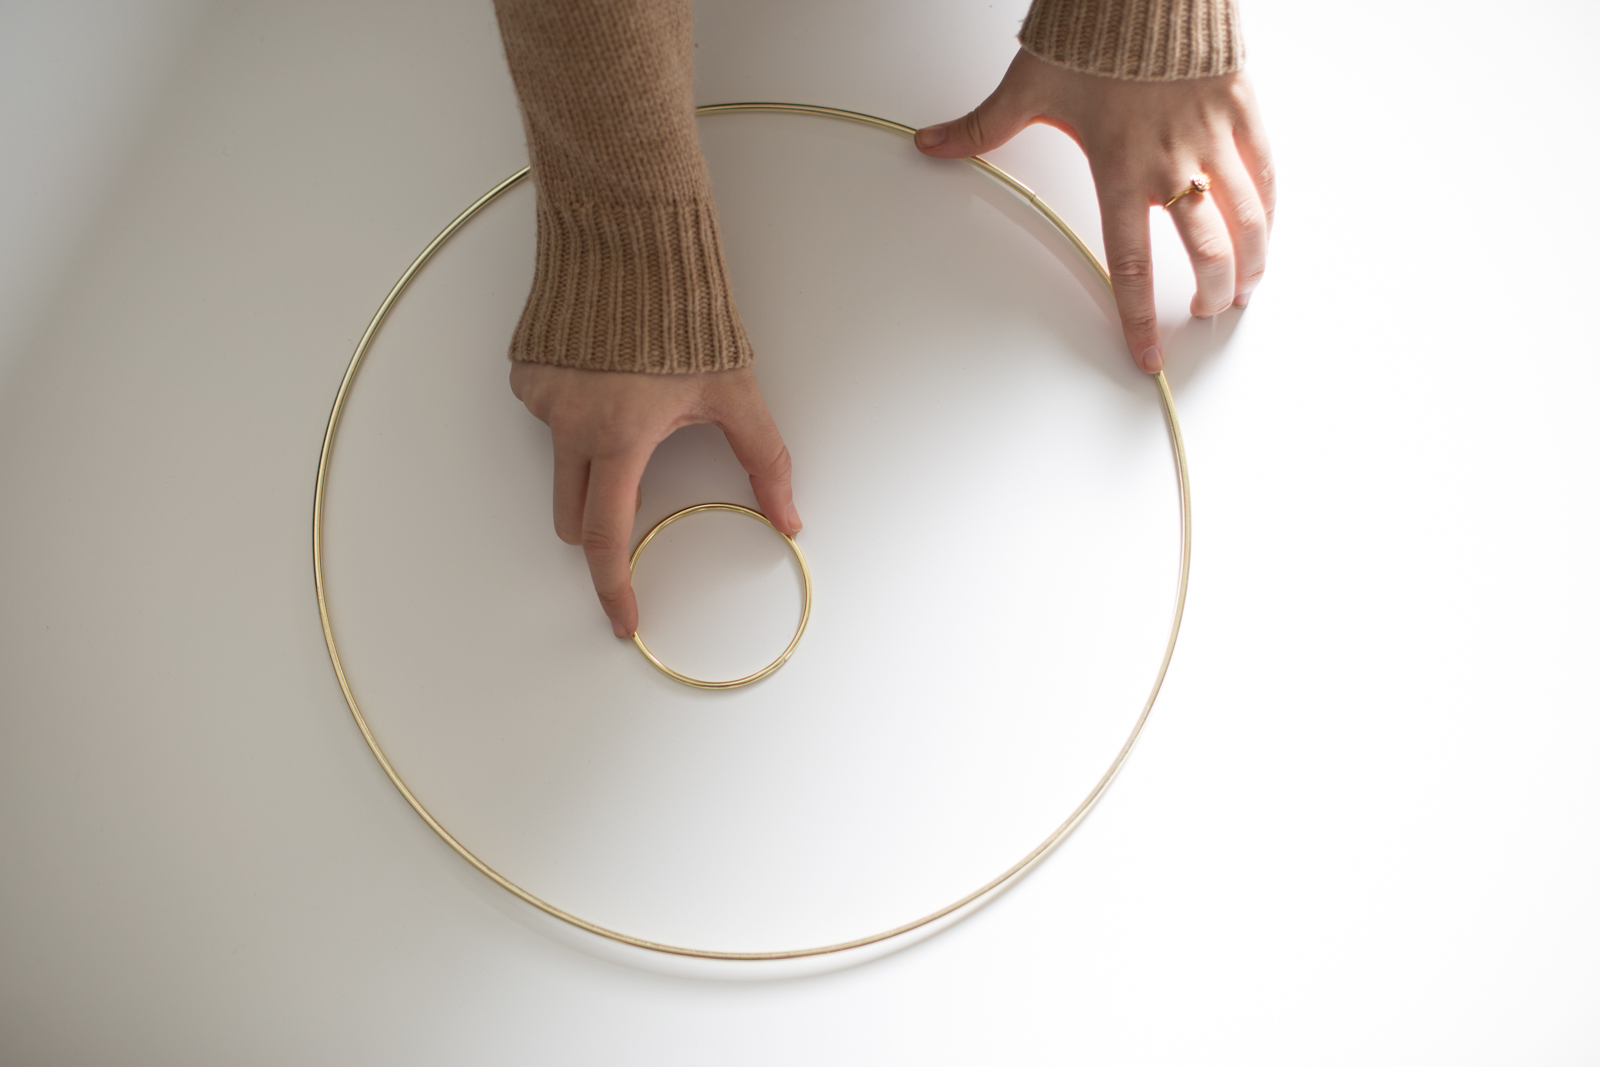
Small brass loop
Large brass loop
Different colored/ textured yarn
Thick black String
Large needle
Wire


Do it!:
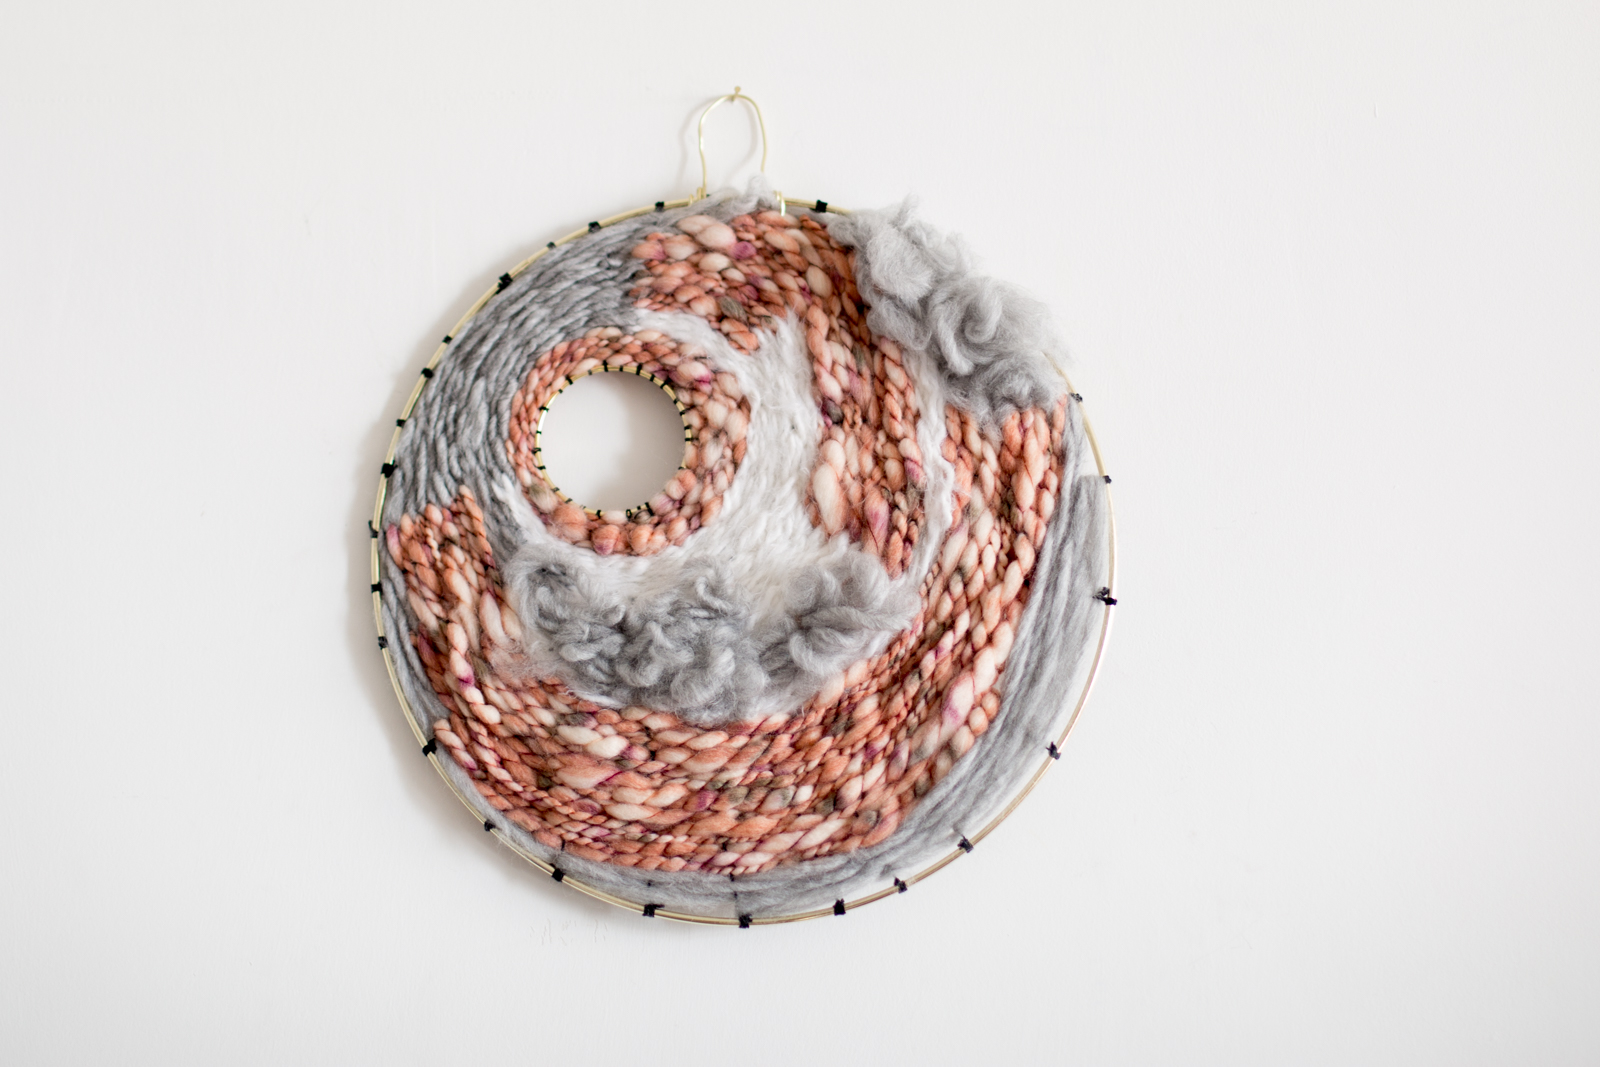
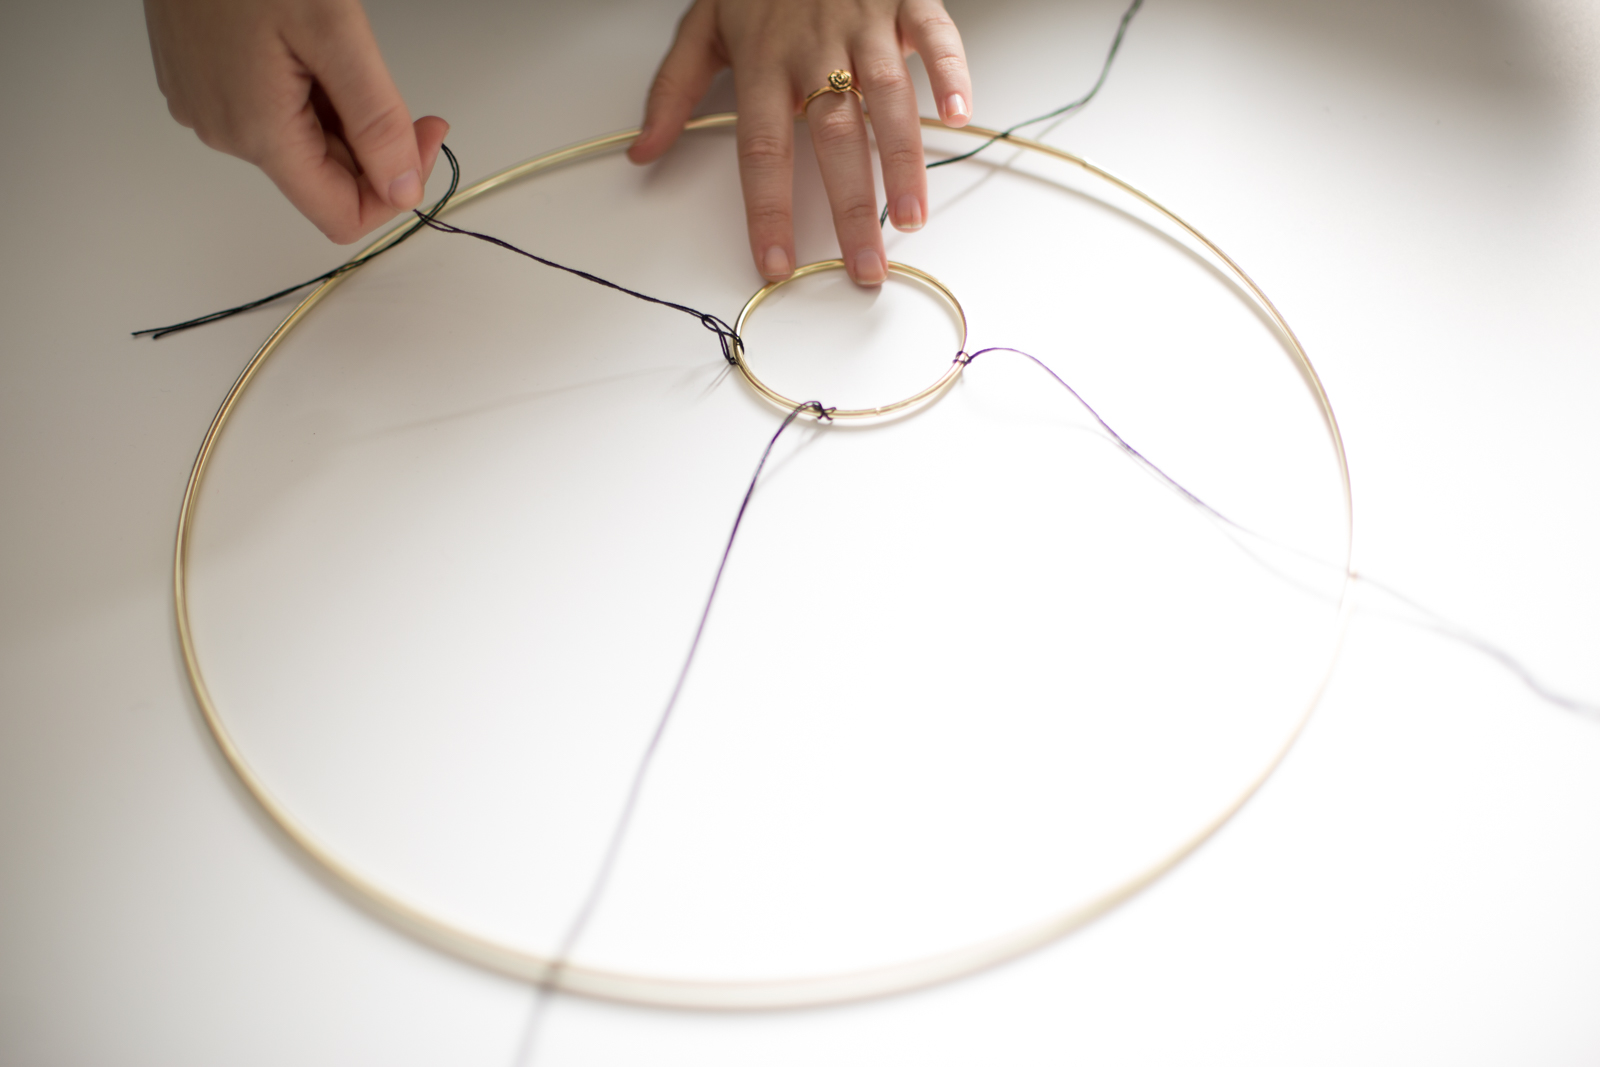
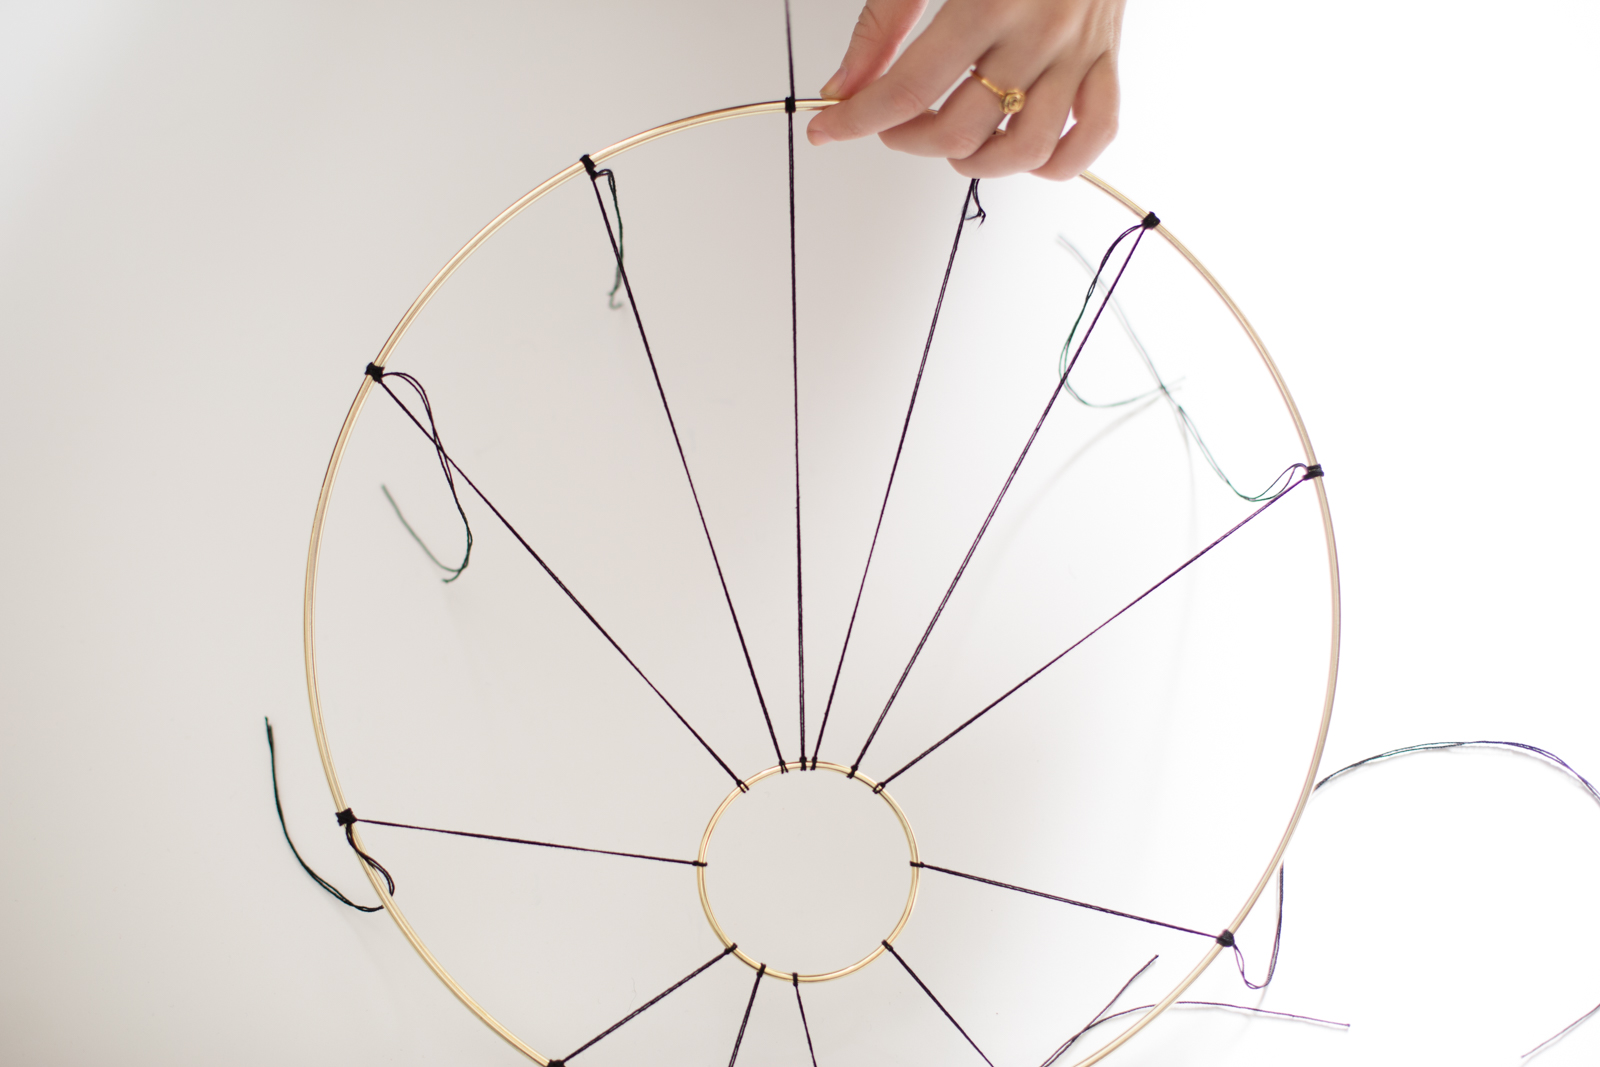
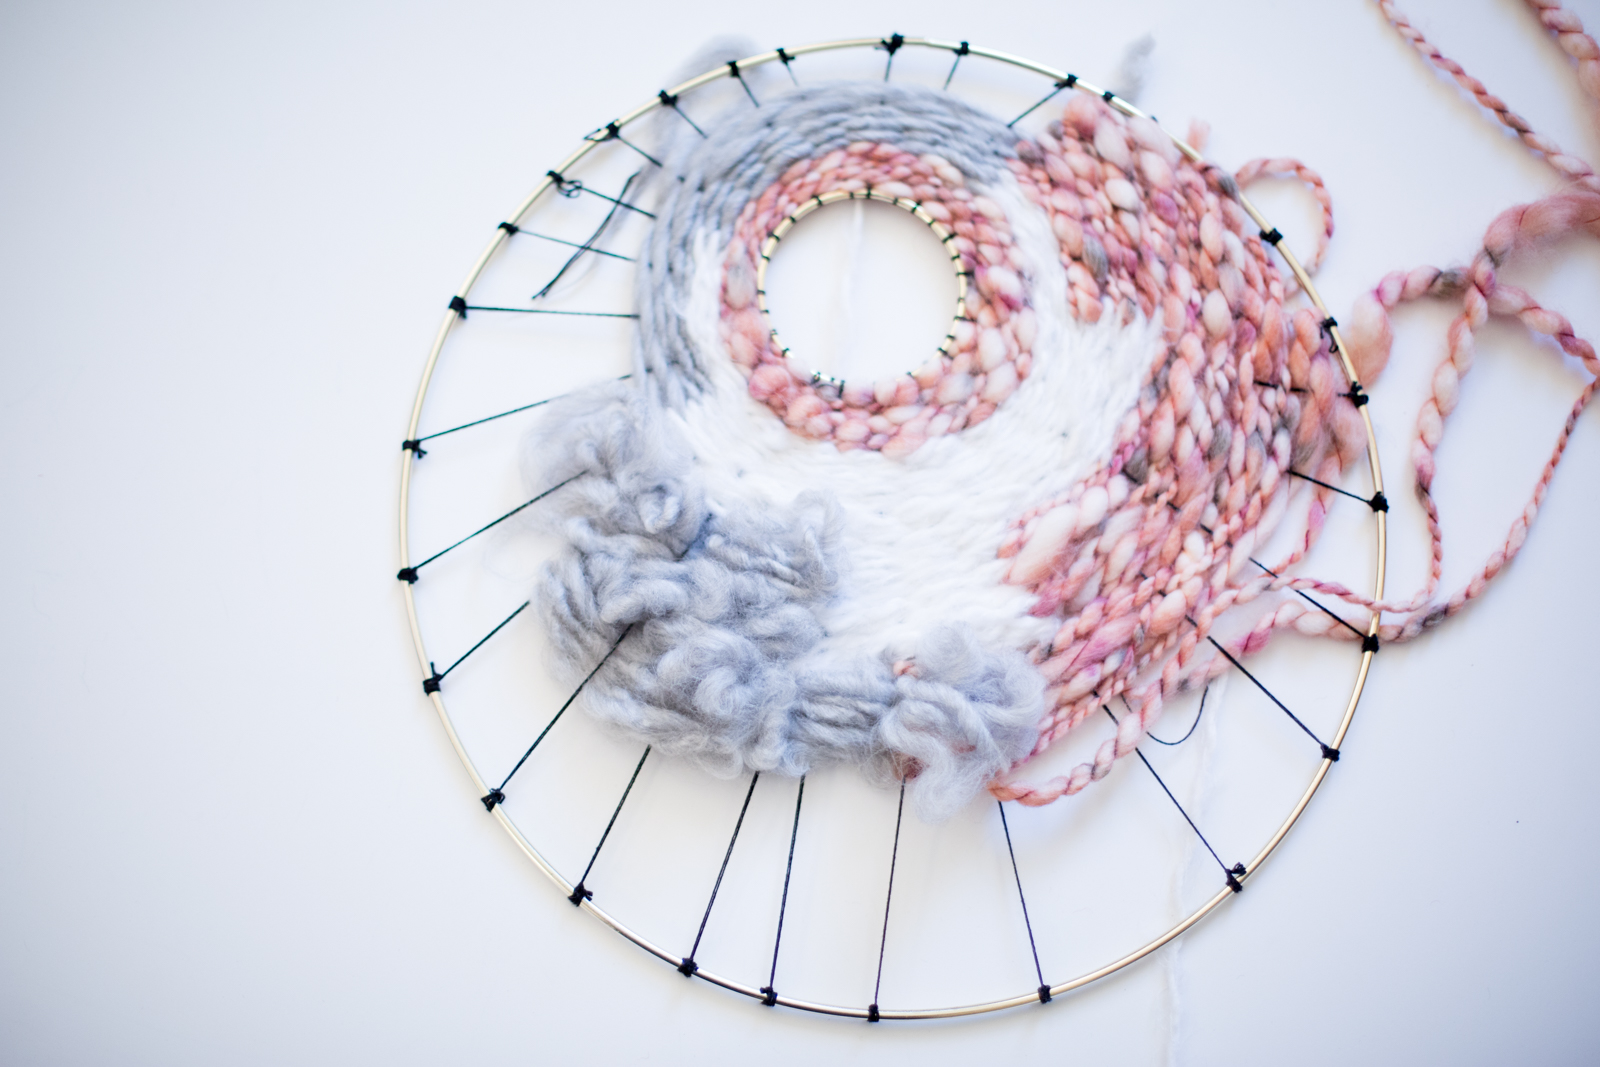
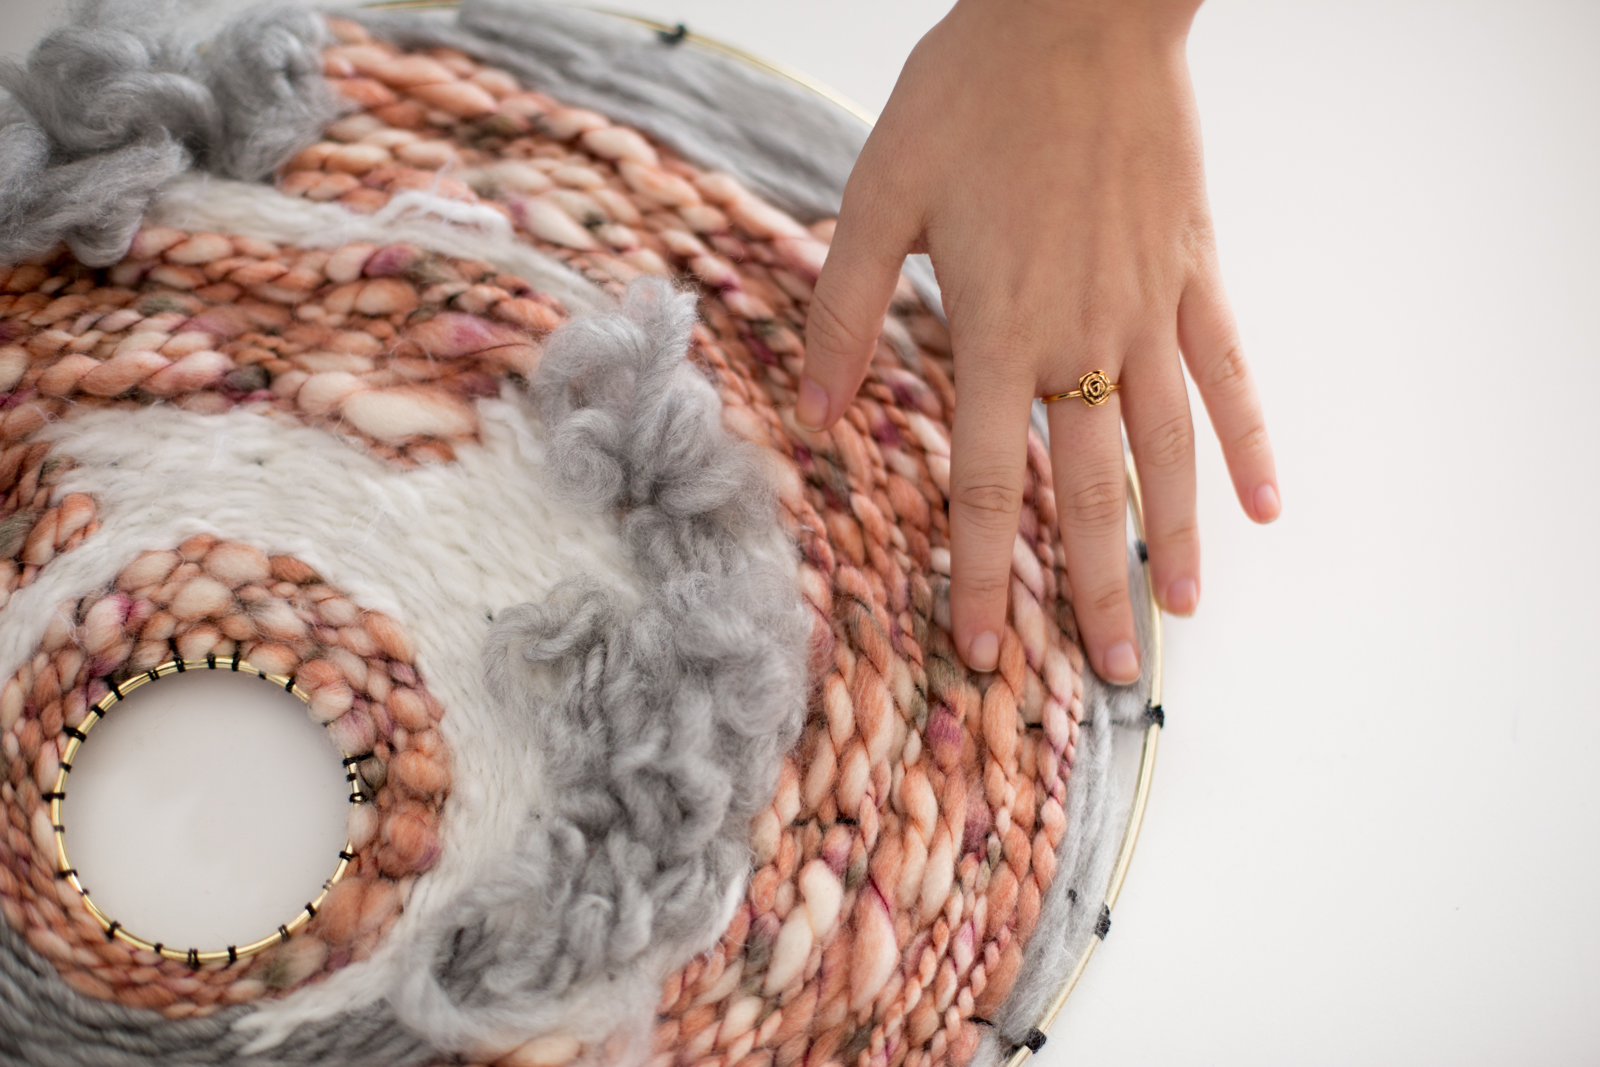
- First you have to decide how you want your woven piece to look like — do you like the smaller hoop in the center of the larger hoop, or slightly askew? We opted to put it in the top left, so there would be a large area to weave through on the bottom right.
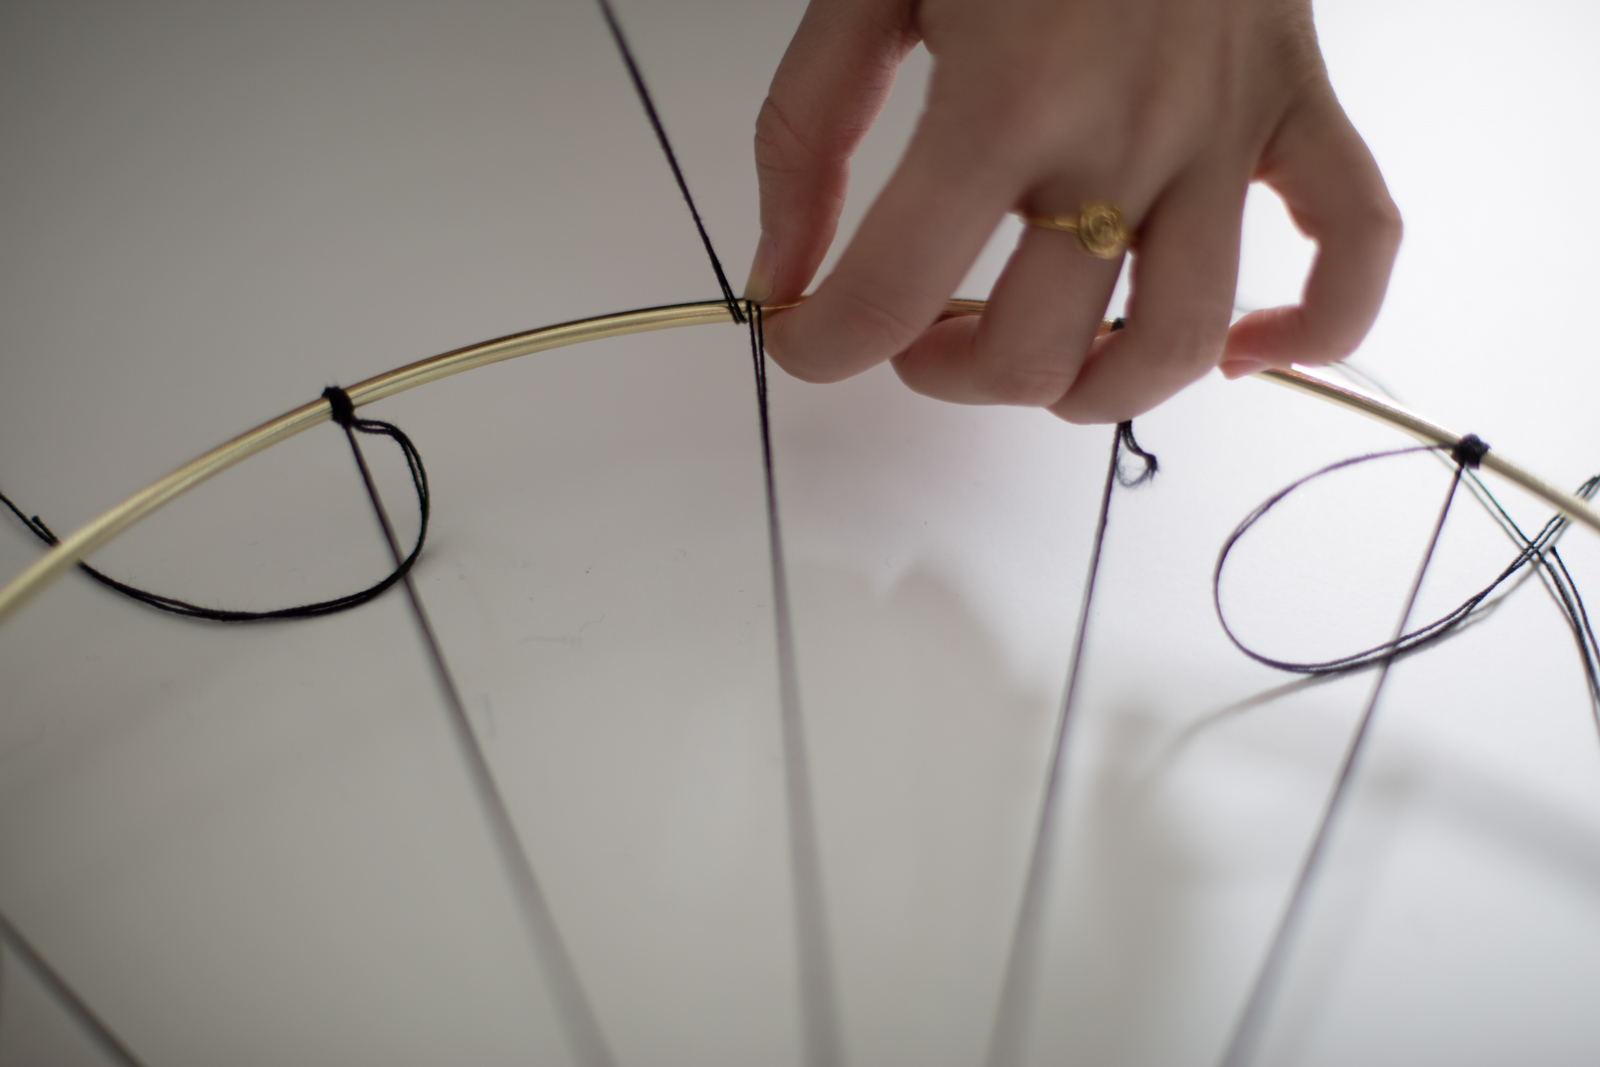
- Cut 2-3 dozen pieces of black string. If you want your smaller hoop to be centered, cut them all the same length; if you want it off-center, cut some strings shorter and some longer. Keep in mind, however, that the string will be folded in half when you tie it, so don't cut it too short!
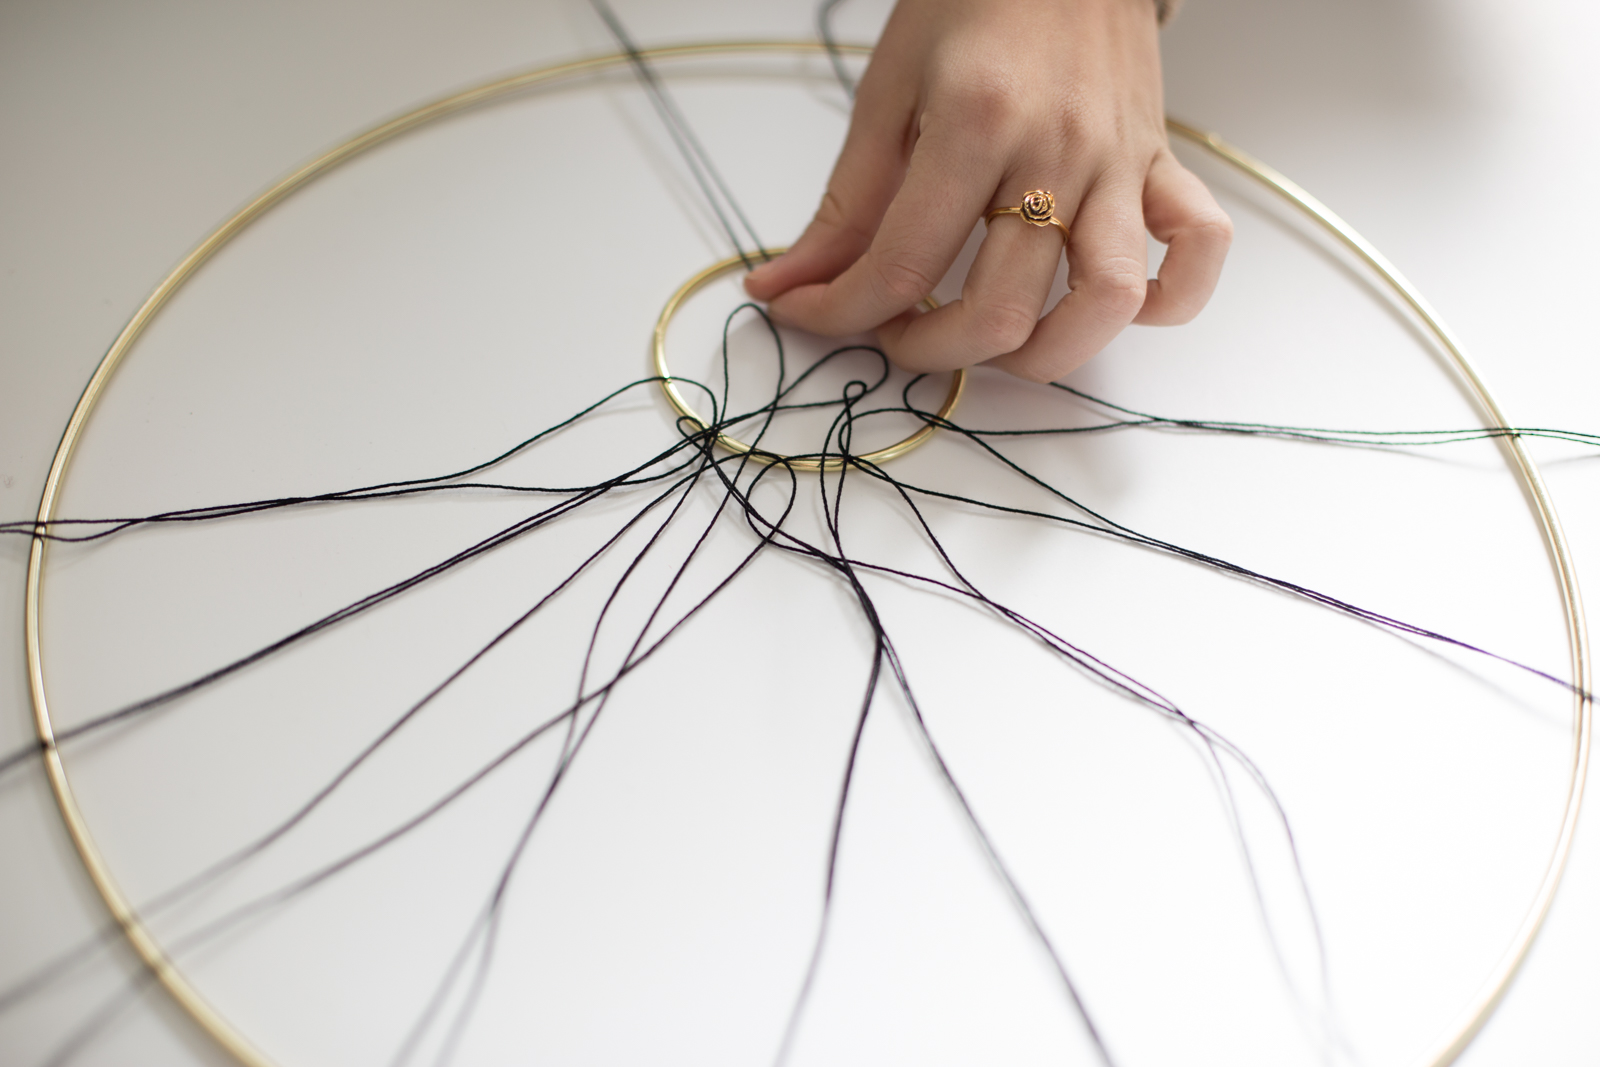
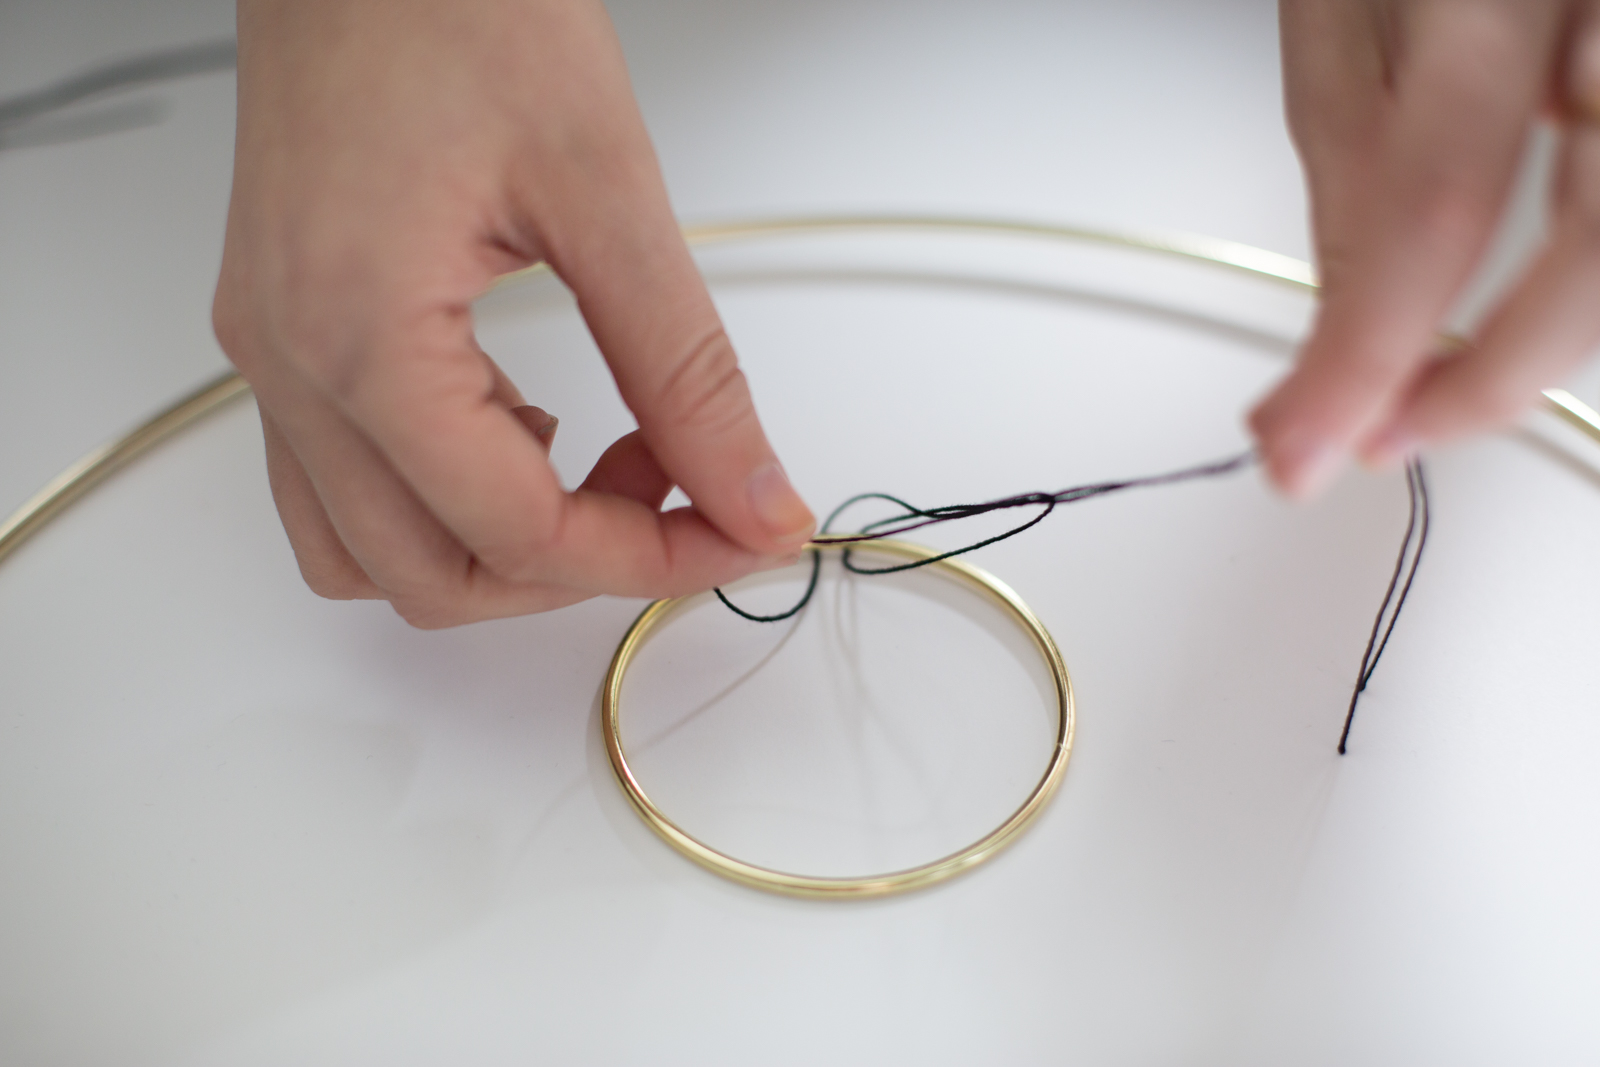
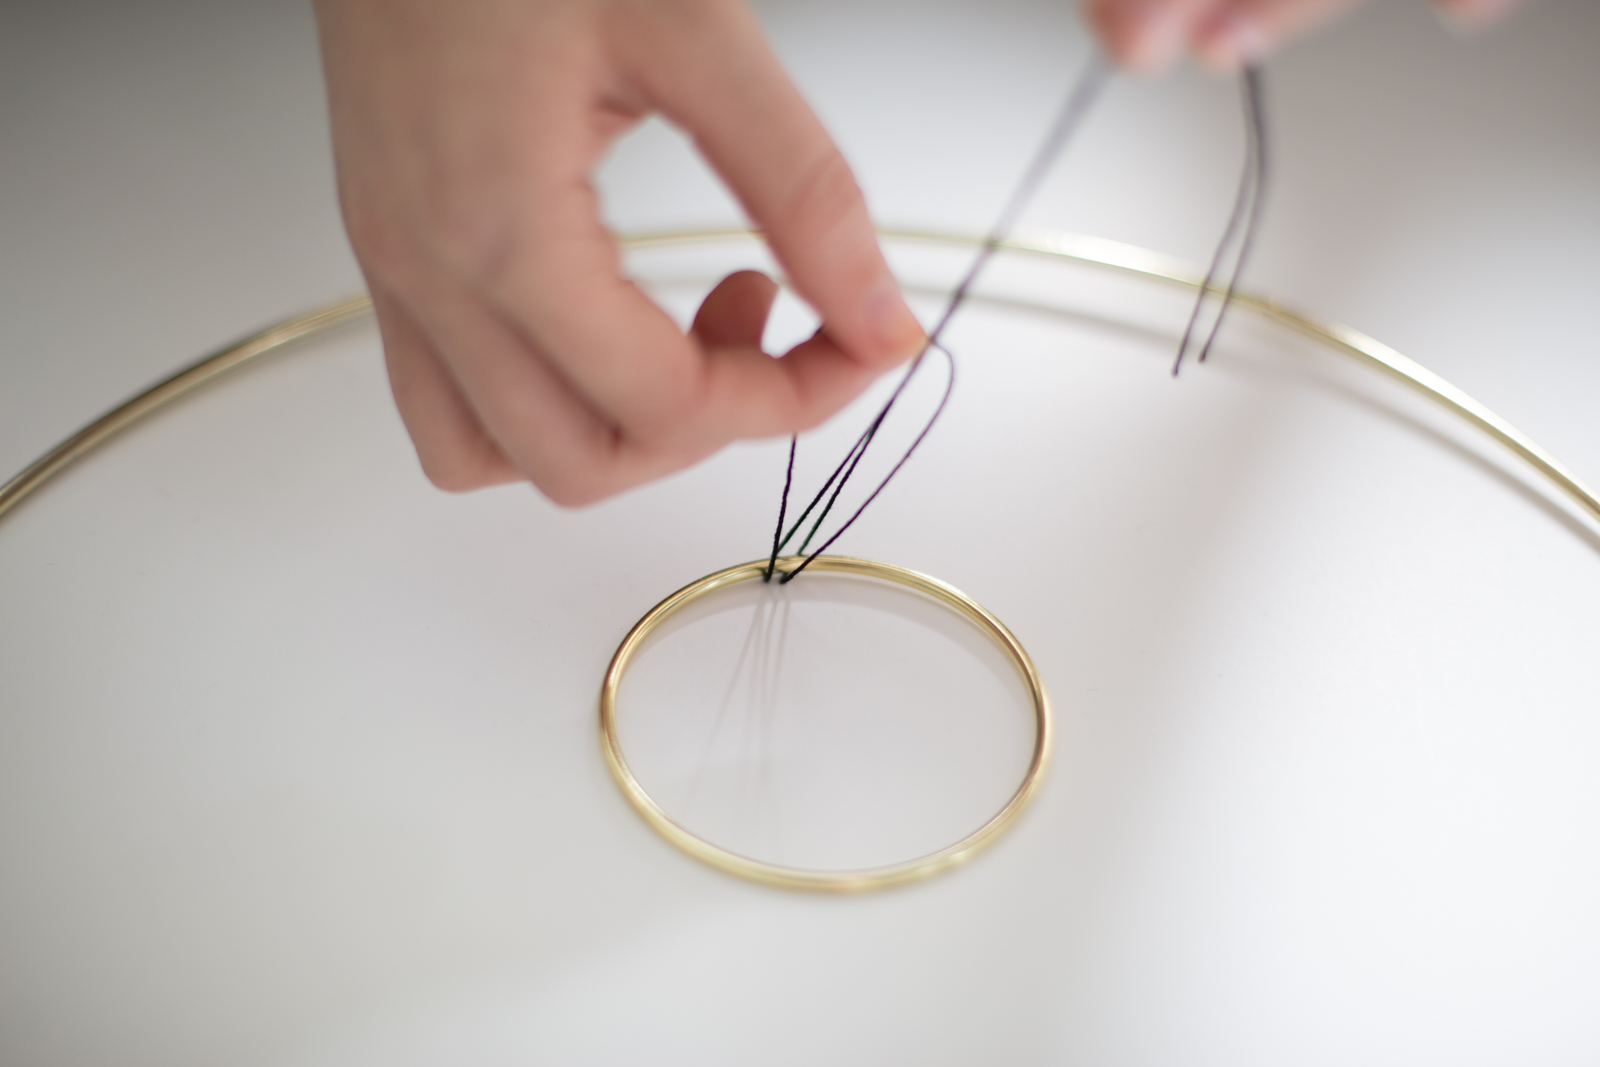
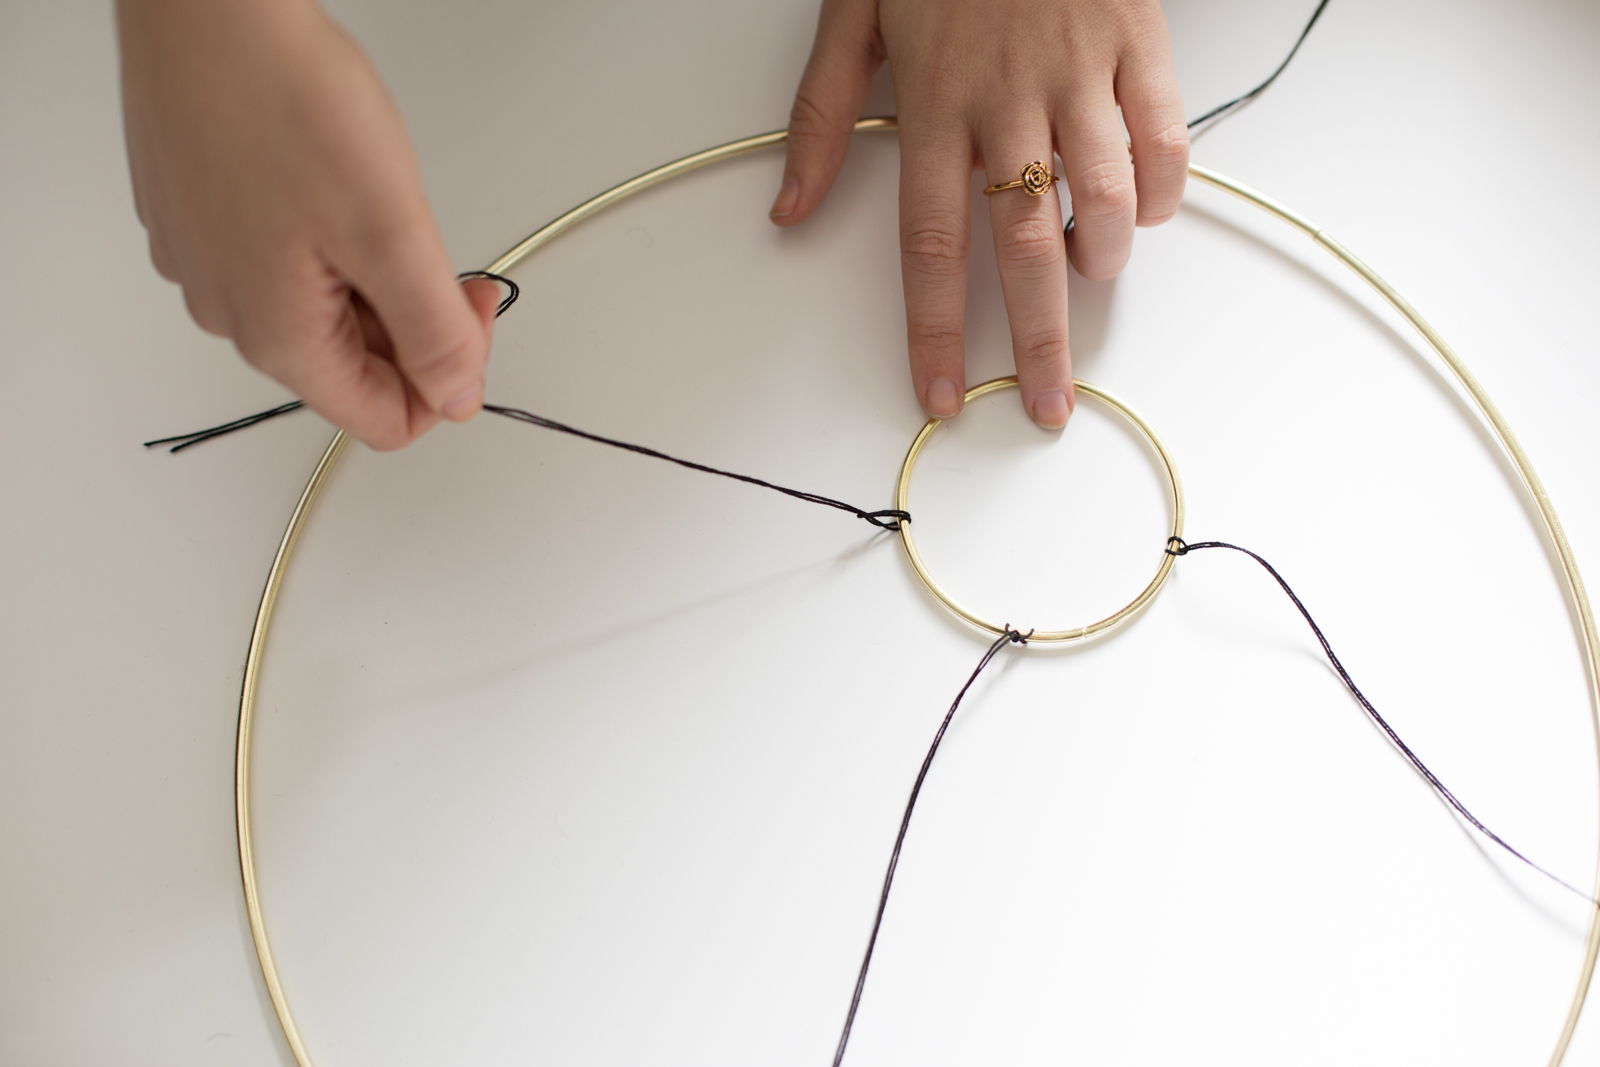
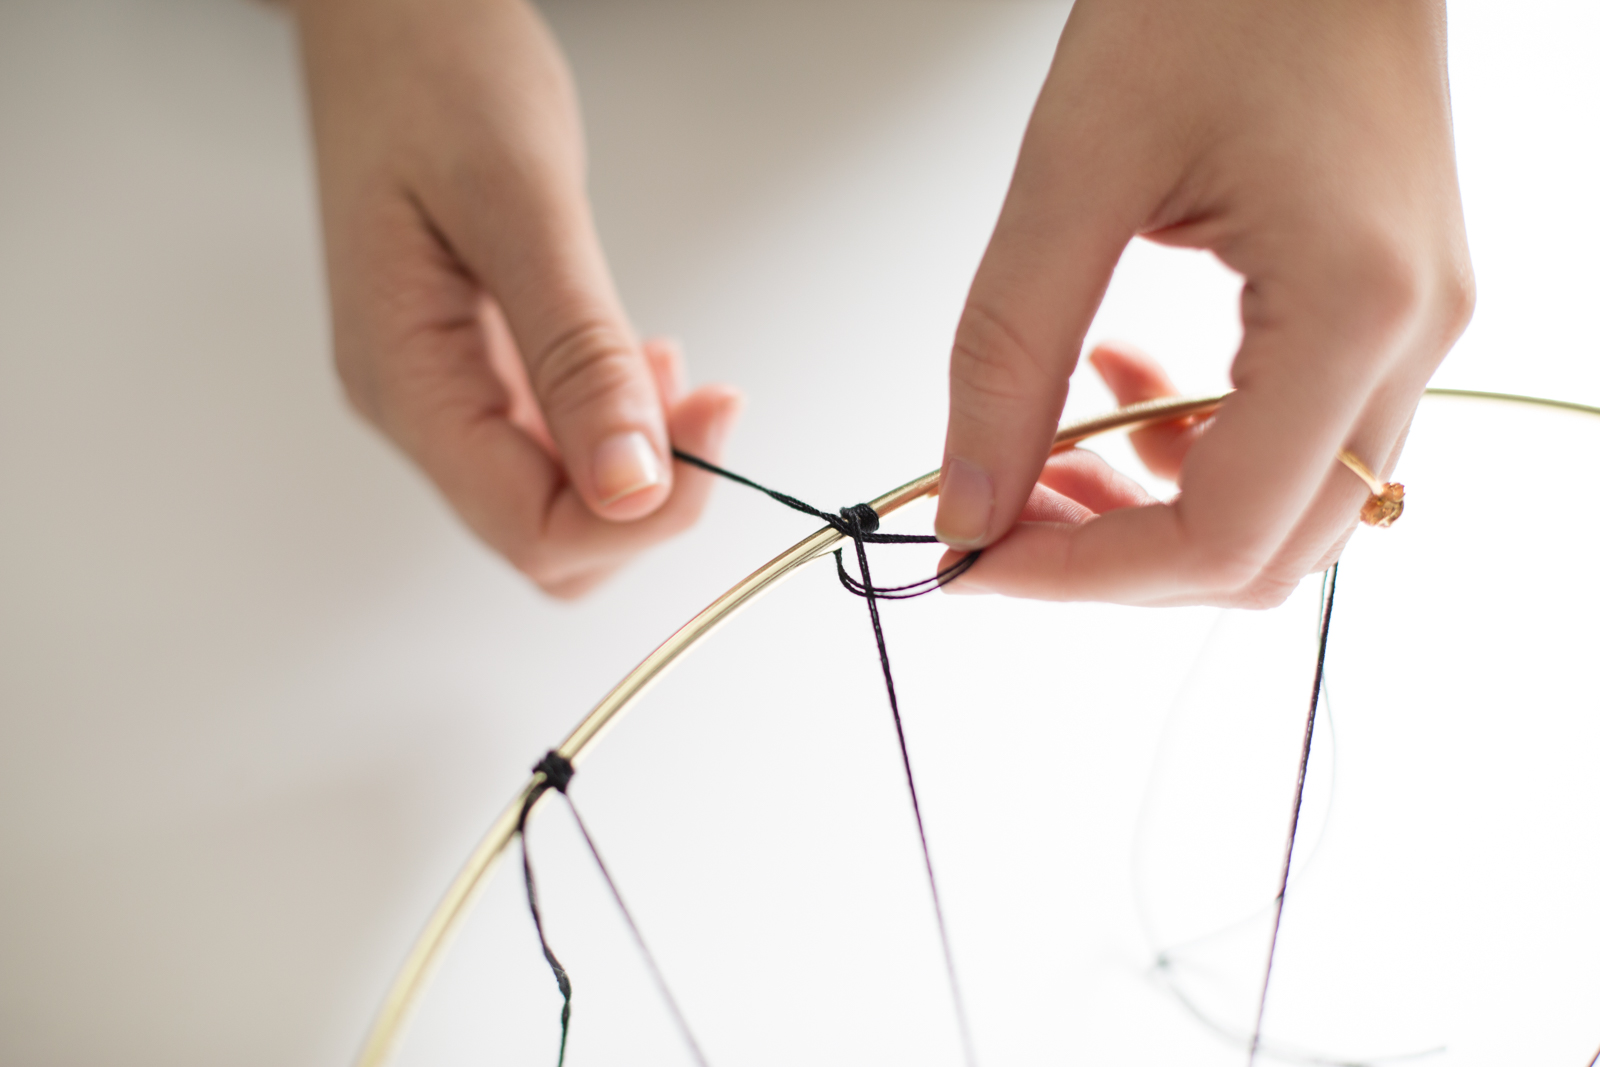
- Lay the hoops down on a flat surface, positioned how you'd like them. Take your first piece of string, fold in half, and tuck the folded end under the smaller hoop. Then, take the tails of the string and pull them through the string loop, creating a knot. Pull the tails of the string to the outer hoop, wrap around a few times, and tie.
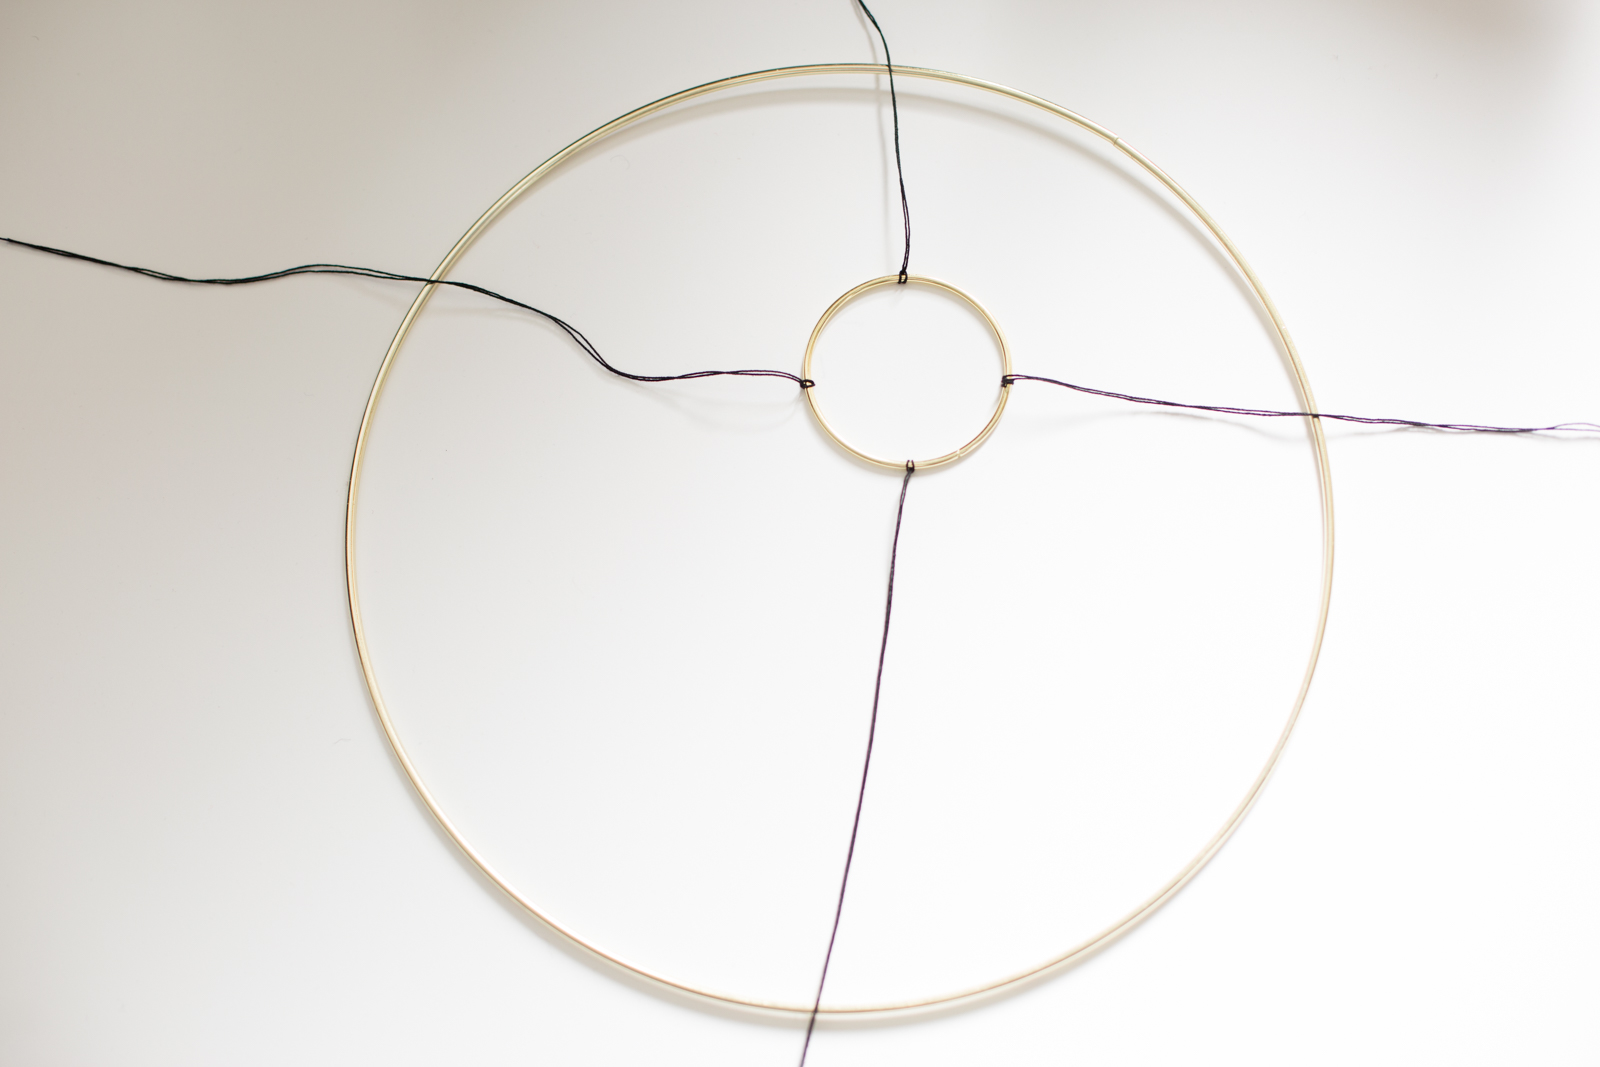
- Repeat this step about 3 or so more times, making sure to tether the smaller hoop exactly where you'd like it inside the larger hoop. Once it's positioned, continue using the rest of your string to connect the two hoops.
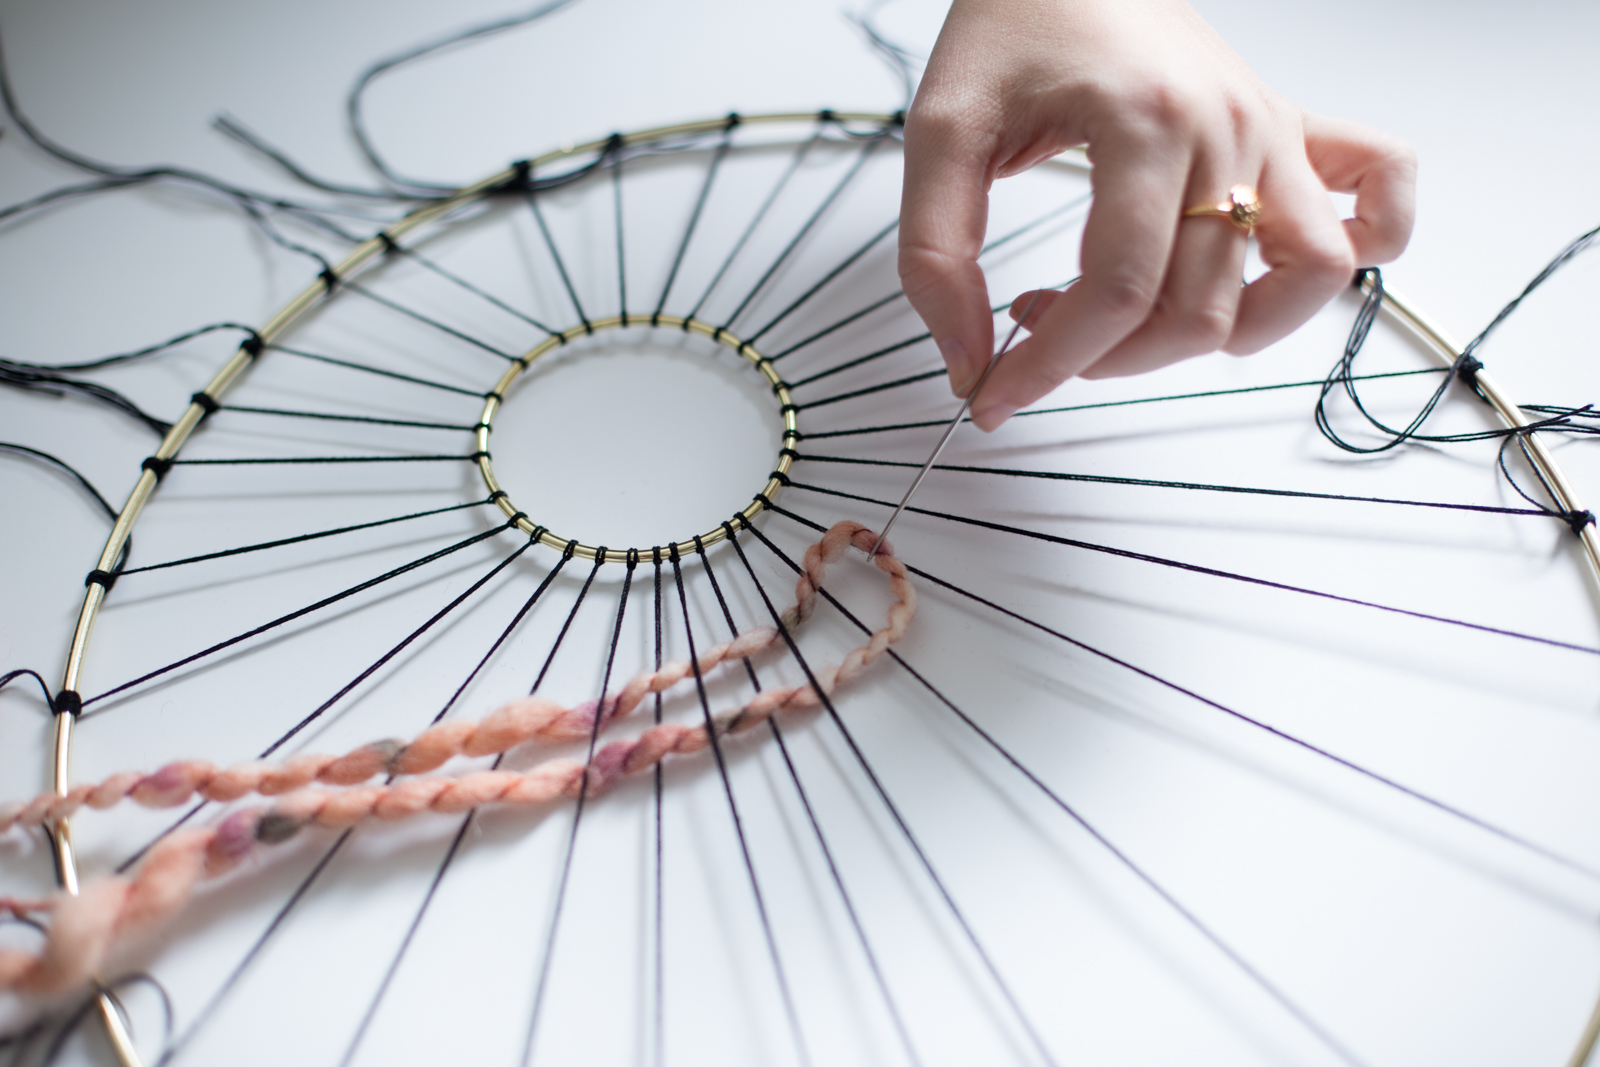
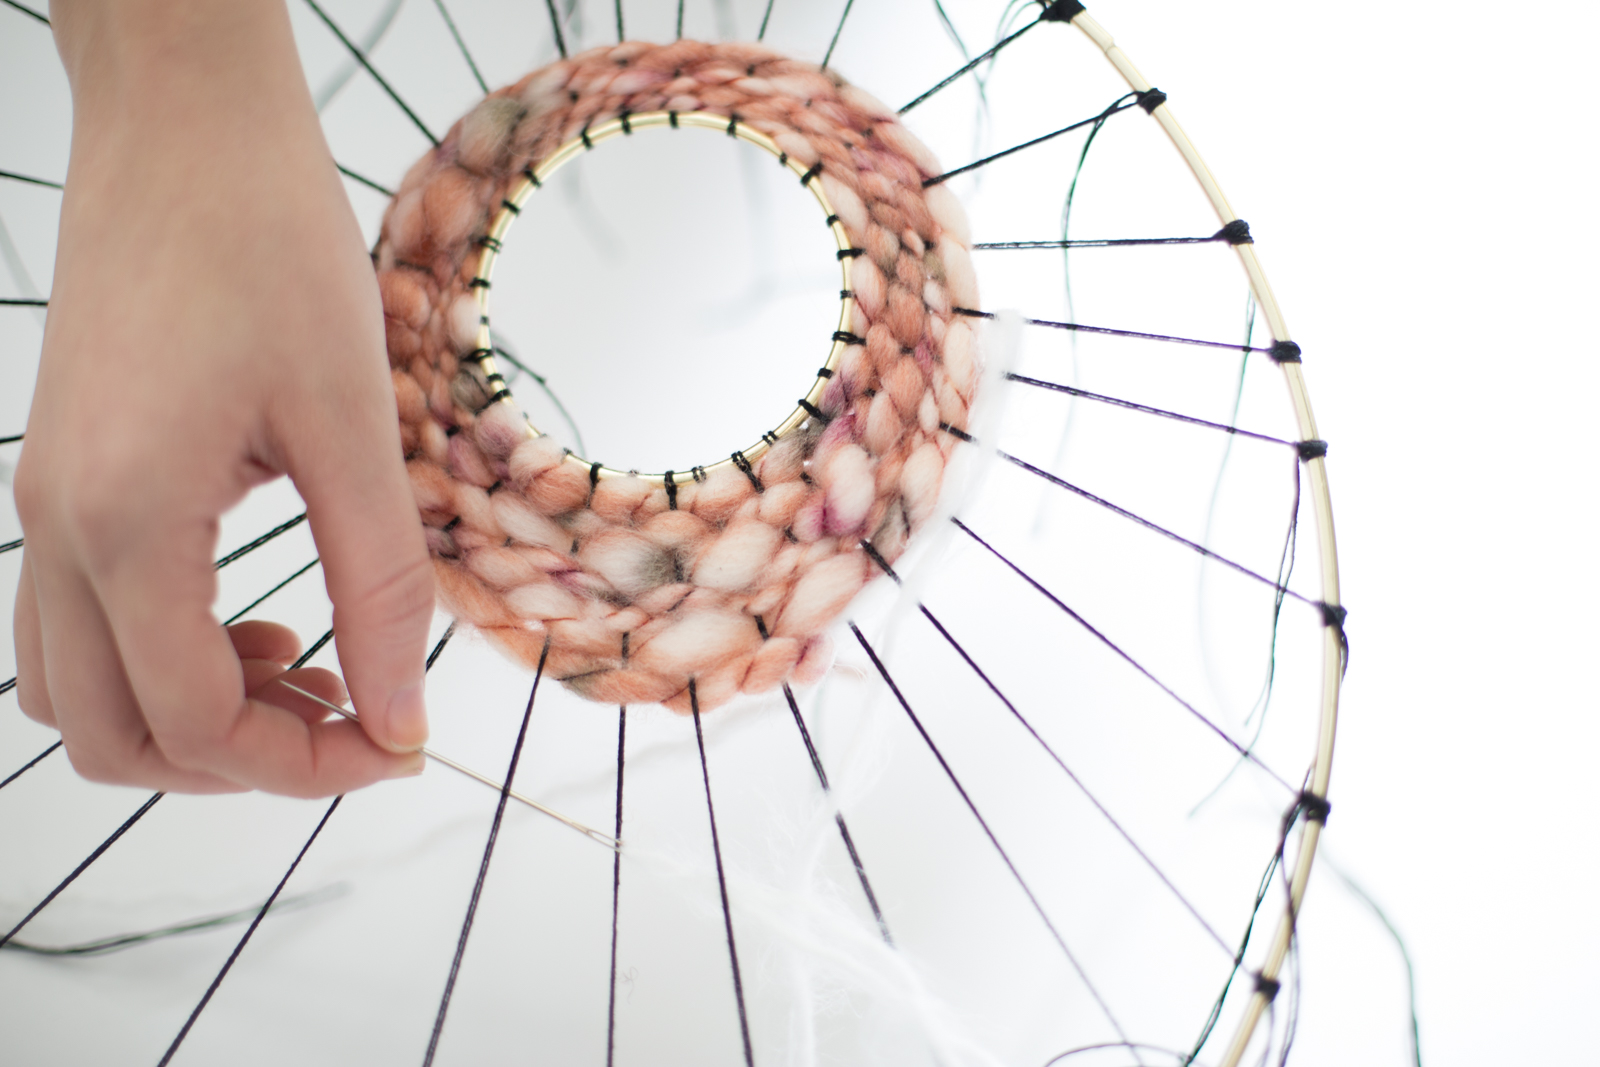
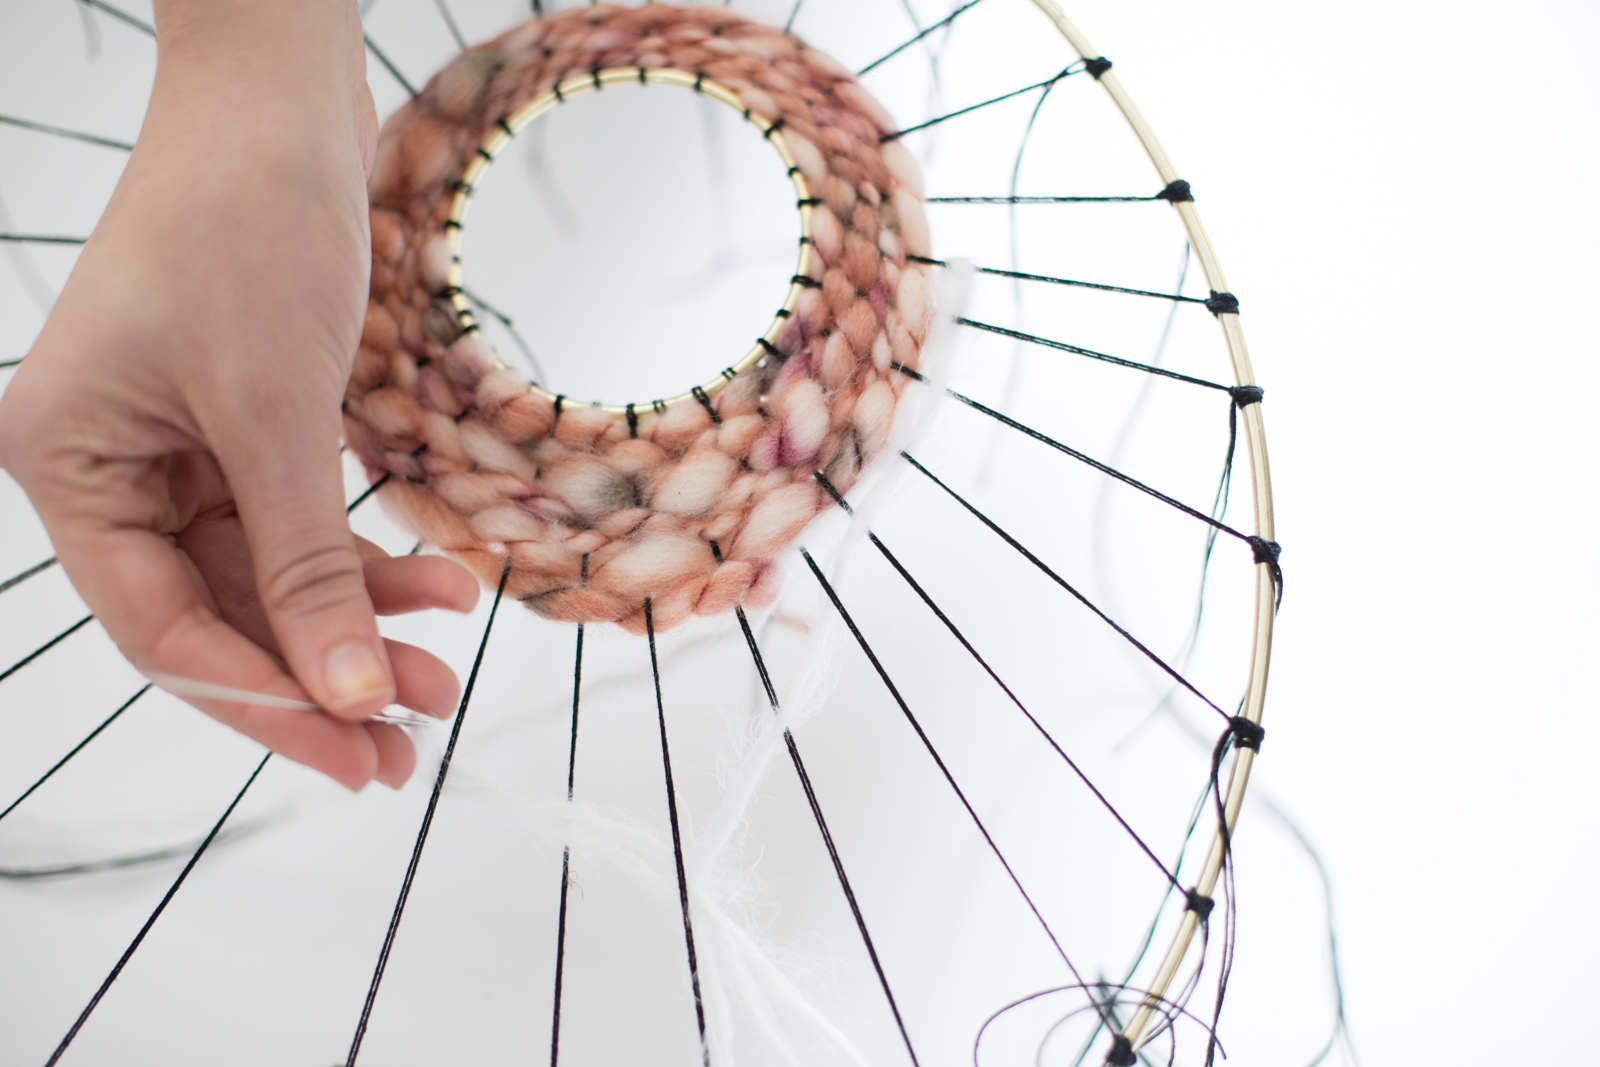
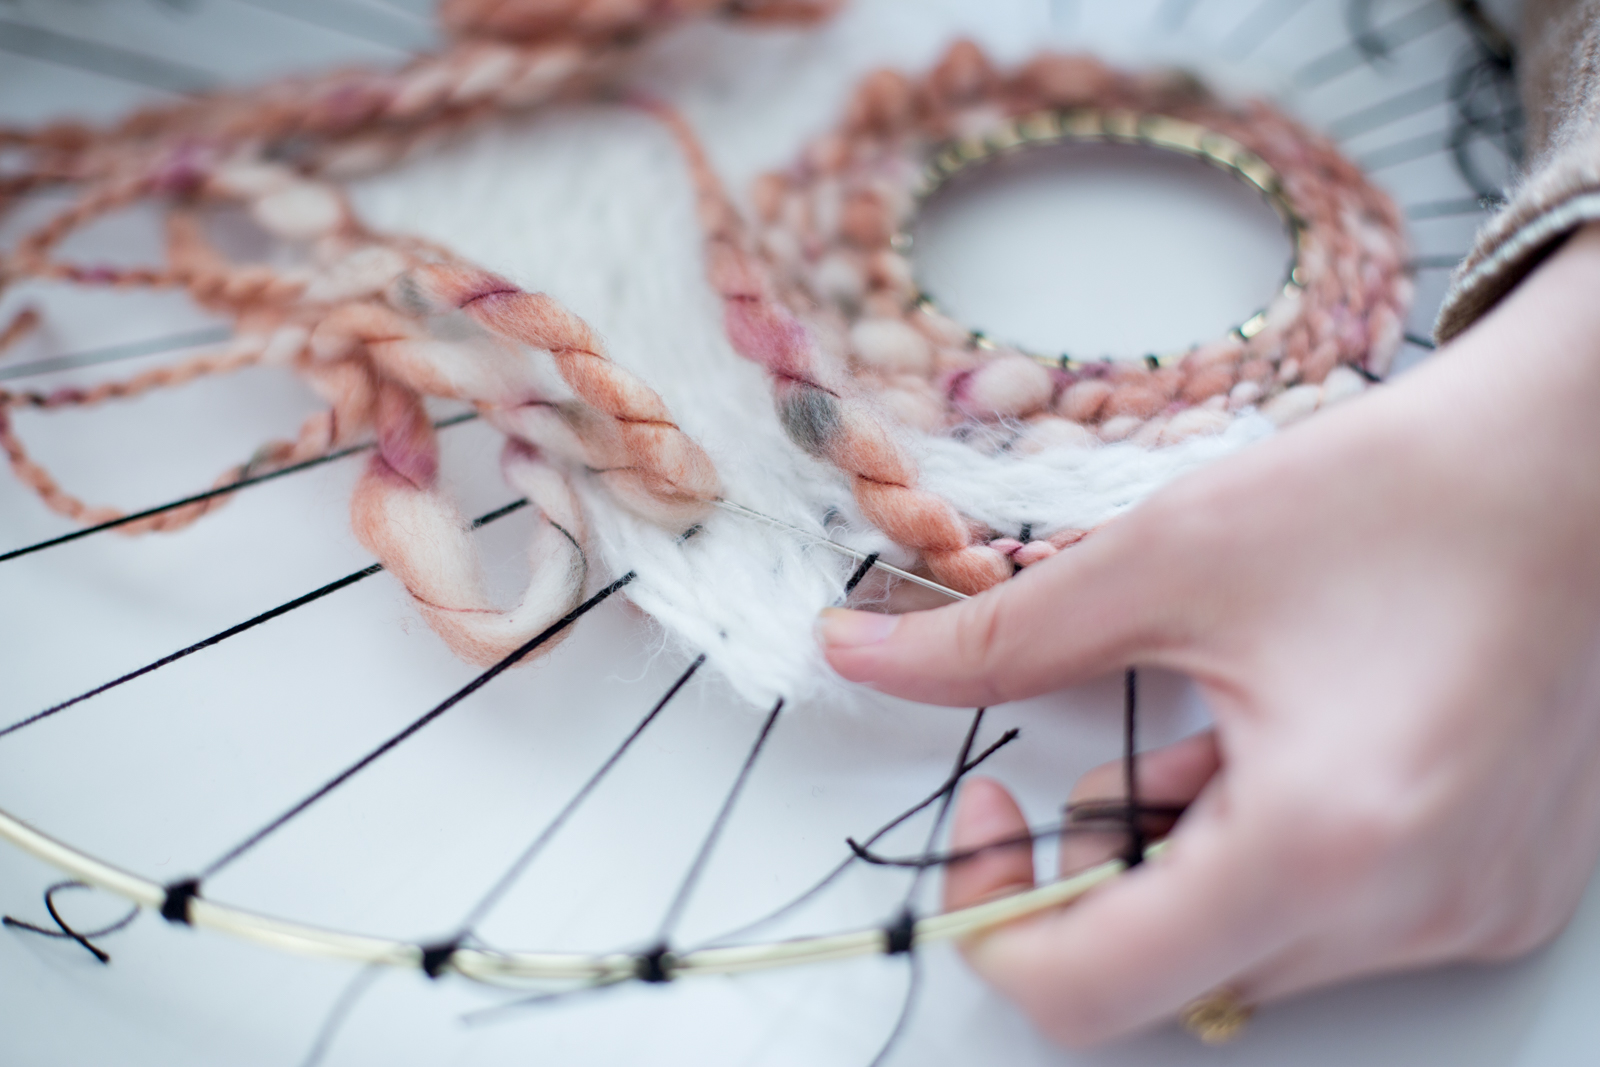
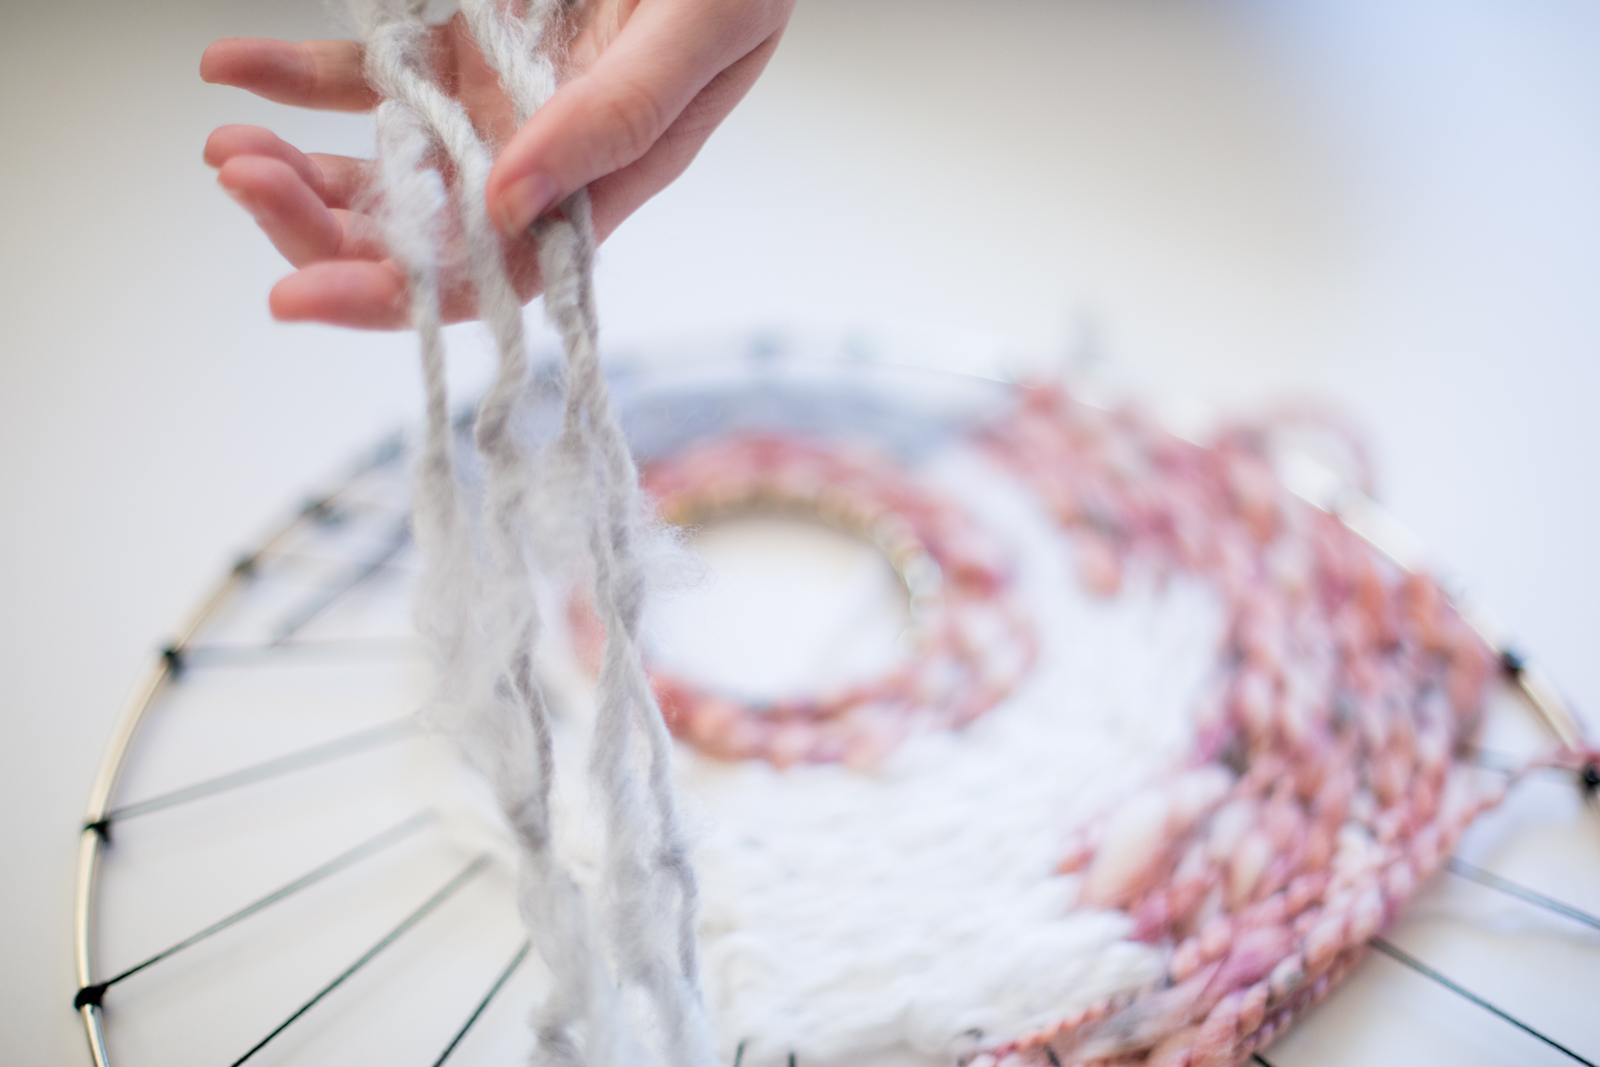
- Now, decide which yarn you'd like to begin with, cut a long piece (I'd recommend a few feet), and thread it through a large needle. Begin weaving it around the center hoop in a circular pattern, alternating going above and below the lines of black thread. It's important to hold the tail of the yarn in the back of the piece during this step, until you've worked around the inner hoop a few times and it won't come loose.
- Continue weaving until you've used up all of this yarn or would like to use a different color. Make sure to end with the yarn underneath, so you can tie the tail together with the tail from the beginning of the yarn.
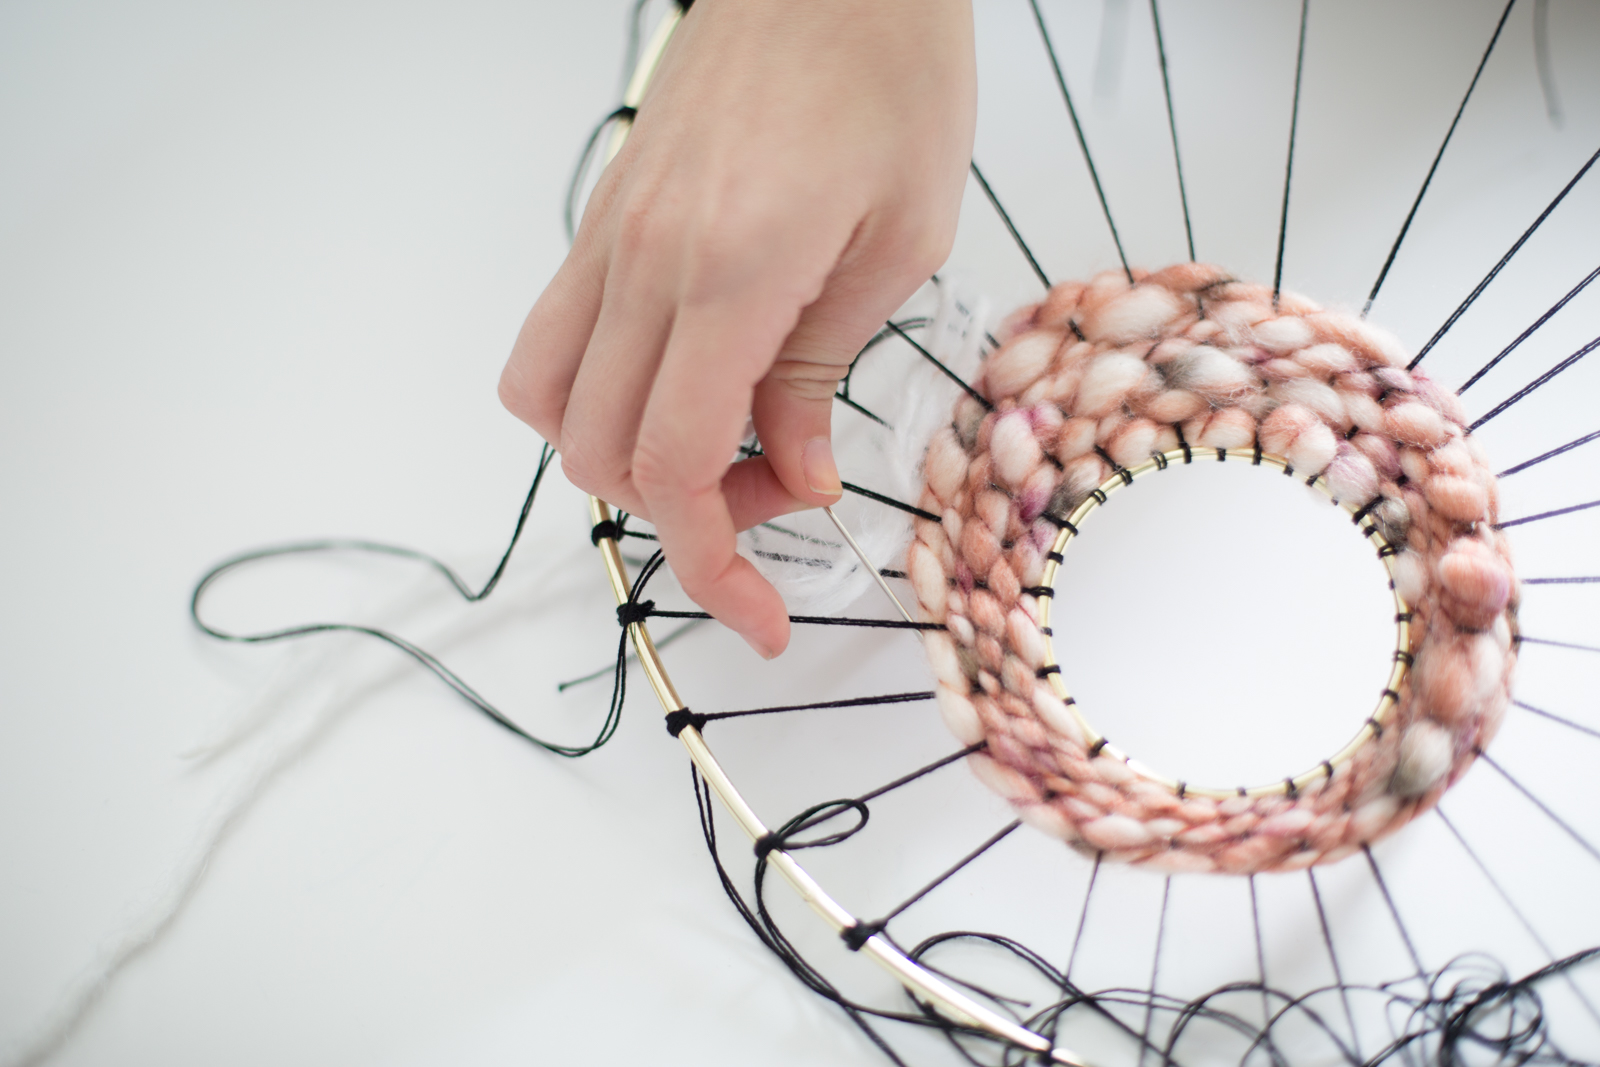
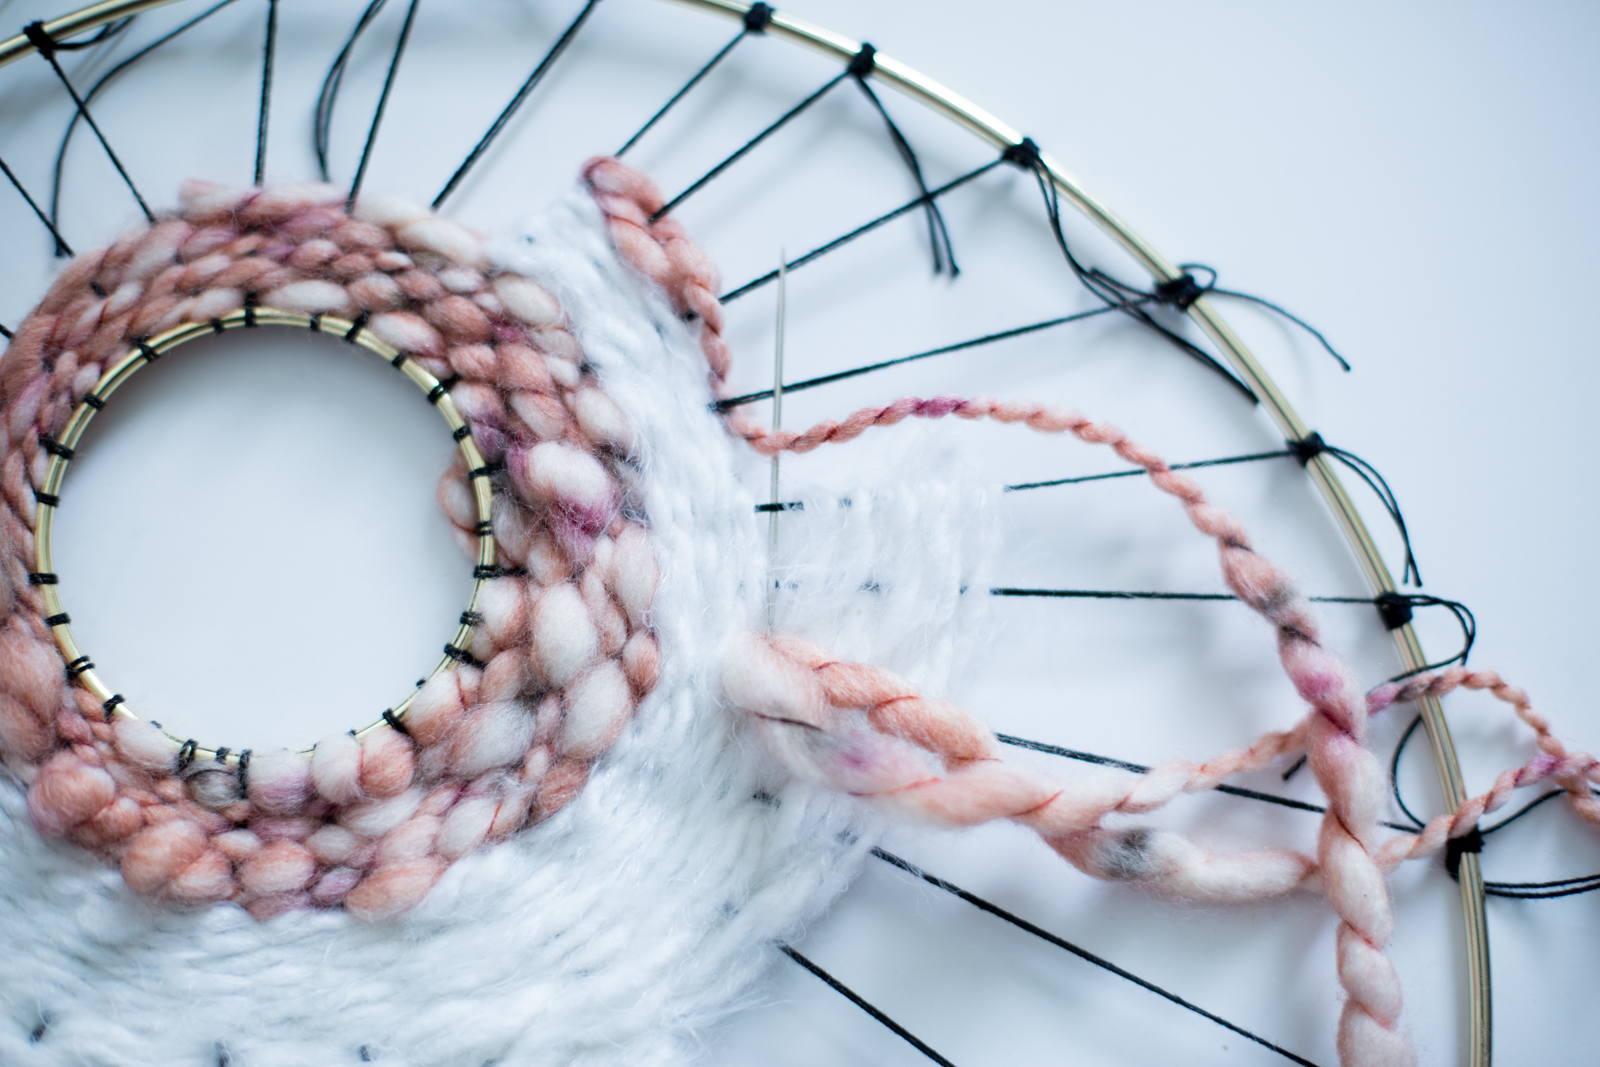
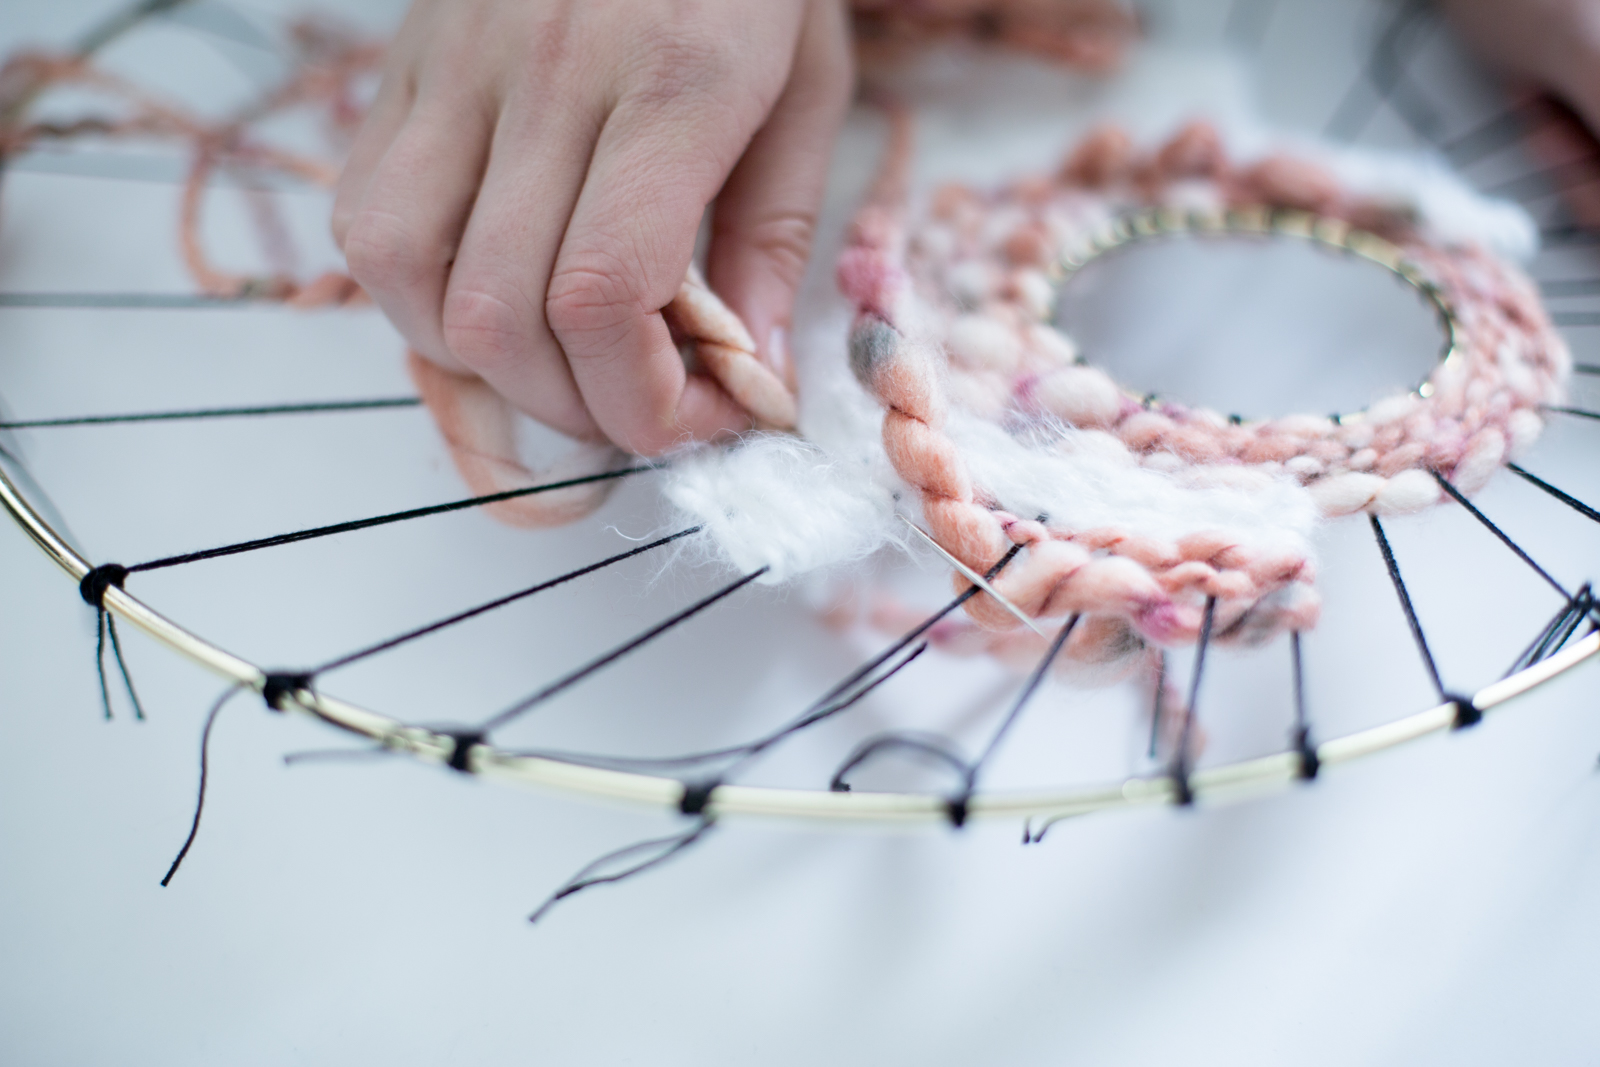
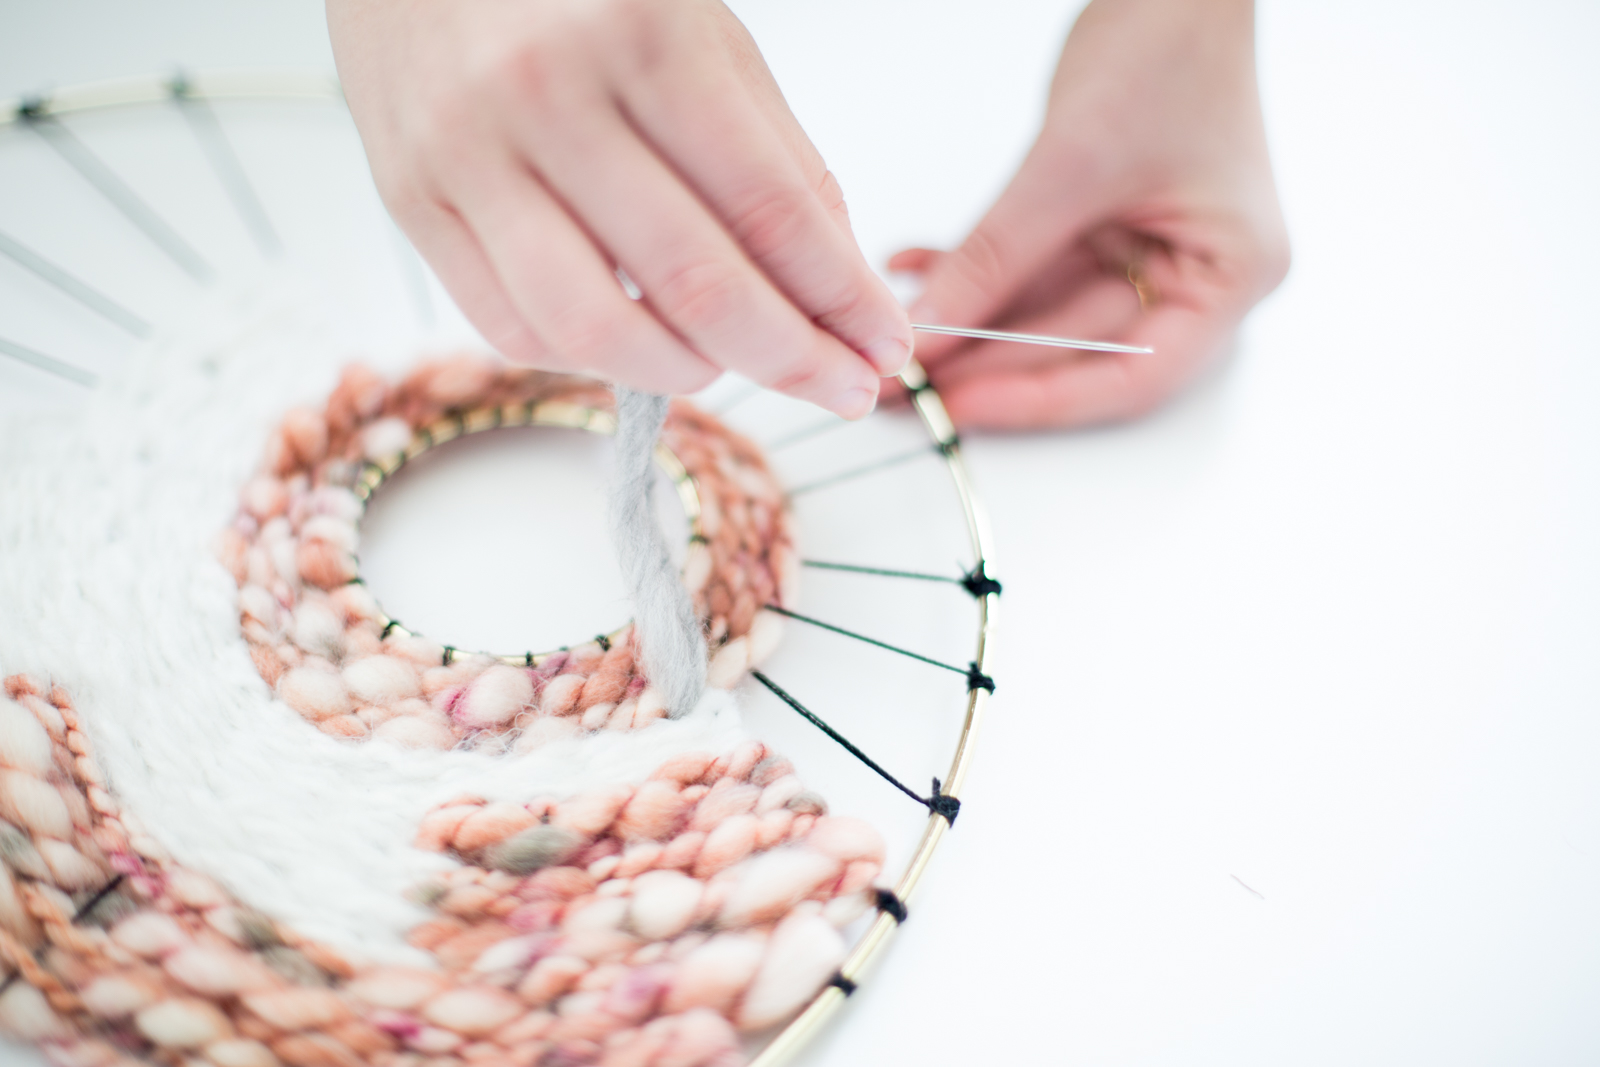
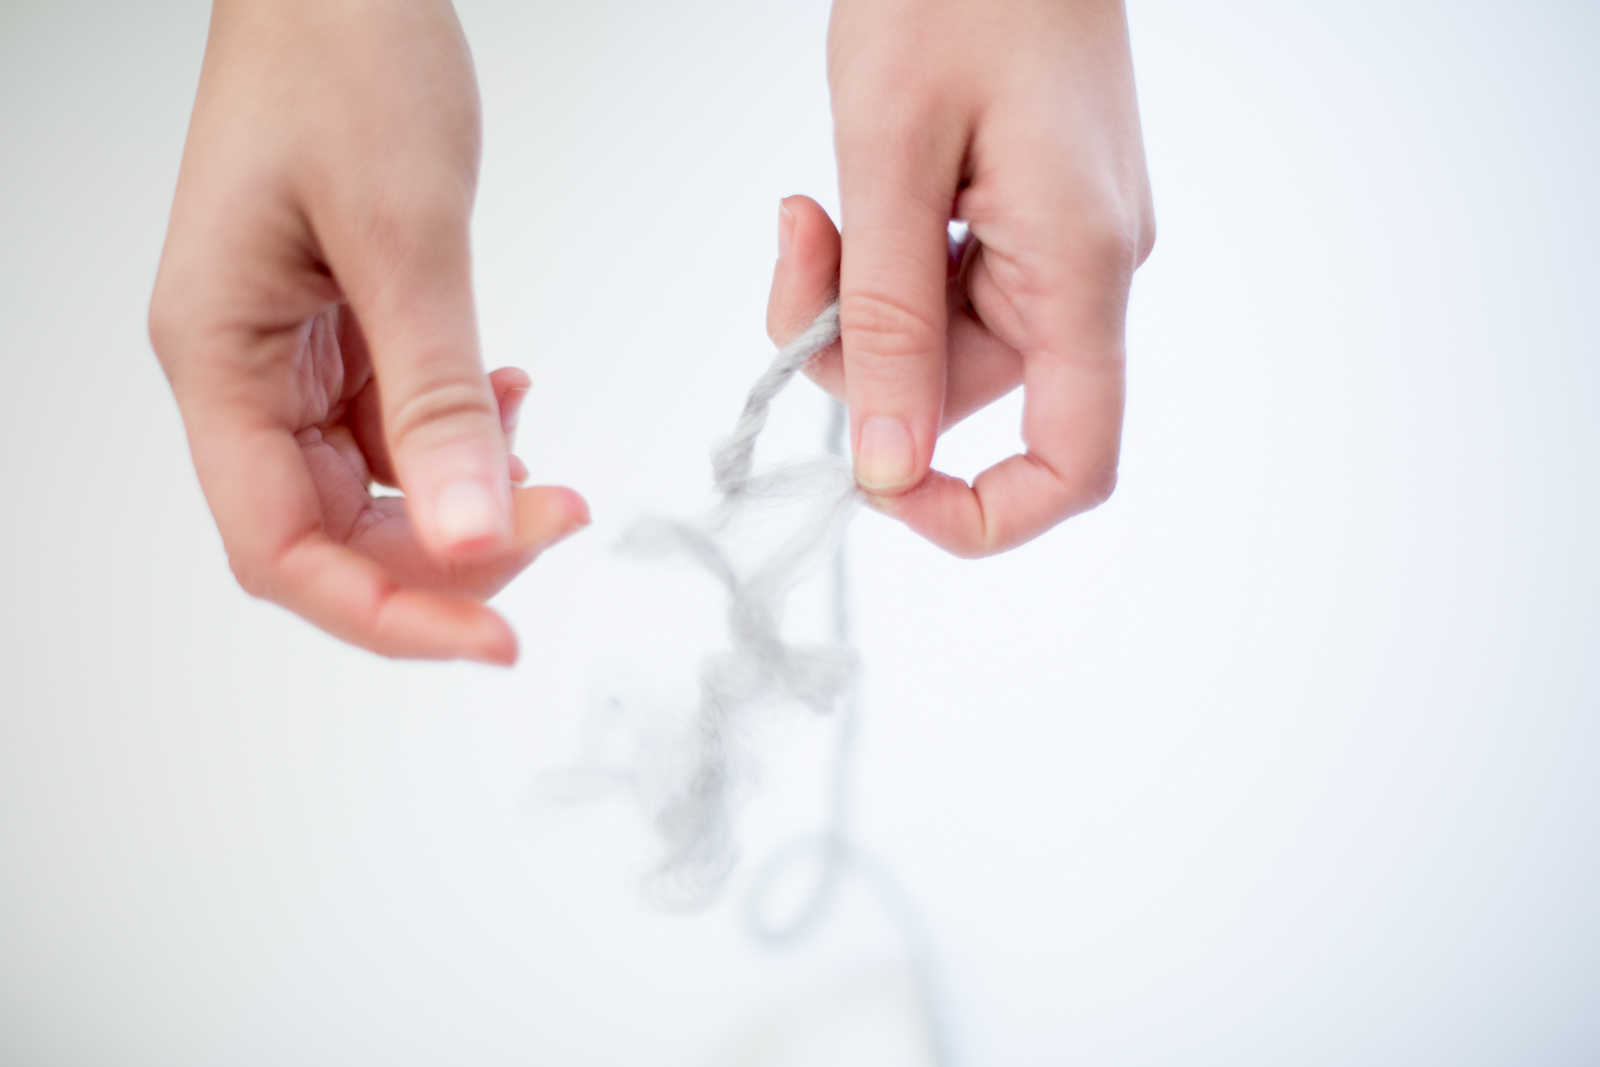
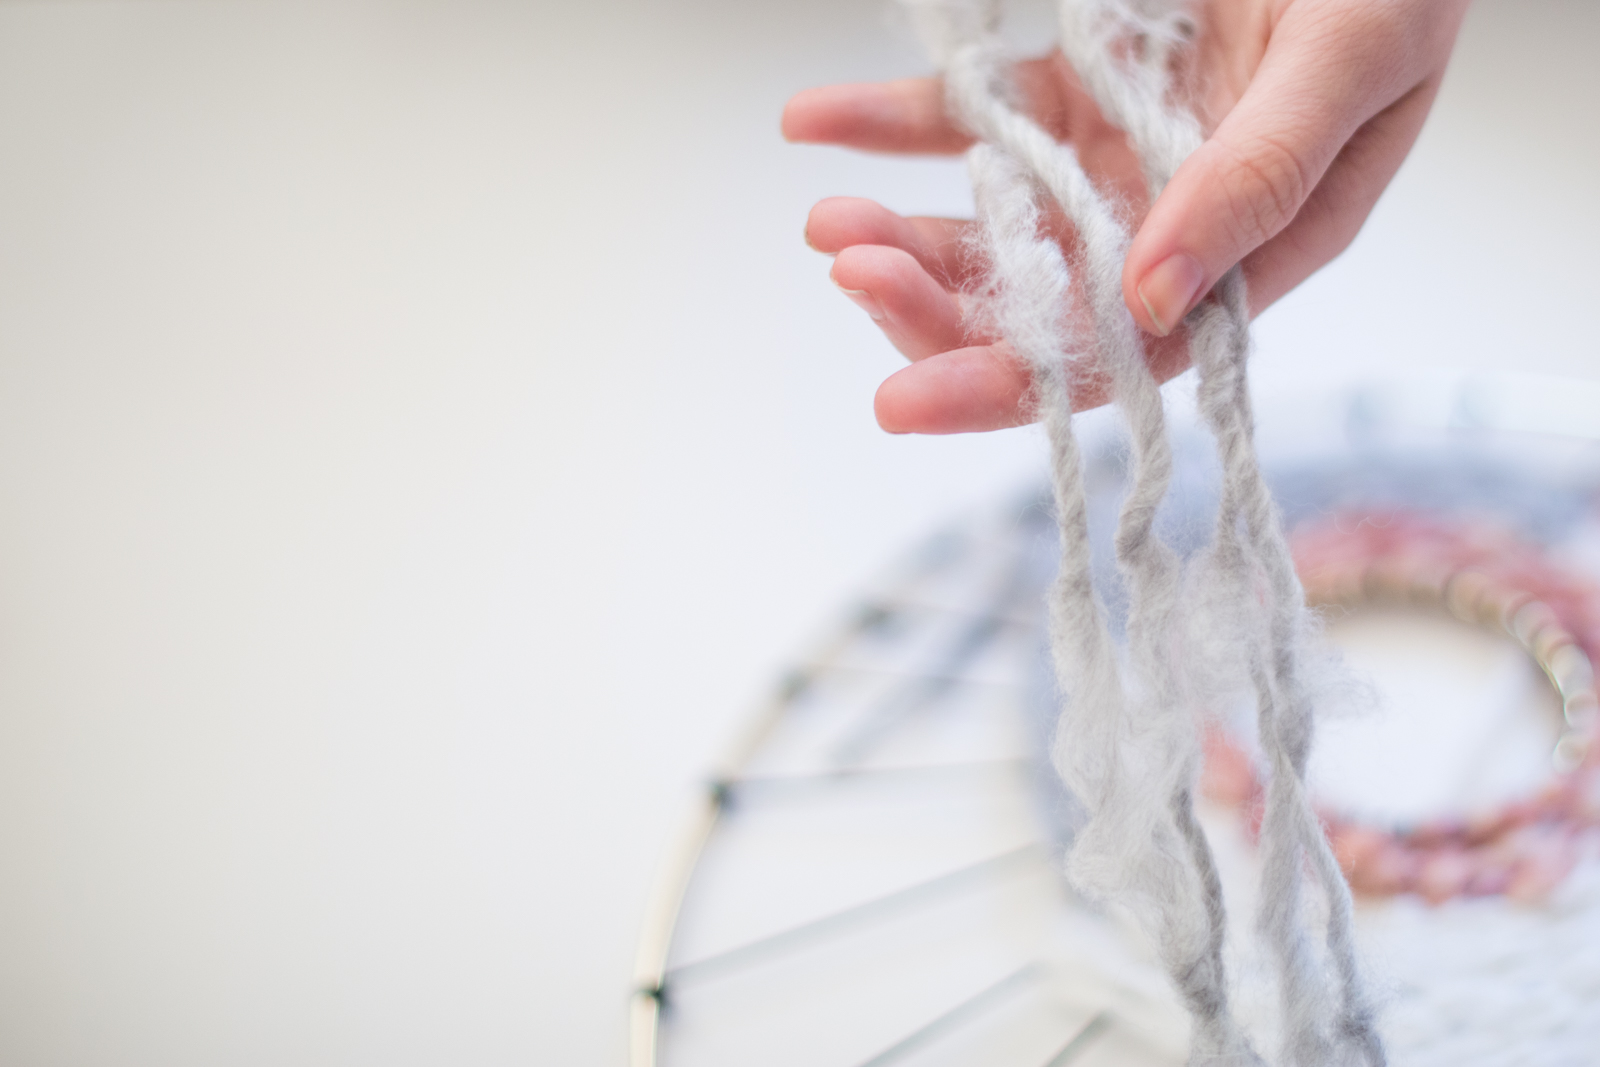
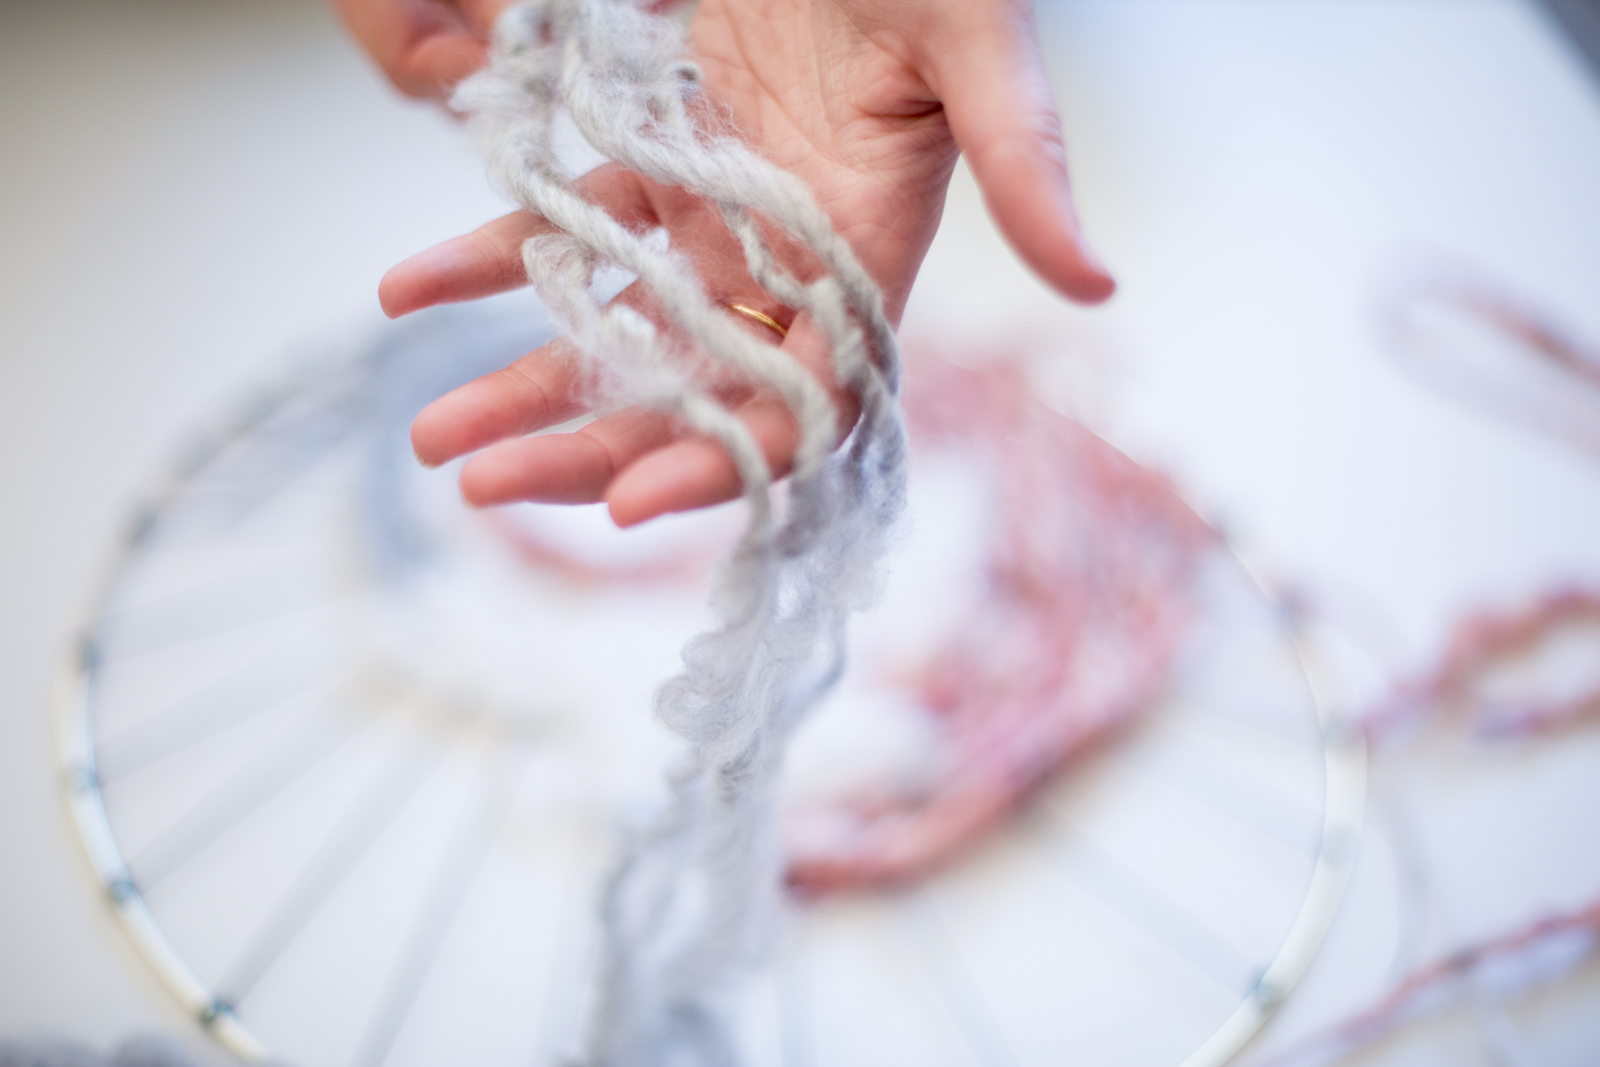
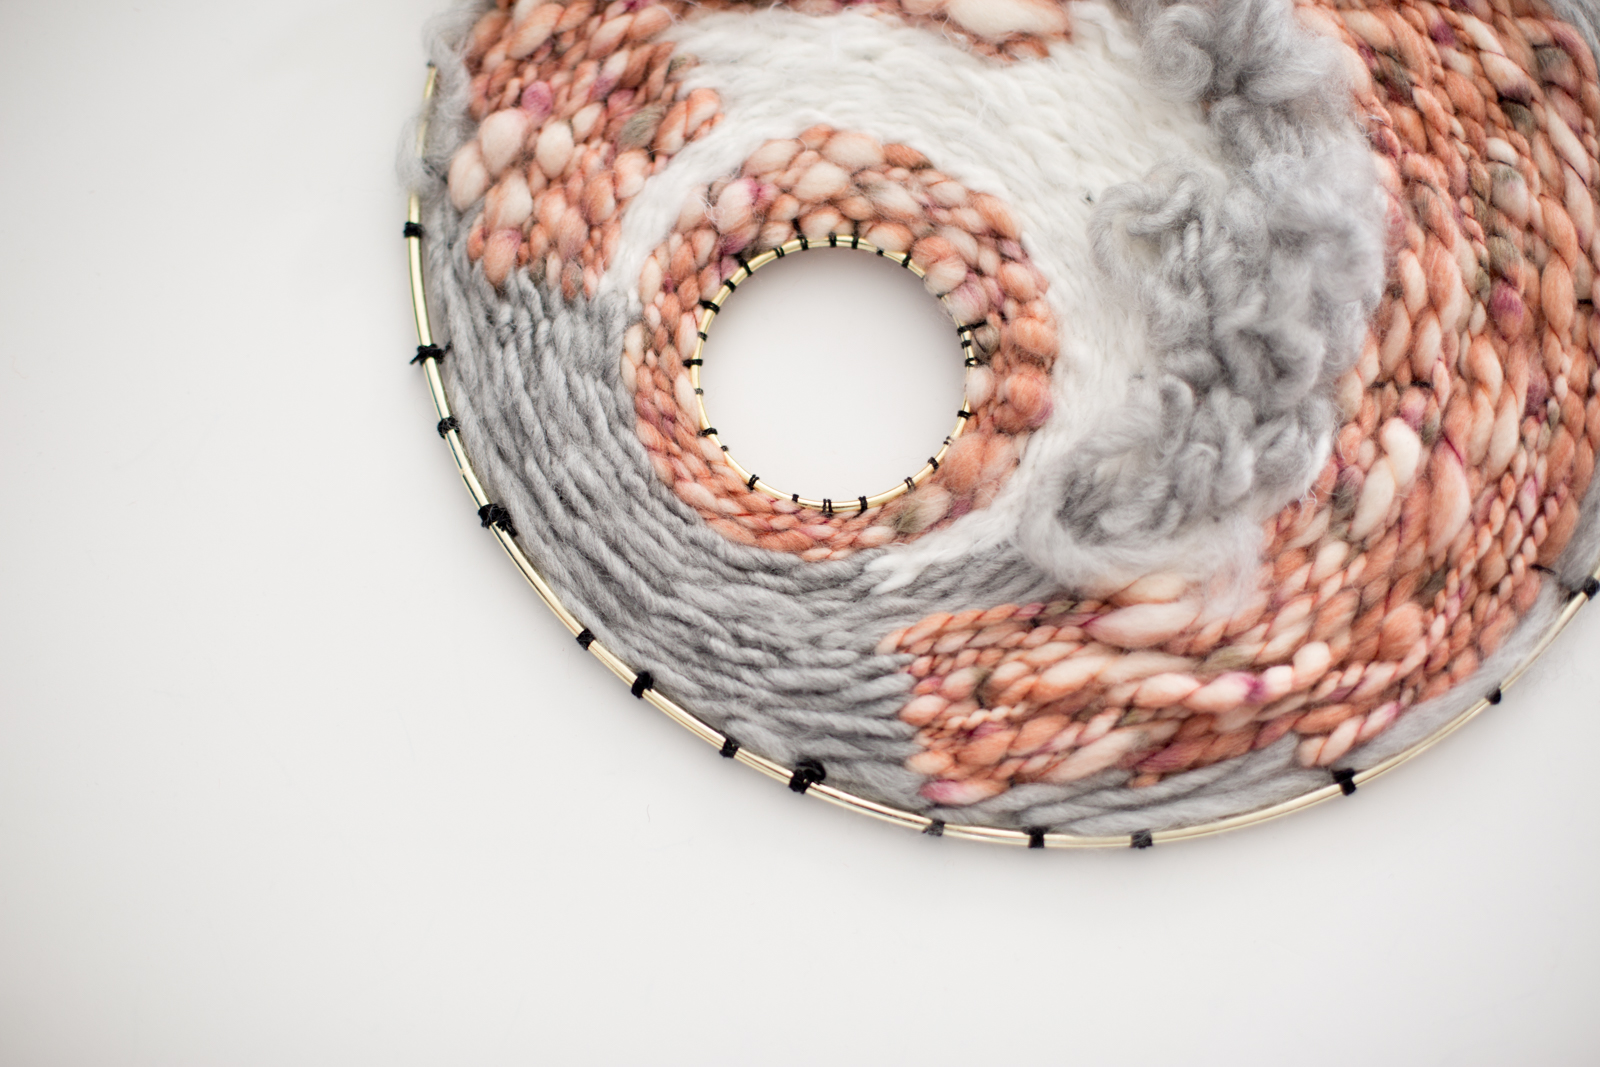
- Now, create your pattern! You can weave in circles, create sun-like stripes, or just freehand it! Don't be afraid to mix up the textures of the yarn by pulling it or twisting it to make it looser or tighter.
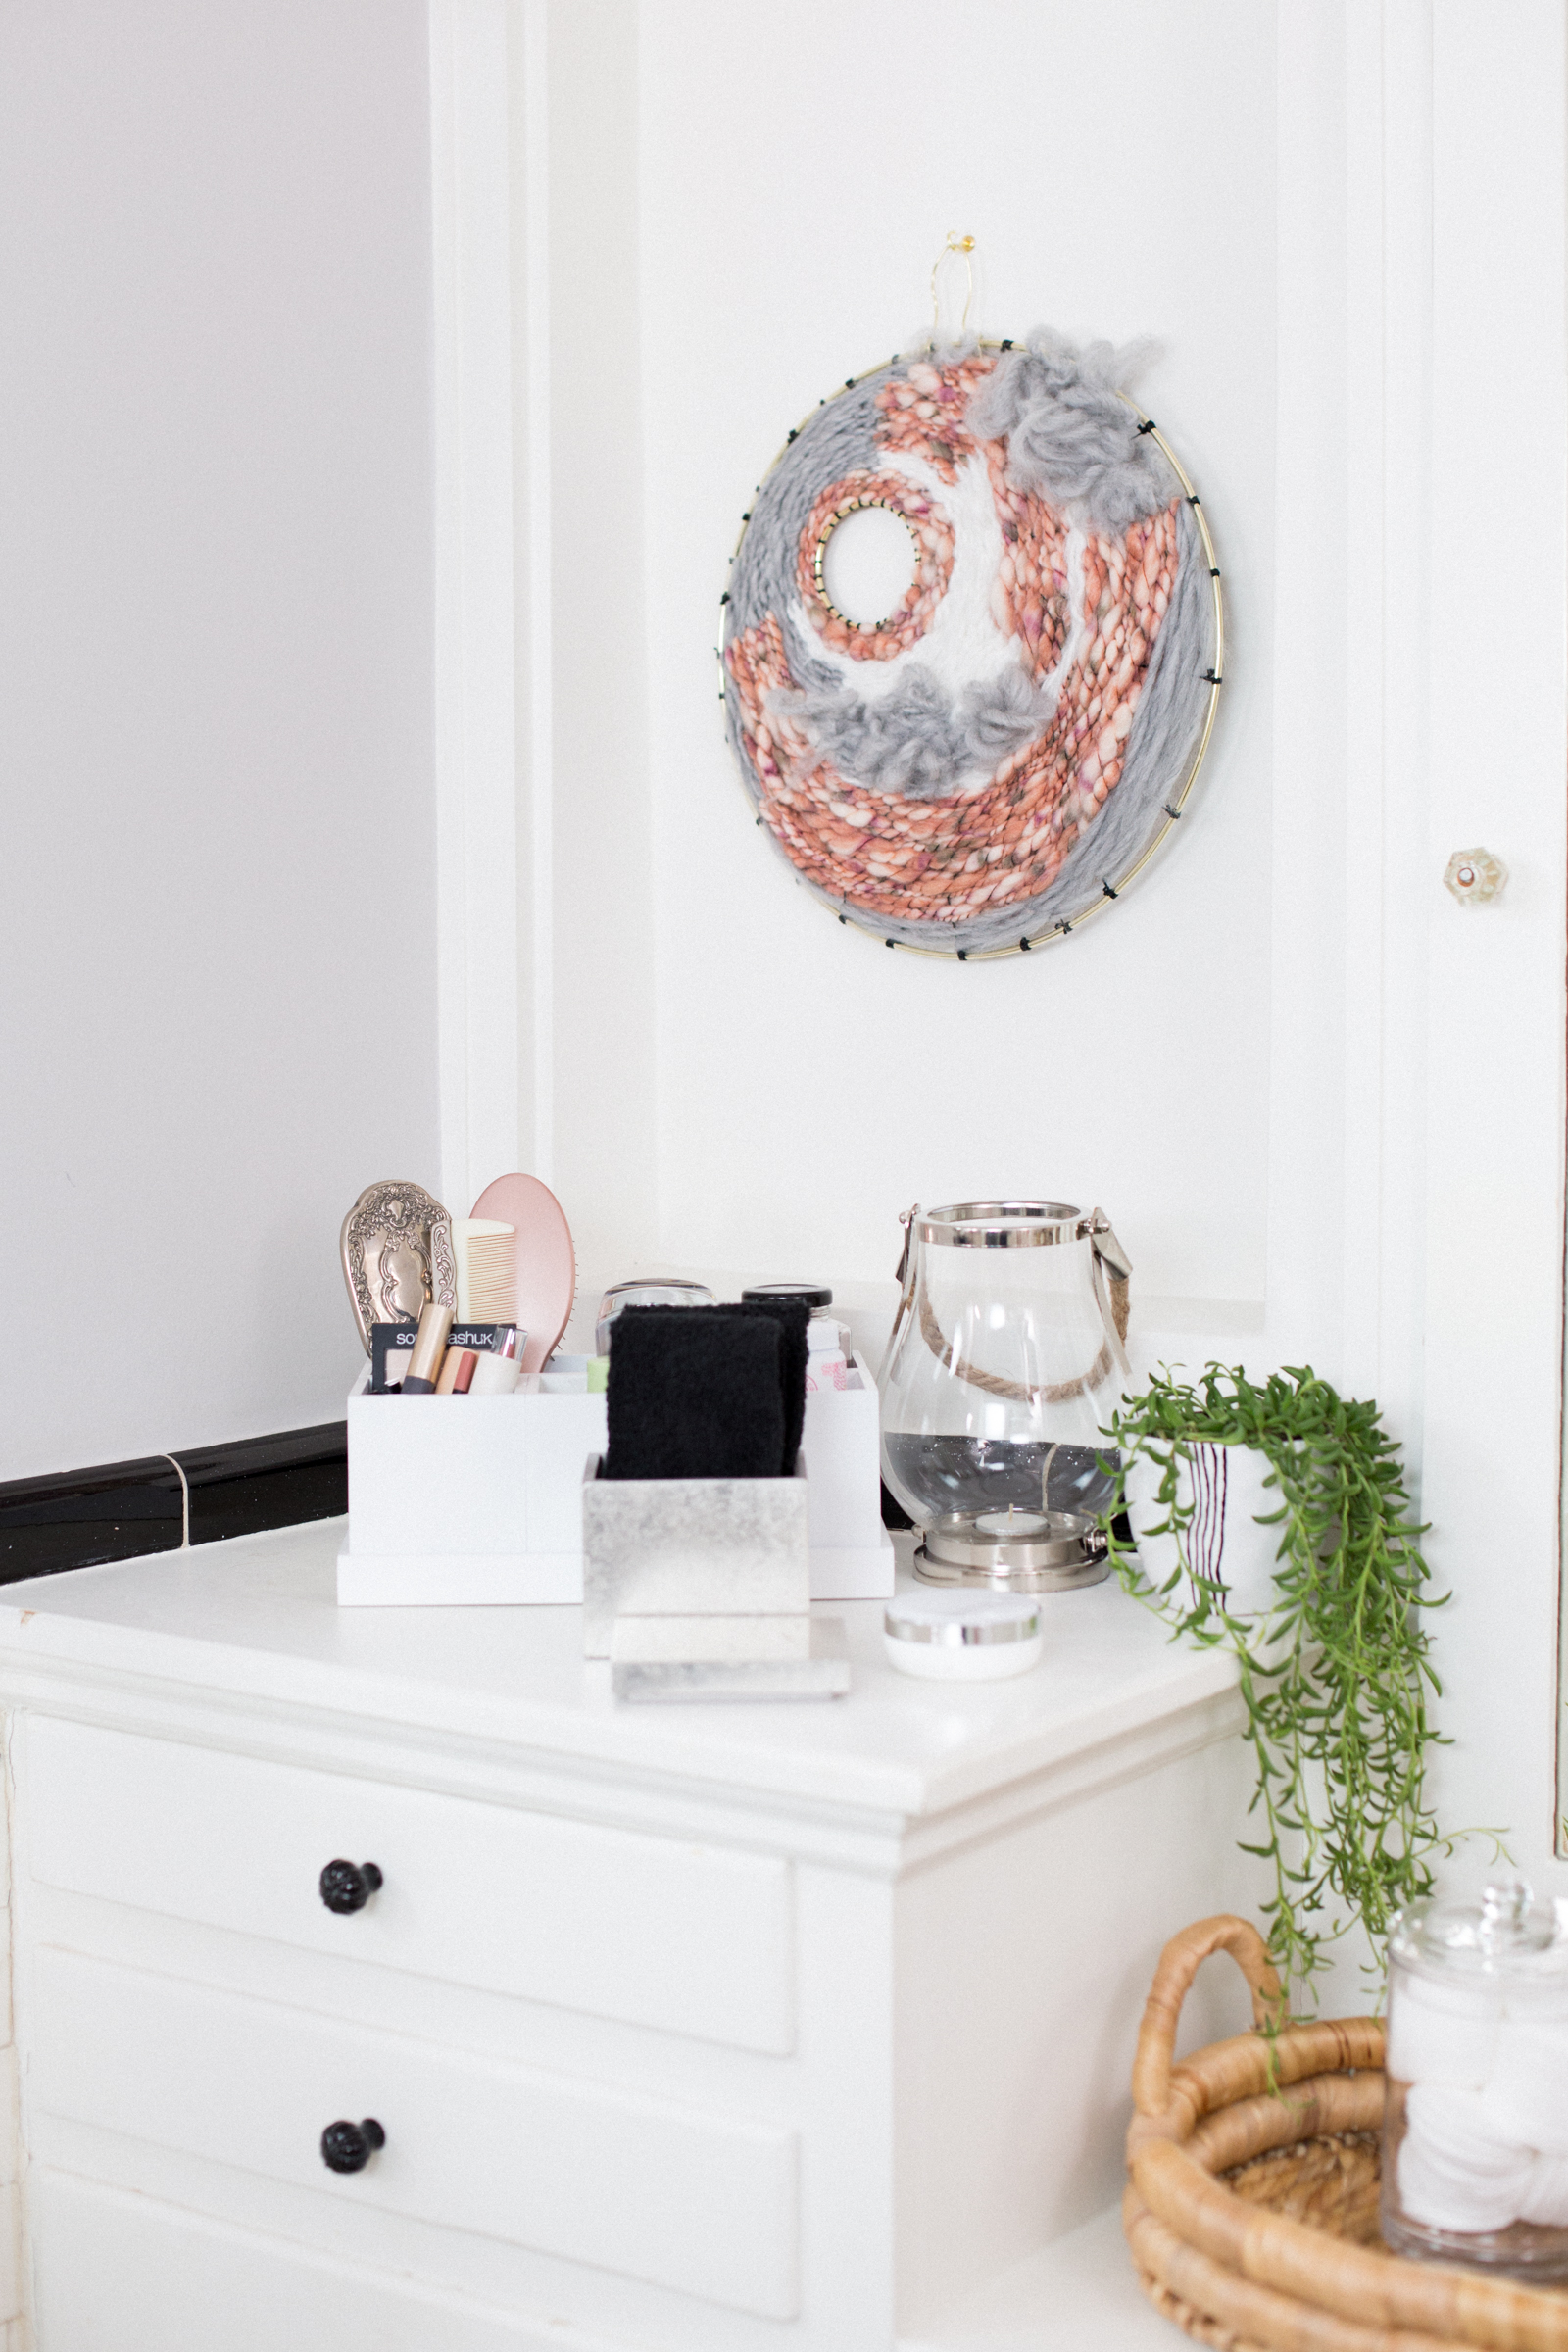
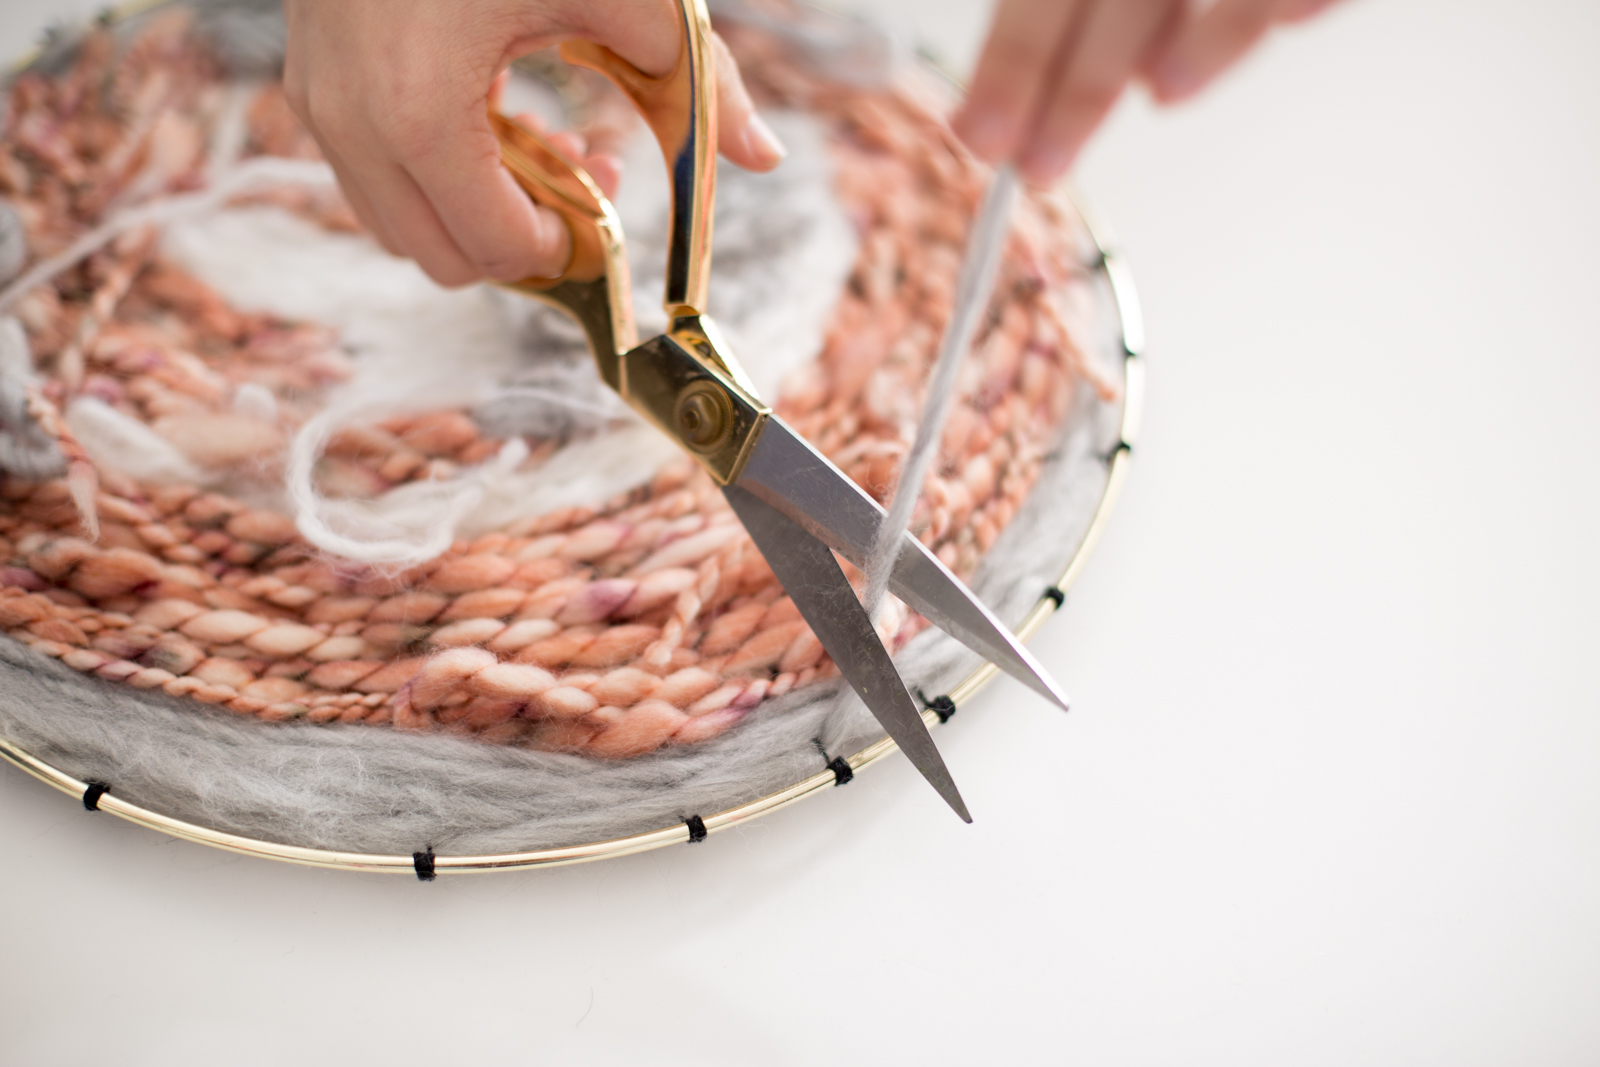
- Once you're finished, make sure all the loose pieces of yarn are tied together on the backside. Trim any excess or tails. Then, use a small piece of wire and wrap around the loop in two places to create a small nook for it to hang from. And voila!