

It's funny that photography, an art form that in essence captures a moment in time, can become such a timeless gift or addition to your home. But it's so true! There is no more thoughtful gift or decor than a photo you snapped yourself. Even if you're not working with anything but your cell phone camera (which, with recent technological upgrades, is still pretty spiffy), taking, editing, and ordering beautiful prints is pretty much as easy as point, click, shoot!
First things first — if you are looking to get into photography as a hobby or profession, I recommend the Canon 5D Mark III with a 50 mm f/1.4 lens. This is the camera I used for our Cuba travel images, as the low f/ stop lets you get a blurred out background and very professional looking photos - you want a lens with f/ 2.8 or lower to get that blurred out effect. It is pricey but we also shoot our YouTube videos on it so we get a lot of use out of this little wonder.
Check out the rest of my tips on everything from finding your shot to ordering prints below!
Step 1: Taking the perfect photo
No matter what type of device you're working with, there are some tried and true rules to get a picture that doesn't just show a moment, but really captures it.
- Patience is key. If you're walking around and see a pretty spot you want to photograph, wait until the moment is right. If it's a setting, wait until the people have cleared out; if it's an object, wait until any passing shadows are out of frame or the wind or any other unruly elements have calmed. Sometimes it's impossible to get a photo without people in it, and that's okay, too! Just check to see if there are any outliers in frame, like a kid with ice cream smeared down his shirt or a dog yanking at his leash to chase down a nearby squirrel. Ain't no photo got time for that!
- So now that your area is clean, direct your attention to the sun (or, if you're inside, your source of light.) Try positioning the light behind you, then move into the opposite position and try having the sun behind the object or scene you're shooting. See what you like best! Maybe both will look good!
- In photography there's this little thing called the Golden Ratio. This is the 2/3, 1/3 ratio, which is a key proportion in a lot of photos. Take an image of the sea for example — the best photos will be either 2/3 sea and 1/3 sky or 1/3 sea and 2/3 sky. This is the bread and butter of many photographers. If you're just starting out taking pictures, take some time to get familiar with it and how to identify it in different settings and scenarios.
- Keep it on the straight and narrow. A straight horizon gives an image it's crisp and clean layout. A photo with a straight horizon always looks intentional, which is a great touch for pics you might want to hang or give as gifts!
- When photographing people, avoid cropping limbs with your framing. Truncated arms or legs can look lumpy, which is not the cutest. Aim for either a close-up or full body shot, and don't forget the straight horizon rule with people too!
- Now that you know the rules, get experimental and break them!

Step 2: Editing
Most professional photographers will upload their photos to a computer and use programs like Lightroom to edit images, but if you're working on your mobile phone, we love apps like VSCO and Afterlight (though Instagram has really stepped up their editing game, as well!) and Facetune for blemish zapping, sharpening eyes, etc.
When you're editing a photo, it's easy to get excited by the cornucopia of creative options at your fingertips, but try to focus on a few key elements. If you didn't get a straight horizon in the original photo, all of these programs will allow you to adjust the angle of the photo so you can get that flat line. The same goes for the golden ratio, too! You can always crop a photo into that proportion in the editing phase!
Step 3: Ordering Prints
Now that you've got these great edited photos, let's get them off the screen and into your hands. The quickest way to print photos is through nationwide stores like Target or CVS. You can upload your pictures to their website, order online and pick up in store, or just walk into the nearest location to you can get it done in less than half an hour!
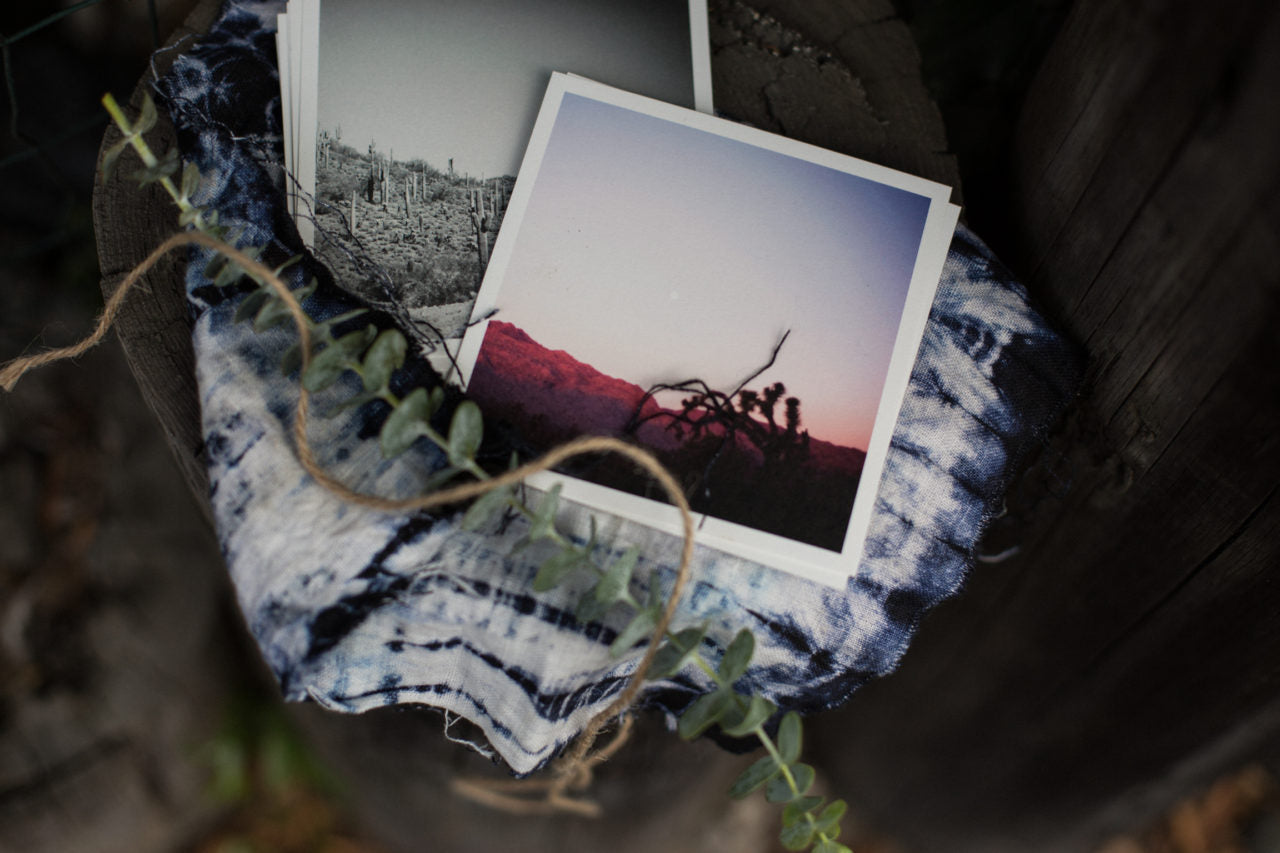
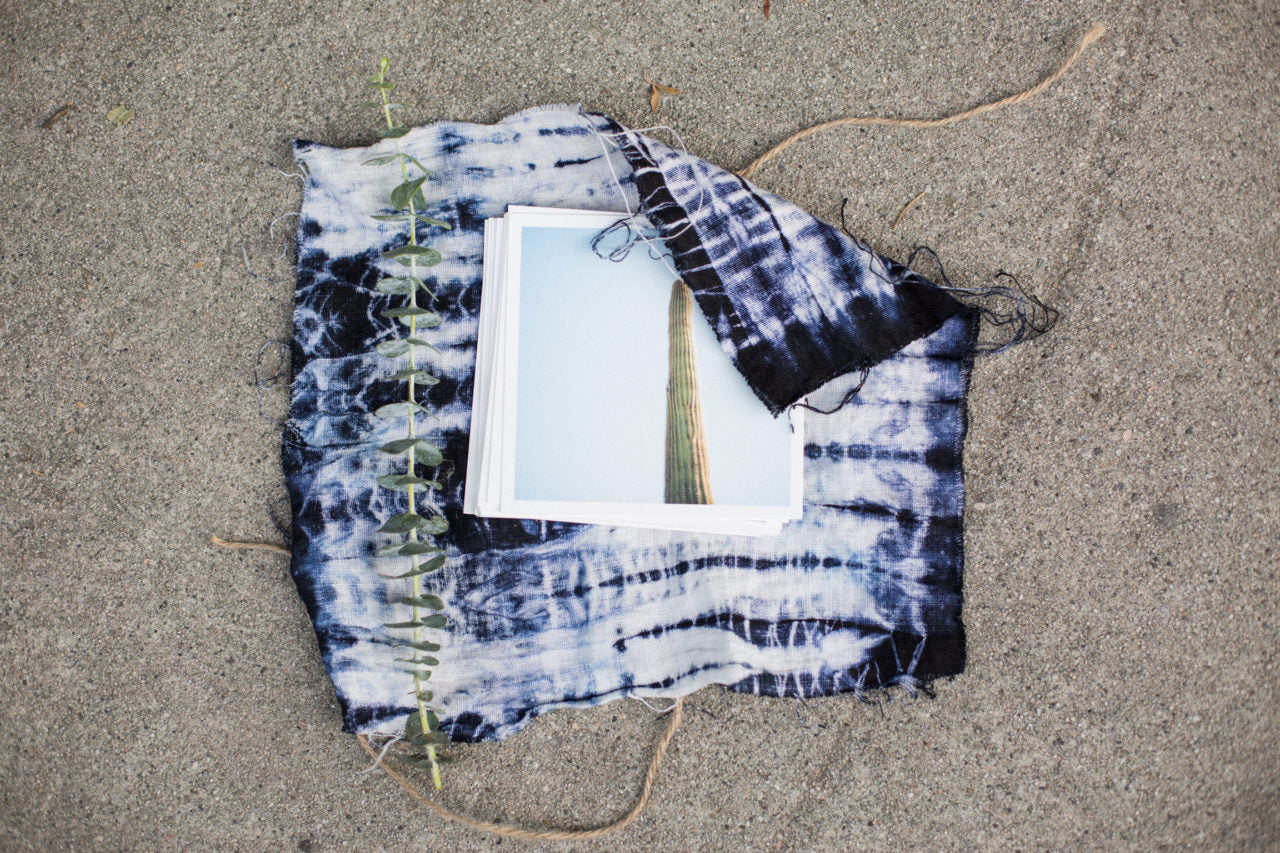
If you're looking for a bit more of a polished print, check out sites like Artifact Uprising or Parabo Press. They will print your pictures on thick paper that is matte and has a minimalist luxury to it. The texture of paper can make or break the physical photo experience - if it's too glossy it can get full of fingerprints and detract from the beauty of the photo, if the paper is too thin it feels cheap, etc. These sites are a great route to go if you're looking to gift your pictures, since you can print them as anything from calendars to books to square prints as seen in the images of this story!

Tie your prints up in a DIY dip-dye fabric for a lovely gift option.

Frame your prints in inexpensive frames with thick white mattes and they will look amazing on any wall or shelf!

