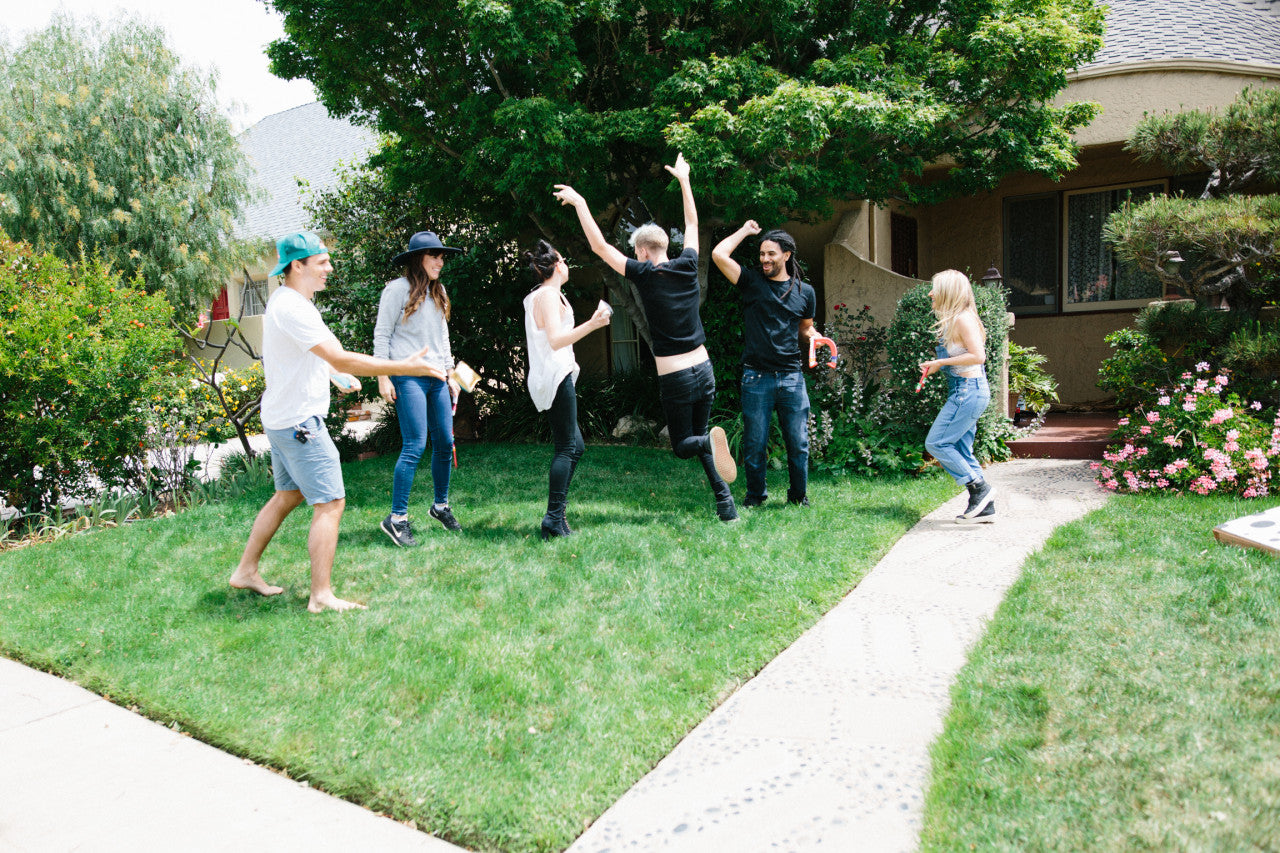
 As delightful as air conditioning and Netflix marathons are, summer is a season best spent outside. The beach, morning hikes, music festivals ... it's all fair game for a good time and some vitamin D. My favorite place to get my summer on, though? My own front yard!
In the spirit of bringing the fun to me this season, I upgraded two old-school lawn games into set ups so fly, they'll be the spotlight of the neighborhood. Join in on the party by clicking play above, and get the deets on the DIYs below!
DIY Cornhole
Prep It:
Cornhole Board:
2 wood 2x4s, 48 inches 2 wood 2x4s, 20.5 inches Wood board, 24 x 48 inches 2 wood 2x4s, 15 inches Wood screws Power drill Jigsaw Wall paint (in colors of your choice!) Painters tape Paintbrushes
Beanbags:
4 fabrics, 1/2 yard of each popcorn kernels (not the microwave kind!!) Sewing machine/ thread and needle



Do It!:
- Start by making the main frame of the cornhole board. Build the frame first, screwing together the 48 inch and 20.5 inch 2x4s into a rectangular frame with wood screws.
- Lay the board over the frame, making sure it fits and lays evenly before screwing together.
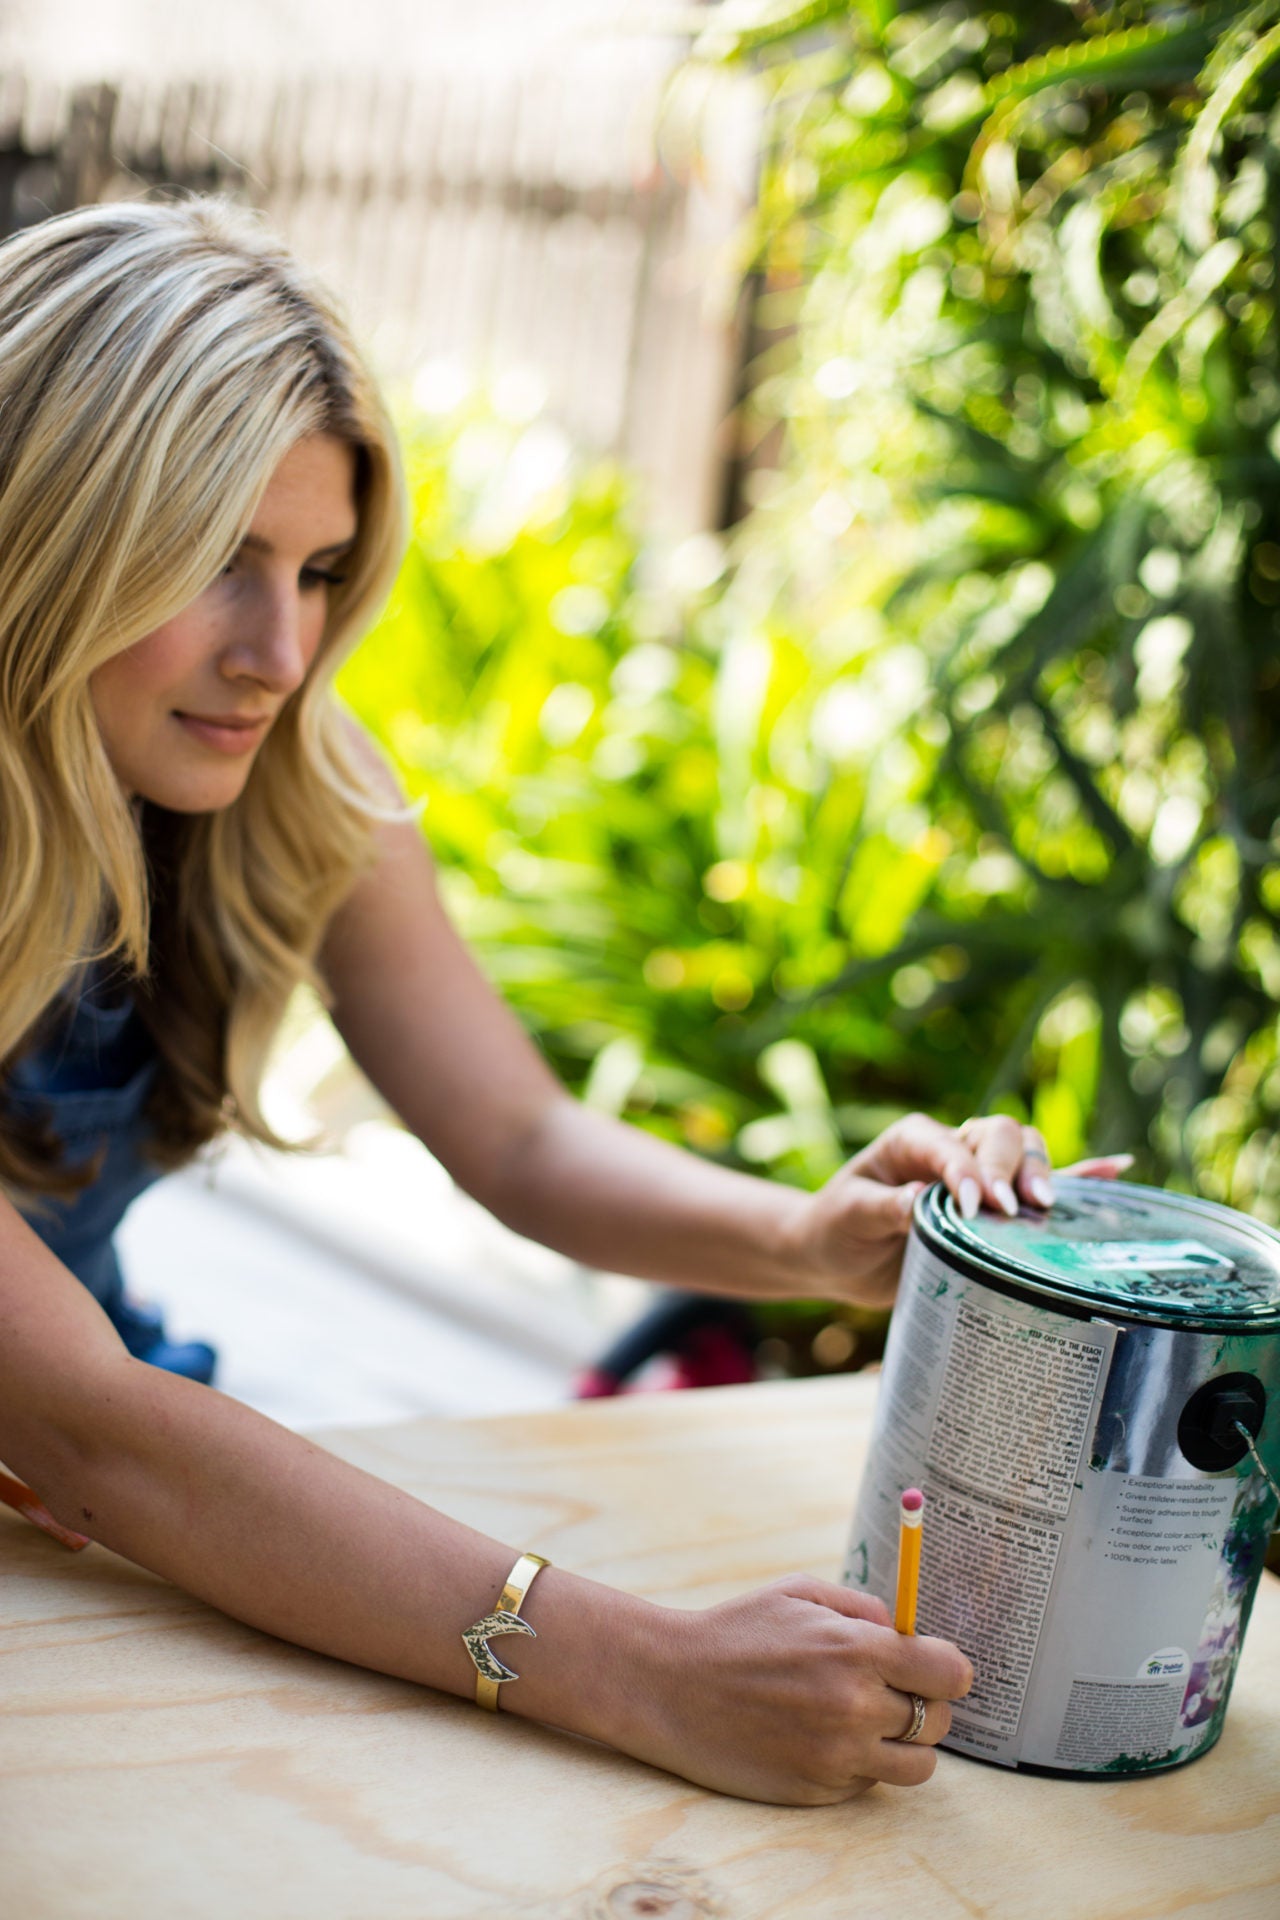
- Plan the placement of the hole in your board. I measured mine 9 inches down from the top of the board, and 12 inches in from each side, making a mark at that exact spot. Center a circular stencil (I used a paint can that was about 6 1/2 inches diameter) over your mark and trace it.
- Before you saw out the hole, a good trick is to use a power drill to drill a small hole on the exterior, so your jigsaw already has an entrance into the wood. Since you want your circular cut out to be as even and smooth as possible, move slowly with the jigsaw and set it to its slowest setting for this step.
- Now it's time to give this baby some legs! Screw the 15 inch 2x4s into place on the interior of the frame, underneath the board. Make sure they're on the side close to the hole! Otherwise you'll have an even trickier game of cornhole on your hands!
- Paint party time! Customize the top of the board any way you like with creative colors, lively patterns ... whatever you like! If you've already picked the fabrics for your beanbags, it's nice to coordinate the paint colors with those hues so the final pieces really look like a complete set. Use wall paint for the cornhole board, taping off any needed areas with painters tape (making sure to apply a good amount of pressure so the lines are crisp and clean!)
- To make the beanbags, Cut out 4 8x8 inch squares of each fabric. There should be 2 types of beanbags, one using fabrics A&B, the second using fabrics C&D!)
- Pull together the two pieces you want to make a beanbag, placing the sides you want on the outside facing in towards each other. Now use a sewing machine or thread and needle to sew around the edges, like a pillow. Sew 3 full sides, and 1/2 of the fourth side.
- Flip the pouch inside out, so the seams are now on the inside and the correct patterns are facing out! Fill the bag with unpopped kernels (about 2/3 of the way full) and sew up the hole. Ta-da! You just made a beanbag, baby!
- Repeat this process with the rest of the fabric, making a set of 8 beanbags. Once the paint on the cornhole board is dry and the painter's tape removed, you're ready to play!
 DIY Horseshoes
Prep It:
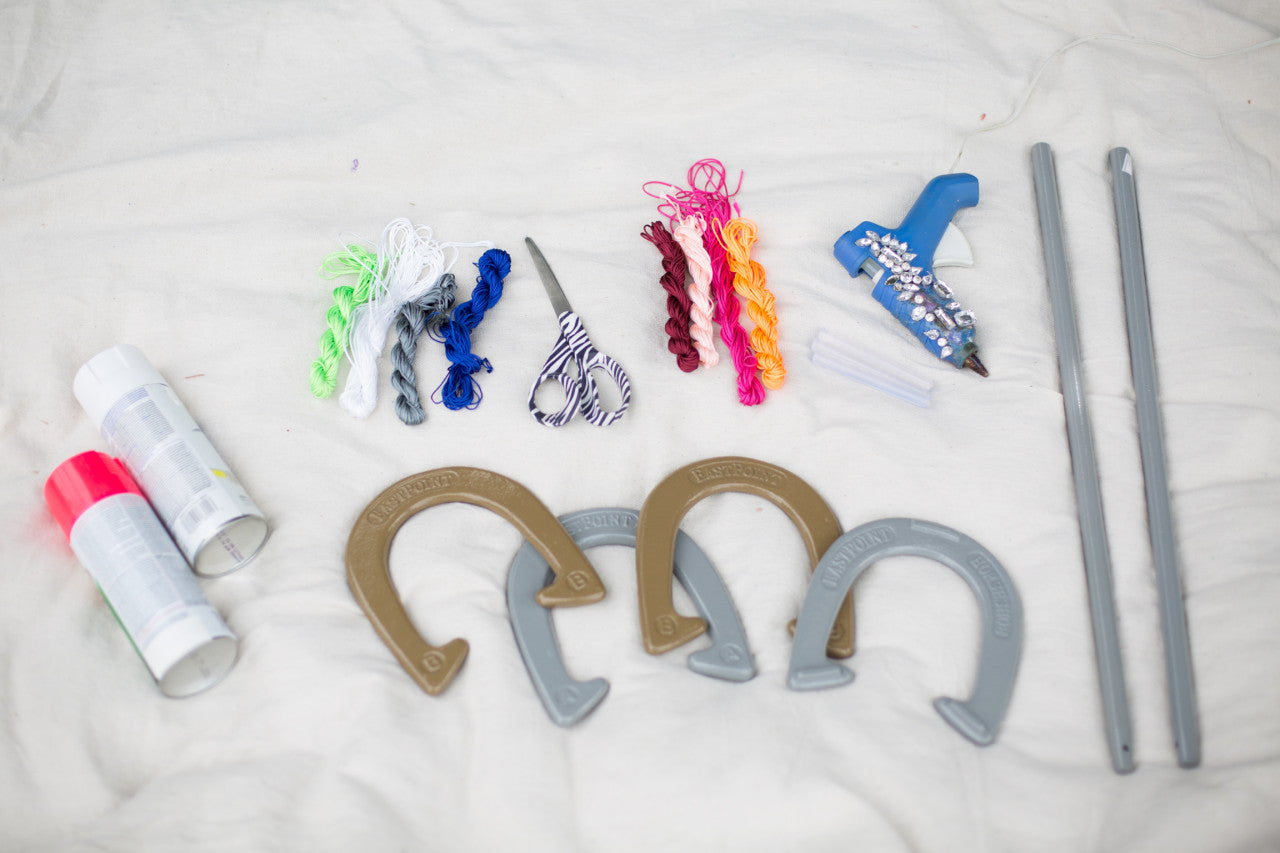
4 horseshoes Stakes Neon pink spray paint White spray paint Synthetic embroidery thread, in multiple colors Hot glue Scissors Lighter
 Do It!:
- I used a store-bought horseshoe set for this DIY, but you can make your own set with some vintage horseshoes and a steel pipe for the stake! Start by spray painting them to give the whole thing some life and color. I spray painted two of the horseshoes and the stakes hot pink, and the remaining two horseshoes white. You'll probably need to give these a few coats, so let them dry in between!
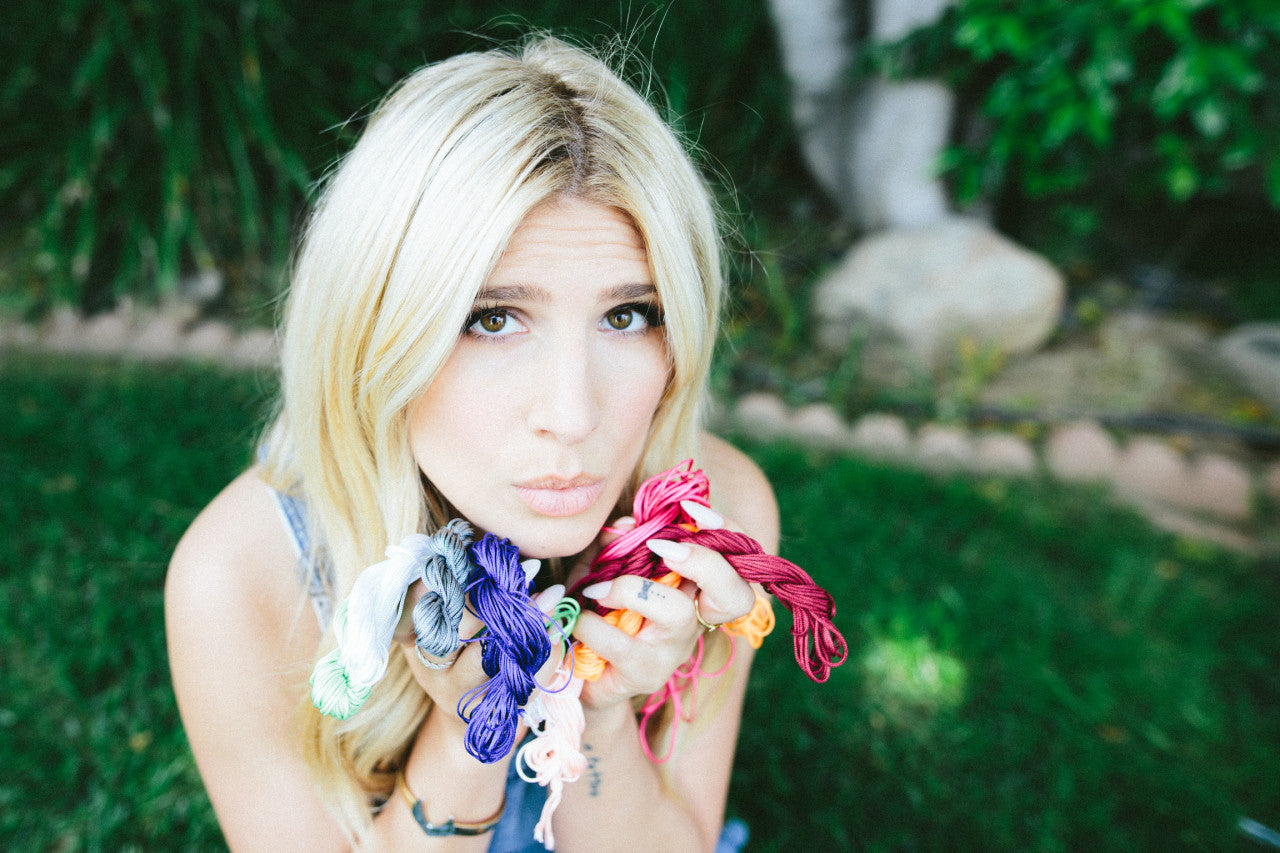
- To create the threaded pattern, tie the first color around the horseshoe. Hot glue the loose end down, then start wrapping, making sure it cover it! When you're done with this color and want to move onto the next color, quickly burn the end of the thread, sealing it and keeping it from fraying. This is why it's key to use synthetic thread, since it will melt together when exposed to flame for a second or two! Don't hold it in the fire too long, or it will melt and fall apart (ew). Once it's sealed, glue the end down and start the process over with the new thread color.
- Repeat this step as desired, creating a cool striped pattern on the horseshoes and stakes. Once you're done, it's game time. But first, instagram that ish! Saaaahhh cute.


